
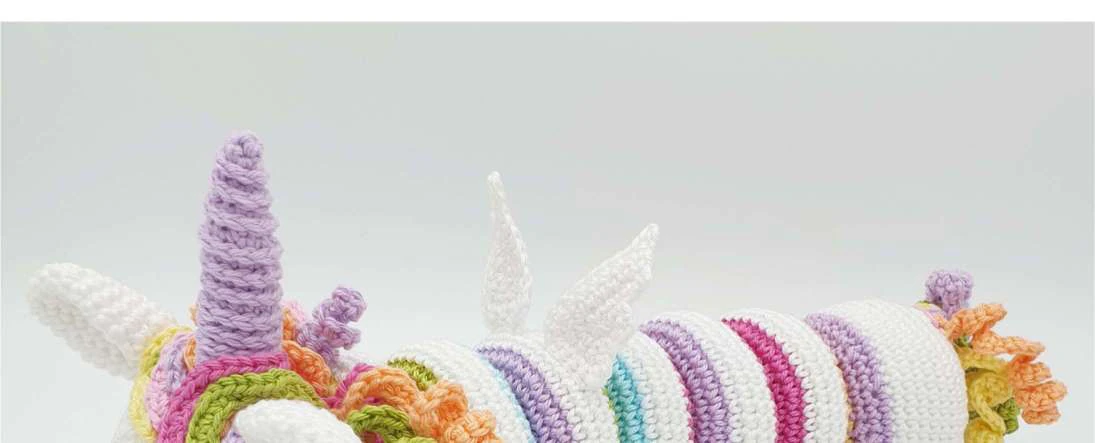
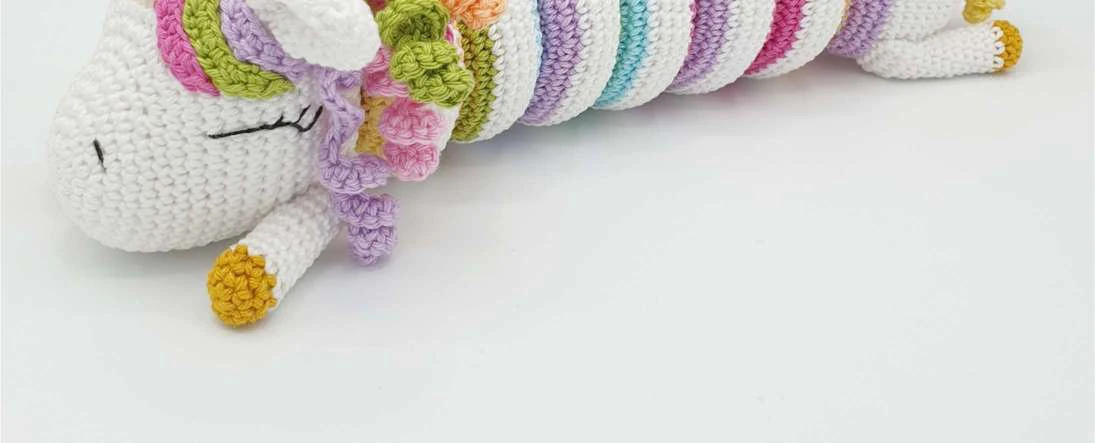
Unicorn Stacking Toy














MATERIALS:
100% Cotton yarn (combed, gassed,
mercerised) 50 g / 125 m
–
White yarn
–
Color of your choice
2.5 mm crochet hook
Tapestry needle, pins and scissors
Fiberfill/ toy stuffing
Stitch marker or a strand of thinner
yarn
ch = chain
st = stitch
sl st = slip stitch
sc = single crochet
inc = single crochet increase (work 2 single crochets into the same stitch)
dec = single crochet decrease (single crochet 2 stitches together)
FLO = front loop only
BLO = back loop only
[…] = number of stitches you should have at the end of the round/Rnd
(…) x… = repeat whatever is between the brackets the number of stated
This pattern is written using American terminology (US-TERMS) and is
worked in Continuous rounds unless otherwise stated. I recommend you always makethe start of each
round, using a stitch marker or a strand of thinner yarn.
NOTE: I recommend, when you decrease (dec) in this pattern, always use the invisible decrease.
(working in the front loop only).
Beginner/Easy
approx. 29 cm long
approx. 13 cm high with the horn



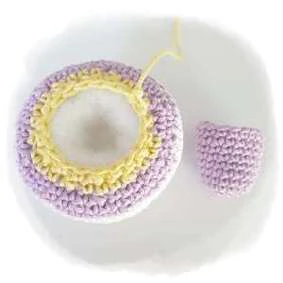
With color of choice
Ch 24, join with sl st to the first
chain / Do not twist the yarn.
Rnd 1: ch 1, sc in same space as
prev. sl st, sc around, join round
with sl st [24]
Rnd 2: ch 1, (3 sc, inc) x 6, join round with sl
st [30]
Change color of your choice.
Rnd 3: ch 1, 2 sc, inc, (4 sc, inc) x 5, 2 sc, join
round with sl st [36]
Rnd 4: ch 1, (5 sc, inc) x 6, join round with sl
st [42]
Rnd 5: ch 1, 3 sc, inc, (6 sc, inc) x
5, 3 sc, join with sl st [48]
Change color of your choice.
Rnds 6-9 (4 rows): ch 1, sc
around, join with sl st [48]
Change color of your
choice.
Rnd 10: ch 1, (6 sc, dec) x
6, join round with sl st [42]
Rnd 11: ch 1, 2 sc, dec, (5
sc, dec) x 5, 3 sc, join round
with sl st [36]
Rnd 12: ch 1, (4 sc, dec) x 6, join round with
sl st [30]
Change color of your choice.
Rnd 13: ch 1, (3 sc, dec) x 6, join round with
sl st [24]
Rnd 14: ch 1, sc around, join round with sl st
[24]
Fasten off, leaving a long tail for
sewing.
Using needle and thread, sew Rnd 1
and Rnd 14 together while stuffing
with fiberfill before finishing.
With white yarn
Rnd 1: 6 sc in magic ring [6]
Rnd 2: 6 inc [12]
Rnd 3: (sc, inc) x 6 [18]
Rnd 4: sc, inc, (2 sc, inc) x 5, sc [24]
Rnd 5: (3 sc, inc) x 6 [30]
Rnds 6 – 7 (2 rows): sc around [30]
Rnd 8: 12 sc, 6 inc, 12 sc [36]
Rnd 9: 12 sc, (sc, inc) x 6, 12 sc [42]
Rnd 10: 12 sc, (2 sc, inc) x 6, 12 sc
[48]
Rnd 11: 13 sc, inc, (3 sc, inc) x 5, 14 sc [54]
Rnds 12 -18 (7 rows): sc around [54]
Rnd 19: 13 sc, dec, (3 sc, dec) x 5, 14 sc [48]






Rnd 20: 12 sc, (2 sc, dec) x 6, 12 sc [42]
Rnd 21: 12 sc, (sc, dec) x 6, 12 sc [36]
Rnd 22: (4 sc, dec) x 6 [30]
Rnd 23: 2 sc, dec, (3 sc, dec) x 5, sc [24]
Stuff the head firmly with fiberfill.
Rnd 24: (dec, 2 sc) x 6 [18]
Fasten off, leaving a long tail for sewing and
sew close.
Using your yarn needle, weave the yarn tail
through the frohnt loop of each remaining
stitch and pull it tight to close.
Start with white yarn
Rnd 1: 6 sc in magic ring [6]
Rnd 2: 6 inc [12]
Rnd 3: (sc, inc) x 6 [18]
Rnd 4: sc, inc, (2 sc, inc) x 5, sc [24]
Rnd 5: (3 sc, inc) x 6 [30]
Rnd 6: 2 sc, inc, (4 sc, inc) x 5,
2 sc [36]
Rnd 7: (5 sc, inc) x 6 [42]
Rnd 8: 3 sc, inc, (6 sc, inc) x 5,
3 sc [48]
Rnds 9 – 14 (6 rows): sc around [48]
Change color of your choice.
Rnd 15: (6 sc, dec) x 6 [42]
Rnd 16: 3 sc, dec, (5 sc, dec) x 5, 2 sc [36]
Rnd 17: (4 sc, dec) x 6 [30]
Change color of your choice.
Rnd 18: sc, dec, (3 sc, dec) x 5, 2 sc
[24]
Rnd 19: (2 sc, dec) x 6 [18]
Stuff the butt firmly with fiberfill.
Fasten off, weave in ends.
Using your two thumbs, push out the
center poly fiber into a hole wide and deep
enough to fit the insert.
With color of your choice
Rnd 1: 6 sc in magic ring [6]
Rnd 2: 6 inc [12]
Rnd 3: (sc, inc) x 3 [18]
Rnds 4 – 10 (7 rows): sc around [18]
Fasten off, leaving a long tail for
sewing.
Sew inside of the butt into the butt.




With color of you choice
Rnd 1: 6 sc in magic ring [6]
Rnd 2: 6 inc [12]
Rnd 3: (3 sc, inc) x 3 [15]
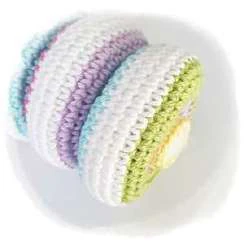
Stuff the pillar firmly with fiberfill as
you go along
Rnds 4 – 47 (44 rows): sc around [15]
Fasten off, leaving a long tail for
sewing and sew to the head.
Check the correct length of the pillar before cutting the yarn by trying to
insert every donut into the pillar and the butt.
Starting with yellow gold yarn
Rnd 1: 6 sc in magic ring [6]
Rnd 2: (sc, inc) x 3 [9]
Rnd 3: sc around [9]
Change color to
white yarn
Rnds 4 – 14 (11
rows): sc around [9]
Stuff the leg with fiberfill.
Rnd 15: Flatten the opening of the leg and
sc in each of next 4
stitches through both
layers to close the
opening.
Fasten off, leaving a
long tail for sewing.
With color of your choice
Rnd 1: 4 sc in magic ring [4]
Rnd 2: (sc, inc) x 2 [6]
BLO >> we’ll work now in back
loop only
Rnd 3: (2 sc, inc) x 2 [8]
Rnd 4: (3 sc, inc) x 2 [10]
Rnd 5: (4 sc, inc) x 2 [12]
Rnds 6 -12 (7 rows): sc around [12]
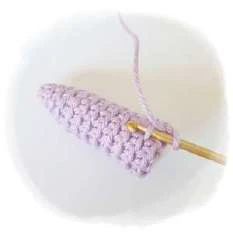
Join with sl st, ch 1, turn

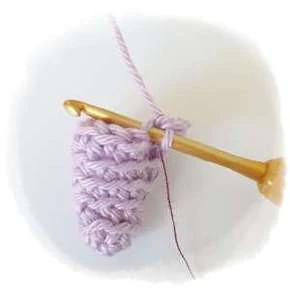



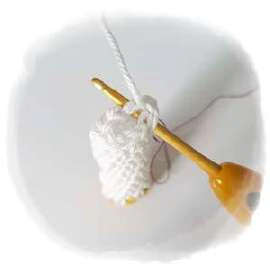
FLO >> we’ll work now in front loop only
sl st in every stitch from Rnd 12 till Rnd 3.
Fasten off, leaving a long tail for sewing.
Stuff the horn with fiberfill.
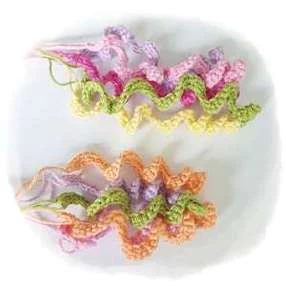
With color of your choice.
Ch 30,
Rnd 1: (starting from 2nd chain from hook), inc in every st to the end.
Fasten off, leaving a long tail for sewing.
With color of your choice
Ch 40,
Rnd 1: (starting from 2nd chain from hook), inc in every st to the end.
Fasten off, leaving a long tail for sewing.
With color of your choice
Ch 30,
Rnd 1: (starting from 2nd chain from hook), inc in every st to
the end.
Fasten off, leaving a long tail for sewing.






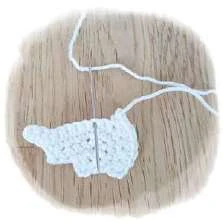
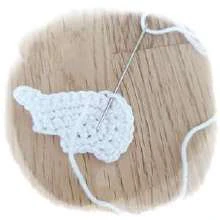
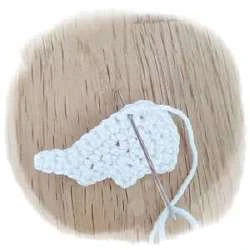
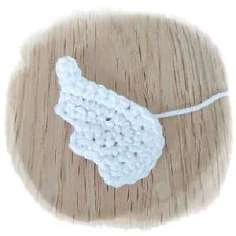
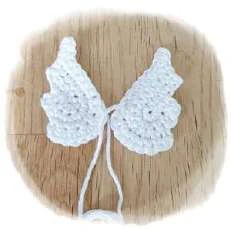
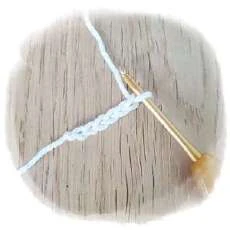
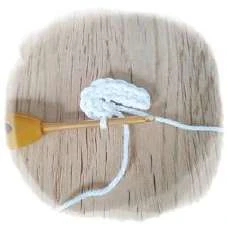
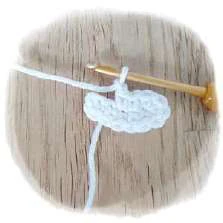
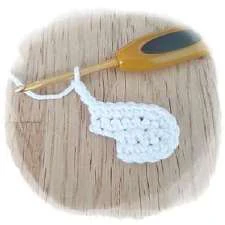
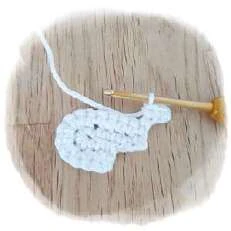
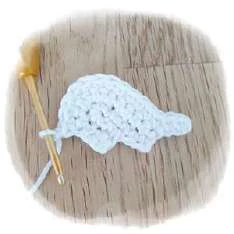
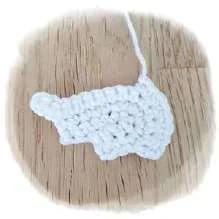
With white yarn
Ch 6,
Rnd 1: (starting from 2nd chain from hook), 4 sc, 5 sc in last ch, continue all round to other side
of chain, 2 sc, ch 1, turn [11]
Rnd 2: 3 sc, 3 inc, 5 sc, ch 3, turn [14]
Rnd 3: (starting from 2nd chain from hook), 2 sc, 12 sc, ch 1, turn [14]
Rnd 4: 2 sc, 3 inc [8]
Fasten off invisibly, leaving a long tail for sewing.

With white yarn
Rnd 1: 6 sc in magic ring [6]
Rnd 2: (sc, inc) x 3 [9]
Rnd 3: (2 sc, inc) x 3 [12]
Rnd 4: (3 sc, inc) x 3 [15]
Rnd 5: (4 sc, inc) x 3 [18]
Rnds 6 – 9 (4 rows): sc around [18]
Rnd 10: (sc, dec) x 6 [12]
Flatten the opening of the ear and sc in
each of next 6 stitches through both
layers to close the opening.
Fold the ear and sew a few
stitches.
Fasten off, leaving a long tail for
sewing.
ASSEMBLY:
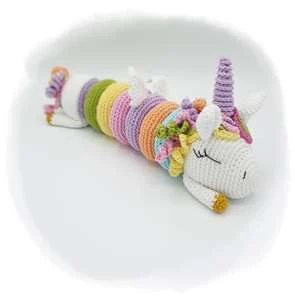
1. Sew the donut rings, using needle and thread, sew Rnd 1
and Rnd 14 together while stuffing with fiberfill before
finishing.
2. Stuff the butt with fiberfill, using your two thumbs, push out the center poly fiber into a
hole wide and deep enough to fit the insert,
sew inside the butt into the butt.
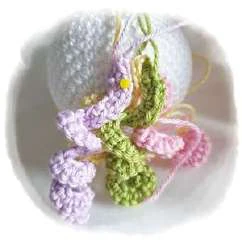
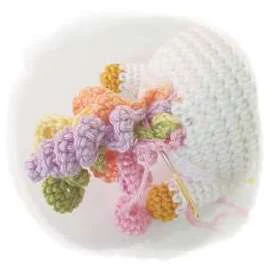
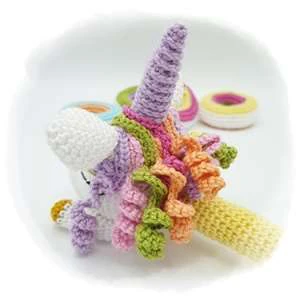
3. Sew the tail to the butt. The top of each tail
should be sewn between Rnd 7 and 8 of the butt, sew all the tails together to form a bunch.









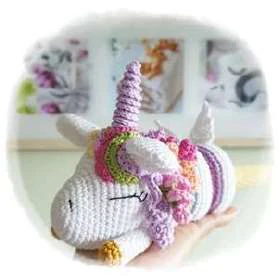
4. Sew the wings onto the donut ring between Rnd 7 and 8 of the donut ring.
5. Sew the horn over rows 15 and 17.
6. Sew the ears to the head, over rows 15 and 17,
keep 3 stitches from the horn apart.
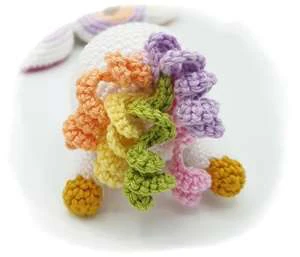
7. Sew the mane to the head. Switch between long and short.
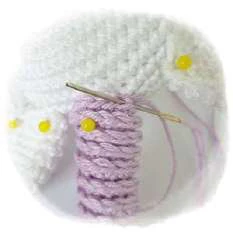
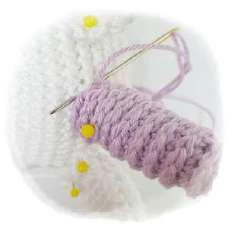
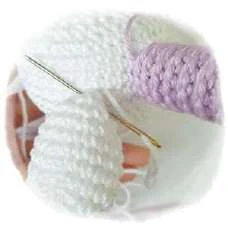
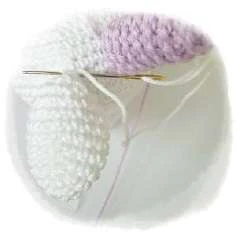
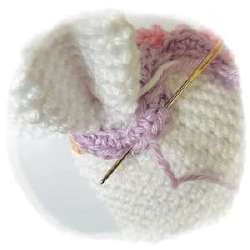





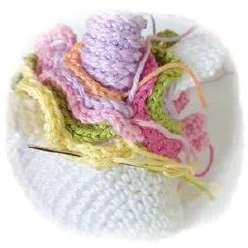
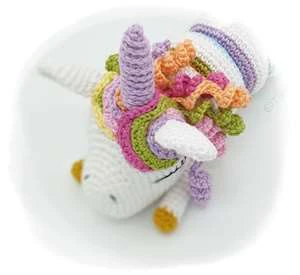





8. Sew the legs to the head. The top of each leg should be sewn between Rnd 20 and 21 of the
head, between both legs keep 8 stitches apart. Sew a few extra stitches (4-5 stitches)
along each leg to hold the legs snug against the head.
9. Embroider the eyes with black yarn over rows 11 and 15.
10. Embroider the nose with black
yarn over rows 4 and 5.

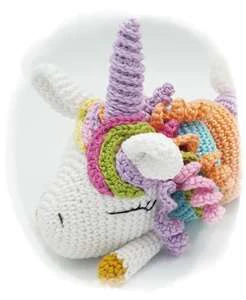
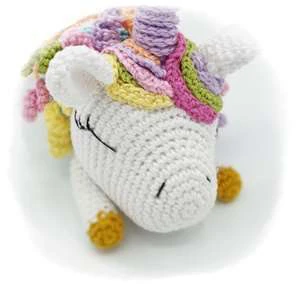
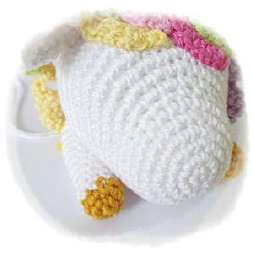

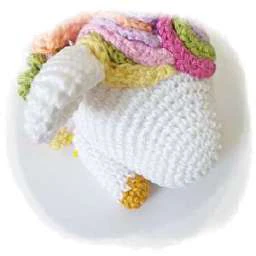



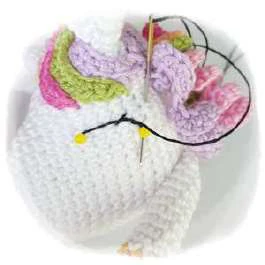

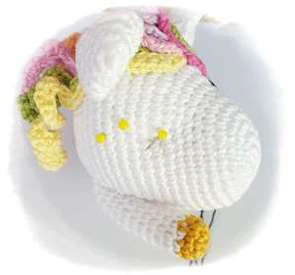
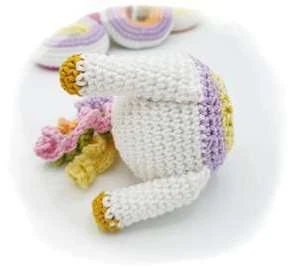
11. Sew the legs to the butt. The top of each leg should be sewn between Rnd 14 and 15 of
the butt, between both legs keep 7 stitches apart. Sew a few extra stitches (4-5 stitches)
along each leg to hold the legs snug against the butt.
12. Sew the pillar to the head.





















Recommended Digital Products

Baby Superhero Amigurumi Crochet Pattern PDF | Easy Little Green Monster Plush Toy Pattern | DIY Chibi Superhero Plushie
$4.99
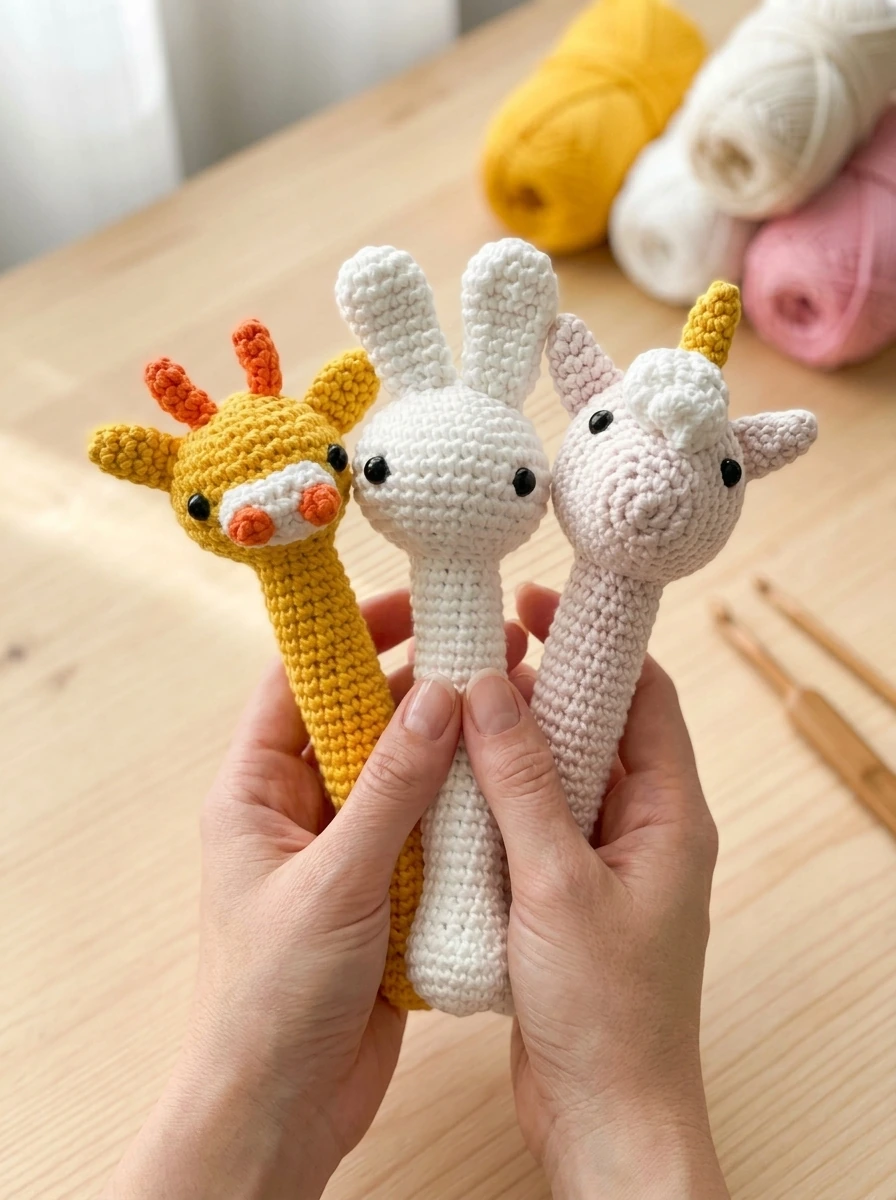
Crochet Baby Rattle PDF Pattern – Amigurumi Stick Toy Set (Bunny, Giraffe, Unicorn)
$4.99
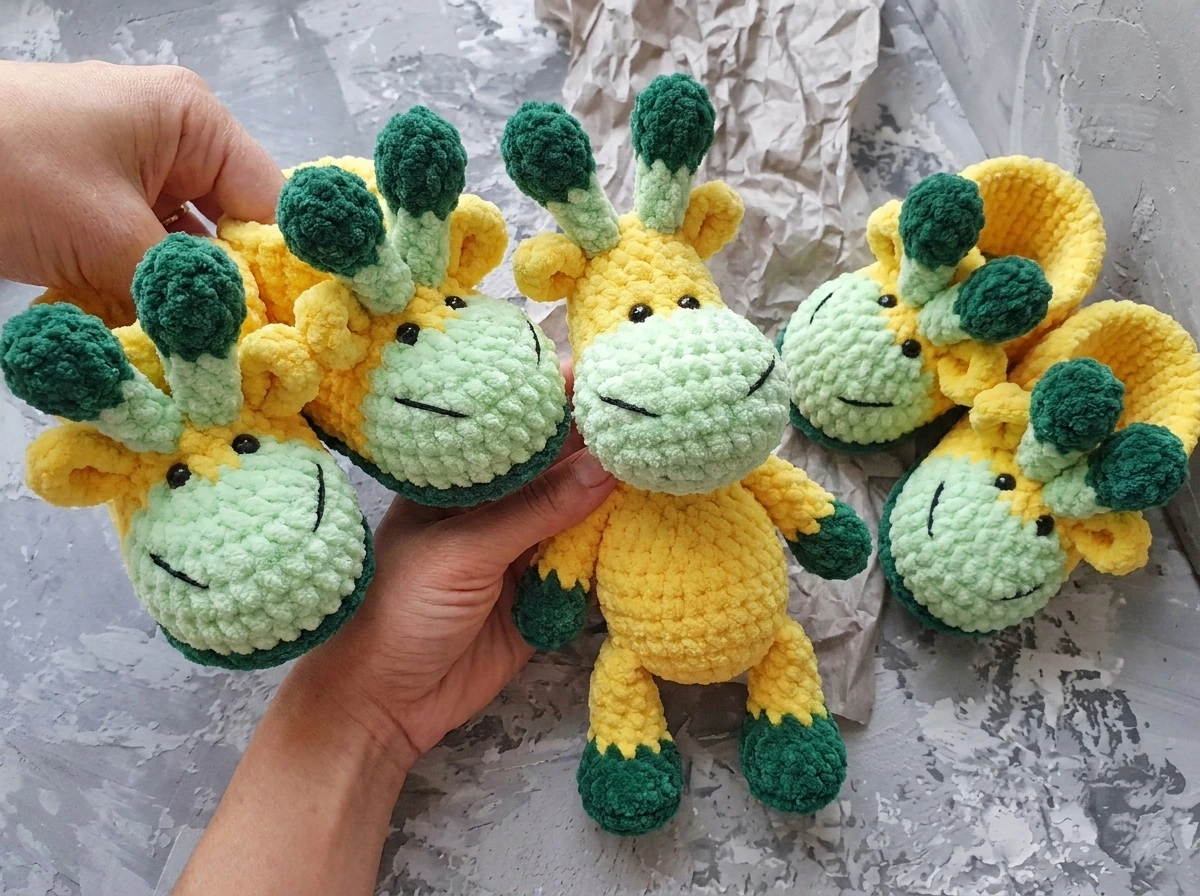
Crochet Baby Animal Booties PDF Pattern – Plush Amigurumi Shoes (Unicorn, Giraffe, Deer, Penguin)
$4.99
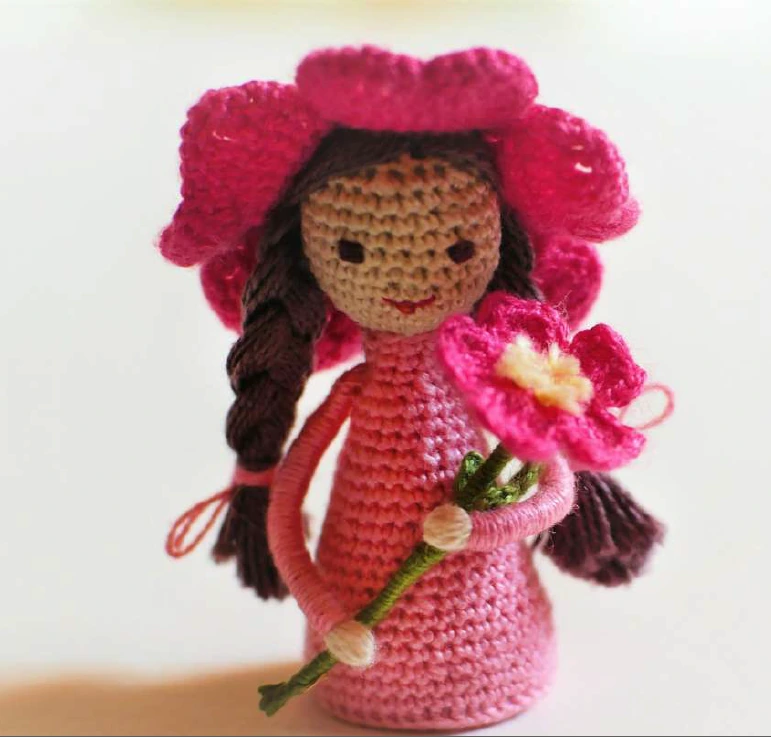
Wild Rose Fairy Amigurumi Crochet Pattern – Detailed PDF Guide with Charts
$2.99
Get this Crochet Pattern as a Free PDF
Enter your email to receive the PDF associated with this article.
Leave a Reply