
Tulip Shell
TULIP SHELL


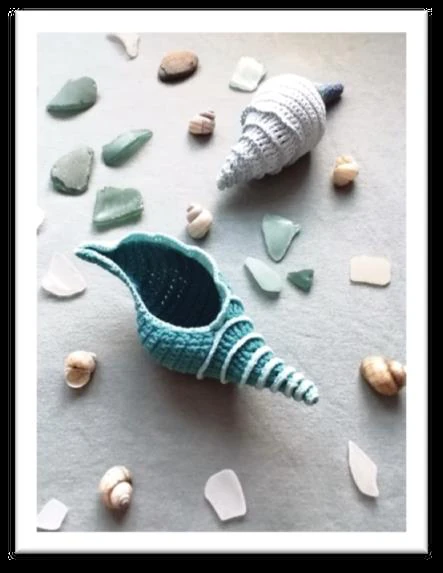
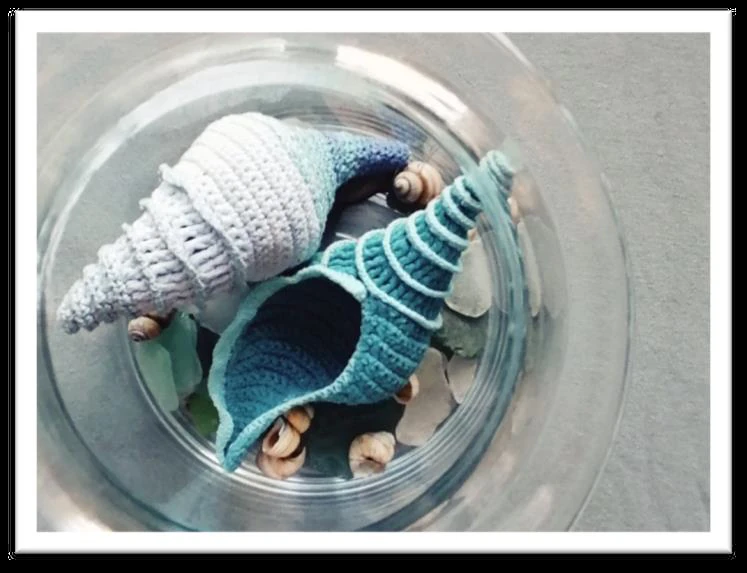
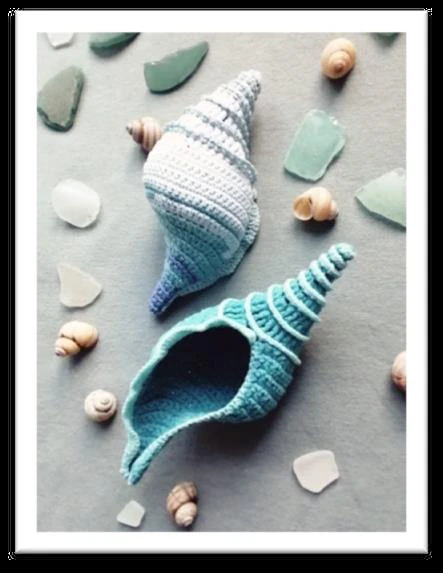
CROCHET
ABBREVIATIONS
CH – CHAIN
SC – SINGLE CROCHET
HDC – HALF DOUBLE CROCHET
DC – DOUBLE CROCHET
TR – TREBLE CROCHET
SC2TOG – DECREASE BY
CROCHETING 2 SINGLE
CROCHET STITCHES TOGETHER
ST(S) – STITCH(ES)
– NUMBER OF STITCHES YOU
(6)
SHOULD HAVE AT THE END OF
THE ROUND
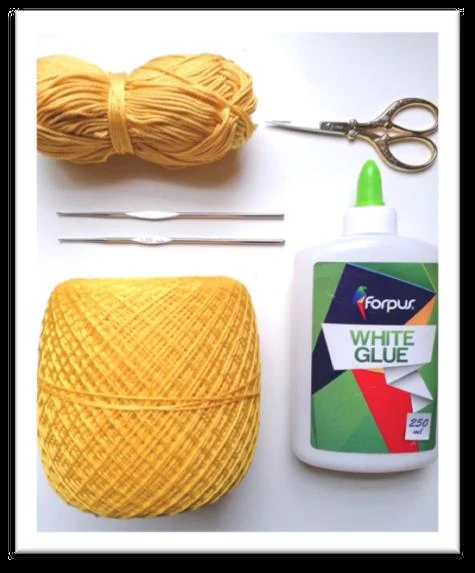
MATERIALS
For crocheting:
100 % cotton yarn, in 2 weights
Crochet hooks
Scissors
( Needle to weave in ends)
I used for shell body:
Madame Tricote “Camilla”,
(100% cotton, 50g=125m)
,5 mm hook
I used for trim and border:
Madame Tricote “Maxi”
(100% cotton, 100gr=565 m)
1 ,0 mm hook
For shaping:
White glue
Water
Small plastic bags
Rubber gloves (optional)
TIPS AND TRICKS
For nice and tight stitches use
crochet hook couple of sizes
smaller than indicated on yarn
label.
Work in continuous rounds, do
not join or turn unless otherwise
noted.
You might want to use stitch
marker and place it in the first
stitch of each round or row to
mark the beginning of it.























































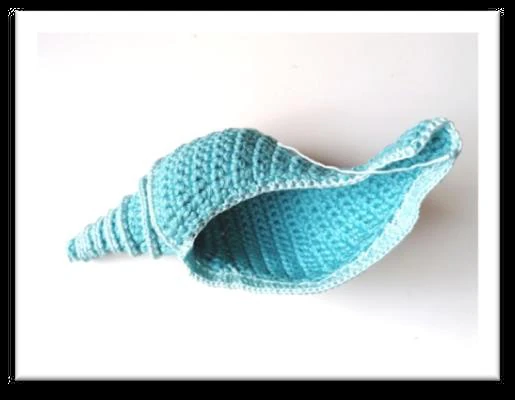
Crocheting the shell
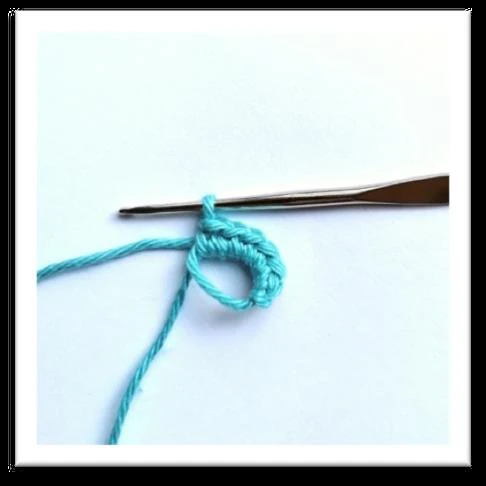
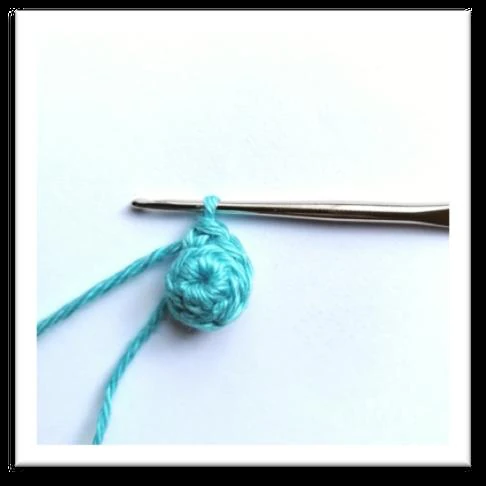
Starting from the tip of the shell and working in continuous rounds and in back loops only.
Rnd 1: 6 sc in a magic ring (6)
Rnd 2: * 1 sc in each of next 2 sts, 2 sc in next; rep from * 1 more time (8)
Rnd 3: * 1 hdc in each of next 3 sts, 2 hdc in next; rep from * 1 more time (10)
Rnd 4: * 1 dc in each of next 4 sts, 2 dc in next; rep from * 1 more time (12)
Rnd 5: * 1 dc in each of next 2 sts, 2 dc in next; rep from * 3 more time (16)
Rnd 6: * 1 dc in each of next 3 sts, 2 dc in next; rep from * 3 more time (20)
Rnd 7: * 1 tr in each of next 3 sts, 2 tr in next; rep from * 4 more time (25)
Rnd 8: * 1 tr in each of next 4 sts, 2 tr in next; rep from * 4 more time (30)


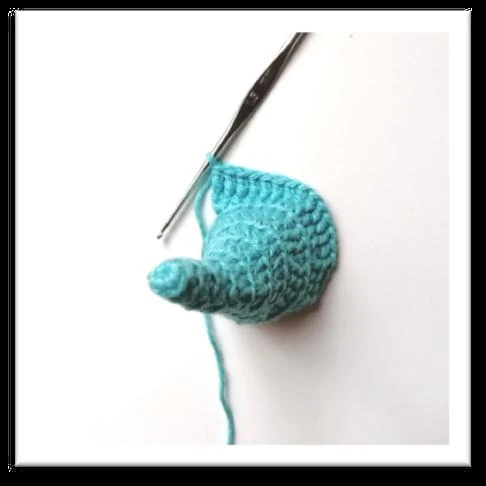
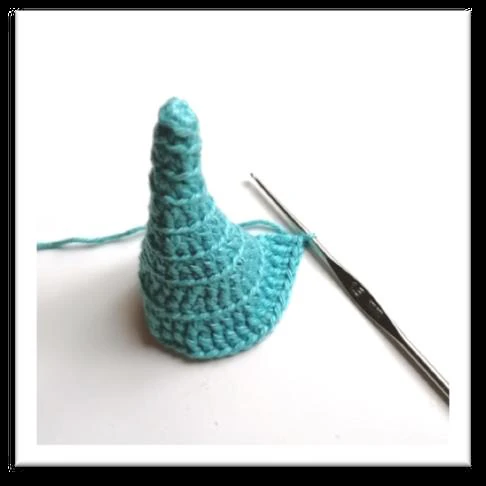














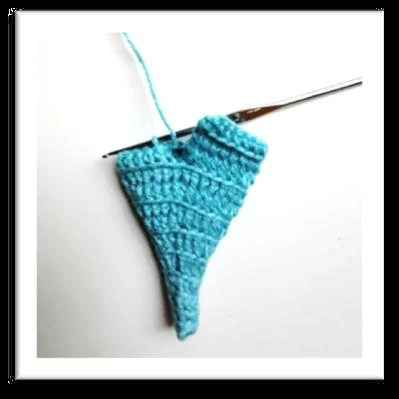
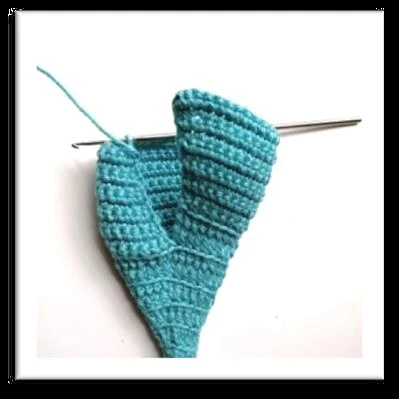
Turn and continue working in rows from now on:
Row 1: working through front loops only:
ch 1 (=1 sc), 2 sc in next st, 1 sc in each st; turn (31) Row 2: working through both loops from now on: ch 1
(=1 sc), sc2tog, * 1 sc in each of next 2 sts, 2 sc in next; rep from * 7 more times; 1 sc in each of last 4 sts; turn
(38)
Row 3: ch 1 (=1 sc), 2 sc in next st, 1 sc in each st; turn (39)
Row 4: ch 1 (=1 sc), sc2tog, 1 sc in each st; turn (38)
Rows 5, 7, 9, 11: same as Row 3 Rows 6, 8, 10: same as Row 4
Row 12: ch 1 (=1 sc), * sc2tog, 1 sc in next 2 sts, rep from * 8 more times; 1 sc in last 2 sts; turn (30) Row 13:
ch 1 (=1 sc), 2 sc in next st, 1 sc in each st; turn (31)
Row 14: ch 1 (=1 sc), * sc2tog, 1 sc in next 2 sts, rep from * 6 more times, 1 sc in last 2 sts; turn (24)
Row 15: ch 1 (=1 sc), 2 sc in next st, 1 sc in each st; turn (25)
Row 16: ch 1 (=1 sc), * sc2tog, 1 sc in next 2 sts, rep from * 5 more times; turn (19)
Row 17: ch 1 (=1 sc), 2 sc in next st, 1 sc in each st; turn (20)
Row 18: ch 1 (=1 sc), * sc2tog, 1 sc in next 2 sts, rep from * 3 more times, 1 sc in last 3 sts; turn (16) Row 19:
ch 1 (=1 sc), sc in next st, 1 sc in each st; turn (16)
Row 20: ch 1 (=1 sc), * sc2tog, 1 sc in next st, rep from * 3 more times, 1 sc in last 3 sts; turn (12) Row 21: ch 1
(=1 sc), 1 sc in each st; turn (12)
Row 22: ch 1 (=1 sc), * sc2tog, 1 sc in next st, rep from * 2 more times, 1 sc in last 2 sts; turn (9) Row 23: ch 1
(=1 sc), 1 sc in each st; turn (9)
Row 24: ch 1 (=1 sc), * sc2tog, 1 sc in next st, rep from * 1 more time, 1 sc in last 2 sts; turn (7) Rows 25, 26,
27, 28: ch 1 (=1 sc), 1 sc in each st; turn (7)
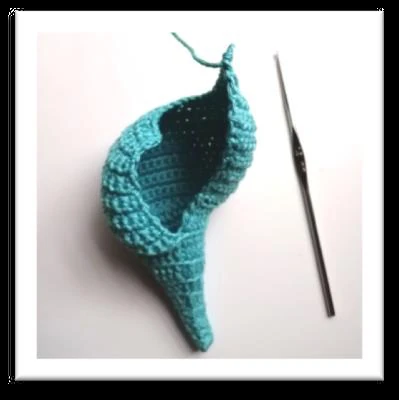
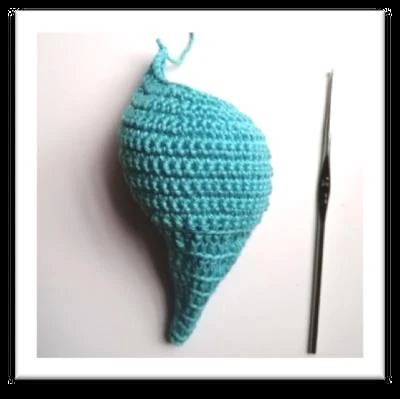
Fasten off and weave in the ends.
Crocheting the border
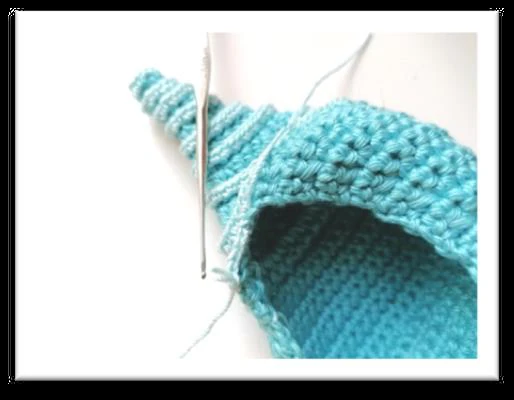
Trim:
Using 1,00 mm hook and thin thread.
Attach yarn to the front loop of last stitch of last round.
Working into those front loops : 2 sc in one stitch all the way to
the center of the shell.
Fasten off and weave in the ends.
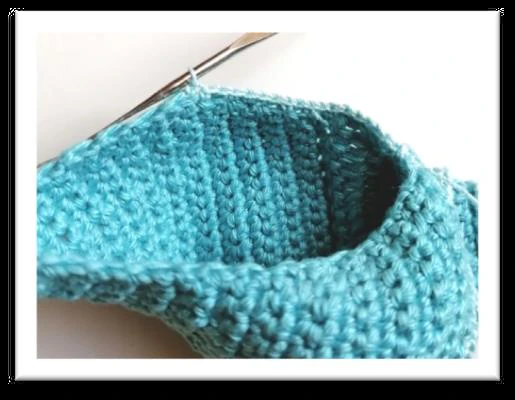
Border:
Using 1,00 mm hook and thin thread.
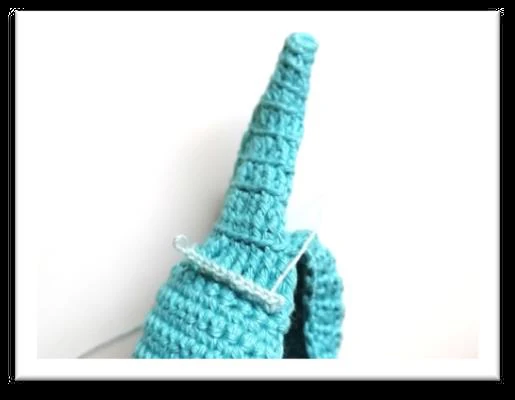
Attach yarn to the top of the shell opening.
Ch 1 and then sc all the way around the shell opening inserting
hook into the stitches.
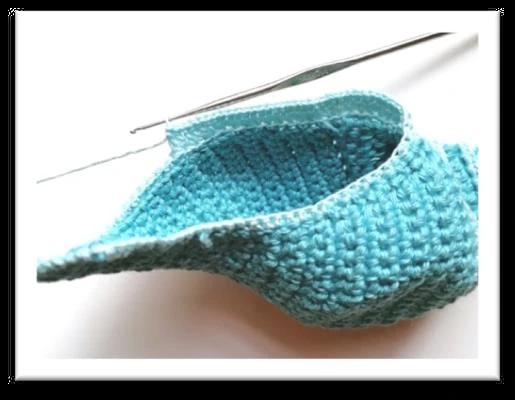
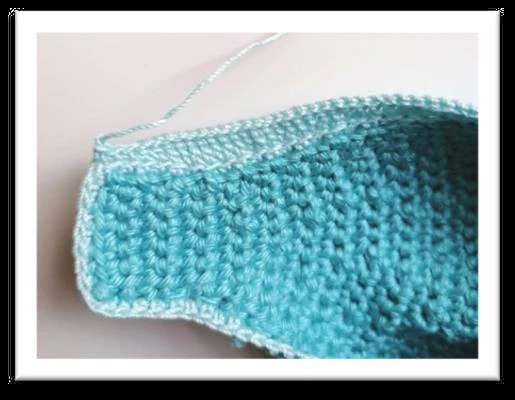
Now work 2. row only down of the opening of the shell by
working 2 dcin one stitch and 1 dc in next. Few stitches before
the tip of the shell make 2 hdc and 4-5 sc instead of dc.
Fasten off and weave in the ends.

















Shaping the shell
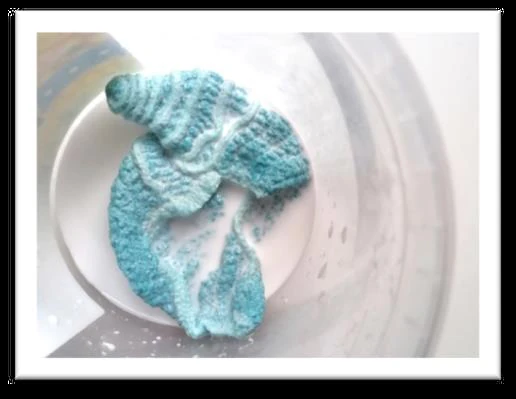
In a cup mix 2 parts of water with 1 part of glue.
Immerse the crocheted shell into the glue and water mixture
wear rubber gloves if necessary) until it’s fully wet.
(
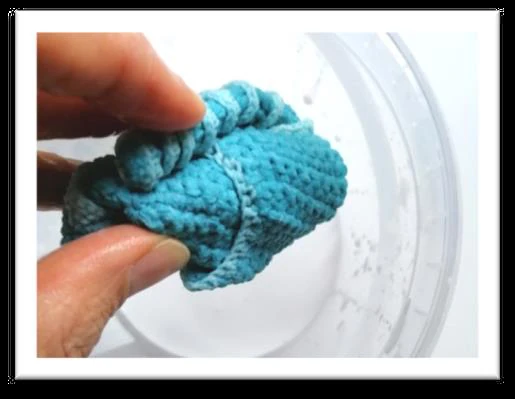
Carefully squeeze out excess glue-water mix.
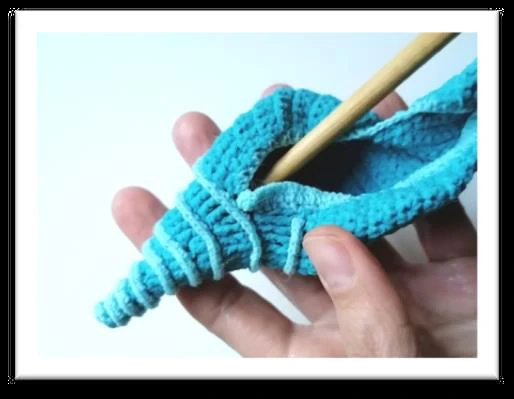
Start shaping the shell by gently pulling at the crochet fabric
and giving it a desired shape.
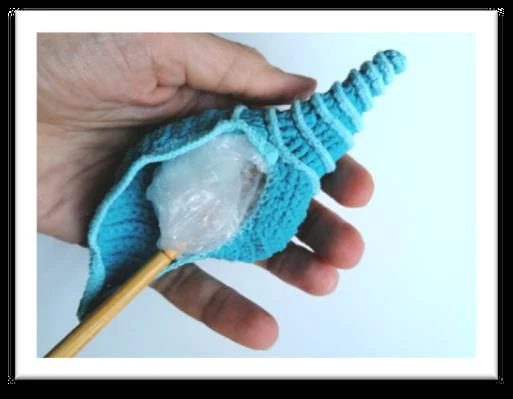
Use something (like chopstick) to help you straighten out the
long ant thin shell top.
Use small plastic bags to fill up the shell – it helps to hold it’s
shape while the shell is drying
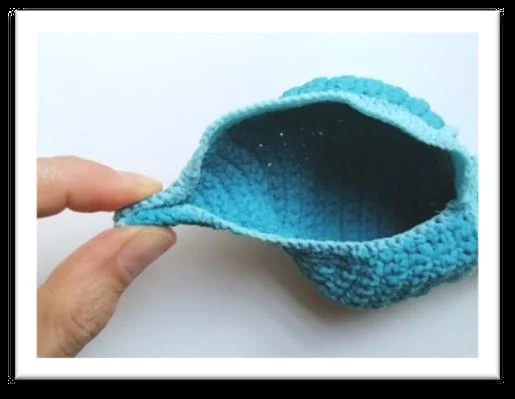
Pinch the bottom of the shell together and shape an opening.
Pull at trim.
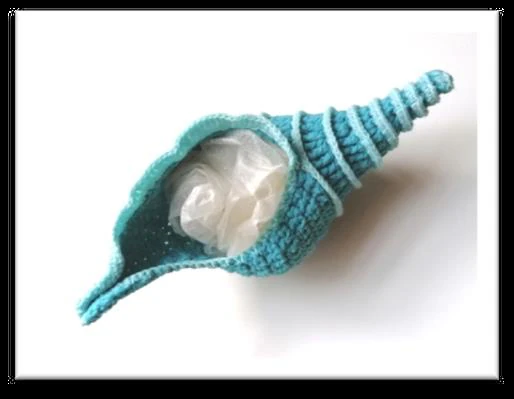
Continue until you are satisfied with the shape.
Leave it to dry on a towel.



















Few more tips and
tricks
I use for most of my small crochet work 100% cotton yarn
which has 125 m of yarn per 50 grams. Many brands have this
weight. Some examples: Madame Tricote “Camilla”, Kartopu
“Organica”, Anchor “Creativa Fino”, Schachenmayr “Catania”
and there are many more.
Yarn label calls for 3,o mm hook for these yarns but I
recommend to use as small hook as you possibly can. I usually
work with 1,5 mm. If this feels too uncomfortable then try a bit
larger hook like 1,75 mm or 2,00 mm. The smaller the hook,
the tighter the stitches and the prettier an end result. But it has
to feel comfortable! Crocheting always has to be fun not a
struggle
Variegated yarn also gives a lovely effect to the shell. I’ve used
Alize “Bahar Batik” with great success.
I like to use even thinner yarn and smaller hook (1,0 mm) for
added details. Like border and trim in this shell pattern. I
mostly use Madame Tricote “Maxi” (100 gr = 565 m) or Alize
“Miss” (50 gr = 280m). But again- there are many other
options available depending on where you live.
If you feel uncomfortable using that thin of the hook and yarn,
you can add border and trim with same yarn you did the body
of the shell – no problem! In this case I recommend you do *sc,
ch 1 or crab stitch for trim. For second row in shell opening try
dc, ch1, or plain 1 dc in each sc.
Let’s talk some more about shaping the shell. I use regular
white glue. It’s available all over the world. I mix either 2 parts
of water to 1 part of glue or 1:1 if I want my end result to be
even stiffer If you have sensitive skin please wear rubber gloves
while using glue mix. If you like the feel of cotton yarn and
don’t want to add any stiffness to your shell you can just
wet it in water, give it a desired shape and leave it to
dry. I encourage you to experiment and find the way
what suits you best!
Finally let’s talk about further embellishing your shells.
I have used watercolors or diluted acrylic paint to add
some extra color to my shells. I’ve also experimented
with adding some glitter and sealing it with some
varnish. Or hand stitched on some seed beads (must be
done before shaping with glue).
Recommended Digital Products

The Ultimate Beginner’s Crochet Guide: Master 45+ Essential Techniques & Practical Projects
$5.99

From Loop to Perfection: The Ultimate Step-by-Step Crochet Master Guide
$9.99
The Ultimate Crochet Handbook: Essential Techniques, Color Theory & 80+ Step-by-Step Patterns
$19.99
Master the Art of Crochet from Scratch – Ultimate Digital Guide with 8 Step-by-Step Projects!
$19.99
Get this Crochet Pattern as a Free PDF
Enter your email to receive the PDF associated with this article.
Leave a Reply