
Snowflake Sun & Star
©Renata Saj/SunshineNL All rights reserved.
Project: Christmas Snowflakes Mobile
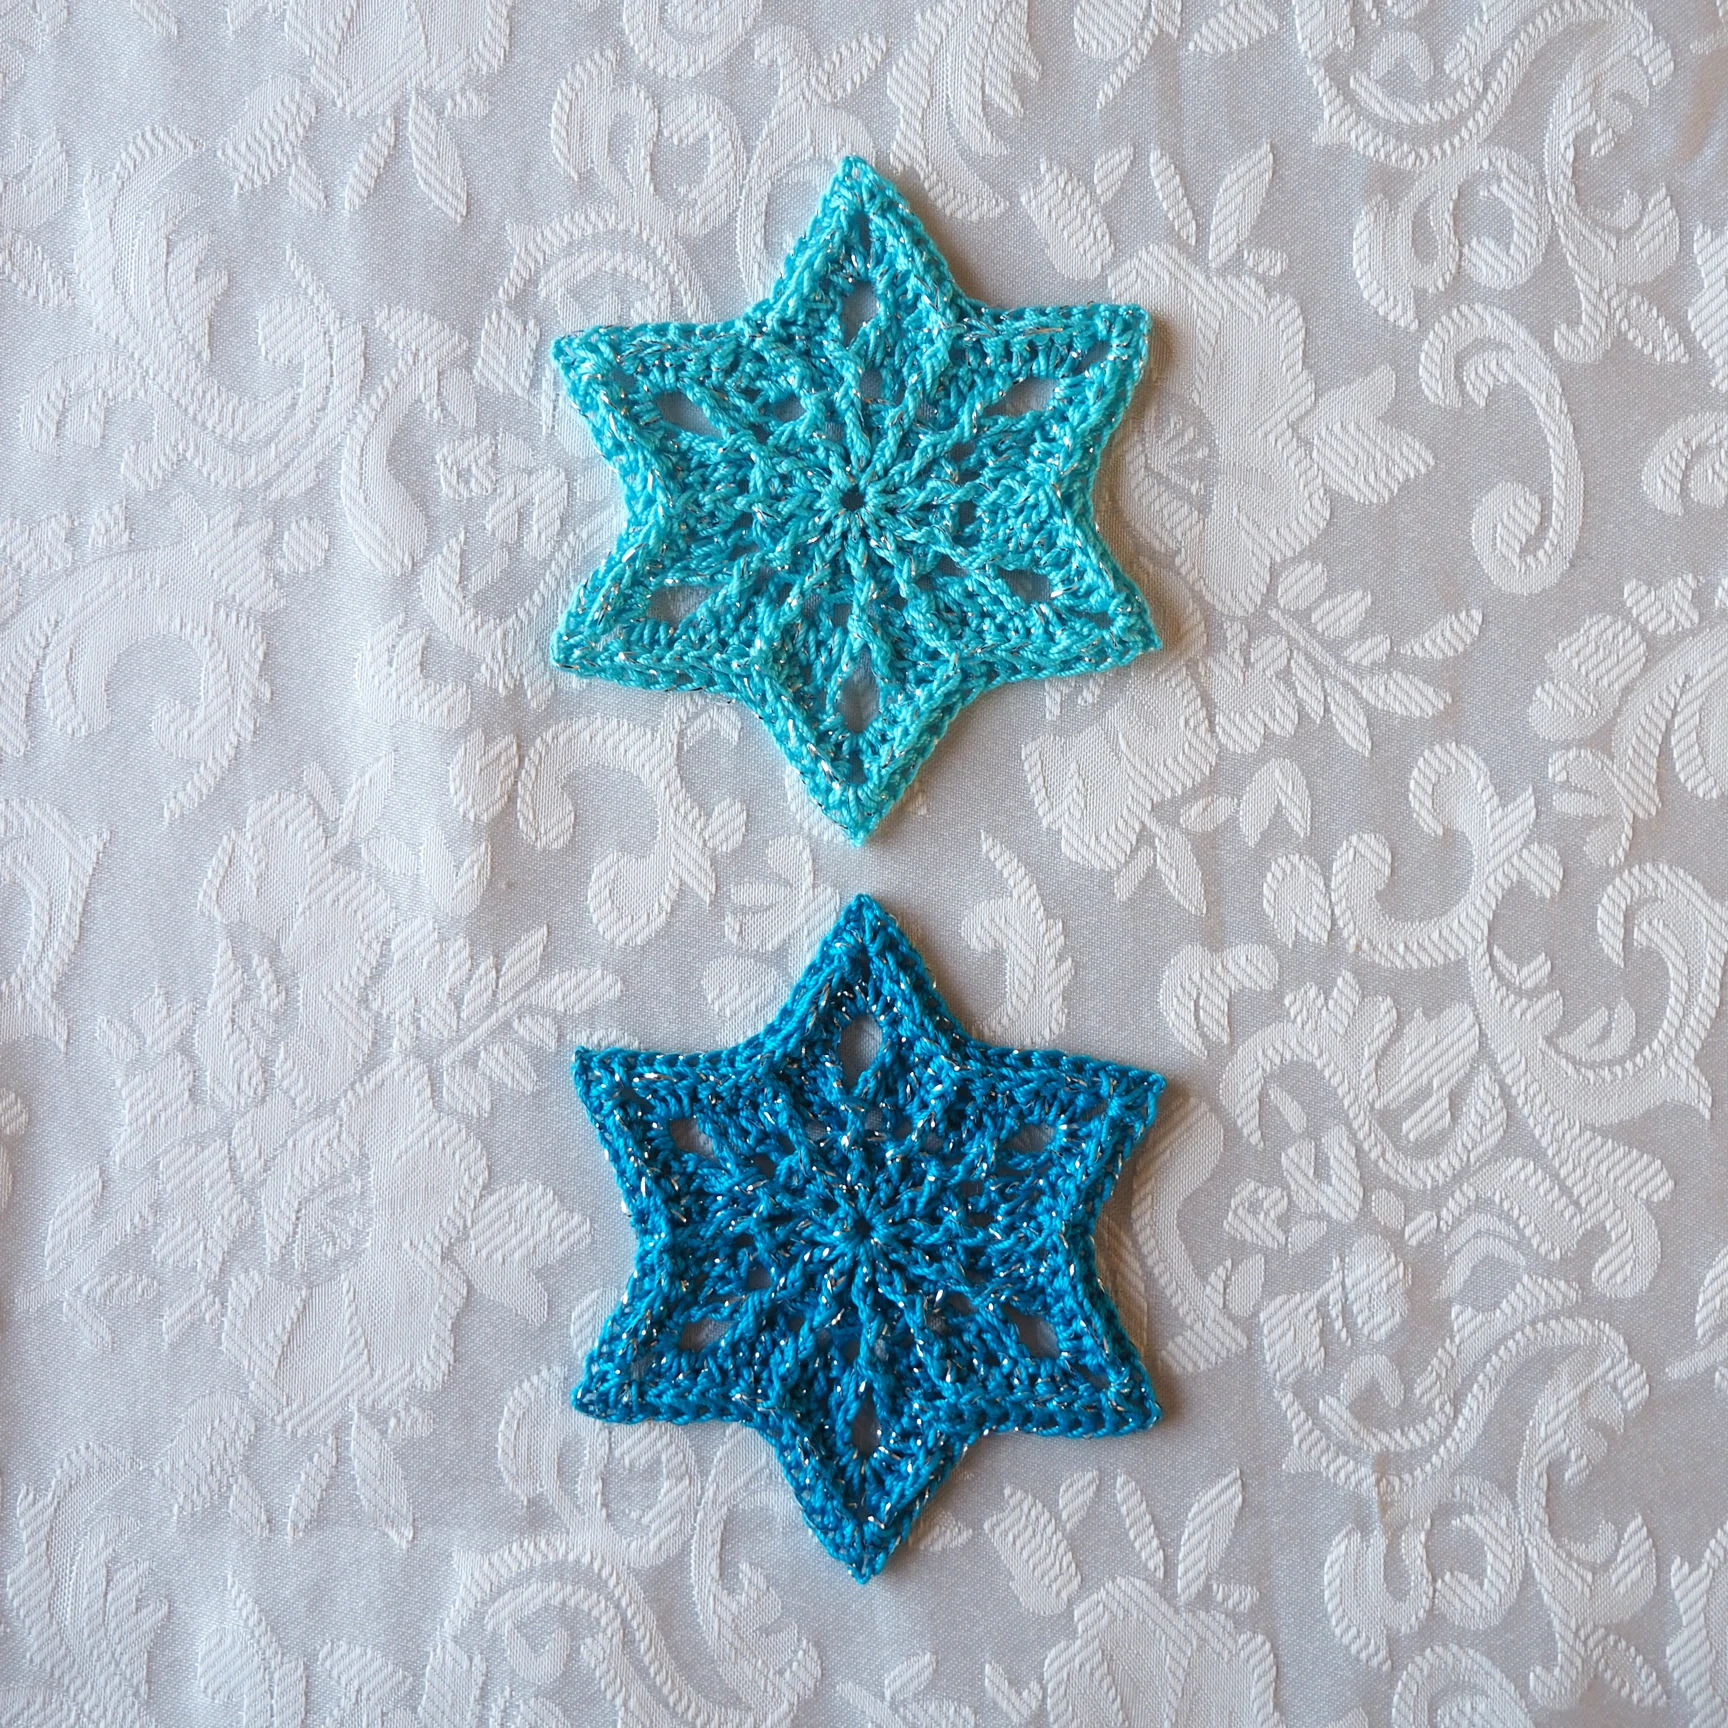
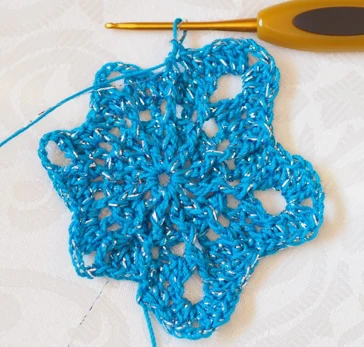
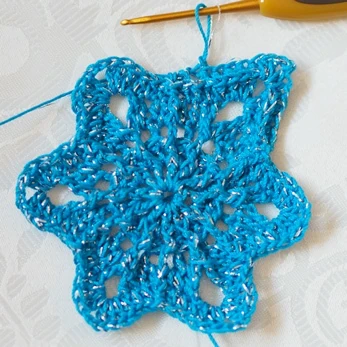
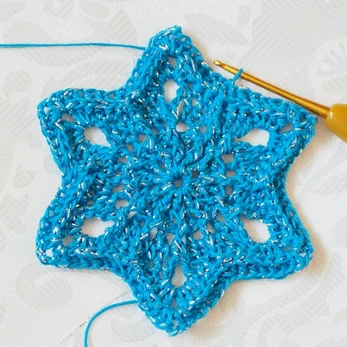
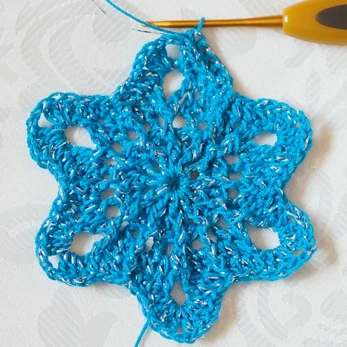
No 4 Sun Star Snowflake
Designed by Renata Saj
Find other Snowflakes at Ravelry
No 1 Winter Flower
No 2 Frosted Lace Snowflake
No 3 Flower Star Snowflake
Please note that this pattern is for personal use only.
Reproduction and publication of pictures and pattern or translation is not allowed. You may sell limited amount of finished items made by
the pattern but always credit me as the designer.
Copyright SunshineNL 2019
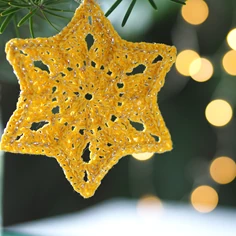
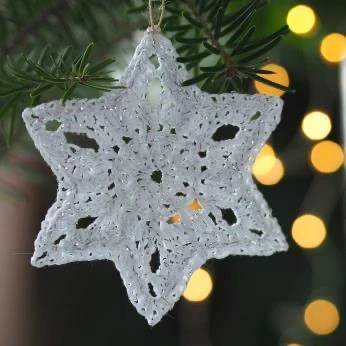
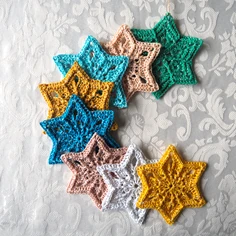
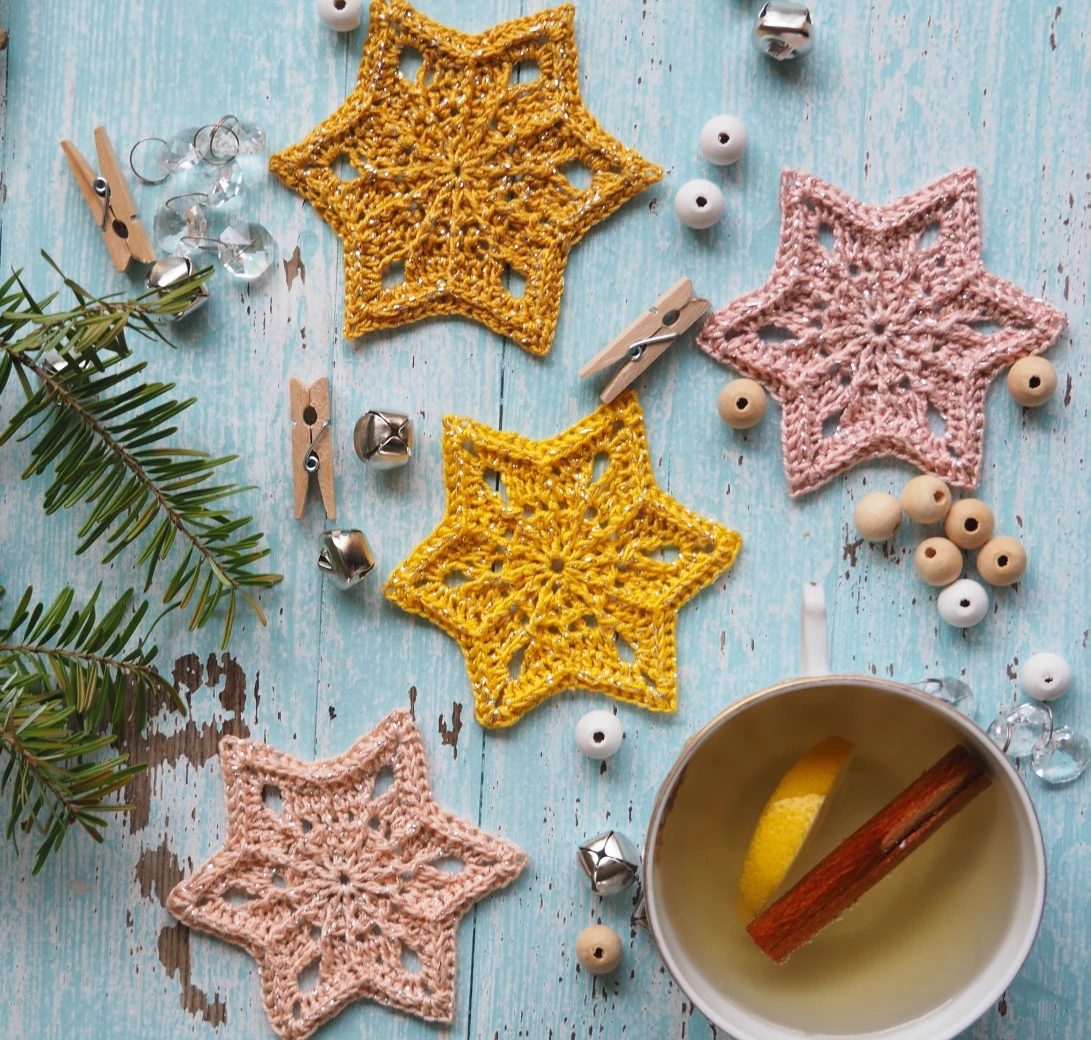
©Renata Saj/SunshineNL All rights reserved.
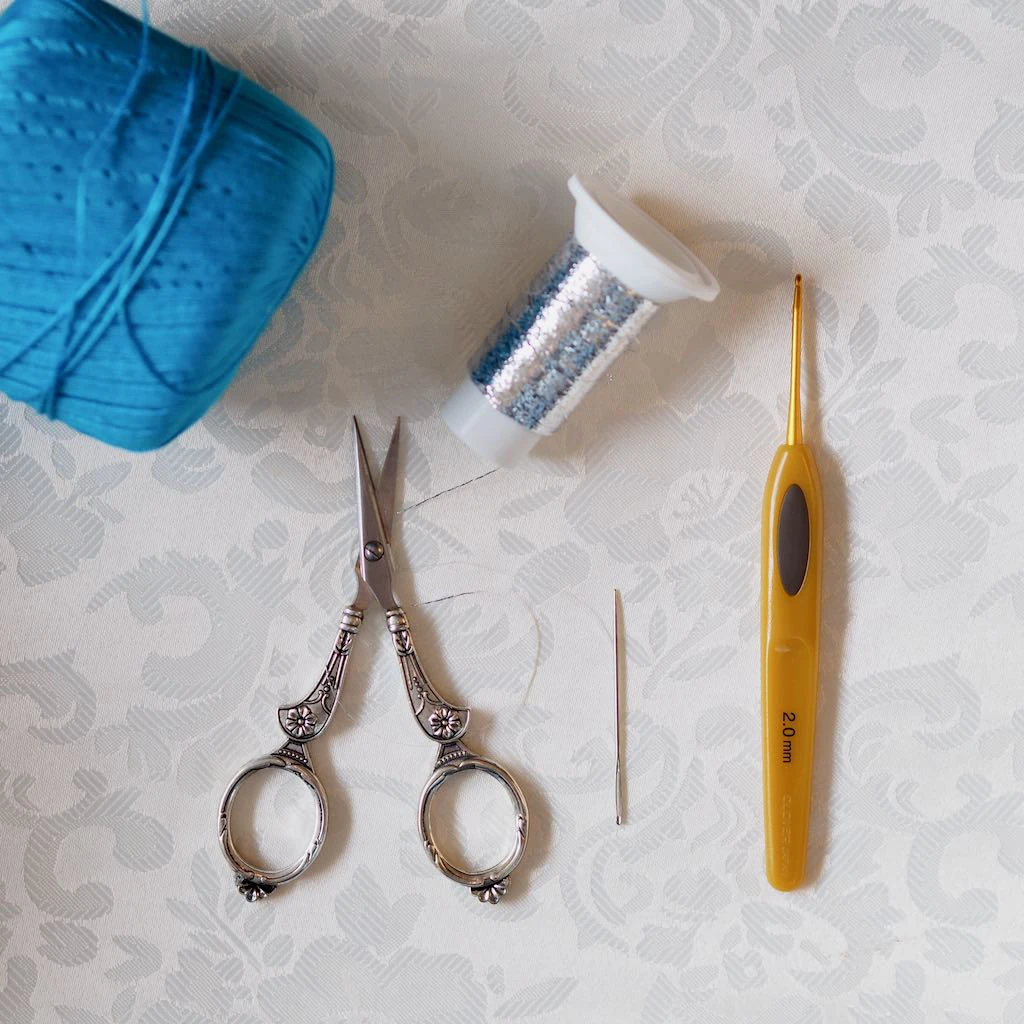
Materials:
You can use any similar yarn and suitable hook.
Finished size
Blocking and Finishing
Yarn:
ü
Scheepjes Maxi Sweet Treat (BonBon): 140 meters 25g
ü
Drops Glitter Silver: 700 meters 10g
Hook: 1.75 mm or 2 mm (depending from your tension)
Scissors, tapestry needle to weave in ends.
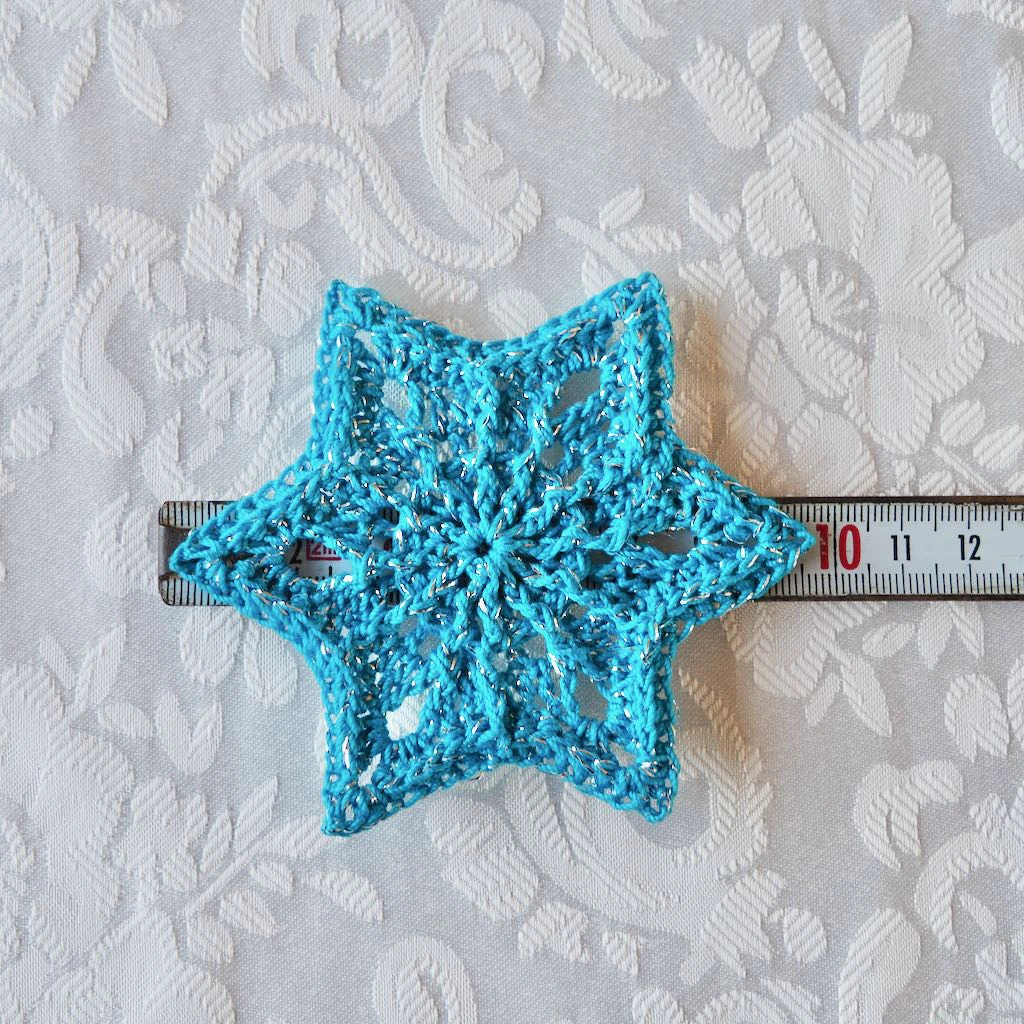
The size of the finished snowflake depends on the yarn and
hook you use.
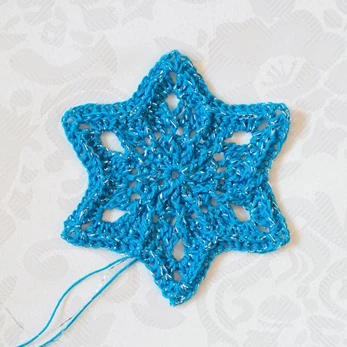
My snowflake is approx. 10 cm in diameter after blocking using
thread 140m/25g and 2 mm hook. I used approximately 20 m
thread and glitter yarn.
It is optional but most snowflakes need to be blocked and
(lightely) stiffened.
Blocking will make your snowflake flat, neat and symmetrical.
ü
You can use laundry starch.
ü
Soak the snowflake with some liquid starch or just water
(which ever do you prefer).
ü
Gently squeeze out any excess liquid and press the
snowflake approximately to shape.
ü
Lay the snowflake flat on the blocking board and pin the
snowflake from the center out to the edges.
ü
Let it dry completely before removing the pins.
This starflake is only blocked and slightly stretched out.
Next step is pinning it down on a blocking board and spraying with
some water. Let the snowflake dry and do not iron as ironing can
damage the relief structure of the star.
ü
To hang the snowflake, attach a piece of thread, yarn,
ribbon, invisible thread or wire.
©Renata Saj/SunshineNL All rights reserved.
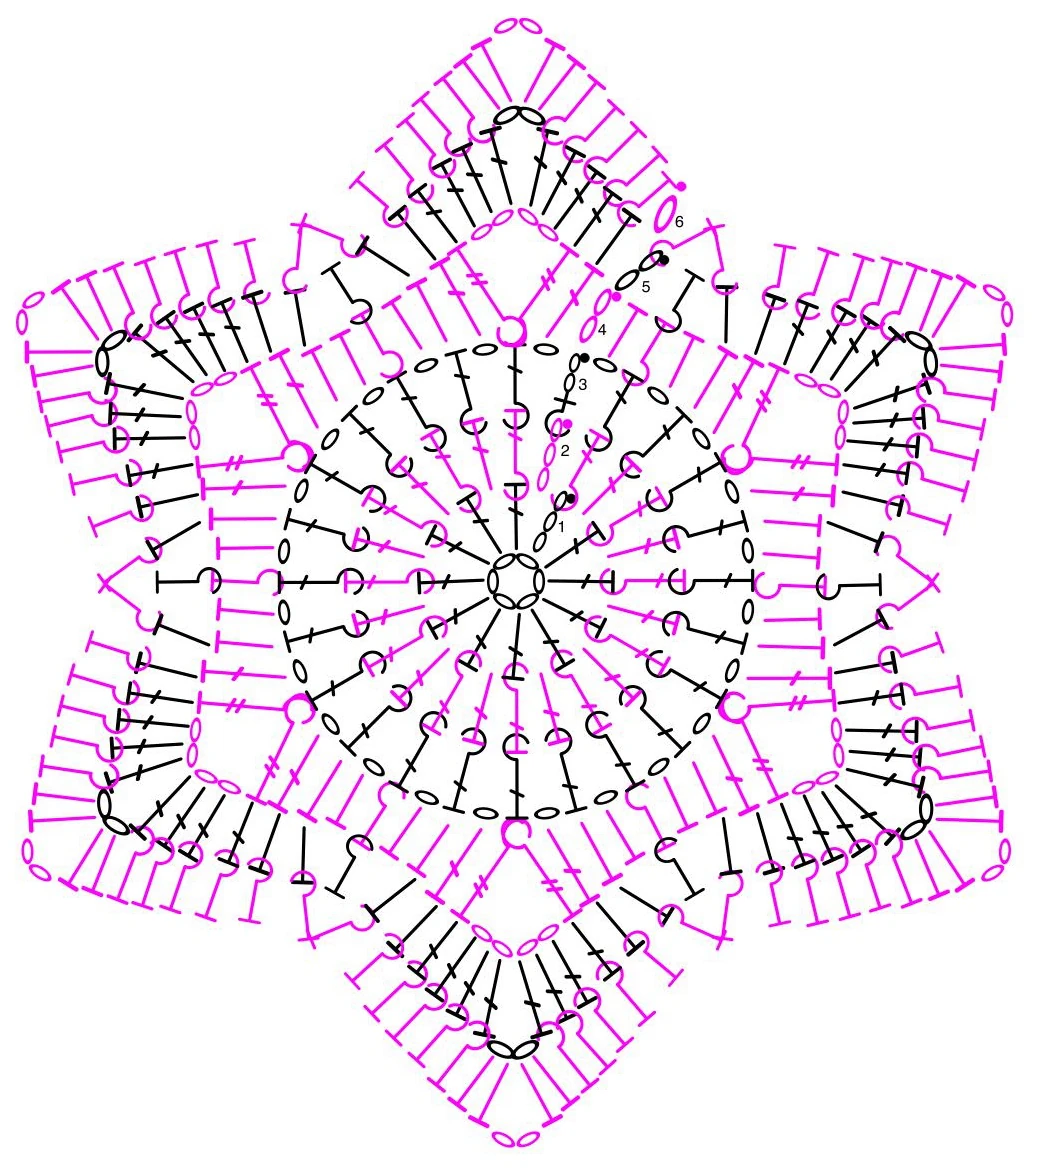
I love crochet charts/diagrams, because they show exactly what stitch we're using.
Stitch legend (US terms)
Charts are created using internationally recognized symbols that correspond to each stitch and
instruction. In other words, they enable you to crochet in any language. Let’s start with the crochet
chart/diagram.
ch, sl st
chain, slip stitch
hdc, dc
half double crochet, double crochet
BPsc, BPhdc, BPdc
back post single crochet, back post half double crochet,
back post double crochet
FPhdc, FPdc, FPtr
front post half double crochet, front post double crochet,
front post treble crochet
BPhdc 2tog
back post half double crochet 2 together
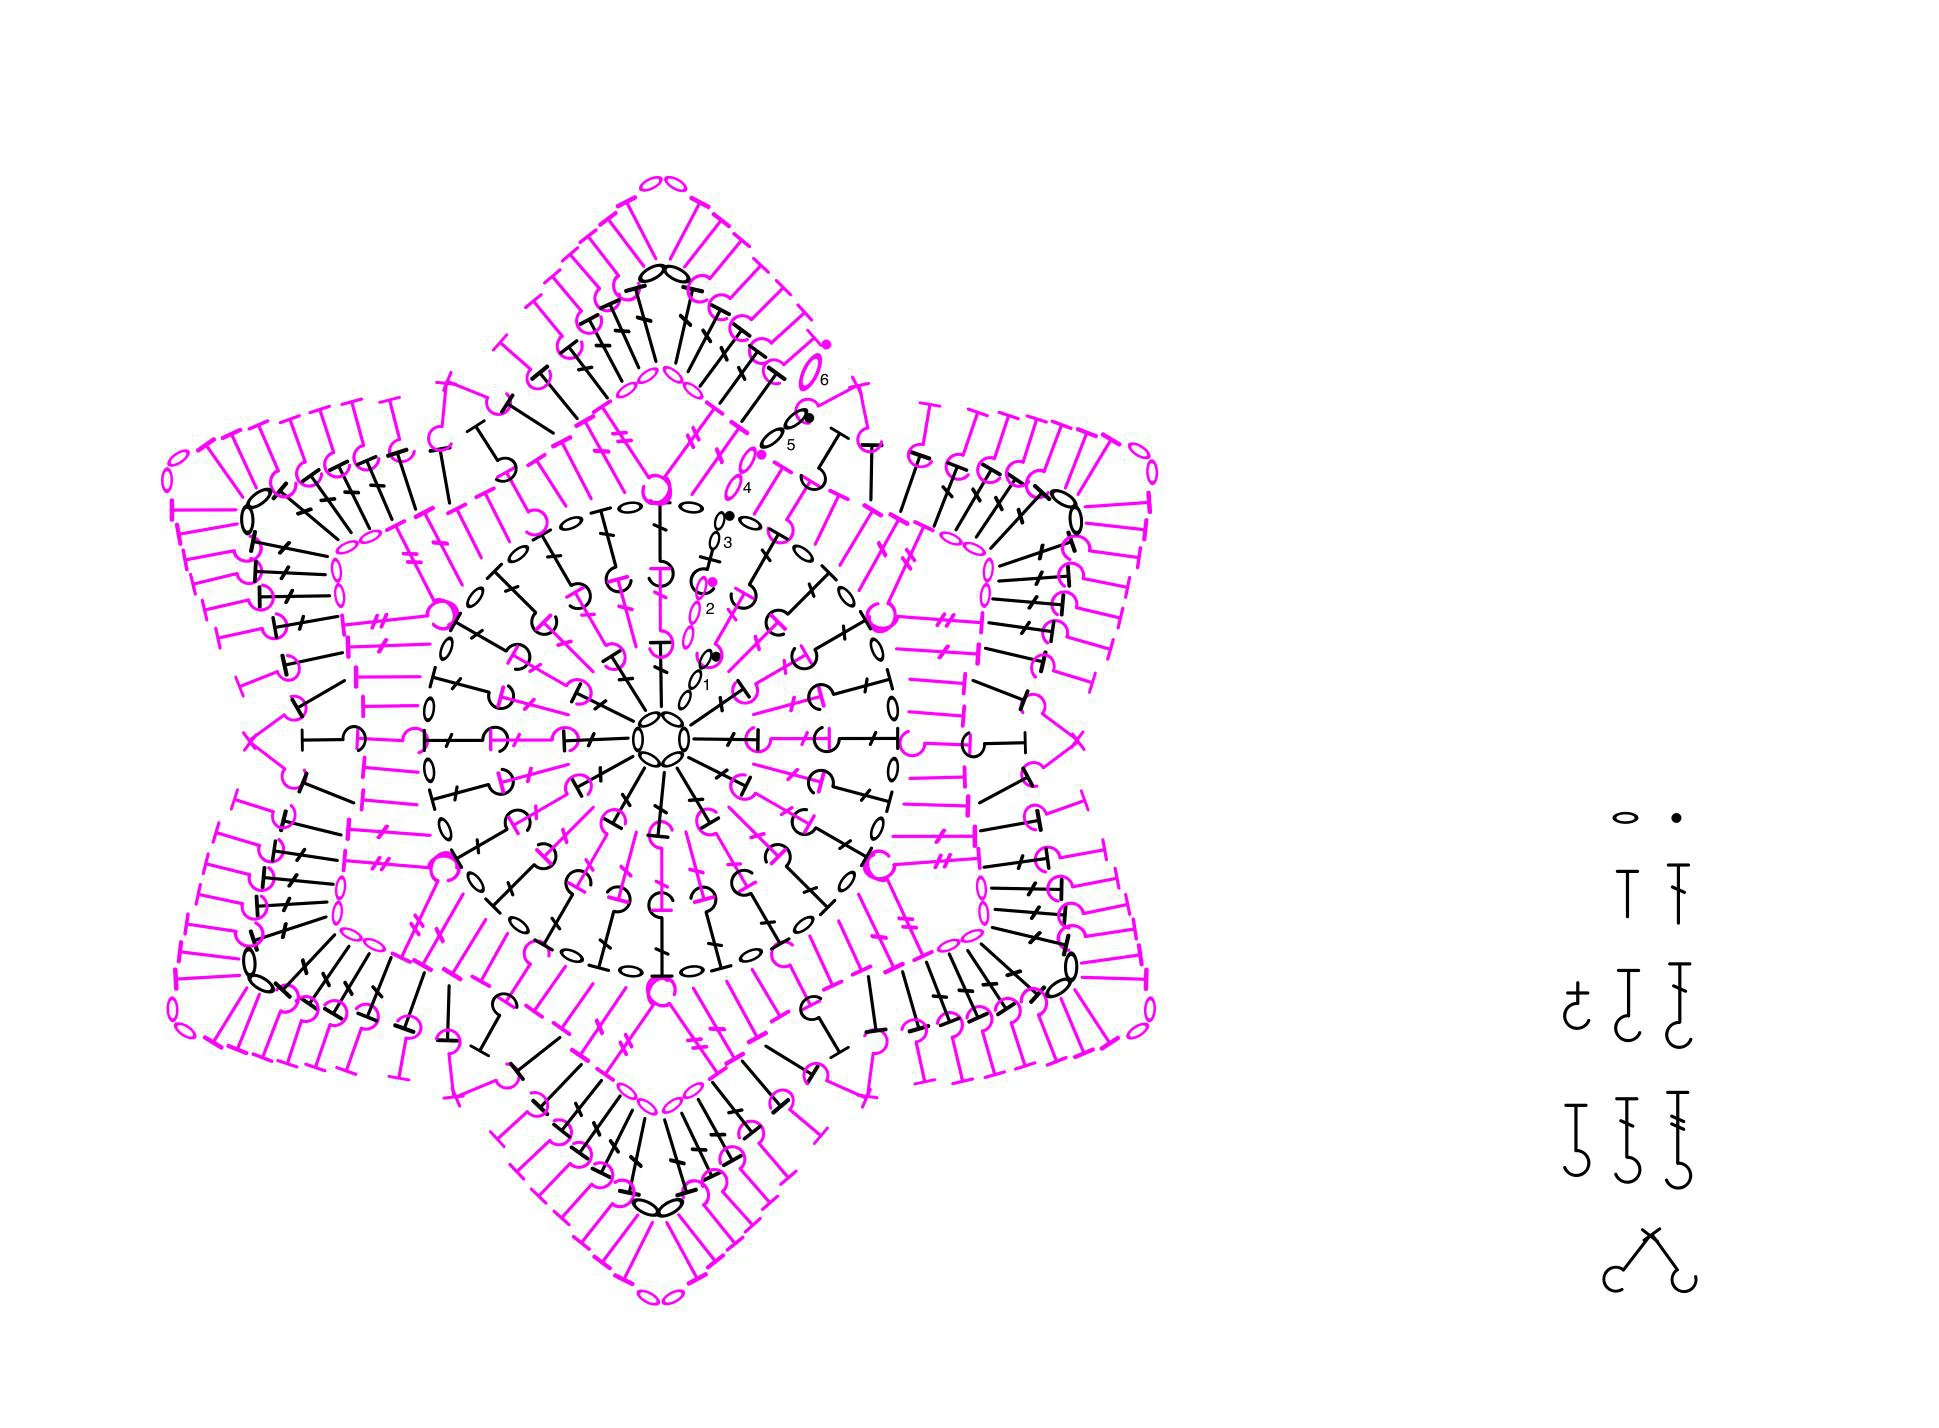
©Renata Saj/SunshineNL All rights reserved.
Note:
ü You may need to go up a hook size for best results if your tension is tight; otherwise you can have a problem with so
much back and post stitches in this pattern.
ü If you have problems where you should place stitches, please take a look at the chart (diagram)
ü BPhdc 2tog: Yarn over the crochet hook, insert the hook around the next BPhdc, yarn over the hook again. Pull the yarn
through the stitch on your crochet hook. You should now have three loops on your hook. Skip the next FPhdc. Insert the
hook around the next BPhdc; yarn over the hook again. Pull the yarn through the loop on your hook. You should now
have five loops on your hook. Yarn over the hook one last time. Pull the yarn through all five loops on your hook.
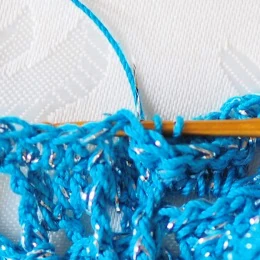
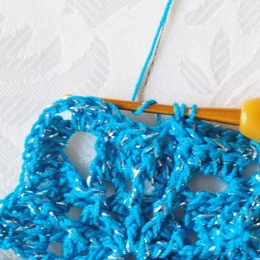
Written instructions & photo-tutorial BPhdc 2tog (written in US terms)
Yarn over the hook.
Insert the hook around the next
BPhdc stitch.
Yarn over the hook again.
Pull the yarn through the stitch on
your hook. You should now have
three loops on your hook.
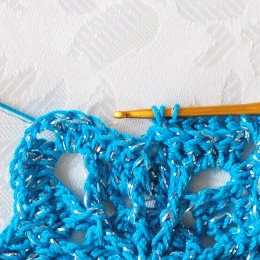
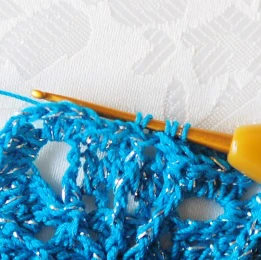
Yarn over the hook again.
Skip the next FPhdc.
Insert the hook around the next
BPhdc stitch.
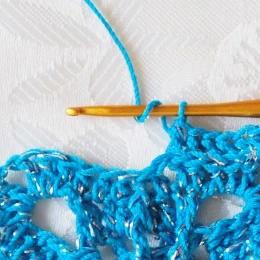
Pull the yarn through the stitch on
your hook.
You should now have five loops on
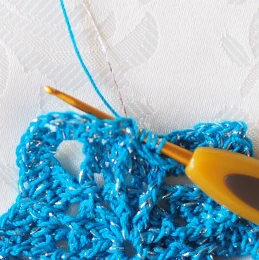
your hook. Yarn over the hook one
last time.
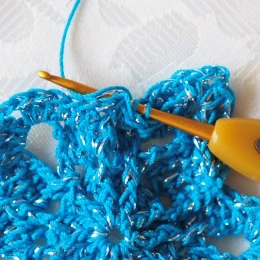
Pull the yarn through all five loops
on your crochet hook.
Your BPhdc 2tog is ready.
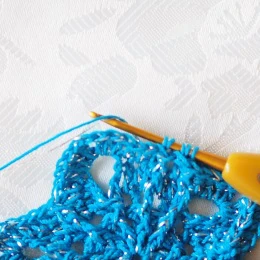
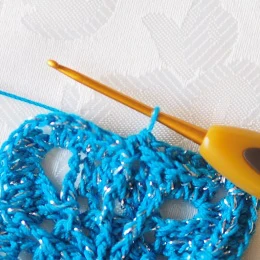
©Renata Saj/SunshineNL All rights reserved.
Written instructions (Pattern is written in US terms)
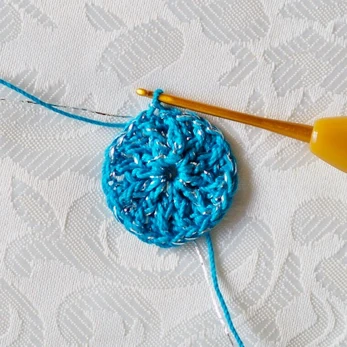
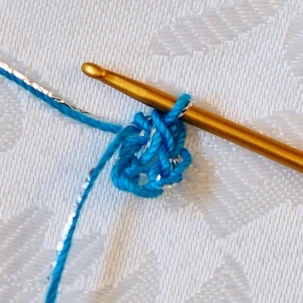
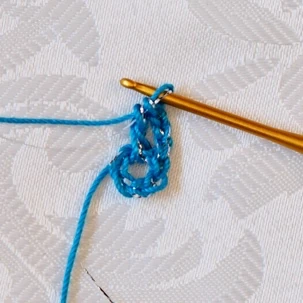
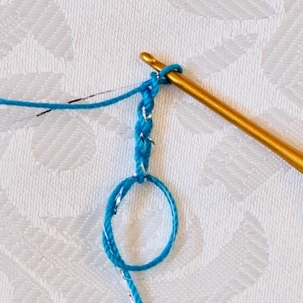
Round 1: Foundation ring: ch6; join with sl st in 1st chain.
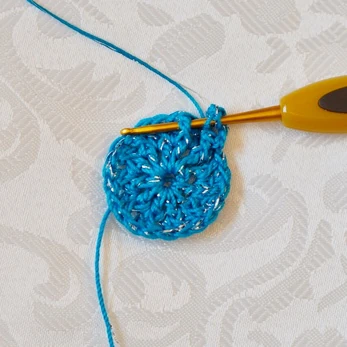
Ch3 (counts as 1st dc), 11 dc in ring. Join with a sl st in 3rd chain of initial ch3. (12 dc)
Round 2
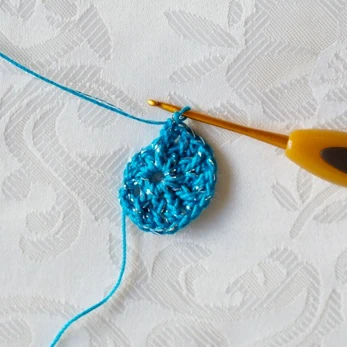
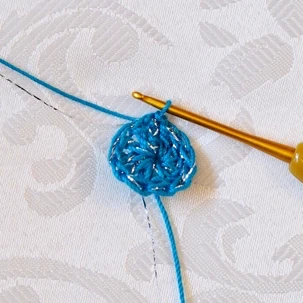
sl st between two dc, ch3 (counting as 1st dc), FPdc around 1st dc.
*dc in space between two dc, FPdc around next dc*
Repeat from * around; sl st in 3rd chain of initial ch3.
(12 dc, 12 FPdc)
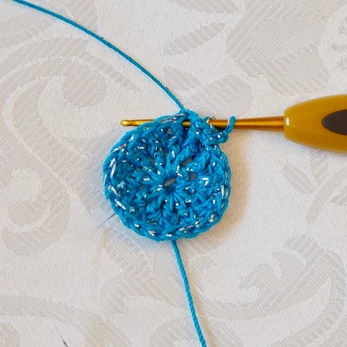
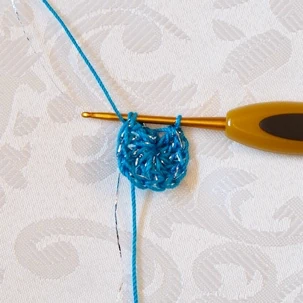
Round 3
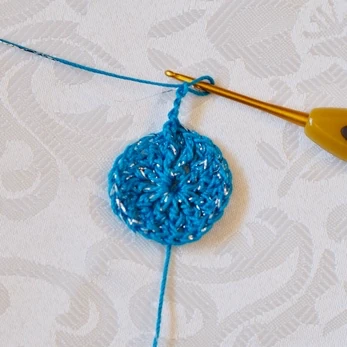
BPsc ch2 (counting as BPdc) around 1st dc (initial ch3), ch1, FPdc around FPdc, ch1.
*BPdc around dc, ch1, FPdc around FPdc, ch1*
Repeat from * around; sl st into the 2nd chain of initital BPsc ch2. (12 BPdc, 12 FPdc, 24 ch1 spaces)
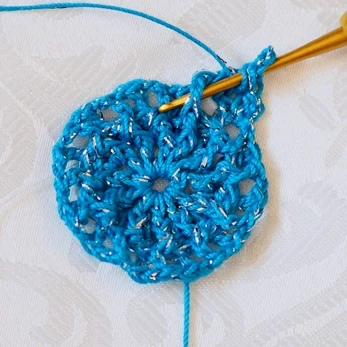
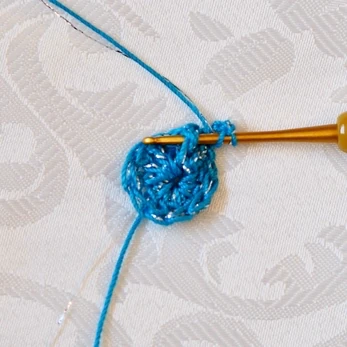
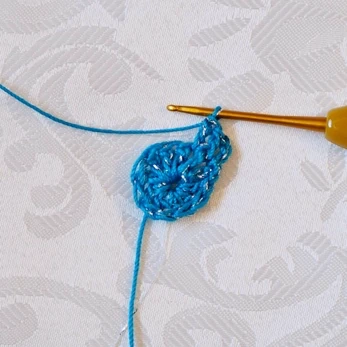
Round 4
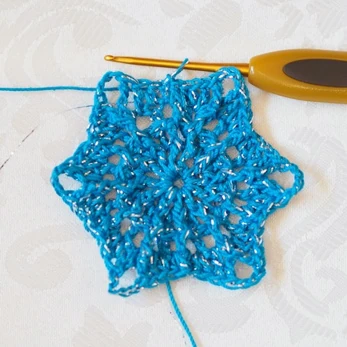
Ch2 (counting as hdc), dc in ch1 space, [FPtr, ch4, FPtr] around next FPdc;
dc in ch1 space, hdc in BPdc, hdc in ch1 space, FPhdc around FPdc
*hdc in ch1 space, hdc in BPdc, dc in ch1 space, [FPtr, ch4, FPtr] around next FPdc;
dc in ch1 space, hdc in BPdc, hdc in ch1 space, FPhdc around FPdc*
Repeat from * around; hdc in ch1 space, sl st into the 2nd chain initial ch2.
(24 hdc, 12 dc, 12 FPtr, 6 ch4 spaces, 6 FPhdc)
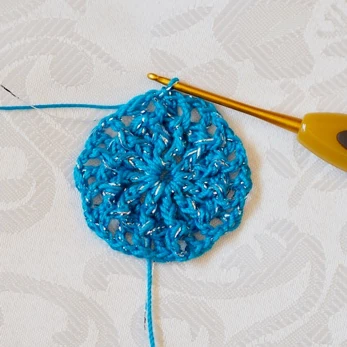
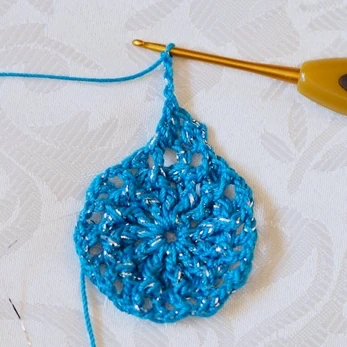
©Renata Saj/SunshineNL All rights reserved.
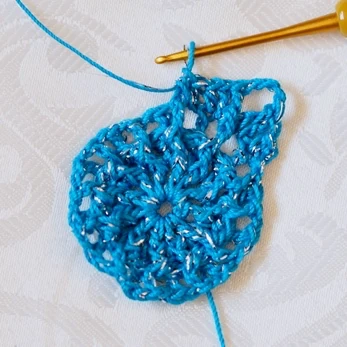
Round 5
Ch2 (counting as hdc), hdc in dc, dc in FPtr; [3dc, ch2, 3dc] in ch4 space, dc in FPtr, hdc in dc, hdc in hdc,
skip hdc, FPhdc around FPhdc.
*skip next hdc, hdc in hdc, hdc in dc, dc in FPtr; [3dc, ch2, 3dc] in ch4 space, dc in FPtr, hdc in dc, hdc in hdc,
skip hdc, FPhdc around FPhdc*
Repeat from * around; skip hdc and join with a sl st into the 2nd ch of initial ch 2.
(36 hdc, 36 dc, 6 ch2 spaces, 6 FPhdc)
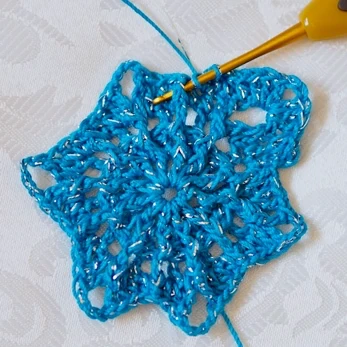
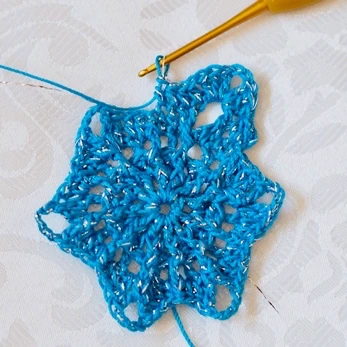
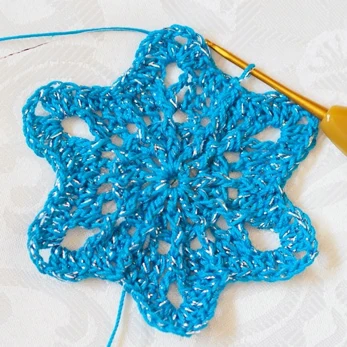
Round 6 (check the phototurorial BPhdc 2tog on page 4)
Ch1 (doesn’t count as a stitch), BPhdc around next 5 stitches (hdc and 4dc); [2hdc, ch2, 2 hdc] in ch2 space;
BPhdc around next 5 stitches (4dc and hdc); work BPhdc 2tog around the next 2 hdc (skip the FPhdc between 2hdc sts).
* BPhdc around next 5 stitches (hdc and 4dc); [2hdc, ch2, 2 hdc] in ch2 space;
BPhdc around next 5 stitches (4dc and hdc); work BPhdc 2tog around the next 2 hdc (skip the FPhdc between 2hdc sts)*
Repeat from * around; sl st in initial ch1. Finish off, weave in the ends.
(60 BPhdc, 24 hdc, 6 ch2 spaces, 6 BPhdc 2tog)
Have fun making your Snowflakes!
I would love to see your work.
Connect with me:
Ravelry:
SunshineNL
Pinterest:
SunshineNL
Thank You for your kind help on testing this pattern for me.
Please note that this pattern is for personal use only. Reproduction and publication of pictures and pattern or translation is not allowed. You may sell limited
amount of finished items made by the pattern but always credit me as the designer.
Copyright SunshineNL 2019
Recommended Digital Products

The Ultimate Beginner’s Crochet Guide: Master 45+ Essential Techniques & Practical Projects
$5.99

From Loop to Perfection: The Ultimate Step-by-Step Crochet Master Guide
$9.99
The Ultimate Crochet Handbook: Essential Techniques, Color Theory & 80+ Step-by-Step Patterns
$19.99
Master the Art of Crochet from Scratch – Ultimate Digital Guide with 8 Step-by-Step Projects!
$19.99
Get this Crochet Pattern as a Free PDF
Enter your email to receive the PDF associated with this article.
Leave a Reply