
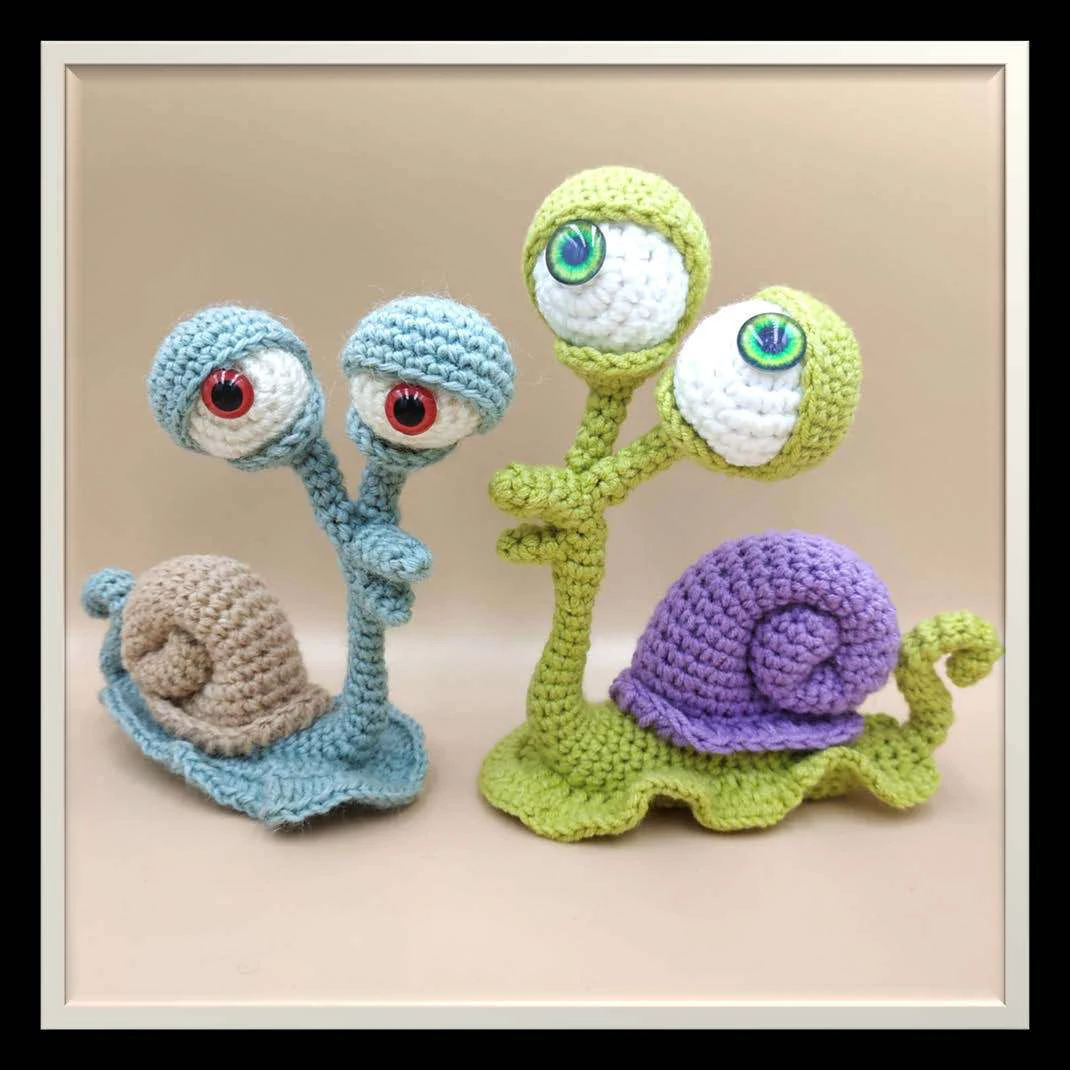
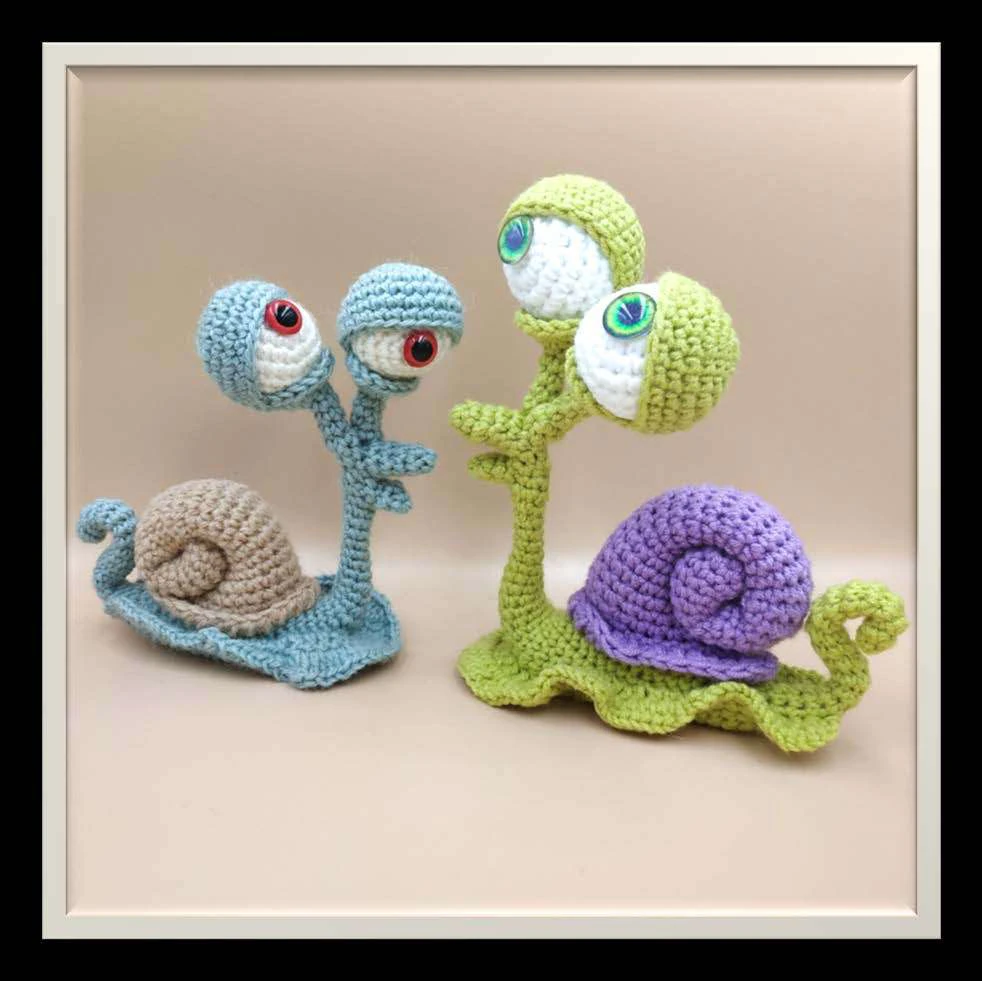
Snail Lizzie
The finished size for the snail is 13.5 cm * 11.5 cm (5.31 x
4.53 inch). Please note that this size may vary depends on the
yarn and crochet hook size used. Before you begin,
please read the whole pattern carefully.
Page 2 from 14
Materials and tools: ……………………………………………………………………………………………………………. 3
Abbreviations: ……………………………………………………………………………………………………………………. 4
Toy Parts: ……………………………………………………………………………………………………………………….. 4
Recommendation: …………………………………………………………………………………………………………….. 4
Shell ………………………………………………………………………………………………………………………………… 5
Eye …………………………………………………………………………………………………………………………………… 6
Upper eyelid ……………………………………………………………………………………………………………………. 7
Lower eyelid ……………………………………………………………………………………………………………………. 7
Upper jaw ………………………………………………………………………………………………………………………… 9
Lower jaw ………………………………………………………………………………………………………………………… 9
Body ………………………………………………………………………………………………………………………………. 11
Mantle ……………………………………………………………………………………………………………………………. 12
Assembly and design of the toy ……………………………………………………………………………………….. 13
Page 3 from 14
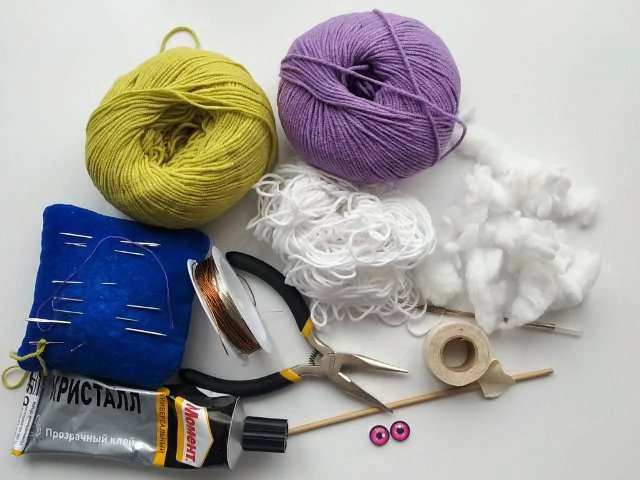
Materials and tools:
•
steel crochet hook size 1.75 mm (#4 US);
•
YarnArt Jeans 160 m (174 yds) in 50 g (1.76 oz), 55 % cotton, 45 % pac:
light green (color 29) – 14 g, purple (color 72) – 7 g, white (color 62) -3 g;
•
fiberfill for stuff;
•
a wooden skewer and a toothpick with a broken tips for stuff;
•
gypsy needle;
•
scissors;
•
2 glass eyes 14 mm (0.55 inch);
•
glue Moment Crystal;
•
craft wire (aluminum or cooper) thick 0,75-1 mm (0.03-0.039 inch) – 115 cm
(45.28 inch);
•
round pliers and wire cutters;
•
textile band-aid.

Page 4 from 14
Abbreviations:
MC – magic circle
ch – chain
sl st – slip stitch
sc – single crochet
hdc – half double crochet
dc – double crochet
ps – puff stitch of 2 hdc
inc – increasing (2 sc in 1 stich)
dec – decrease for the front loop (take front loop for the thirst sc, take front
loop for the second sc, yarn over and pull yarn through all free loops on hook).
(…) * n – repeat instructions in brackets n times
= n – number of loops in a row or in a round.
Toy Parts:
Shell – make one
Eye – make two
Upper eyelid – make two
Lower eyelid – make two
Upper jaw – make one
Lower jaw – make one
Body – make one
Mantle – make one
Recommendation:
•
The toy must be crocheted with tight stitches. Avoid small holes when
stretching crochet fabric.
•
If there are tiny holes, use a smaller hook size. Stuff the body while
crocheting. Don’t use the stuffing material too sparingly.
•
If the toy is for a toddler under the age of three, use safety eyes and don’t
use buttons.
Page 5 from 14
Shell
We knit in a spiral.
Row 1: 6 sc in MC
Row 2: 6 inc = 12
Row 3-12: 12 sc
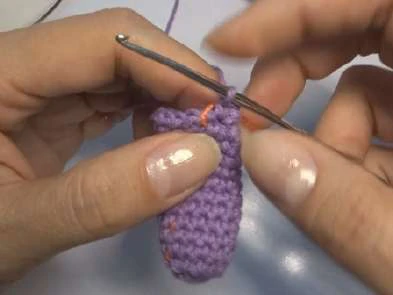
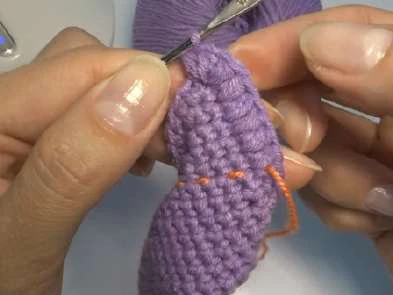
Row 13: inc, 11 sc = 13 (photo 1)
Row 14-23: 13 sc
Row 24: inc, 12 sc = 14
Row 25-29: 14 sc
Row 30: 3 sc in 1, 13 sc = 16
Row 31: sc, 3 sc in 1, 14 sc = 18
Row 32: 2 sc, 3 sc in 1, 15 sc = 20
Row 33: 3 sc, 3 sc in 1, 16 sc = 22
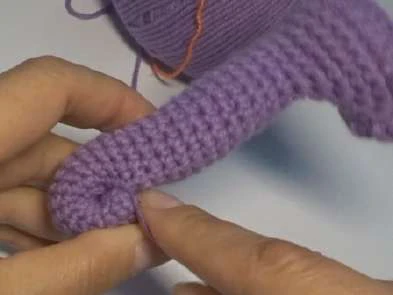
Row 34: 4 sc, 3 sc in 1, 17 sc = 24 (photo 2)
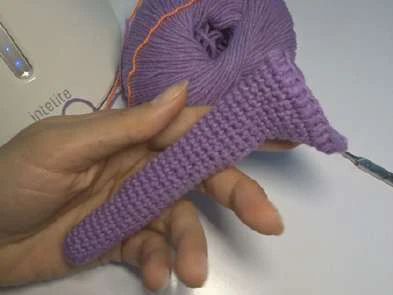
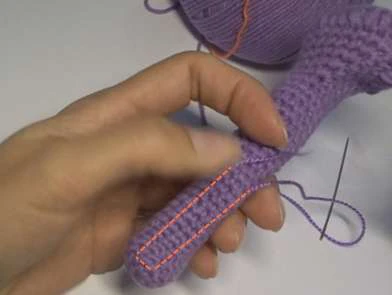
Row 35: 5 ps, 3 ps in 1, 18 ps = 26 (photo 3-4),
fasten off, hide the tip of the thread. Fill the
shell with fiberfill lightly.
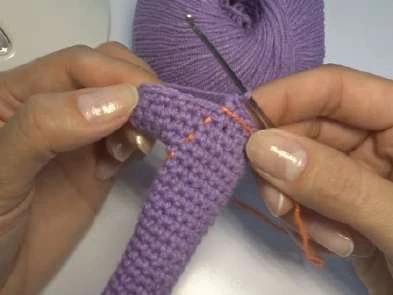
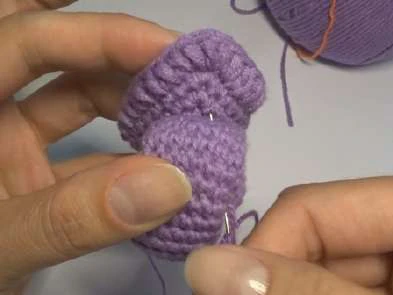
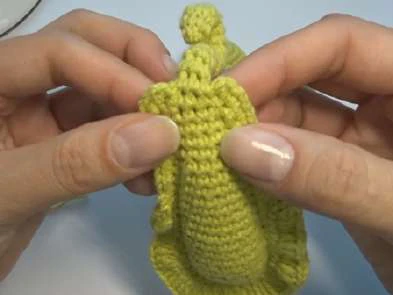
Make a tie from the narrow part of the shell
and fix it at the first round (photo 5-6).
Photo 5
Photo 6
Photo 4
Photo 3
Photo 2
Photo 1
Page 6 from 14
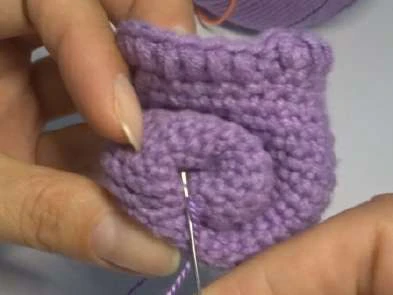
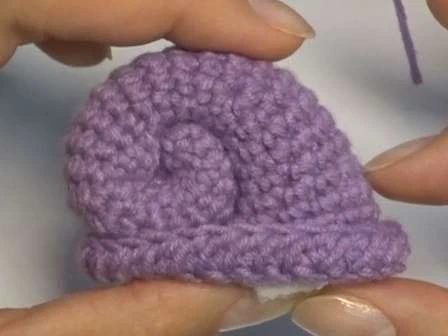
Fold the second round and stretch the ends of the pulling thread through the tip
of the shell, make a knot on the inside of the shell (photo 1-2). Bend the side
(photo 3).
Eye
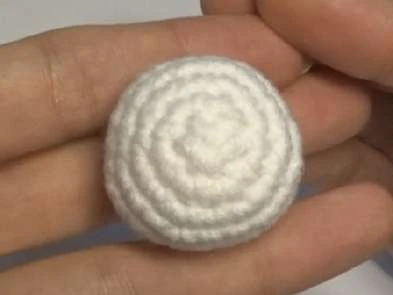
We knit in a spiral with white yarn.
Row 1: 6 sc in MC
Row 2: 6 inc = 12
Row 3: (sc, inc) * 6 = 18
Row 4: (2 sc, inc) * 6 = 24
Row 5-7: 24 sc
Row 8: (2 sc, dec) * 6 = 18
Row 9: (sc, dec) * 6 = 12, fill with fiberfill.
Row 10: 6 dec = 6, pull the hole by the front
loops. Hide the tip of the thread inside the
ball (photo 4).
Photo 4
Photo 1
Photo 2
Photo 3

Page 7 from 14
Upper eyelid
We knit in a spiral with light green yarn.
Row 1: 6 sc in MC
Row 2: 6 inc = 12
Row 3: (sc, inc) * 6 = 18
Row 4: (2 sc, inc) * 6 = 24
Row 5-8: 24 sc, fasten off, hide the tip of
the thread (photo 1).
Lower eyelid
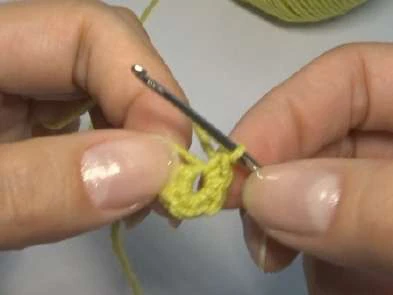
We knit in a spiral with light green yarn. Immediately leave the tip for sewing 20
cm (8 inch).
Row 1: 5 sc in MC, we do not tighten the ring tightly – there should be a hole for
the frame (photo 2-3).
Row 2-6: 5 sc
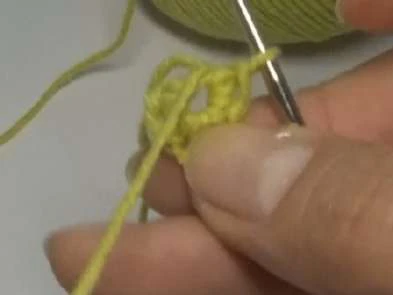
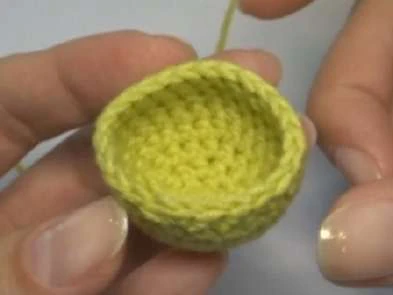
Row 7: 7 inc = 12 (the marker of the beginning of the row will shift by 2 loops)
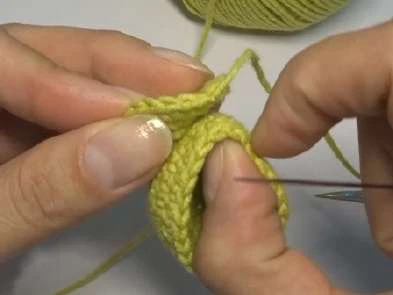
Row 8: (sc, inc) * 6 = 18, sl st. Cut the yarn leaving a tail for sewing (photo 4).
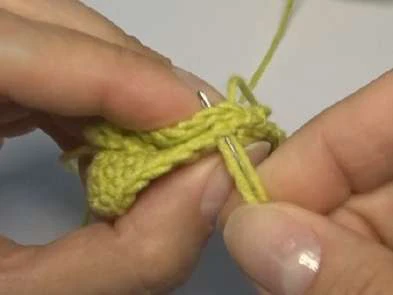
Fold the upper and lower eyelid and combine 8 sc in pairs (photo 5).
Photo 5
Photo 4
Photo 2
Photo 3
Photo 1
Page 8 from 14
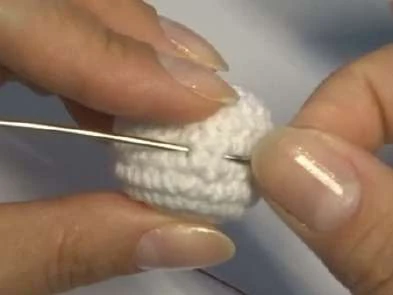
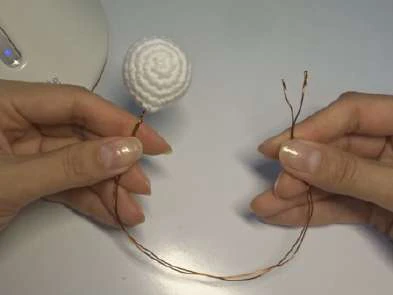
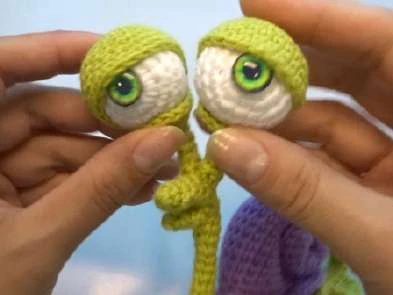
Pick up the eye in the 7th row for 2 columns on a long wire. Align the ends of the
wire and twist it under the eye (photo 1-2). Bend the ends of the wire.
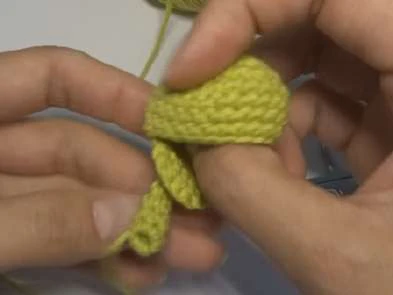
Stretch the ends of the wire through the tube of the lower eyelid, thereby
inserting the eye into the socket (photo 3-5).
The eye does not need to be sewn in any way. It is remarkably fixed between the
eyelids (photo 6).
Photo 5
Photo 6
Photo 4
Photo 3
Photo 1
Photo 2

Page 9 from 14
Upper jaw
We knit in a spiral with light green yarn.
Row 1: 6 sc in MC
Row 2: 6 sc
Row 3: inc, 5 sc = 7
Row 4: 7 sc
Row 5: inc, 6 sc = 8
Row 6: 8 sc
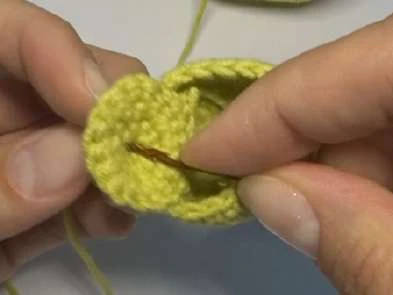
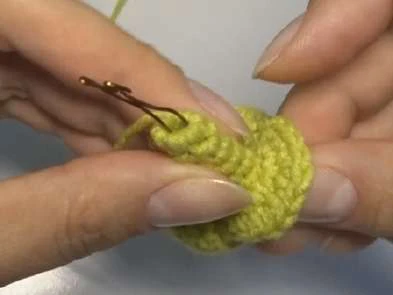
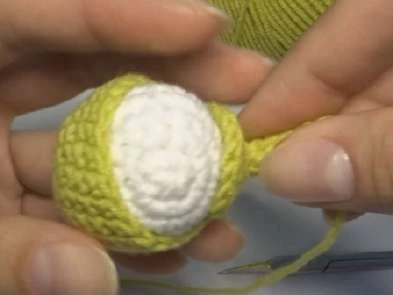
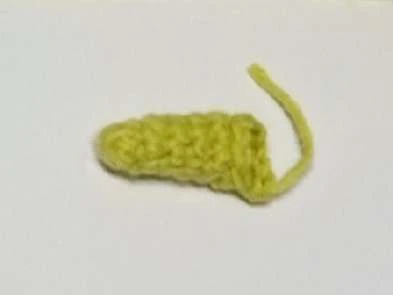
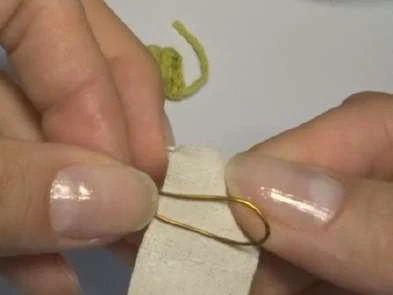
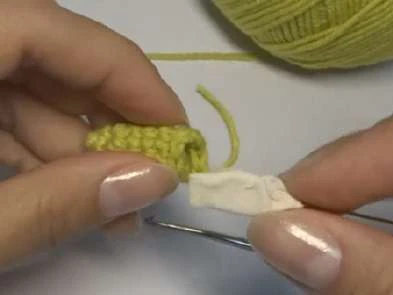
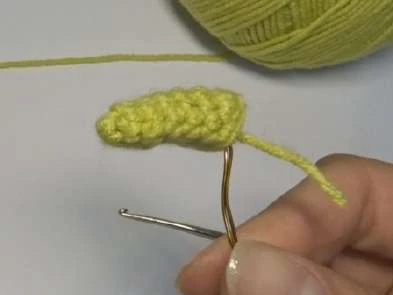
Row 7: 3 sl st, sc, 4 hdc = 8 (photo 1), finish, hide the tip of the thread. Fold the
wire with a loop (photo 2), wrap it with a textile band-aid (photo 3). Insert it into
the upper jaw. To add volume, fill it slightly (photo 4).
Lower jaw
We knit in a spiral with light green yarn.
Row 1: 4 sc in MC
Row 2: (inc, sc) * 2 = 6
Row 3: 6 sc, sl st. Do not fill.
Photo 4
Photo 3
Photo 1
Photo 2

Page 10 from 14
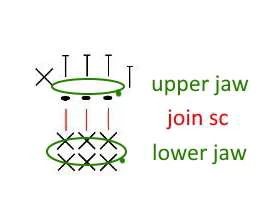
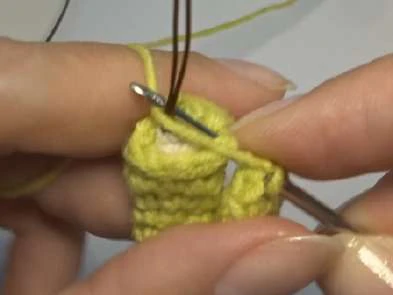
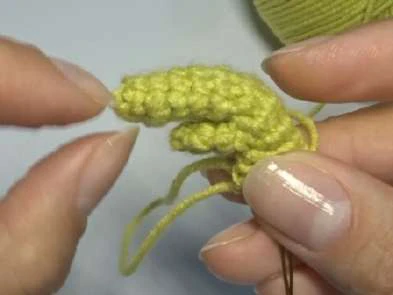
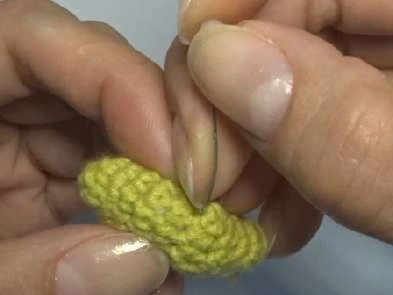
Row 4: ch, rotate, 3 join sc with upper jaw on sl st (photo 1-2), when knit on upper
jaw: sc, 3 hdc, sc, on lower jaw: 3 sl st = 8 (photo 3)
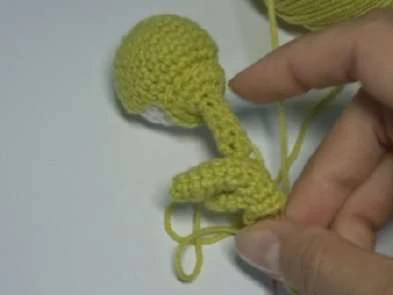
Insert the eye wires at the base of the first and last half double crochet of the
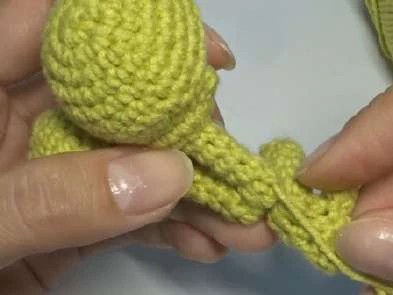
7th row of the upper jaw (photo 4). Stretch the frame into the neck (photo 5-6).
Wrap the wires with a textile band-aid.
Photo 1
Photo 2
Photo 2
Photo 3
Photo 4
Photo 5
Photo 6
Page 11 from 14
Body
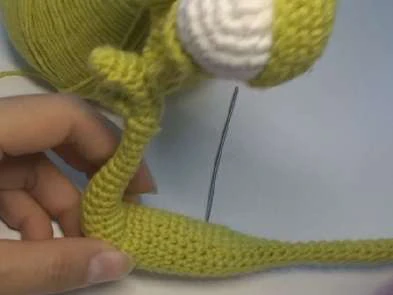
We continue to knit from the united jaws in a
spiral around the frame.
Row 1-2: 8 sc
Row 3: dec, 6 sc = 7
Row 4: dec, 5 sc = 6
Row 5-7: 6 sc
Row 8: inc, 5 sc = 7
Row 9: 7 sc
Row 10: inc, 6 sc = 8
Row 11: 8 sc
Row 12: inc, 7 sc = 9 (photo 1)
Row 13: inc, 8 sc = 10
Row 14: (inc, 4 sc) * 2 = 12
Row 15: (3 sc, inc) * 3 = 15
Row 16: (4 sc, inc) * 3 = 18
Row 17-19: 18 sc
Row 20: dec, 16 sc = 17
Row 21-23: 17 sc
Row 24: dec, 15 sc = 16
Row 25-27: 16 sc
Row 28: dec, 14 sc = 15
Row 29: 15 sc
Row 30: dec, 13 sc = 14
Row 31: dec, 12 sc = 13
Row 32: dec, 11 sc = 12 Fill the body with
fiberfill lightly.
Row 33: dec, 10 sc = 11
Row 34: dec, 9 sc = 10
Row 35: dec, 8 sc = 9
Row 36: dec, 7 sc = 8
Row 37: dec, 6 sc = 7
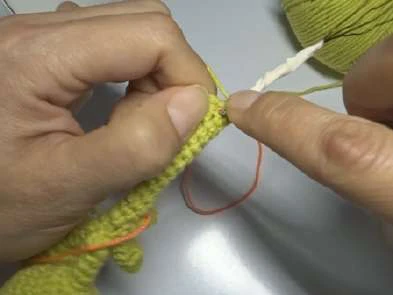
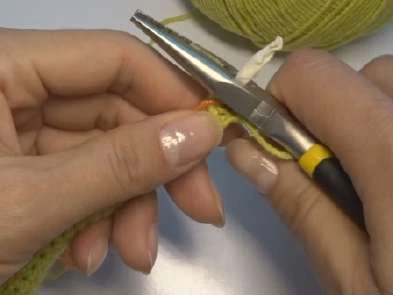
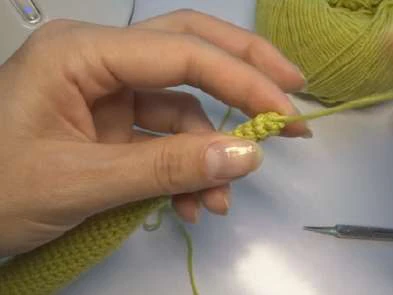
Row 38–51: 7 sc, cut off the excess tip of the
frame (photo 2), complete, pull the hole by
the front loops, hide the tip (photo 3-4).
Photo 1
Photo 2
Photo 3
Photo 4
Page 12 from 14
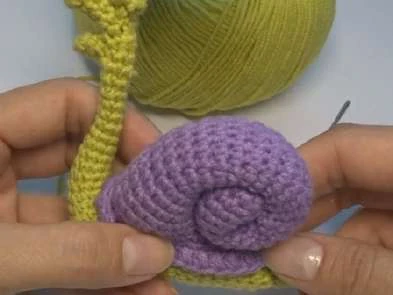
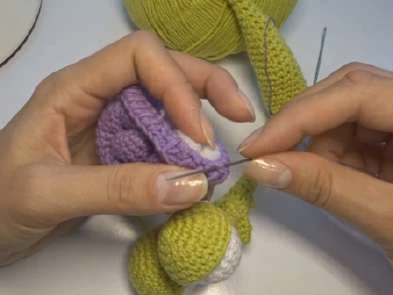
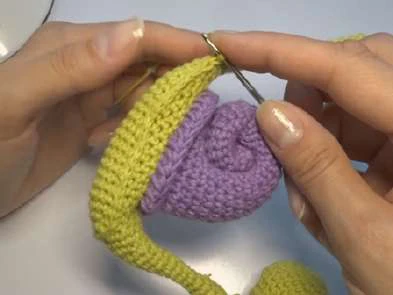
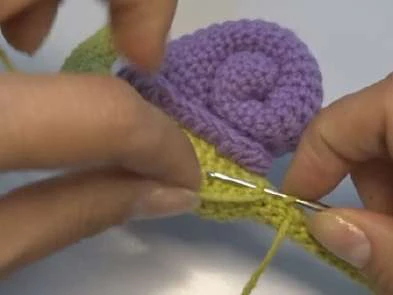
We bend the body of the snail in the place of thickening with the letter L. We sew
the shell to the body with invisible stitches, picking up the border between 34 and
35 rows (photo 1-2). The stitch length is 1 column or 1 row. We bend 35 Row up.
Mantle
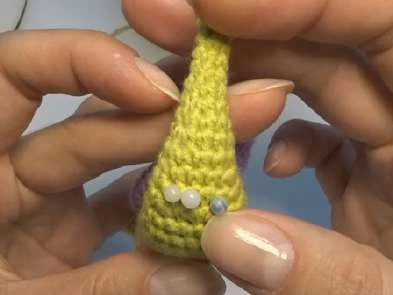
Make 47 loops on the body. To do this, it is
convenient to mark 3 columns on the chest
(photo 3) and count another 22 rows on the
sides of them. For each row and for each
single crochet, make 1 loop. The mantle line
should be in 2 loops below the shell. The line
does not have to be flat. The curves of the
line will create the illusion of mobility of the
mantle (photo 4-5).
Photo 1
Photo 2
Photo 3
Photo 4
Photo 5
Page 13 from 14
Row 1: rotate, 10 sc, 7 hdc, 5 dc, 3 inc dc, 5 dc,
7 hdc, 10 sc = 50
Row 2: sl st on the body, rotate, skip 1, 10 inc,
7 inc hdc, 16 inc dc, 7 inc hdc, 10 inc, sl st,
fasten off, hide the tip of the thread
(photo 1).
Assembly and design of the toy
1.
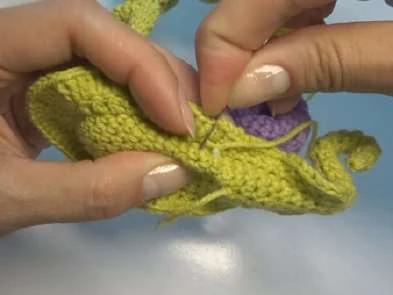
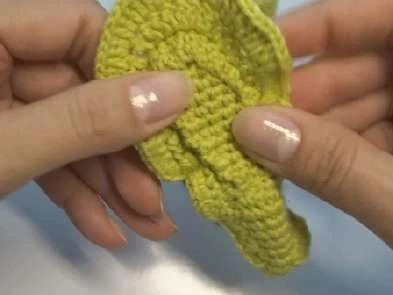
Press a recess on the abdomen with your finger (photo 2) and sew it around
the perimeter so that the snail stands more stable (photo 3).
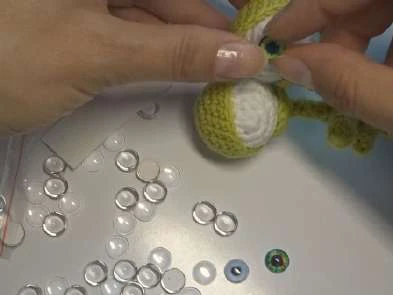
2. Glue the eyes (photo 4-5).
Photo 1
Photo 2
Photo 3
Photo 4
Photo 5
Page 14 from 14
Recommended Digital Products

The Ultimate Beginner’s Crochet Guide: Master 45+ Essential Techniques & Practical Projects
$5.99

From Loop to Perfection: The Ultimate Step-by-Step Crochet Master Guide
$9.99
The Ultimate Crochet Handbook: Essential Techniques, Color Theory & 80+ Step-by-Step Patterns
$19.99
Master the Art of Crochet from Scratch – Ultimate Digital Guide with 8 Step-by-Step Projects!
$19.99
Get this Crochet Pattern as a Free PDF
Enter your email to receive the PDF associated with this article.
Leave a Reply