
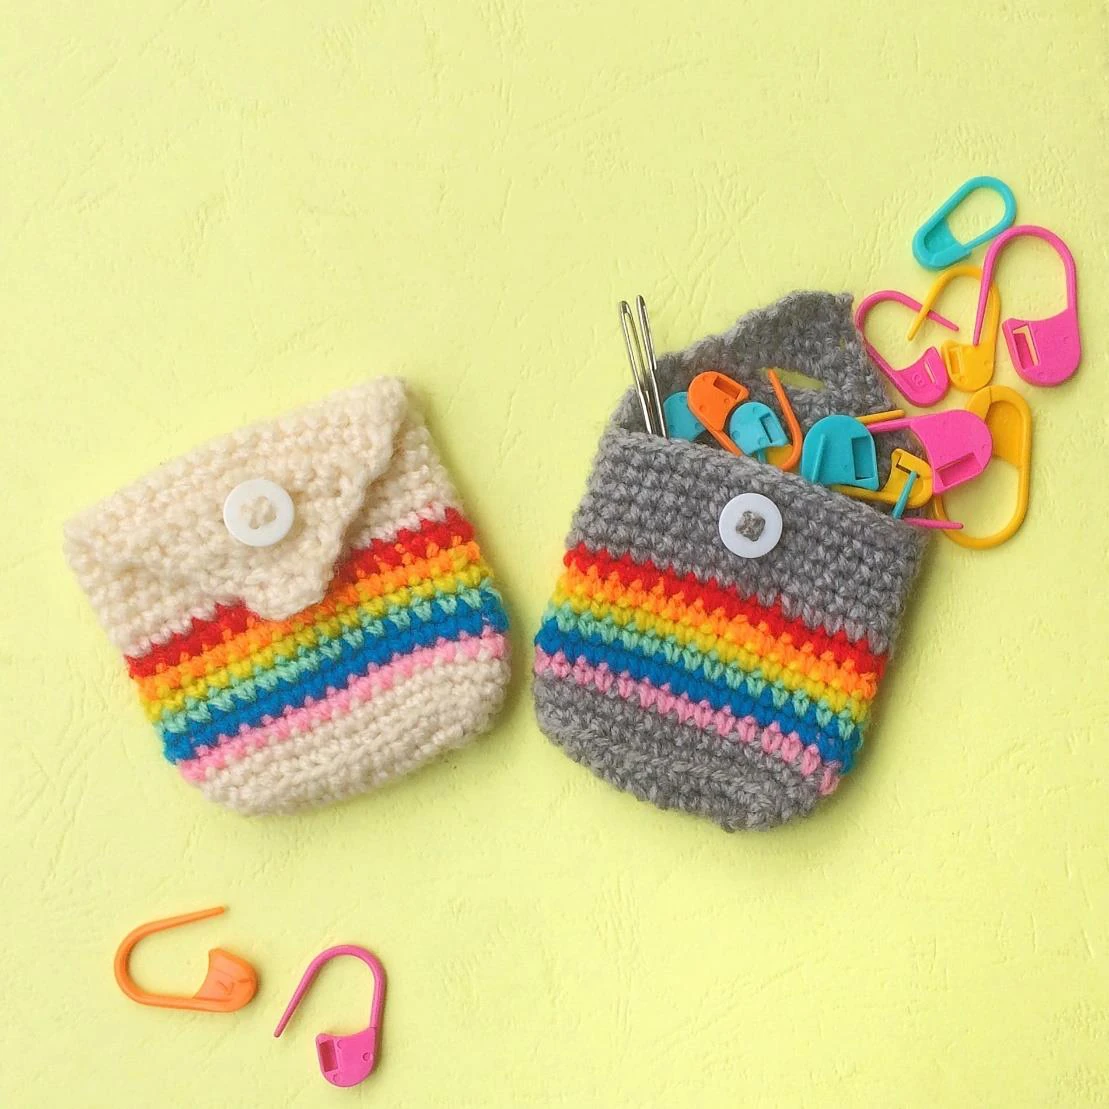
Pixie Pocket Pouch
Pixie pocket Pouch
Designed by Ola Ogunlolu
Size
Length: 6.5cm (2.6 in)
Width: 6 cm (2.4 in)
What you’ll need
–
Approximately 23 yards (21 m) of
fingering weight yarn in your main
color and scrap amounts in 6
colours – I used Cream and Grey
for my main colours and scraps of
Red, Orange, Yellow, Green, Blue
and Pink.
–
A 2.5 mm hook
–
1 small button
–
Darning needle
–
Measuring tape
Pattern notes
–
This pattern is written in US terms
–
This pouch is worked from the
bottom up, and worked in joined
rounds until round 10, after which
you begin working in a continuous
spiral. The cover flap is then
worked last, in rows.
–
The chain one at the beginning of
each row / round does not count as
a stitch
Abbreviations:
–
Ch – chain
–
Sc – single crochet
–
Sc dec – Single crochet decrease
–
St – stitch
–
Sl st – slip stitch
–
Blo – Back loop only
–
Sk – skip
Pattern:
Beginning with your main colour, ch 8
Base:
Round 1: 3 sc in second chain from hook,
1 sc in next 5 chains, 5 sc in last chain.
Continuing to work on the other side of the
chains, sc in the next 5 chains. 2 sc in last
chain. Sl st to first sc to join. (20 sc)
Round 2: Ch 1 (does not count as a stitch).
2 sc in each of the first 3 sts. Sc 5. 2 sc in
each of the next 5 sts. Sc 5. 2 sc in each of
the last 2 sts. sl st to join. (30 sc)
Body:
Round 3: Ch 1 (does not count as a stitch).
Working in the BLO, sc around. (30 sc in
blo)
Round 4: Ch 1 (does not count as a stitch).
Sc in each st around. Fasten off. (30 sc)
Round 5 – 10: Repeat round 4, using a
new colour on each round. I worked in the
sequence – pink, blue, green, yellow,
orange, red, but feel free to get as creative
with your colours as you wish.
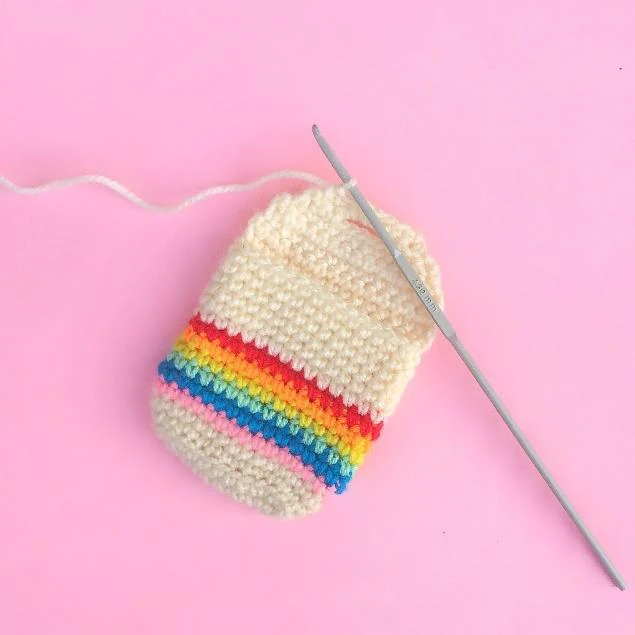
Reattach your main colour and begin to sc
around in a continuous spiral without
joining, until your pouch measures 6 cm
(2.4 in). End on a stitch at the CORNER of
your pouch.
(Note: The side of the pouch that the flap
is worked on will become the back, so I
suggest ending on the corner right
BEFORE the side you would like to be the
front)
Cover Flap:
Ch 1 and turn
Row 1: sc in the next 15 sts. Ch 1 and turn
(15 sc)
Row 2 – 3: Repeat Row 1
Row 4: Sc dec, 11 sc, sc dec. Ch 1 and
turn (13 sts)
Row 5: Sc dec, 9 sc, sc dec, Ch 1 and turn
(11 sts)
Row 6: Sc dec, 1 sc, chain 4, sk the next 5
sts, 1 sc, sc dec. Ch 1 and turn (4 sts and 4
chs)
Row 7: 1 sc in each of the 1st 2 sts. 3 sc
around chain. 1 sc in each of the last 2 sts.
Ch 1 and turn (7 sts)
Row 8: Sc dec, 3 sc, sc dec. Ch 1 and turn
(5 sts)
Row 9: Sc dec, 1 sc, sc dec. Ch 1 and turn
(3 sts)
Row 10: 3 sc. Fasten off
Sew on the button on the front of the
pouch approximately 1.5 cm (0.6 in) from
the top and 3 cm (1.1 in) from the side. (I
recommend holding / pinning the button in
place first to check that it is in the right
position to fit in the hole made in the flap
and making any positioning adjustments if
needed).
Weave in your ends and you’re all done!
I hope you love your finished pouches.
wonderful creations.
You are free to sell items made from this
pattern but please give credit to the
original designer.
Recommended Digital Products
Handmade Crochet Corset Belt Pattern Boho Chic Waist Cincher with Busk & Ribbon Lacing Intermediate Crochet PDF Pattern
$4.99
The Highline Wristlet Keychain Crochet Pattern: Quick, Textured & Market-Ready Accessory
$3.99

The Ultimate Beginner’s Crochet Guide: Master 45+ Essential Techniques & Practical Projects
$5.99

From Loop to Perfection: The Ultimate Step-by-Step Crochet Master Guide
$9.99
Get this Crochet Pattern as a Free PDF
Enter your email to receive the PDF associated with this article.
Leave a Reply