
Patchwork Cardigan
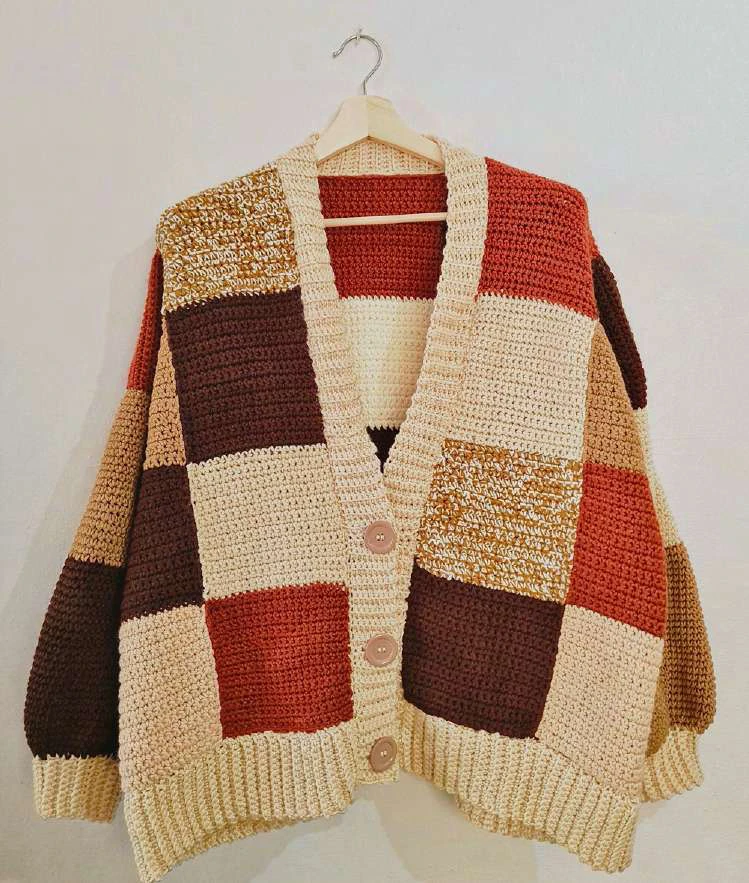

Table of contents
Materials
Sizing & Measurements
Front Panel
Back Panel
Sleeves
Assembly
Bottom Ribbing
Button Band
Assembly Diagrams
6-7-8
YARN BALLS
NUMBER
XS-S-M
1/1
L-XL
1/1
2-3XL
2.5
1/1
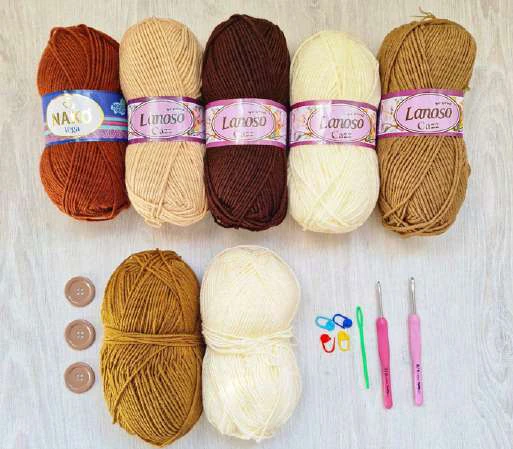
MATERIALS
◆My yarn: Lanoso Cazz 100% Acrylic, 100 gr (3.5 oz) = 180m (197yds)- 10 ply Medium – Aran.
I used 5 different colors from this medium yarn. You can choose a suitable yarn.
◆The two yarns in the bottom row are:
Kartopu Ak- Soft 100% Acrylic , 100 gr (3.5 oz) = 240 m (262 yds)
With these two yarns, you will make a multi-strand square.
◆Number of stitches and color you should use are color coded as follows.
XS-S-M ( L-XL, 2-3XL )
◆Total you you will use is 10 (11, 12.5) balls. These numbers are the total yarn count.
◆Stitch markers.
◆4 mm crochet hook (for the ribbing.)
◆5 mm crochet hook (or any hook that meets the gauge with your tension.)
◆3 buttons, 3 cm (1.1") or 3.5 (1.3") cm in diameter.
◆Measuring tool (e.g., ruler, tape measurer.)
◆Scissors & yarn needle
Redwood Beige Brown Ecru Mocha Mocha DK&
Ecru DK
Redwood Beige Brown Ecru
Mocha
Mocha DK Ecru DK
22" / 57 cm
25" / 64 cm
31" / 78 cm
21" / 53 cm
23,5" / 59,5 cm
25" / 64 cm
This pattern uses US terminology.
SIZING & MEASUREMENTS
XS-S- M
L- XL
2-3XL
WIDTH
LENGTH
Measurements:
Cardigan size:
WIDTH
LENGTH
They are taken flat and those in
cm are approximate. The final
measurements of your cardigan
may
different
depending
on
tension(for
example
whether
crocheting tight or loose) , type
of yarn, method of blocking
(I block by washing my garments
in cold water), etc. This cardigan
is designed to have a oversized.
Gauge:
Abbreviations:
★ ch = chain
★ sc = single crochet
★ slst(s) = slip stitch(es)
★ st(s) = stitch(es)
★
loop single crochet
★ inc = increase
★ yo = yarn over
★ rep = repeat
At the beginning of a row:
Terminology:
Skill Level:
Beginner / Advanced Beginner
The turning chain, ch 1 does NOT count
as a stitch.
1 2 3 4 5 6 7 8 9 10
11 12 13 14
1 2 3 4 5 6 7 8 9 10 11 12 13 14 15 16
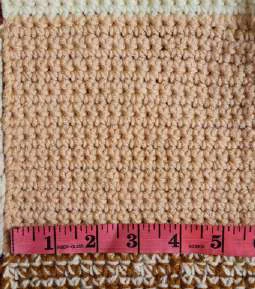
4 x 4" (10 x 10 cm*) = 14 sts & 16 rows in single
crochet stitch with 5 mm crochet hook.
*cm measurement is approximate.
This cardigan is worked in vertical strips. You start
with making the first strip then making the other
stripes. Add the strips with the mattress sewing
method and thus the front and back panels will be
join. Each vertical strip is worked in colour blocks. The
cardigan is worked in single crochet.
Notes on the pattern:
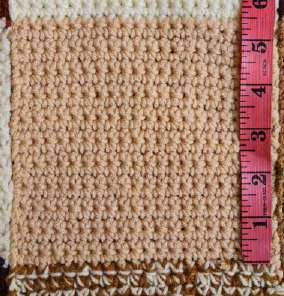
Stop before the final
yarn over on the final
stitch of row 22.
Drop the "B" color of
yarn.
Put the new yarn "M"
color on the hook and
use the "M" color to
pull through the last
two loops on the hook.
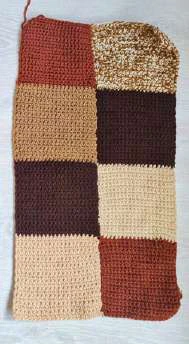
FRONT PANEL
Using 5 mm hook
Ch 17 (19, 23)
ROW 1 (RS): sc in 2nd ch from hook, sc in each ch to end of chain. Turn. 16 (18, 22) sc.
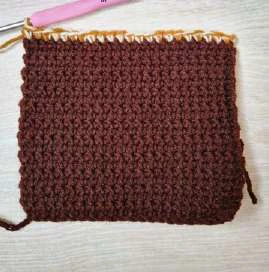
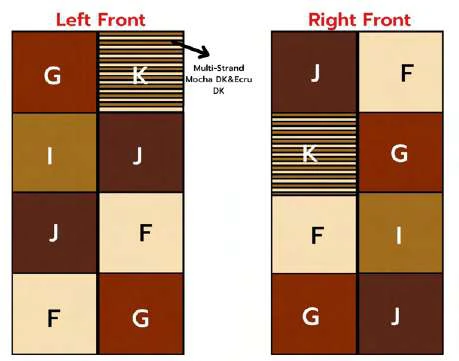
Rep row 1 until end of row 18 (20, 22). Switch to new color. Repeat this step 4 times. Fasten off. And
you have one vertical stripes ready. Make this vertical stripes 4 times in total, 2 times for the right
front and 2 times for the left front.
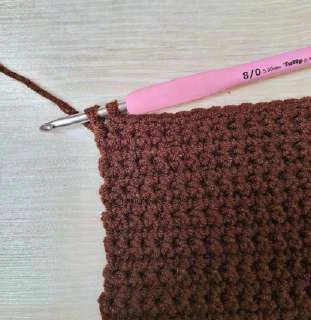
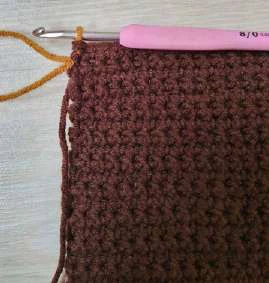
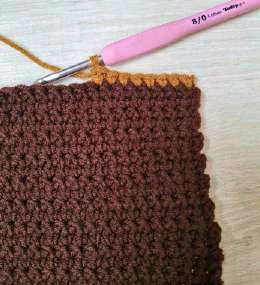
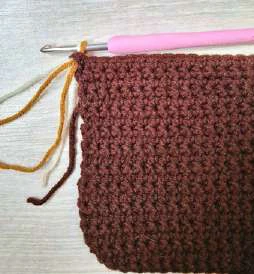
How to Change Colors in Crochet:
Brown: B , Mocha: M
Turn and ch 1.
Continue with a row of
sc.
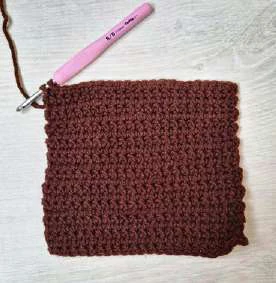
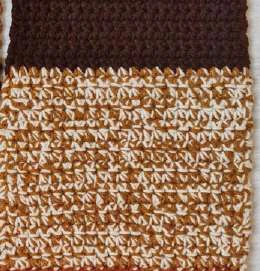
For multi-strand squares, you will follow the same steps as above but when doing this, the weights
of the yarns should be 8 ply / DK.
Multiple-Strands Square:
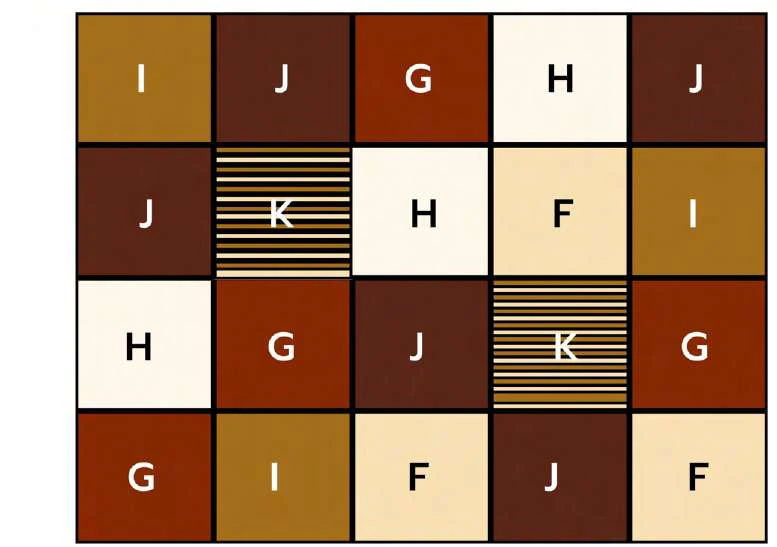
J
G
I
F
K
BACK PANEL
Using 5 mm hook
Ch 17 (19, 23)
ROW 1 (RS): sc in 2nd ch from hook, sc in each ch to end of chain. Turn. 16 (18, 22) sc.
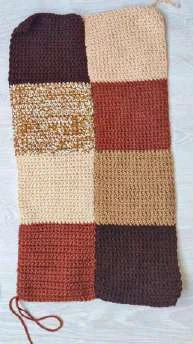
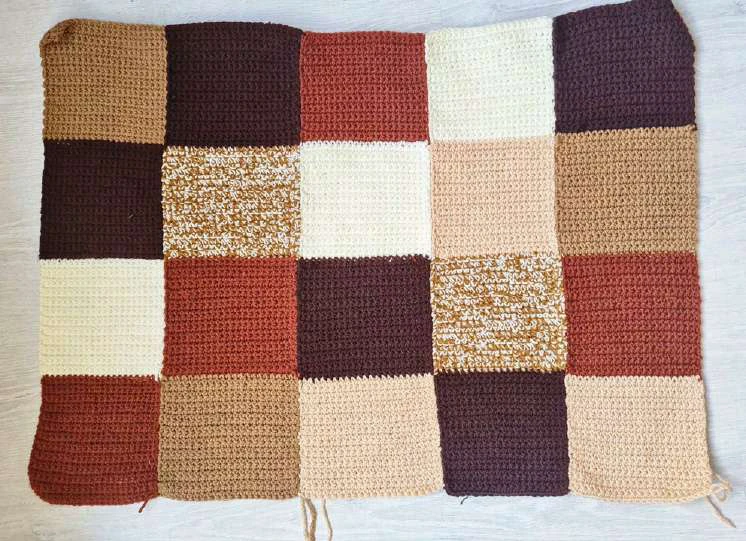
Rep row 1 until end of row 18 (20, 22). Switch to new color. Repeat this step 4 times.
Fasten off. And you have one vertical stripes ready. Make 5 vertical stripes for the back
panel.
J
I
F
G
K
H
Change to 5 mm hook
ROW 3: Fold your crochet ribbing in half and use slip stitches to join last and first row
together. Turn your crochet ribbing inside out.
ROW 4: Ch 1, SC in the same stitch times (increase) and continue until you have 56 ( 58, 60)
slst into the last st of the round. Turn.
ROW 5: Ch 1, sc across, slst into the last st of the round. turn.
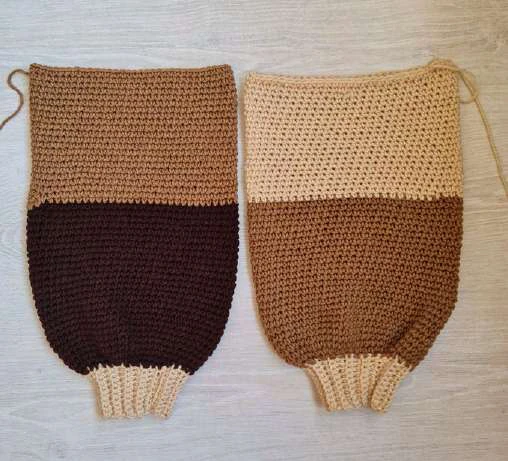
Repeat row 5 until you have 27 rows. Fasten off. Switch to the next color from where the slip
stitch was. Ch 1, and sc across. Repeat row 5 until you have 23 rows.
Fasten off leaving a long tail. Go ahead and make the other sleeve in the same way.
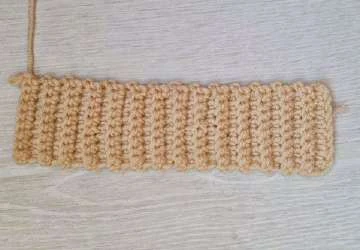
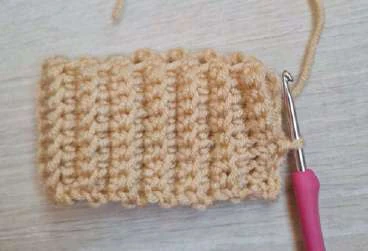
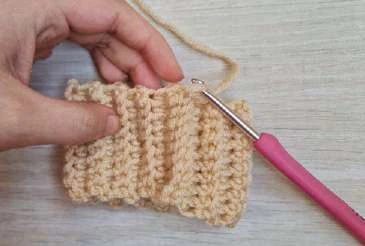
(Make 2):
Using 4 mm hook
Ch 10
ROW 1: sc in 2nd ch from hook, sc in each ch to end. Turn. (SC X 9)
ROW 2: ch 1, sc in BLO in each st across. Turn. (BLO SC X 9)
Rep row 2 until end of row 26 (28, 30)
SLEEVES
ASSEMBLY
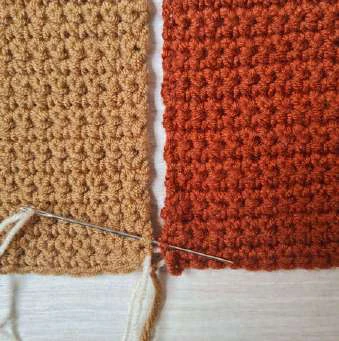
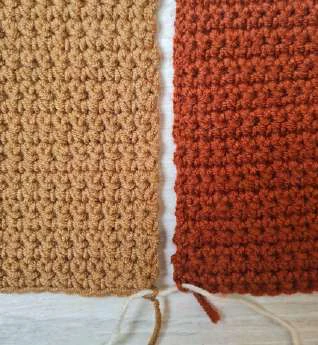
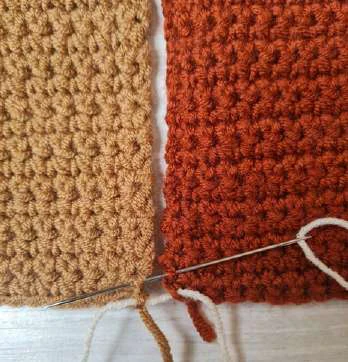
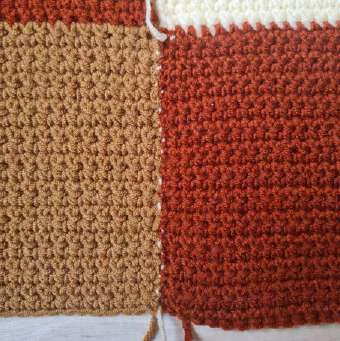
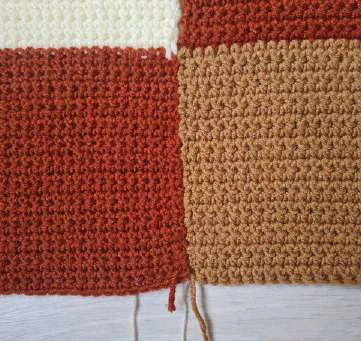
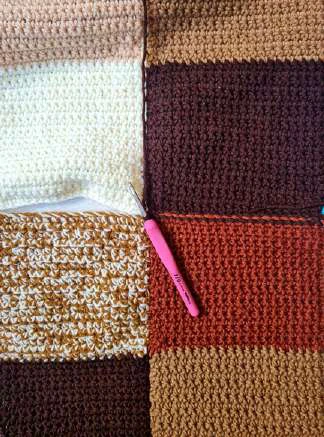
Mattress Stitch:
Using yarn needle and long tails,
Start by making the first strip, and then invisible sew stitch the previous strip as you
progress.
Lay work with wrong side facing down and edges to be sew side by side. Stitches will
be worked through the top loop only of both sides. Insert needle from left to right
through the first stitches of both panels at the bottom of your work to begin joining the
two panels.
Insert needle from right to left into the next stitch of the right panel and continue
through the last stitch worked on the left panel.
Insert needle from left to right into the next stitch of the left panel and continue
through the last stitch worked of the right panel.
Continue in this manner gently pulling the yarn snug as you go to close the seam.
Every few stitches pull the yarn snug to secure and even out the seam.
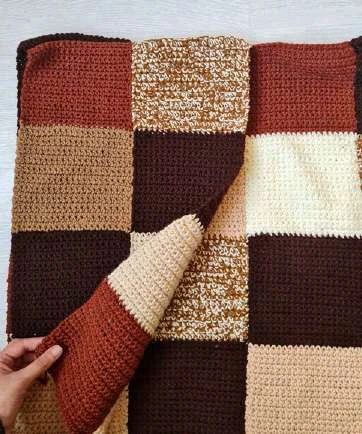
ASSEMBLY
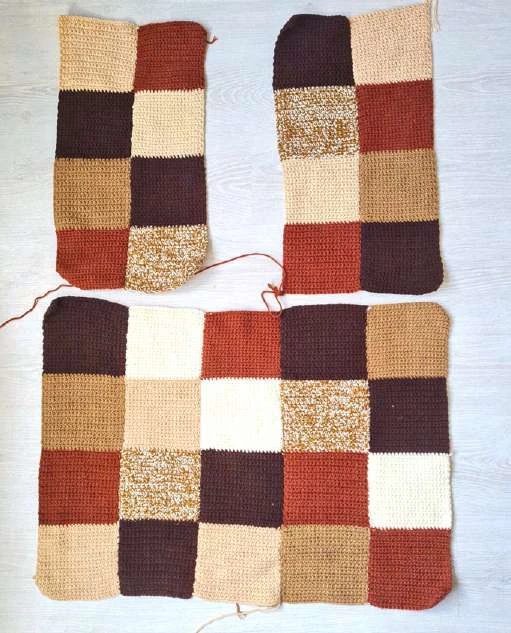
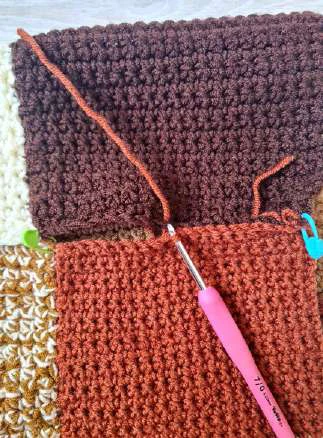
Lay the back panel on a flat surface. Next place both front panel on top and with a yarn
needle and long tails seam front panels to back panel or slip stitch them together.
ASSEMBLY
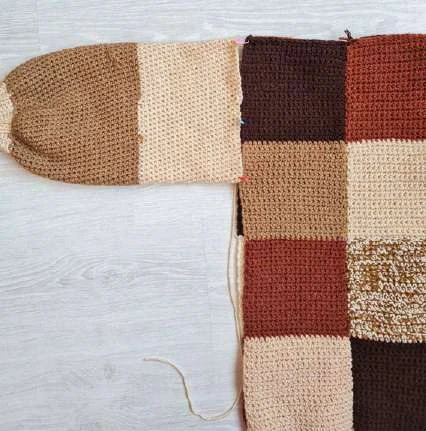
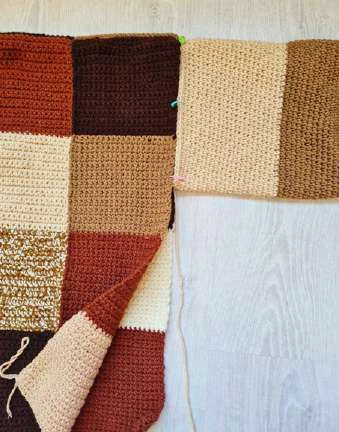
Next lay entire piece out flat with the wrong side still facing up. Grab a sleeve and mark the
middle st with a stitch marker. Now attach stitch marker to the shoulder seam. With yarn
needle and long tail seam sleeve to main body. Rep on the other side with the other sleeve.
Fold over your cardigan and seam along under edge of sleeves and down along the sides.
Turn cardigan right side out.
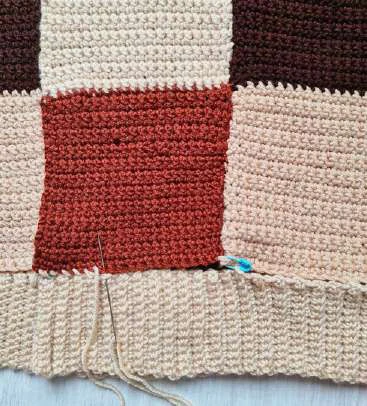
BOTTOM RIBBING
In Beige Yarn with a 4 mm hook,
Ch 14
ROW 1: 1 sc in 2nd ch from hook. 1 sc in each ch to end of chain. Turn. (13 sc).
ROW 2: Ch 1, sc in BLO in each st across. Turn. ( BLO SC X 13 )
Repeat row 2 until ribbing is long enough to go around the entire bottom edge of cardigan
(that includes the bottom edges of the two front panels and the bottom edge of back panel).
Fasten off leaving a very long tail. With your yarn needle and long tail sew the ribbed hem to
the bottom edge of cardigan.
BUTTON BAND
In Beige Yarn with a 4 mm hook,
Turn cardigan right side out. Attach yarn to bottom inner corner of the cardigan.
Ch 10
ROW 1: 1 sc in 2nd ch from hook. 1 sc in each ch to end of chain. slst into next 2 sc (on
the body of cardigan). Turn. (9 sc).
ROW 2: skip 2 slsts, 9 sc in BLO, Ch 1, turn, 9 sc in BLO. slst in next 2 sc, turn, skip 2
slsts, 9 sc in BLO, ch 1, turn, 9 sc in BLO, slst in next 2 sc, turn…
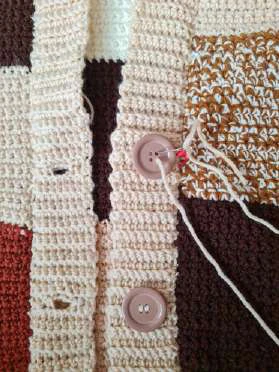
BUTTONHOLE ROW: Ch 1. Working sc in BLO, 1 sc in each of first 3 sts, Ch 3, skip next
3 sts, 1 sc in each of last 3 sts. Slst into next 2 sc (on the body of cardigan). Turn..
Continue to ROWS 2 until the height of ribbing reaches the next slip marker, then
repeat a BUTTONHOLE ROW.
Once you’ve crocheted all 3 buttonholes, continue to ROWS 2 until the ribbing
measures the length of the entire neckline. Fasten off and weave in all ends.
Sew buttons on the other side of the neckline opening, taking care to match buttons
to button holes.
*You can use stitch markers to mark the button placement.
*If the neckline is ruffling – you’ve placed the button too close together and if the
neckline is pulling/puckering – you’ve placed the buttons too far apart.
Your cardigan is now completed!
Grab 3 stitch markers and place them where you want your three button holes to be.
With the Right side facing you, space out the 3 buttons evenly along the opening
edge of the neckline. Line up a Stitch Marker with the bottom of each button and
place Stitch marker in corresponding st.
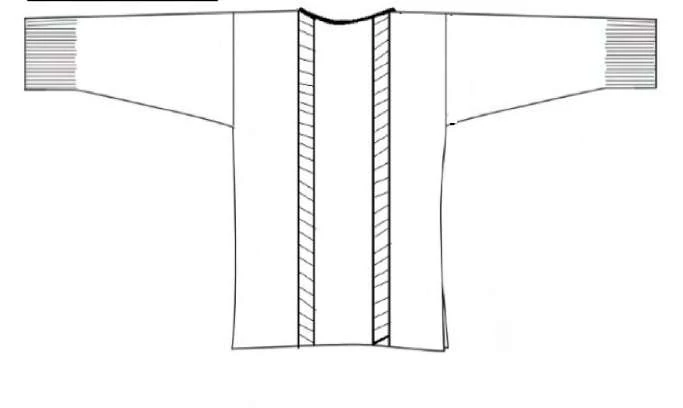
ASSEMBLY DIAGRAMS
Brown Beige Redwood Ecru Mocha Mocha DK&Ecru DK
(Multi-Strands)
22" ( 25", 31" ) / 57 cm ( 64 cm, 78 cm )
8,8" ( 10", 12,5" ) /
22,8 cm ( 25,6 cm, 31,2 cm )
8,8" ( 10", 12,5" ) /
22,8 cm ( 25,6 cm, 31,2 cm )
18" ( 20", 22"). 45cm ( 51,5 cm, 55,8 cm)
18" ( 20", 22"). 45cm ( 51,5 cm, 55,8 cm)
18" ( 20", 22"). 45cm ( 51,5 cm, 55,8 cm)
F
I
J G H J
J K H F I
H G J
K
G
G I F J F
G K
J F
F G
J F
K G
F I
G J
Multi-Strand
Mocha DK&Ecru
DK
J
I J
Left Front
Right Front
Back
G
I
H

Recommended Digital Products
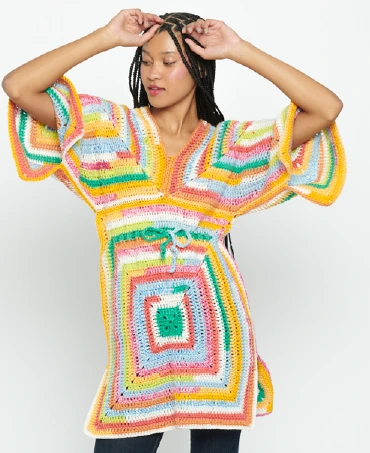
Handmade Crochet Tunic Pattern | Beginner-Friendly Colorful Striped Beach Cover-Up & Top PDF Pattern
$4.99
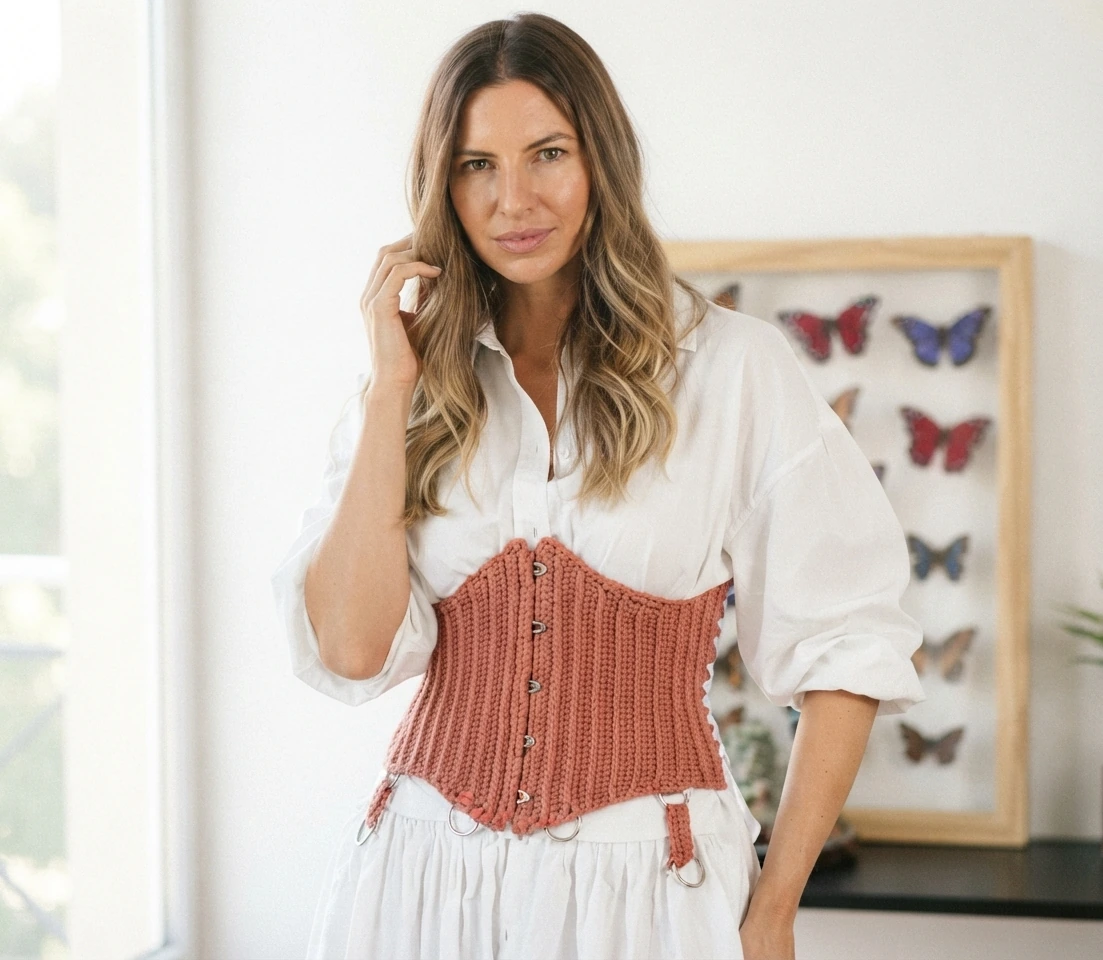
Handmade Crochet Corset Belt Pattern Boho Chic Waist Cincher with Busk & Ribbon Lacing Intermediate Crochet PDF Pattern
$4.99
Simple Playdays Baby Cardigan Crochet Pattern PDF | Easy Unisex Newborn to 4 Years Sweater with Rainbow & Bunny Appliques
$4.99

The Ultimate Beginner’s Crochet Guide: Master 45+ Essential Techniques & Practical Projects
$5.99
Get this Crochet Pattern as a Free PDF
Enter your email to receive the PDF associated with this article.
Leave a Reply