
Montessori Bee
Sorting bees
-crochet pattern-
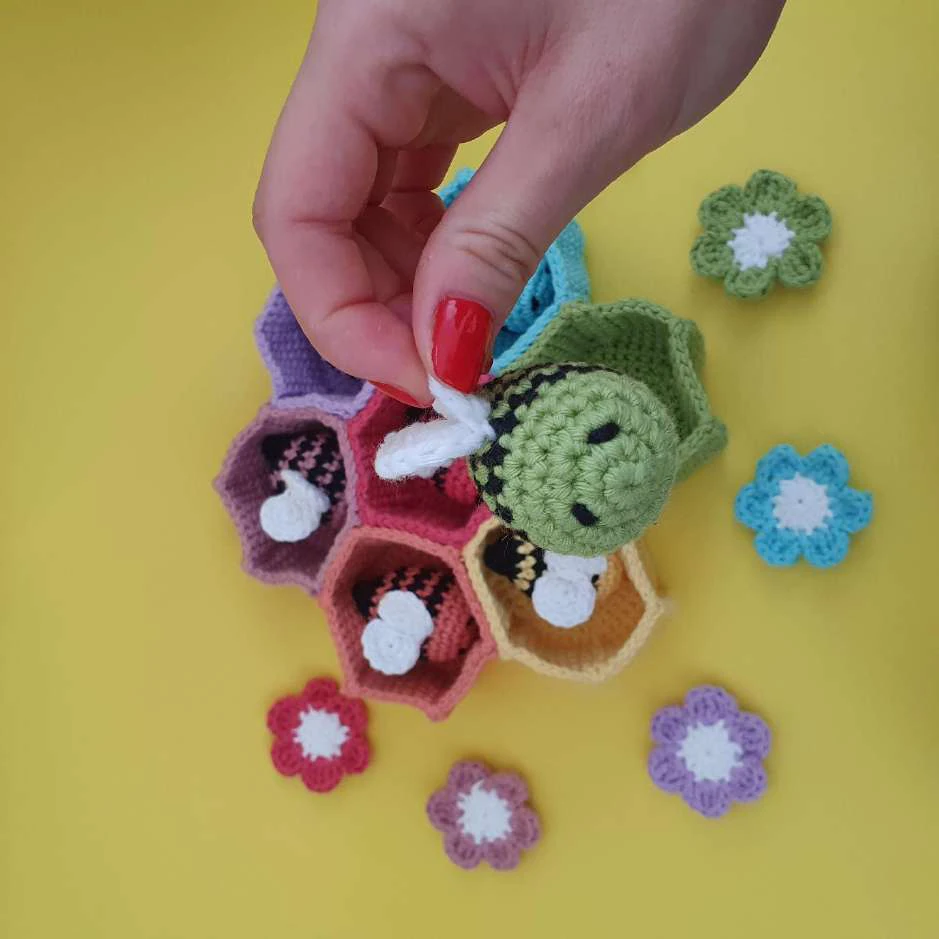
This pattern is written in US terminology and it is worked in continuous rounds
unless otherwise stated. If you are from UK don’t worry, the differences between US
and UK terminology in this pattern are:
➔“single crochet (sc)” which is a double crochet for you.
➔“double crochet (dc)” which is a treble crochet for you
➔“treble crochet/ triple crochet (tc) which is a double treble crochet for you
What you will need:
280 grams of yarn:
•
35 gr for each rainbow color (7 colors)
•
20 gr white
•
15 gr black
I used DROPS PARIS but you can use any other yarn (10 ply) in your favorite colors
• crochet hook: 12 UK = 2,5mm = C2 US
(you can use up to 6 UK/5 mm/H8 US hook for this yarn, but I like my work to be tidy)
• Polyester fiberfill
• Magnets – I used 28 pcs because mine were not strong, I got them from the
stationary shop, but if yours are strong even 14 will be enough (they are small
magnets 2 cm / 0,8 inches in diameter)
• Stitch markers
• Needle
• Scissors
•Safety eyes – I did not use any, but if you want to, they should be around 5mm
Disclaimer: I cannot be held responsible for the quality of your safety eyes,
neither for the way you apply the safety eyes and the magnets.
Tips: Please make sure your safety eyes are qualitative or just sew some eyes
with the needle. Also make sure your magnets are well inserted inside the bees
and that the ones in the flowers are well secured.
Please supervise your kid while playing with this set.
Abbreviations & Terminology:
•
Chain (ch)
•
Magic ring (MR)
•
Single crochet (sc) -this is double crochet in UK terminology
•
Double crochet (sc) -this is treble crochet in UK terminology
•
Treble crochet (sc) -this is double treble crochet in UK terminology
•
Increase (inc) – make 2 sc in the same stitch/ make 2 dc in the same stitch for UK
•
Decrease (Dec) – 2 sc crocheted together / 2 dc together for UK
•
Slip stitch (Sl)
I hope you enjoy creating your
Educational Sorting Toy !
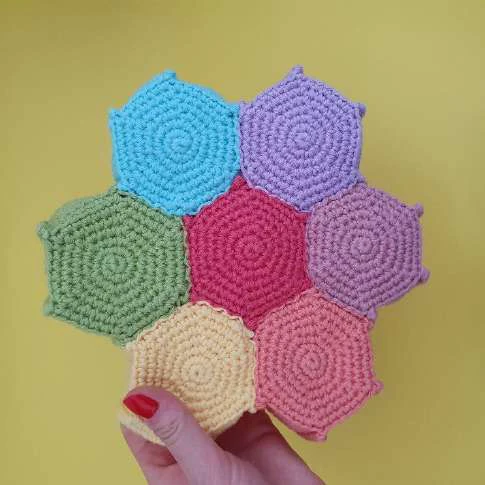
I. Bowls
Make 7 in your favorite rainbow colors.
R2: inc X 6 => 12
R3: (1 sc + 1 spInc) X 6 => 18
R4: (2 sc + 1 spInc) X 6 => 24
R5: (3 sc + 1 spInc) X 6 => 30
R6: (4 sc + 1 spInc) X 6 => 36
R7: (5 sc + 1 spInc) X 6 => 42
R8: BLO sc X 48 => 48
R9 – R10 – R11 – R12 – R13 -– R14 — R15 – R16 : sc X 48 => 48
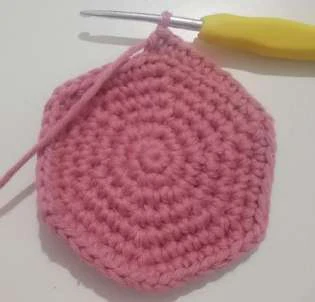
From this row down you should make “special increases – spInc instead of
normal ones. A special increase is a [sc + ch + sc] in the same stitch. You
should add the extra chain in the increase to make your bowl more like a
polygon. Do not count or work in the extra chain when working the next
rows –it just helps with the shape so just ignore it
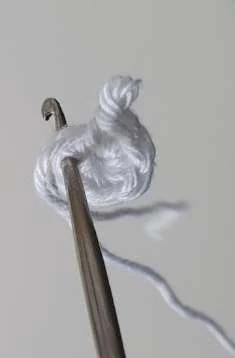
Tip! Before pulling the tail to close
the ring, insert the hook in the first
stitch; in this way you will keep it
loose enough for the hook to be
inserted in the next row.
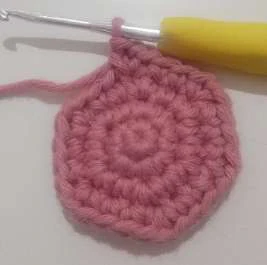
The next row is a back loop only, with no increases. In this row we will
also consider the extra chain from the special increase. So instead of 42
single chains we will have 48 sc as we go round.

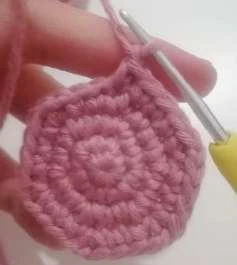
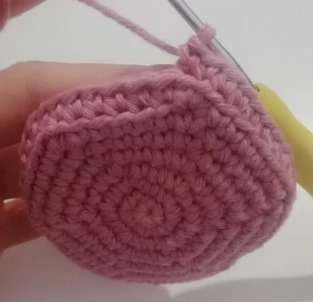
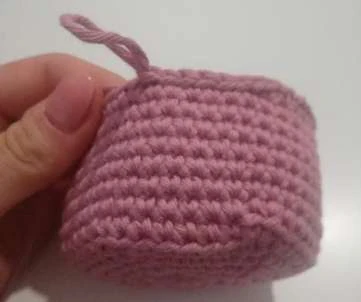
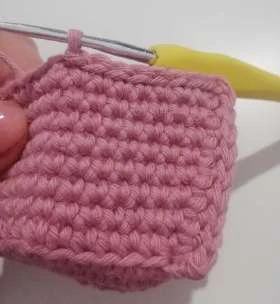
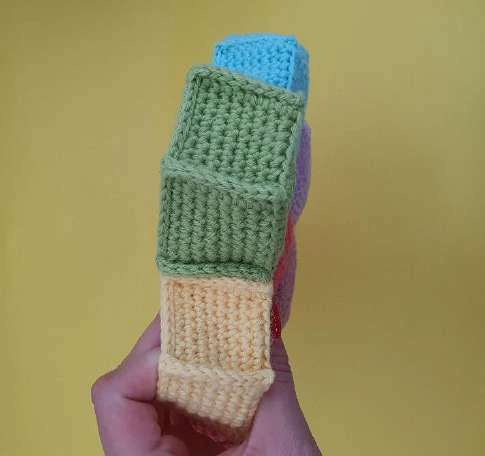
Now we are going to do the 6 edges on the sides of the bowls.
Repeat X 6:
–
Sl X 8
–
Like in the 3rd picture bellow go down with 9 X sc (you will be working over rows
16-8) (make sure your last sc is in the front loop of row 8)
–
Go back up with 10 X SL – the slip stitches should be on the back of the single
chains you just made (the last one should be at the top)
–
BOTTOM
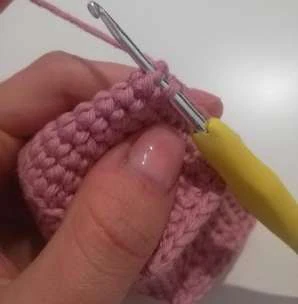
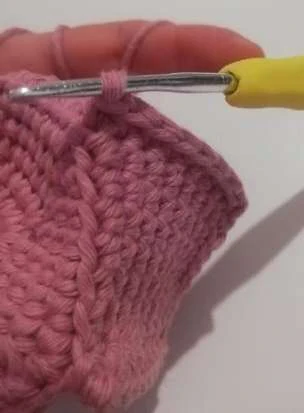
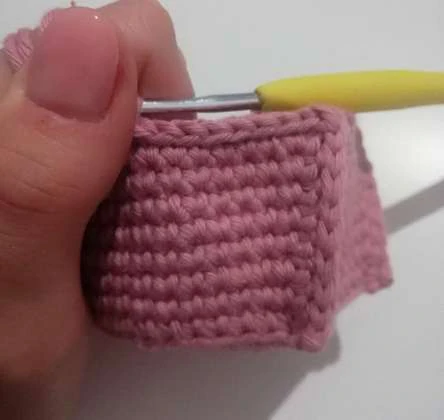
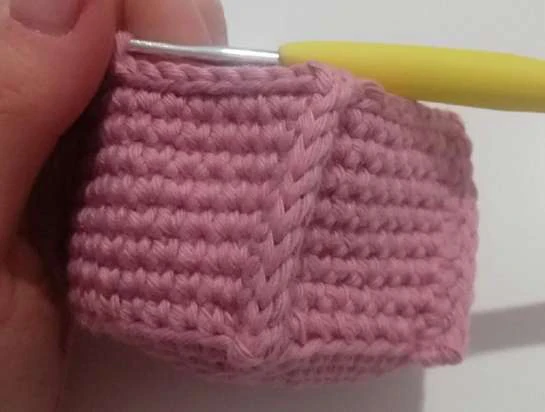
Optionally you can sew the bowls together like I did. There is no technique
for this, but you will need a lot of patience 😊
II. BEE – make 7, one for every color
a. Make the magnet support:
R1: MR + sc X 6 => 6, slip stitch in the first sc, leave a tail for sewing
(the magnet should be small enough to fit in this pocket; however if yours is bigger just
make an extra row to cover it → R2: inc X 6 => 12)
b. Make 2 wings – with white:
R1: MR + sc X 6 => 6
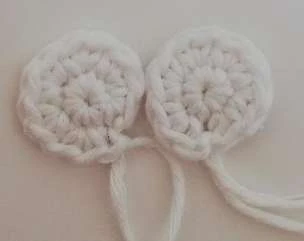
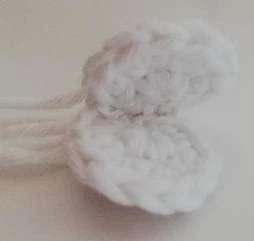
R2: inc X 6 => 12 , slip stitch in the first sc, leave a tail for sewing; sew the two wings
together and leave the tail for sewing into the bee
c. Make the bee:
With main color:
R1: MR + sc X 6 => 6
R2: inc X 6 => 12
R3: (1 sc + 1 inc) X 6 => 18
Stop and sew the magnet socket (with the magnet inside) around rows 1/2
Make sure all your magnets are inserted in the same direction. To test this, use another
magnet that should connect with all the bees on the same side
R4-R5: sc X 18 => 18
Sew also the eyes in increases 1 and 3 of row 2, using black needle.
If you choose safety eyes go for the smallest you can find
(5 mm or smaller)
With black:
R6: sc X 18
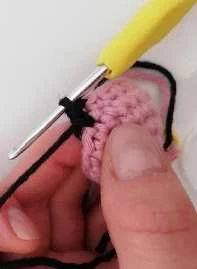
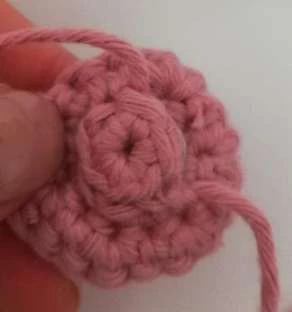
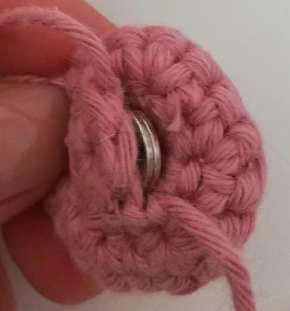
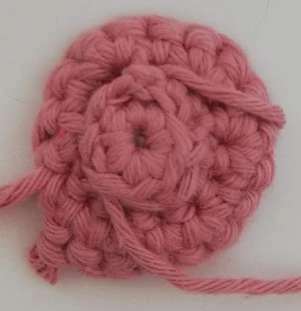
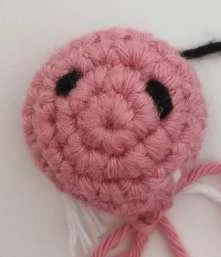
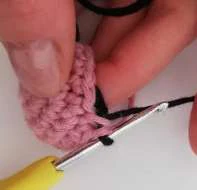
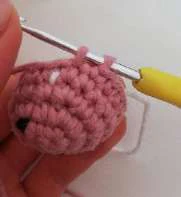
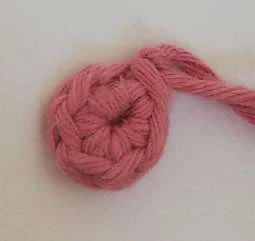
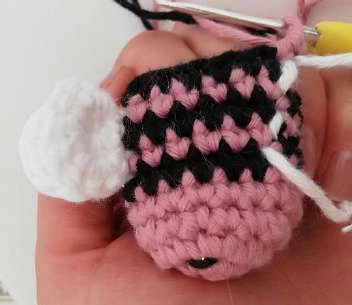
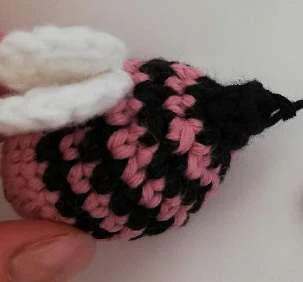
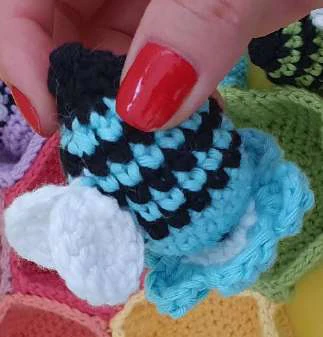
When changing the color: at row 6, in the last single crochet, make half of the stitch with your
main color but then finish with the other color (black in this case) like in the pictures bellow
With main color:
R7: sc X 18 => 18
With black:
R8: sc X 18 => 18
With main color:
R9: sc X 18 => 18
With black:
R10: (4 sc + 1 dec) X 3 => 15
Sew the wings between rows 7 and 9.
Make sure they are centered between the eyes
Start stuffing the bee, stuff as you go
With main color:
R11: (3 sc + 1 dec) X 3 => 12
With black:
R12: (2 sc + 1 dec) X 3 => 9
R13: (1 sc + 1 dec) X 3 => 6
R14: close the bee with a needle: insert a needle in the front
loop of every stitch from the exterior to the middle of the
stitch; after covering all 6 stitches pull firmly to close the ring.
Insert the needle a couple of extra times under the stitches
to make sure it’s well secured. Hide the yarn.
III. FLOWER – make 7, one for every color
a. Make the magnet support:
R1: MR + sc X 6 => 6, slip stitch in the first sc, leave a tail for sewing
(the magnet should be small enough to fit in this pocket; however if yours is bigger just
make an extra row to cover it → R2: inc X 6 => 12)
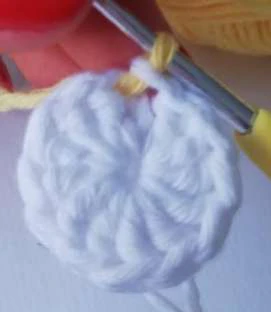
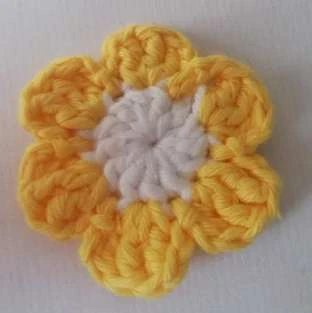
b. Make the flower – with white:
R1: MR + DC X 13 => 13, sl stitch in the second DC
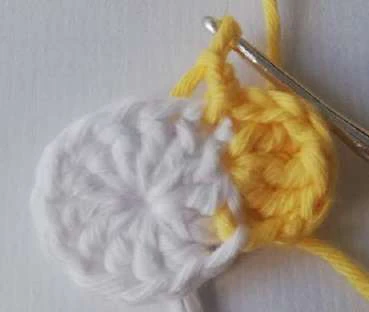
We will not work on the first DC, so we will consider 12 DC, we will use them for 6 petals
With the main color (change color at the slip stitch as learn before) REPEAT 6 times:
–
Sc X 2 in the current stitch
–
3 TREBLE CROCHET in the next stitch, sc X2 in the current stitch
–
Slip stitch in the next stitch
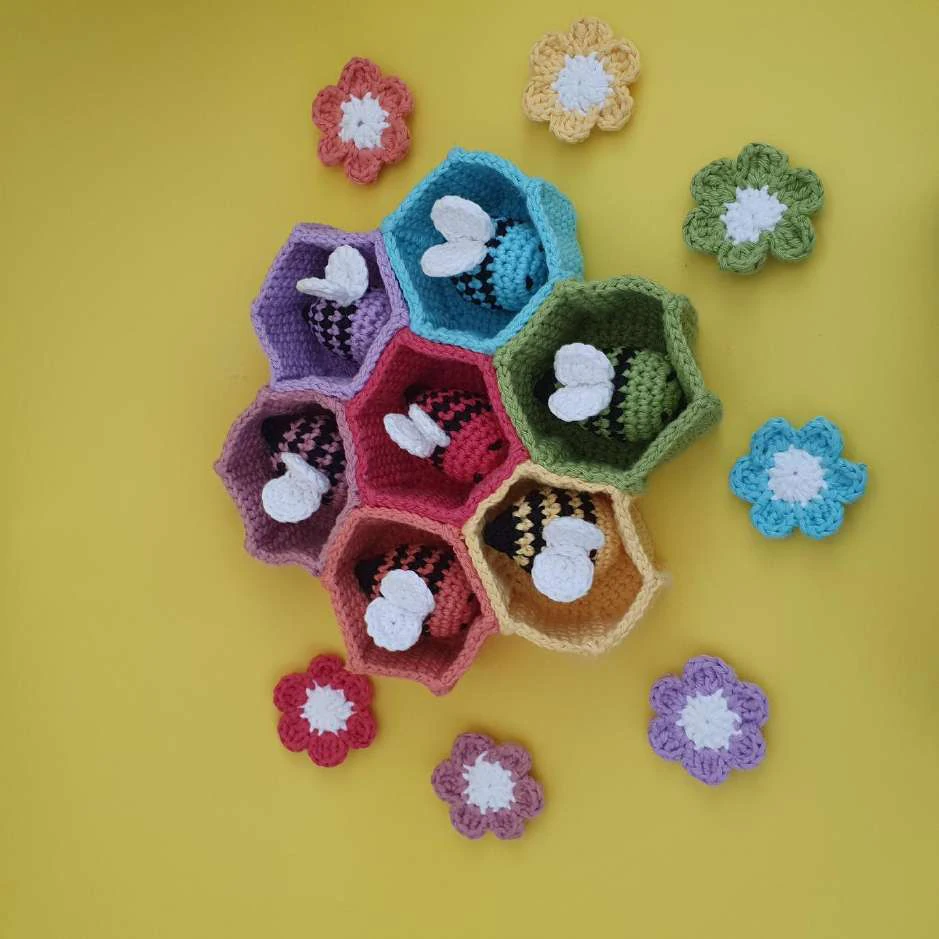
Sew the magnet cover, containing the
magnet in the back of the flower – make sure the
magnet is in the correct direction – to test this just
place the bee in front of the flower and they should
connect like in the picture.
Your Sorting toy is now finished!
Recommended Digital Products
Baby Superhero Amigurumi Crochet Pattern PDF | Easy Little Green Monster Plush Toy Pattern | DIY Chibi Superhero Plushie
$4.99
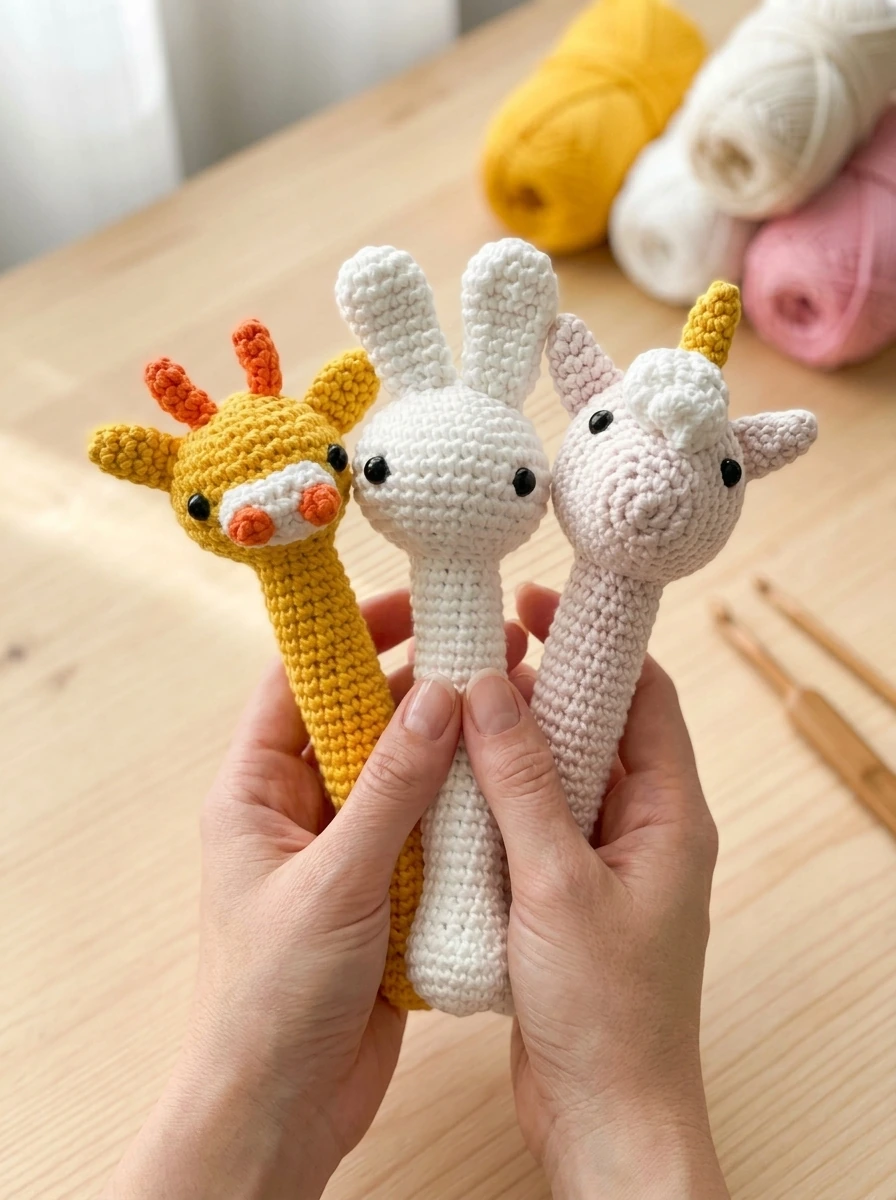
Crochet Baby Rattle PDF Pattern – Amigurumi Stick Toy Set (Bunny, Giraffe, Unicorn)
$4.99
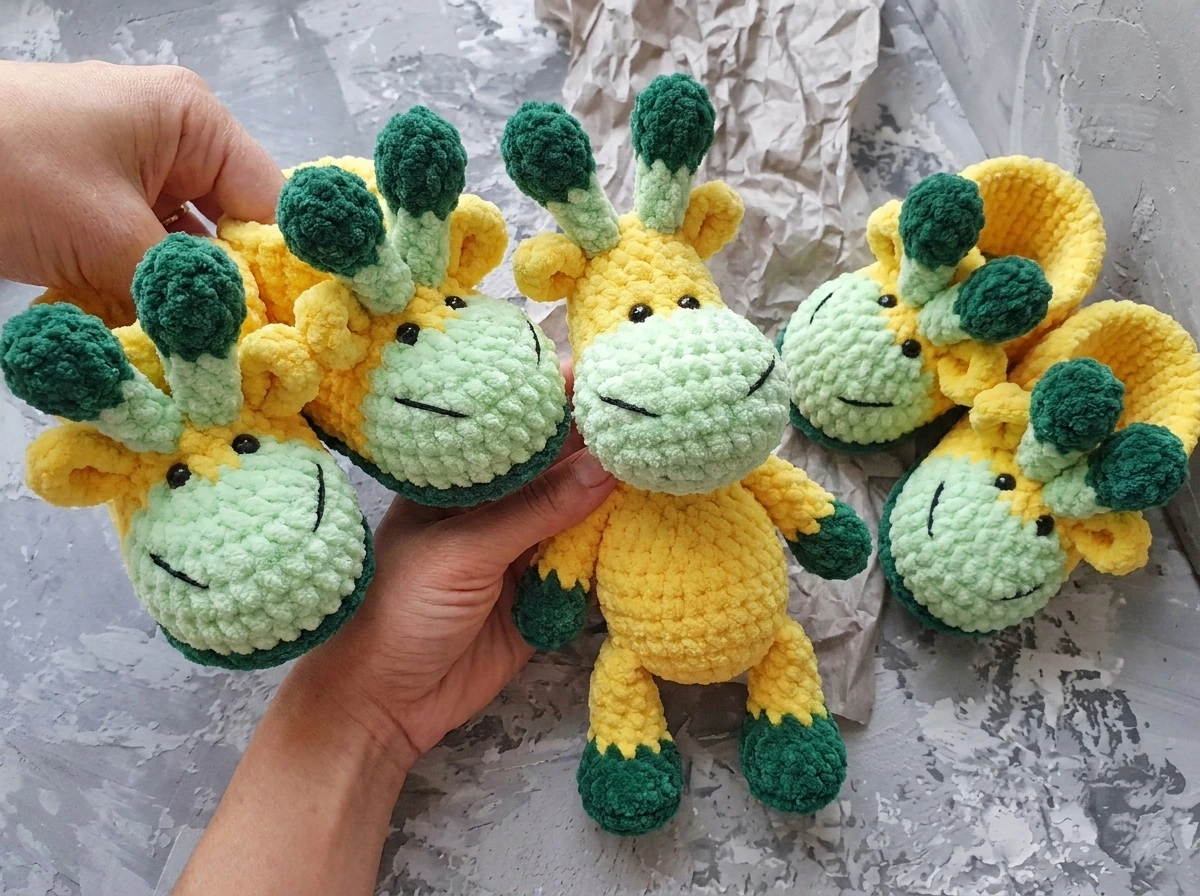
Crochet Baby Animal Booties PDF Pattern – Plush Amigurumi Shoes (Unicorn, Giraffe, Deer, Penguin)
$4.99
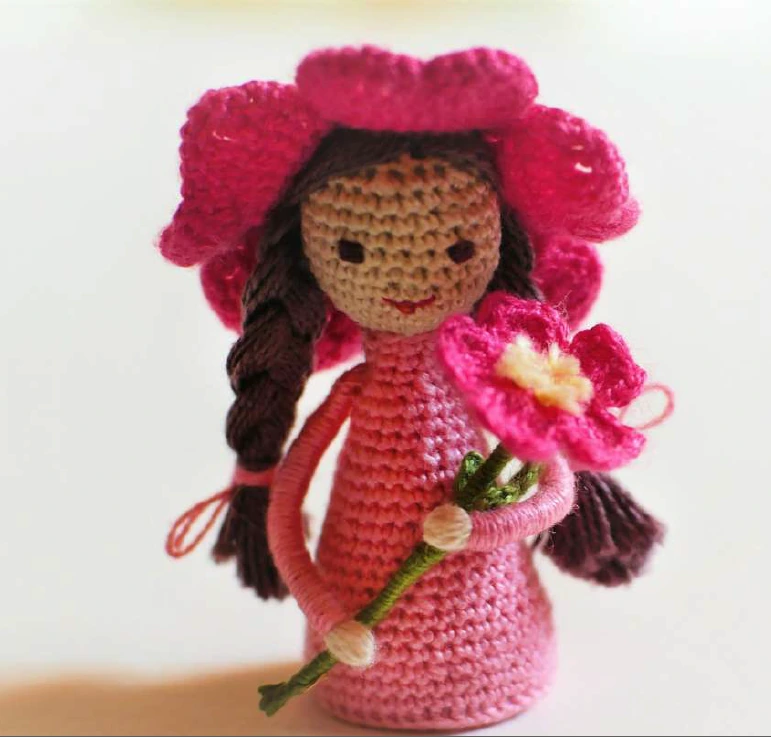
Wild Rose Fairy Amigurumi Crochet Pattern – Detailed PDF Guide with Charts
$2.99
Get this Crochet Pattern as a Free PDF
Enter your email to receive the PDF associated with this article.
Leave a Reply