
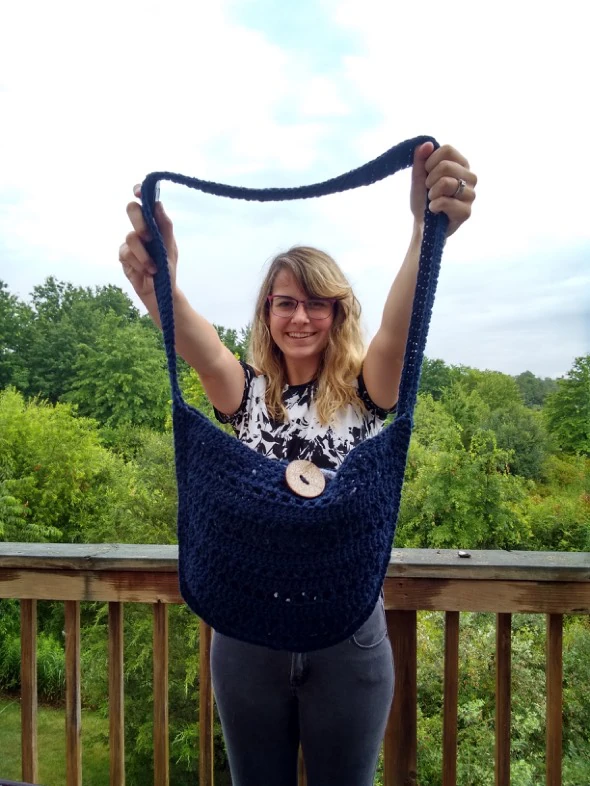
Grindstone Tote Bag
Grindstone Tote Bag
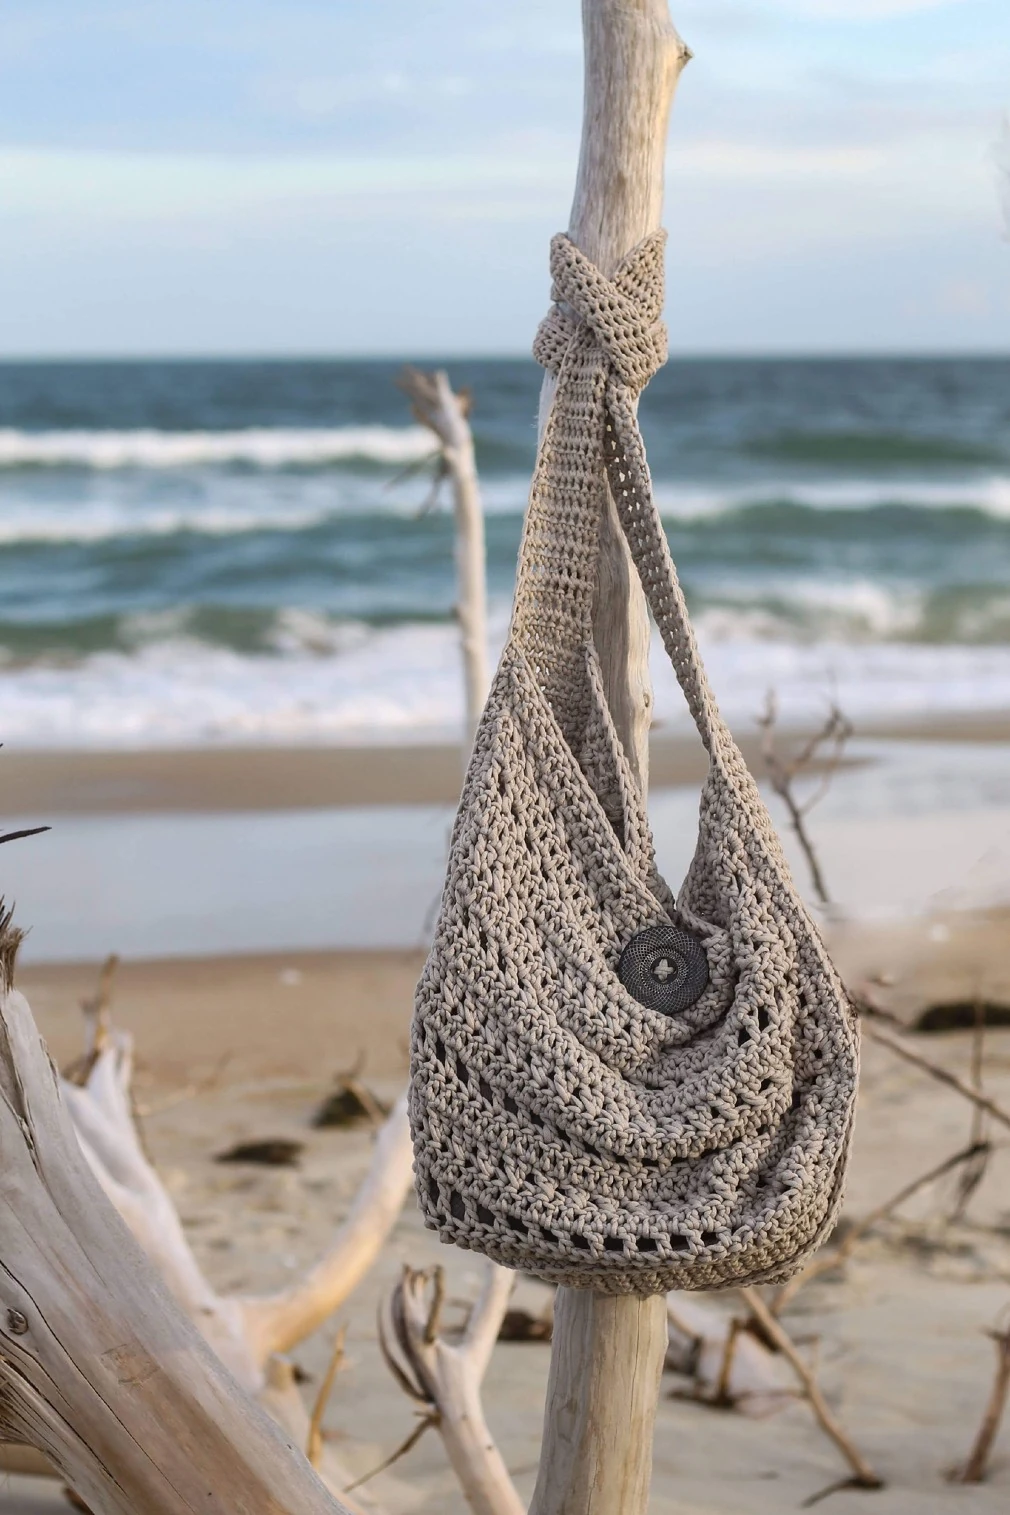
Basic Information:
• Pattern is written in US crochet terms.
• Yarn: Approximately 470 yards of Bernat Maker Home Dec, or other bulky (5) weight yarn.
The bag can be made with any sturdy yarn. Worsted weight (4) will give you a smaller bag,
while super bulky (6) will give you a larger bag. Yardage will vary based on yarn chosen.
• See last 2 pages of pattern for tester photos, yarns, and yardage.
• Hook: Two hooks – one larger and one 1mm smaller. I used 7mm and 6mm with Bernat
Maker Home Dec. Choose hooks that give you a tight tension on the side panel and a
slightly looser tension on the front/back panels.
• You will need 6 locking stitch markers for assembly. Safety pins make a great substitute!
• Finished size: Varies based on yarn chosen
• Gauge: For Bernat Maker Home Dec – Approximately 10 sts by 6 rows = 4” (front/back
panels) and 8 sts by 5 rows = 2” (side panel/strap). Gauge will vary depending on yarn
chosen.
Abbreviations and Symbols:
• Ch – chain
• Ch sp – chain space
• Sk – skip
• St – stitch
• Sl st – slip stitch
• Sc – single crochet
• Dc – double crochet
• Sc2tog – single crochet 2 together
(decrease)
• 2dc – 2 double crochet in the same stitch
(increase)
• * * – Repeat this section
Notes:
– Bag is made with two nearly identical front/back panels, and the strap and
side/bottom panels are worked as one piece.
– Ch 2 at the beginning of the row does NOT count as a stitch.
– Rows 4, 8, and repeats use a crossed double crochet stitch. You will skip one
stitch, and then make a double crochet in the next stitch as normal. Then,
work a second double crochet into the skipped stitch. When working into
skipped stitches, cross in front of the previous stitch.
Pattern:
Front/Back Panels (make 2): With 7mm hook (or larger hook)
Row 1: Ch 30, 2dc in 3rd ch from hook, dc across until 1 ch remains, 2dc in last
ch. (30)
Row 2: Ch 2, turn, 2dc in 1st st, *ch 1, sk 1, dc 1* across until 1 st remains, 2dc in
last st. (32)
Row 3: Ch 2, turn, 2dc in 1st st, dc across, placing a dc in every st and ch sp until
1 st remains, 2dc in last st. (34)
Row 4: Ch 2, turn, 2dc in 1st st, *sk 1 st, dc 1, dc in sk st* across until 1 st
remains, 2dc in last st. (36)
Row 5: Ch 2, turn, 2dc in 1st st, dc across until 1 st remains, 2dc in last st. (38)
Row 6: Ch 2, turn, dc in 1st st, *ch 1, sk 1, dc 1* across until 1 st remains, dc in
last st. (38)
Row 7: Ch 2, turn, dc in every st and ch sp across. (38)
Row 8. Ch 2, turn, dc in 1st st, *sk 1, dc 1, dc in sk st* across until 1 st remains,
dc in last st. (38)
Row 9: Ch 2, turn, dc across. (38)
Repeat rows 6-9 two more times.
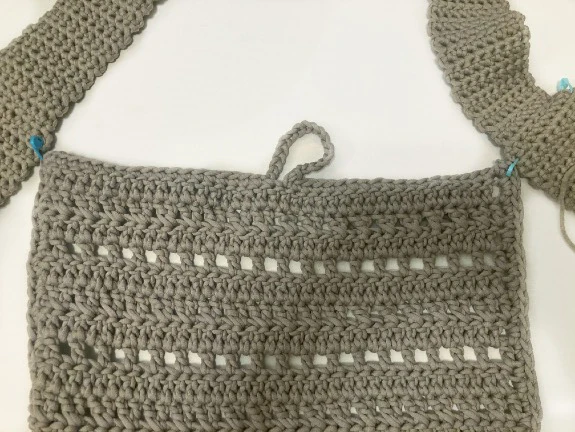
Front Panel Row 18: ch 1, turn, sc
across. Do not fasten off.
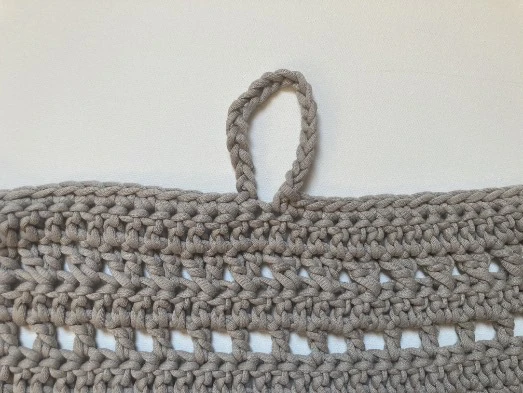
Back Panel Row 18 (includes button
loop): ch 1, turn, sc 19, ch 18, sc 19.
(38 sc, 18 ch) Do not fasten off.
(If you’d prefer a bag with no button,
make two of the front panel!)
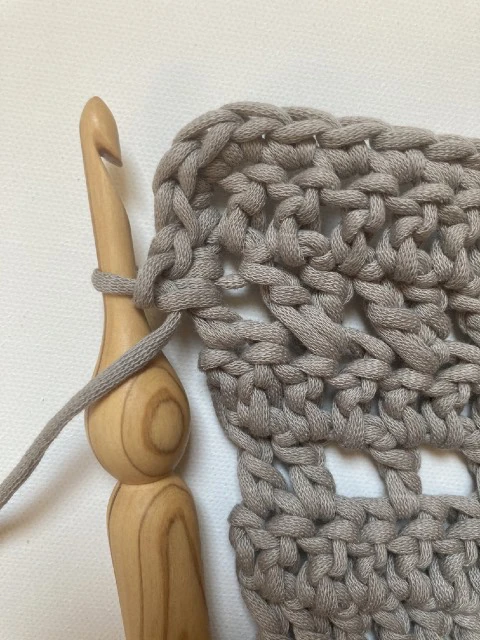
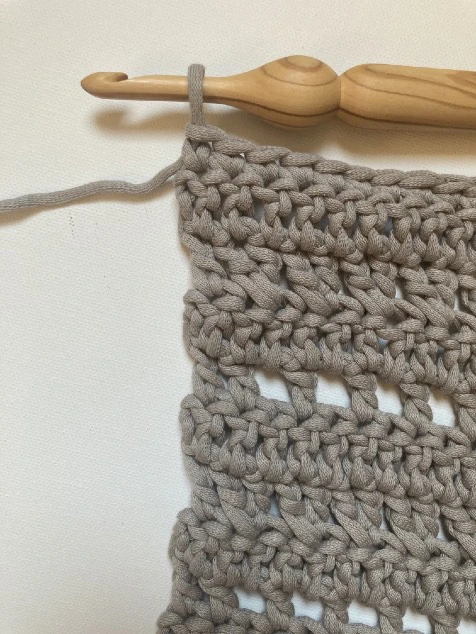
Continue sc around the outside edges of the panel, placing 1sc in the end of the
sc rows, 2 sc in the end of each dc row, and 1 sc in each st of the foundation
chain. Fasten off.
Back Panel Row 18
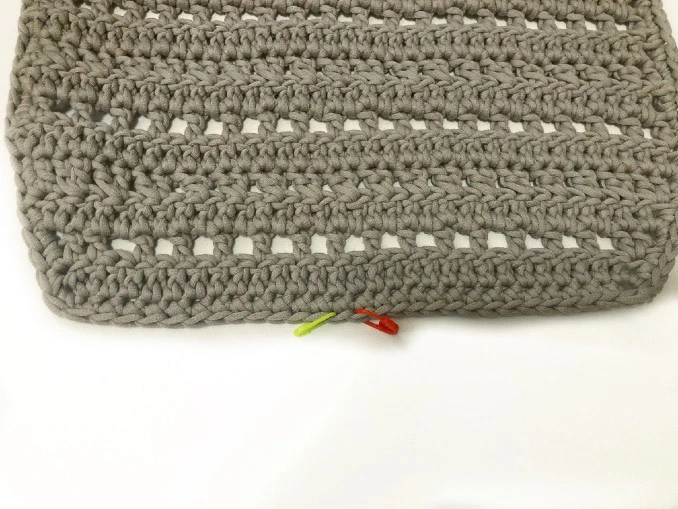
Place a stitch marker in
each of the two center
stitches at the bottom of
each panel.
Side/Bottom/Strap Panel: Switch to 6mm hook (or smaller hook)
Row 1: Ch 11, sc in 2nd ch from hook, sc across. (10)
Row 2. Ch 1, turn, sc across. (10)
Rows 3-50: Repeat row 2. Place stitch markers at both ends of row 50.
Row 51: Ch 1, turn, sc2tog, sc in next 6 sts, sc2tog. (8)
Row 52: Ch 1, turn, sc across (8)
Rows 53-149: repeat row 52.
Row 150: Ch 1, turn, 2sc in 1st st, sc across until 1 st remains, 2sc in last st. (10)
Place stitch markers at both ends of row 150.
Row 151: Ch 1, turn, sc across. (10)
Row 152-200: repeat row 151.
**For longer or shorter strap, add or subtract rows between rows 53 and 149.**
Assembly:
1. With right sides facing – Using the
st markers placed at row 50 and
150 of strap, attach the strap panel
to the top corners of one of the bag
panels.
2. Using the stitch markers at the
bottom center of the bag panel, attach
the ends of the strap to the bag panel.
3. Starting at the bottom center, sc the
panel and strap together,
continuing around the edge of the
strap and down the other side of
the panel. Sl st into 1st st to join.
Fasten off.
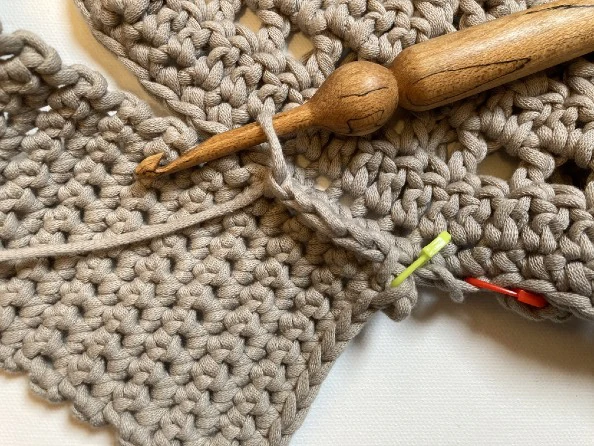
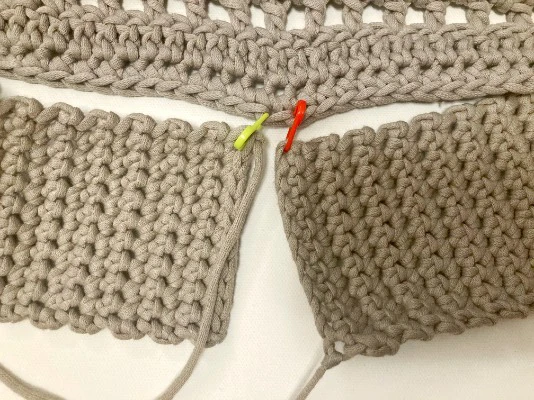
Repeat for the other side panel.
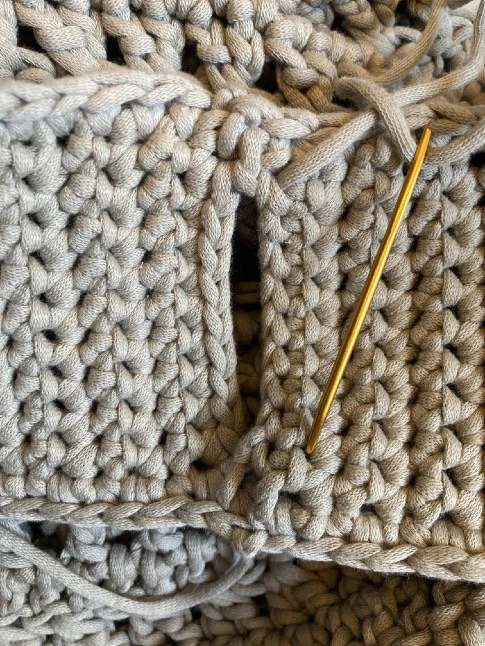
Using tail, sew the bottom of the bag
closed. I used a mattress stitch, but any
seaming method will work.
Finishing:
Weave in all ends.
Sew a large button onto the top center of
the front panel.
Enjoy your new tote!!!
For more patterns, check out my Ravelry store!
You may use this pattern for personal use, gifts and charity. Sales of finished product are permitted,
electronic, mechanical, photocopying or otherwise without prior written permission from the author.
No video tutorial may be made using this pattern without author’s permission.
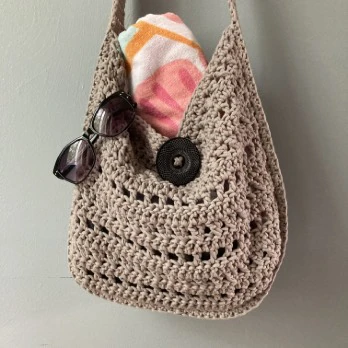
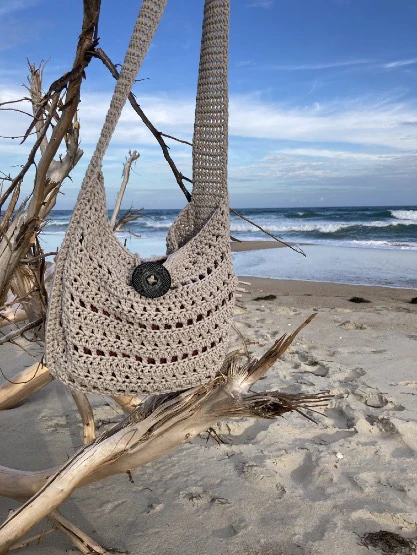
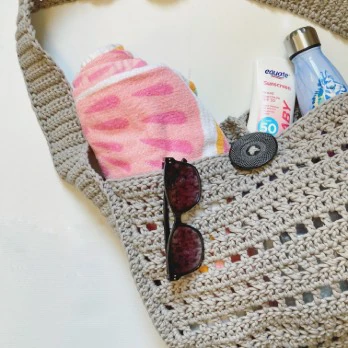
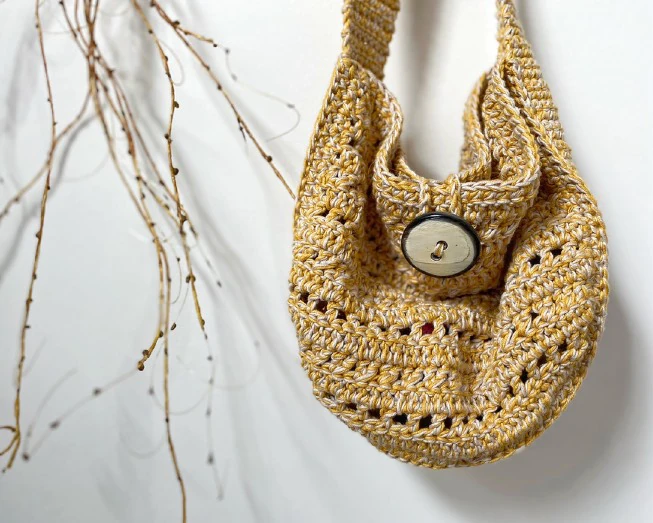
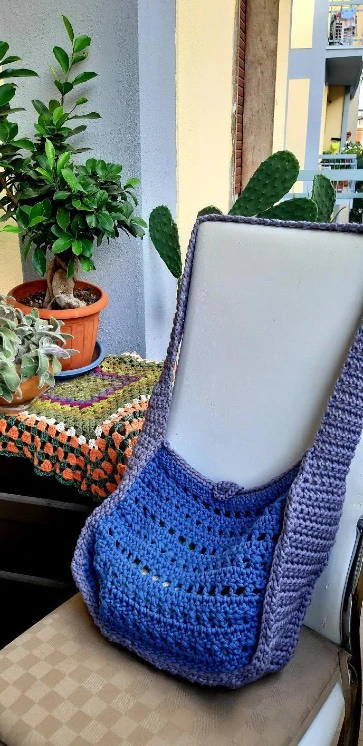
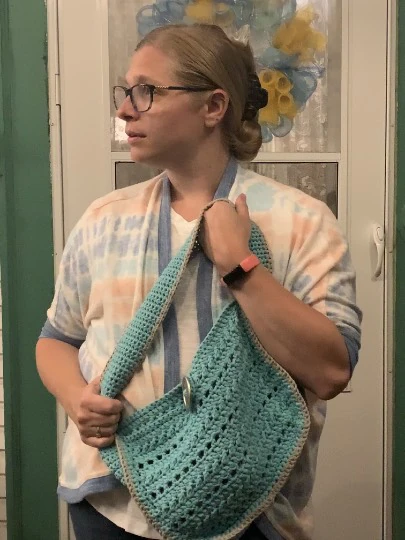
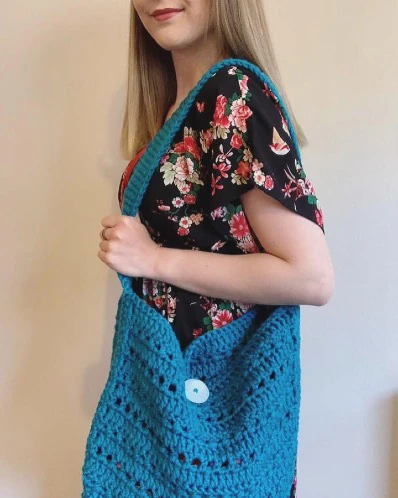
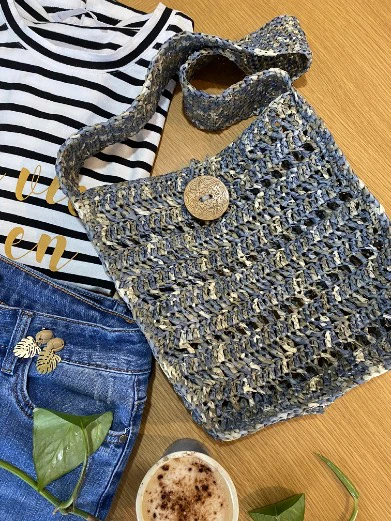
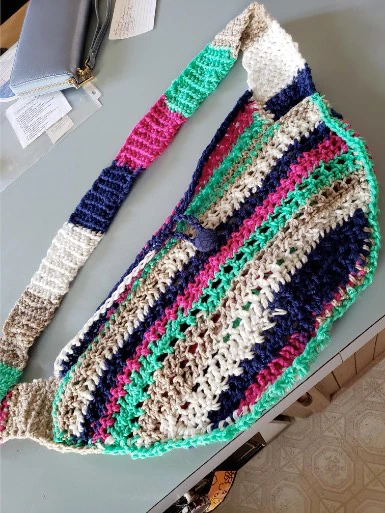
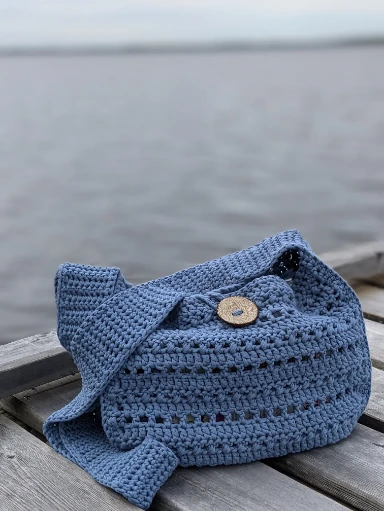
Here are some photos from my amazing testers! Check
Right:
Yarn: Mondial
Mantra – 490 yards
Hook: 7mm
Finished bag size:
11×13.5”
Yarn: Bernat Softee Cotton (double
strand) – 367 yards of each color
Hooks: 5.5 and 6mm
Finished bag size: 9.5×12”
Left:
Yarn: Bernat Maker
Home Dec – 350
yards
Hooks: 6 and 7mm
Finished bag size:
9×13”
Yarn: Deramores Studio Chunky – 430
yards
Hooks: 6.5 and 8mm
Finished bag size: 13.5×17”
Above:
Yarn: Lily Sugar & Cream – 370 yards
Hooks: 4.5 and 5mm
Finished bag size: 11×14”
Right:
Yarn: Bernat Maker
Home Dec – 460 yards
Hooks: 6 and 7mm
Finished bag size:
11.5×14.5”
Below:
Yarn: Red Heart Stripes – 360 yards
Hooks: 5 and 5.75mm
Finished bag size: 10×15”
Left:
Yarn: Fibra Natura
Raffia – 280 yards
Hook: 5mm
Finished bag size:
11×12”
Recommended Digital Products
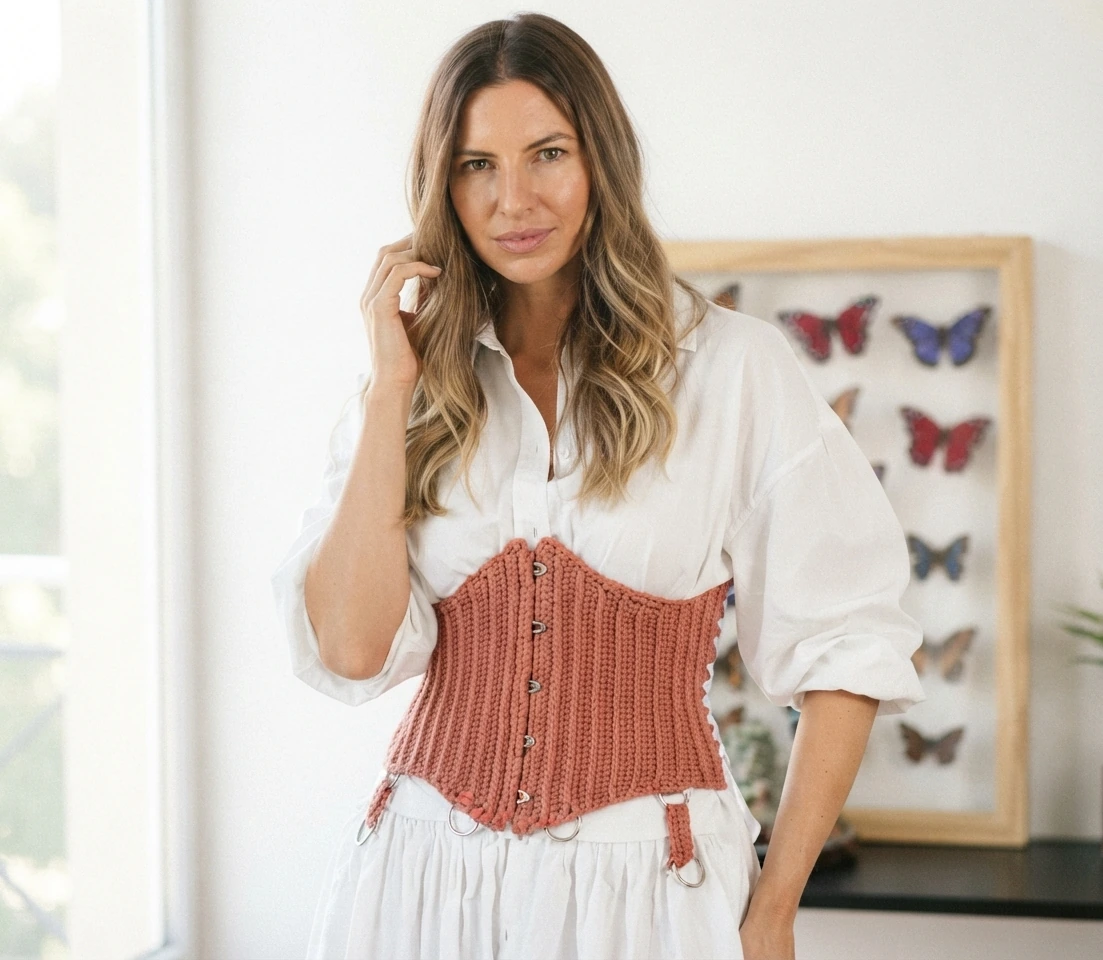
Handmade Crochet Corset Belt Pattern Boho Chic Waist Cincher with Busk & Ribbon Lacing Intermediate Crochet PDF Pattern
$4.99
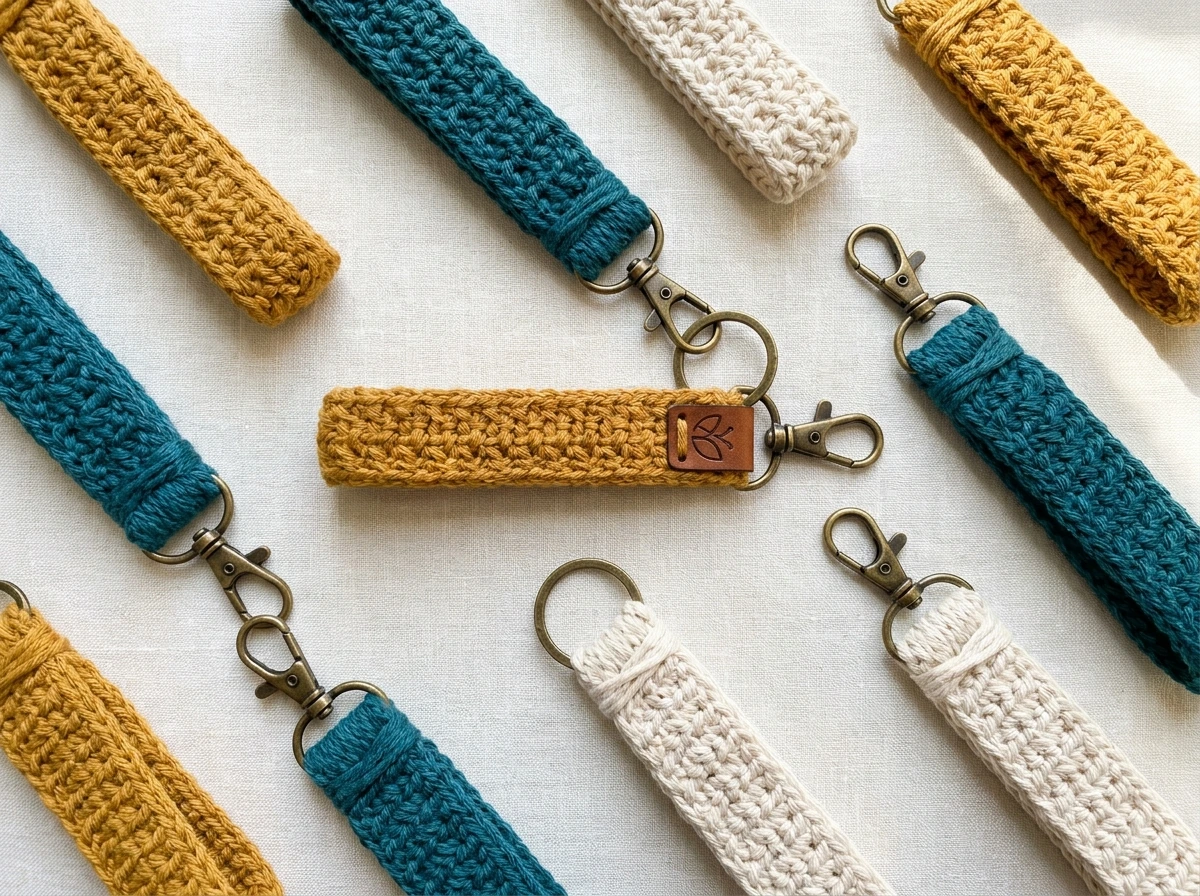
The Highline Wristlet Keychain Crochet Pattern: Quick, Textured & Market-Ready Accessory
$3.99

The Ultimate Beginner’s Crochet Guide: Master 45+ Essential Techniques & Practical Projects
$5.99

From Loop to Perfection: The Ultimate Step-by-Step Crochet Master Guide
$9.99
Get this Crochet Pattern as a Free PDF
Enter your email to receive the PDF associated with this article.
Leave a Reply