
Crochet market bag
Crochet Market Bag Pattern
Keeping it Real 2023 1
Crochet Market Bag Pattern
Introduction
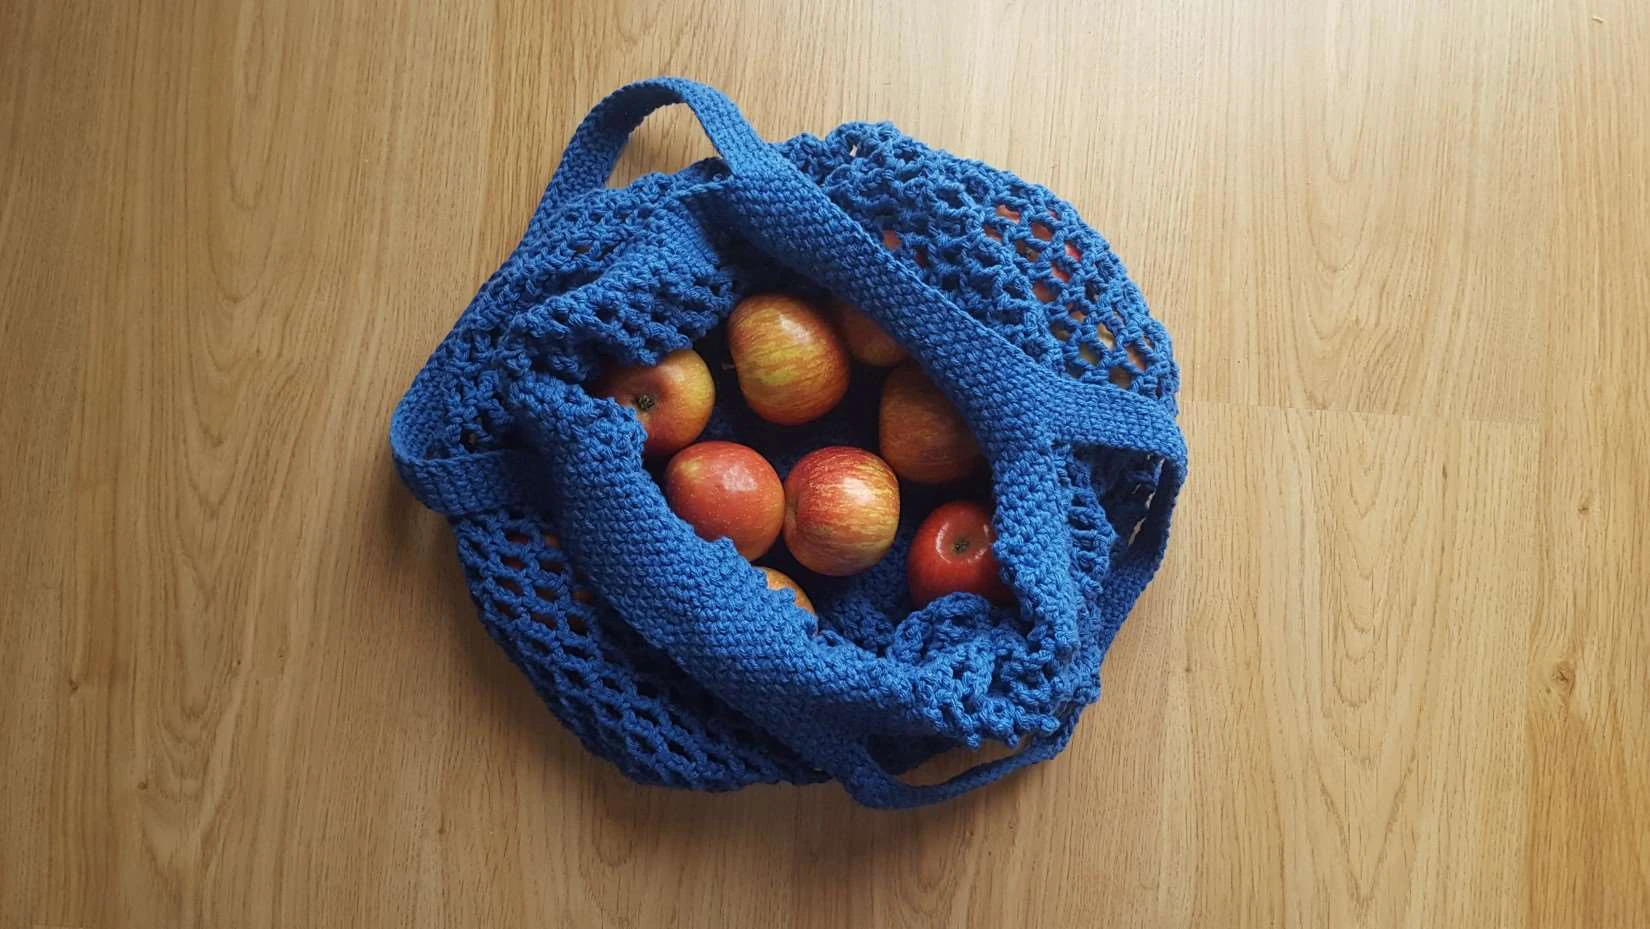
Reusable shopping bags are a must these days, and with this pattern you can create a large,
sturdy market bag to keep in your purse or your car, ready to be used when needed. The net
pattern gives it the flexibility to stretch and accommodate bulkier objects or larger loads, while still
being small enough to fold when not in use.
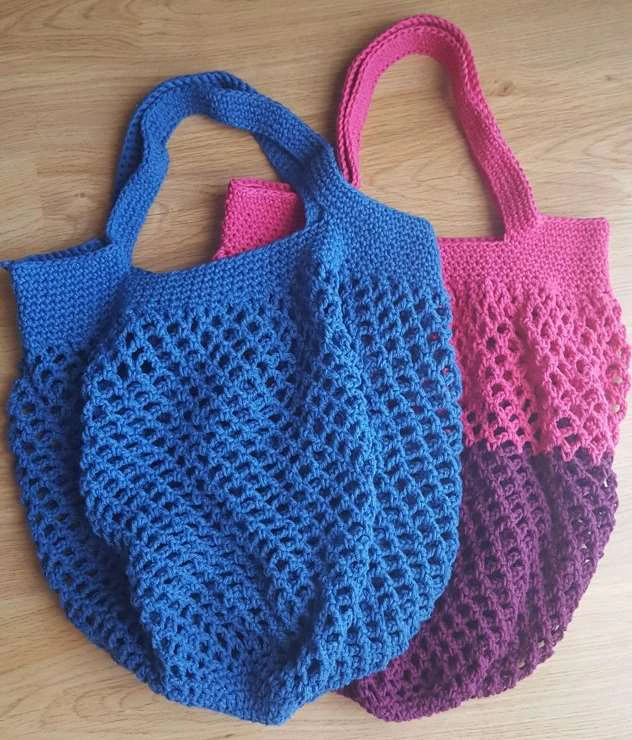
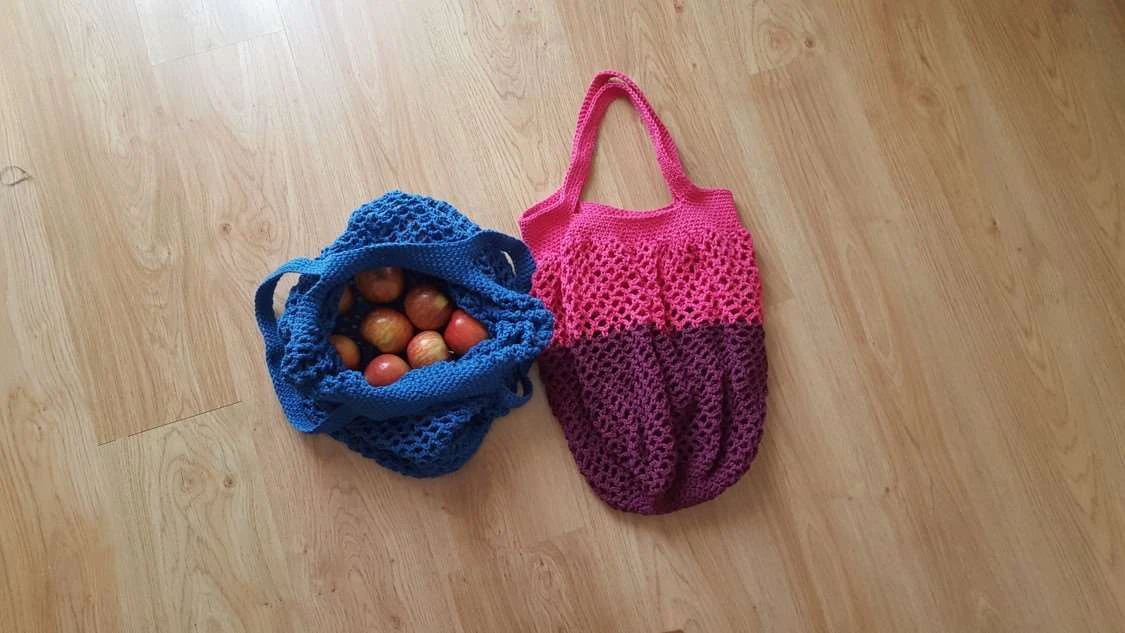
You can make the market bag in just one color or as many colors as you want. Variegated yarn
works very well too.
Keeping it Real 2023 2
Materials
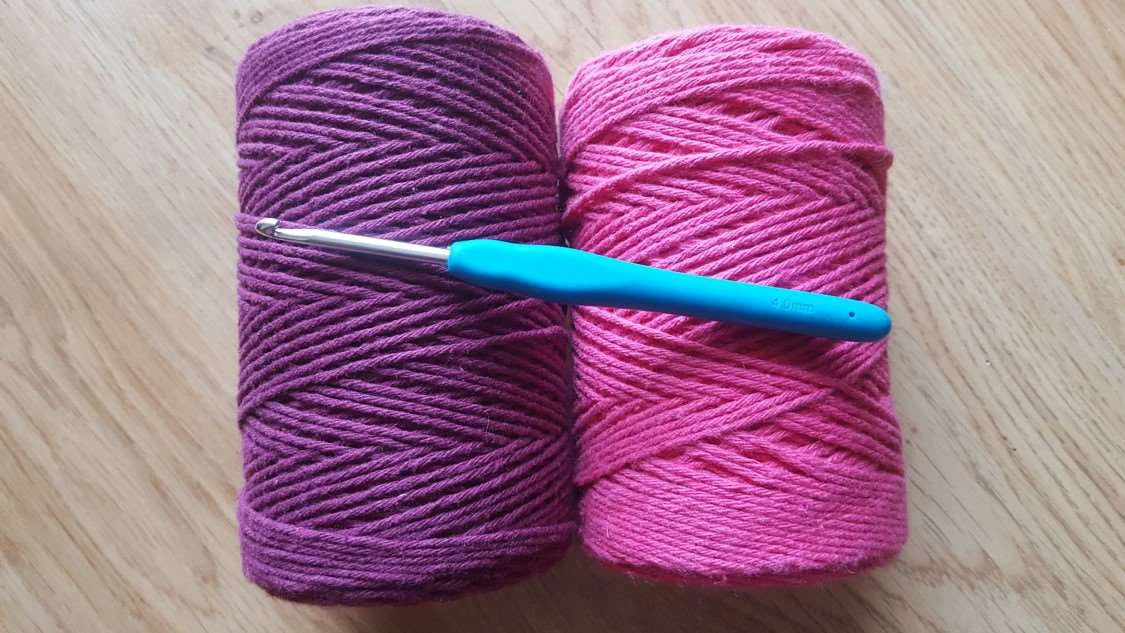
Yarn: cotton crochet cord than can be used with a 4 mm crochet hook. While you can basically
use any kind of cotton yarn, cotton cord makes the bag sturdier (although a little heavier too). For
the bags presented in this tutorial, two rolls or recycled cotton cord were used (shown below).
Each roll weights approximately 200 grams.
Yarn Usage: Approximately 400 grams of cotton cord, although you should have a little leftover.
If you’re using a lighter cotton yarn, adjust the yarn usage accordingly.
Crochet hook: 4 mm
Stitch marker: not absolutely necessary but useful to help keep track of the rows.
Abbreviations (US crochet terms)
Ch: Chain
Sst: Slip stitch
Sc: Single crochet
Dc: Double crochet
Keeping it Real 2023 3
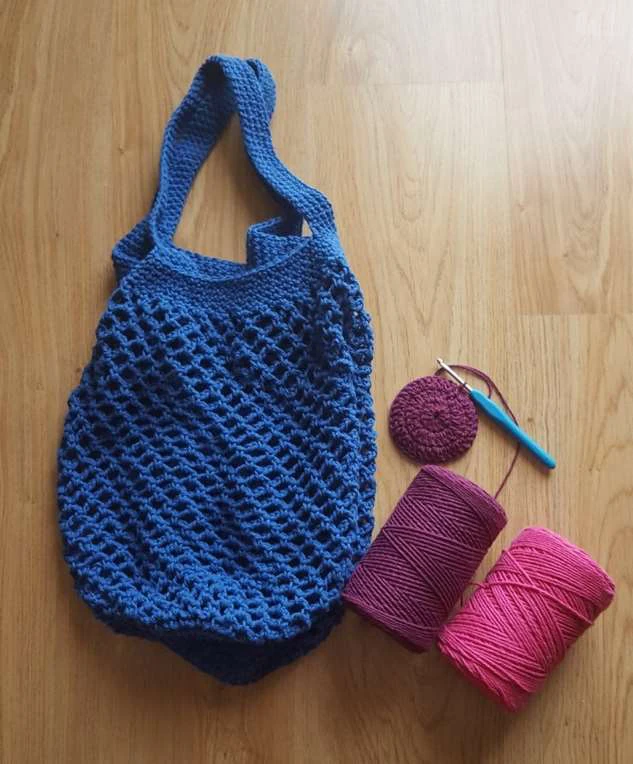
Size: when made with the yarn above, the bag will have an approximate diameter of 30 cm/12
inches at the top and an approximate height of 50 cm/19.5 inches (70 cm/28 inches when
including the handles). Please note that different yarns may result in different finished sizes.
Keeping it Real 2023 4
Instructions
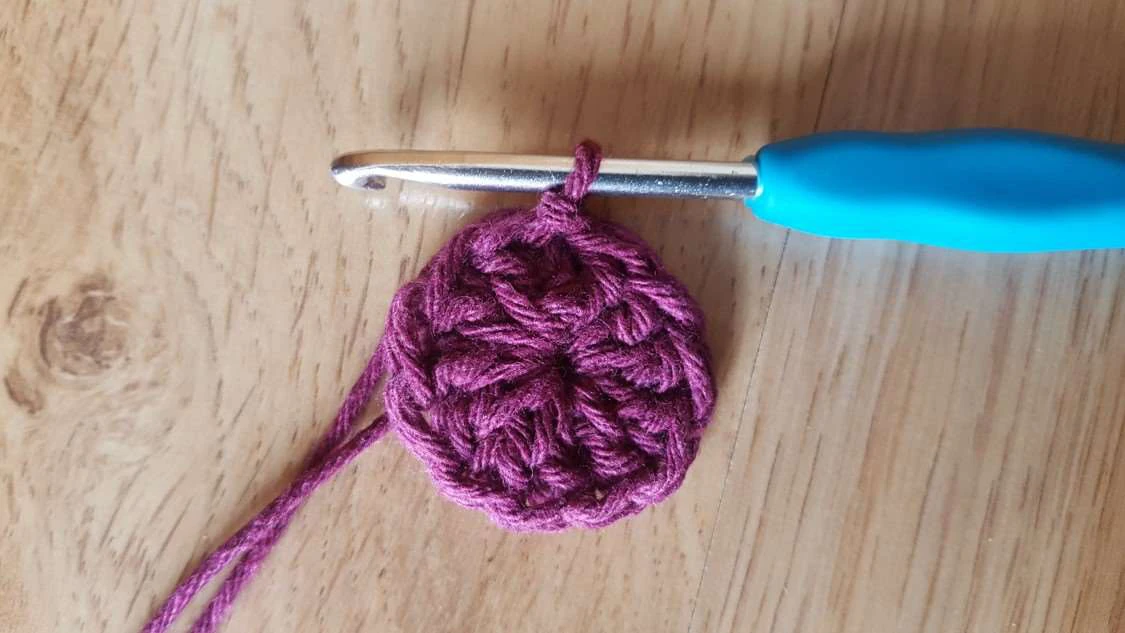
Row 1: On a magic ring Ch 2 (counts as a double crochet) and then add 11 Dc into the ring (12
stitches in total). Pull the thread to close the ring and join with a Sst.
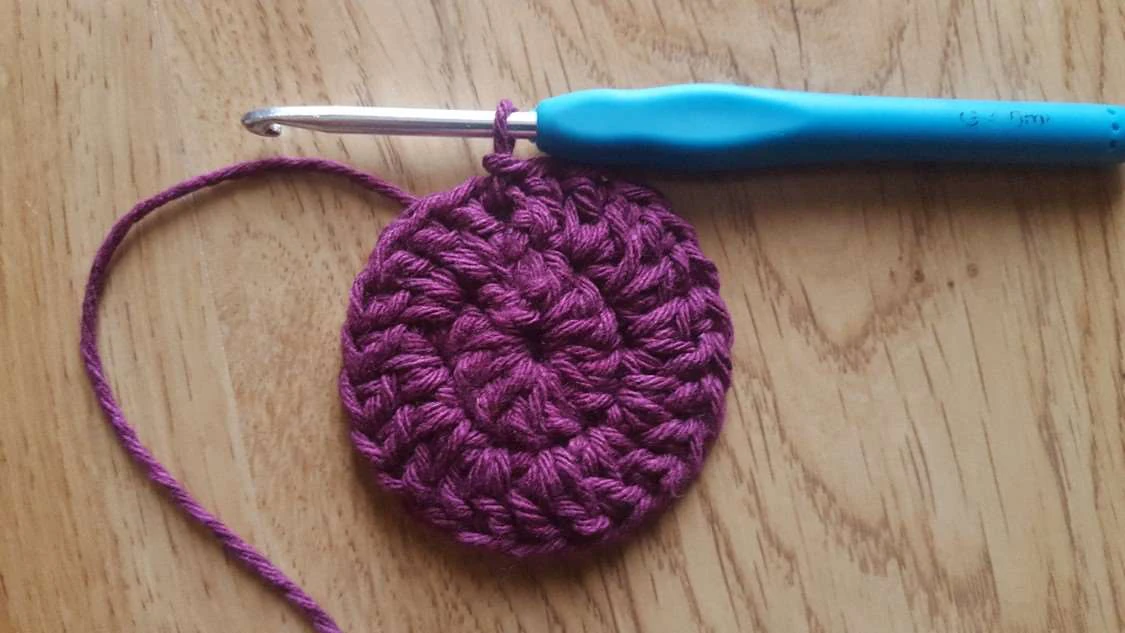
Row 2: Ch 2 (counts as a double crochet) and then add 1 Dc in the same stitch from Row 1. Add
two Dc over each of the stitches from Row 1 (24 stitches in total). Join with a Sst.
Keeping it Real 2023 5
Row 3: Ch 2 (counts as a double crochet), then add two Dc over the next stitch from previous
row. Alternated *one Dc in the next stitch, two Dc in the following stitch*. Repeat between * until
the end of the row. Join with a Sst (36 stitches in total).
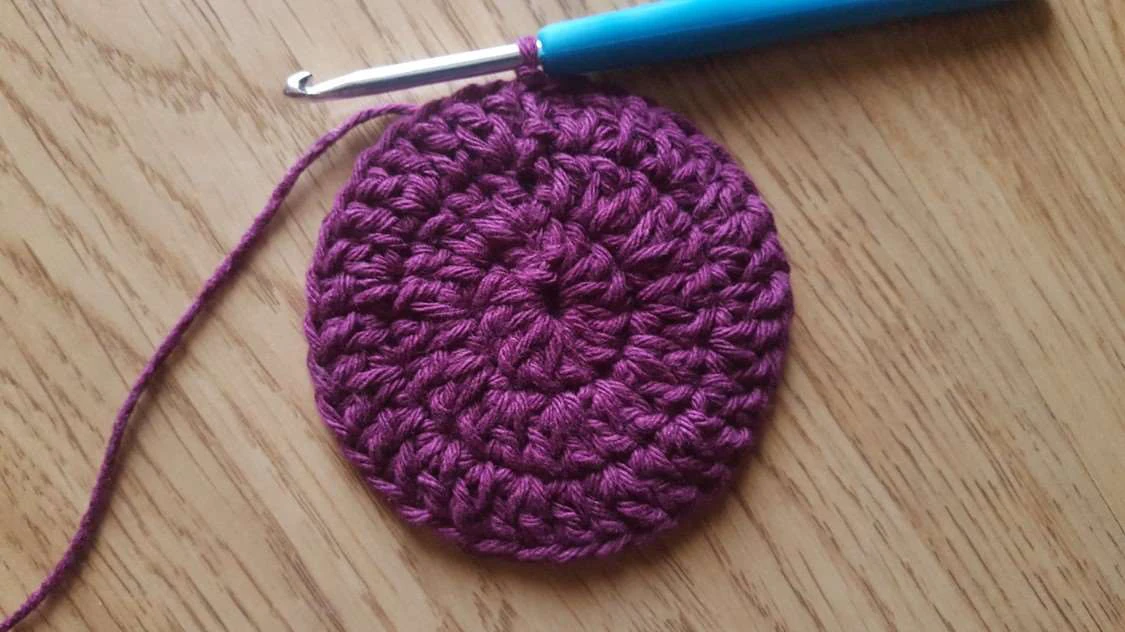
Row 4: Ch 2 (counts as a double crochet), one Dc in the next stitch from previous row, two Dc in
the following one. *One Dc, one Dc, two Dc in the following stitch*. Repeat between * until the
end of the row. Join with a Sst (48 stitches in total).
Keeping it Real 2023 6
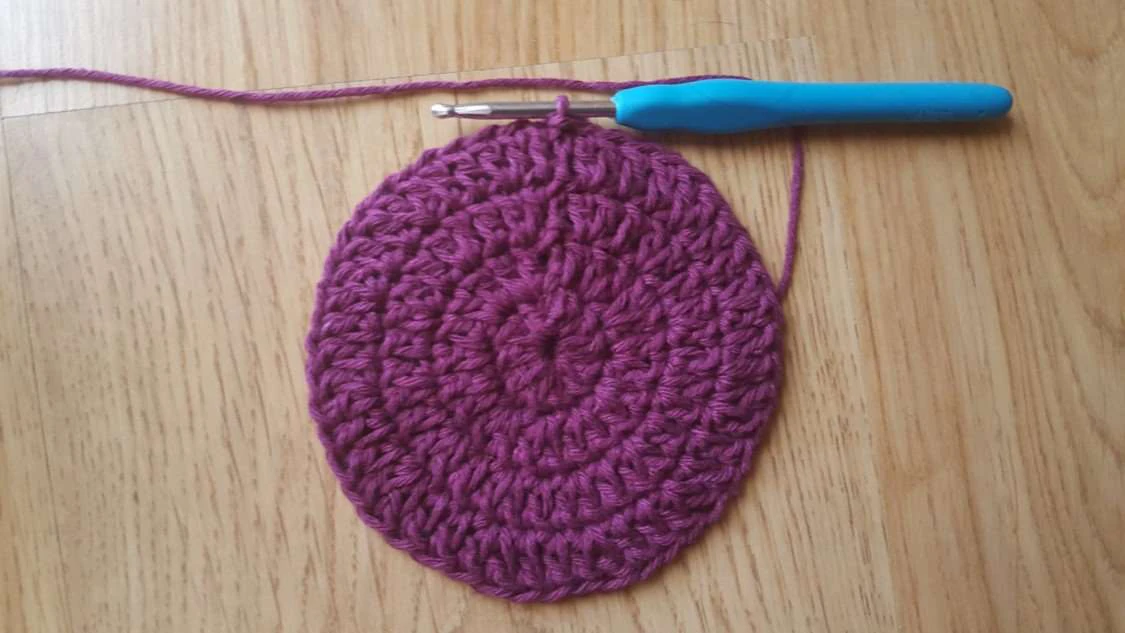
Row 5: Ch 2 (counts as a double crochet), one Dc in each of the next two stitches from previous
row, two Dc in the next one. *One Dc, one Dc, one Dc, two Dc in the following stitch*. Repeat
between * until the end of the row. Join with a Sst (60 stitches in total).
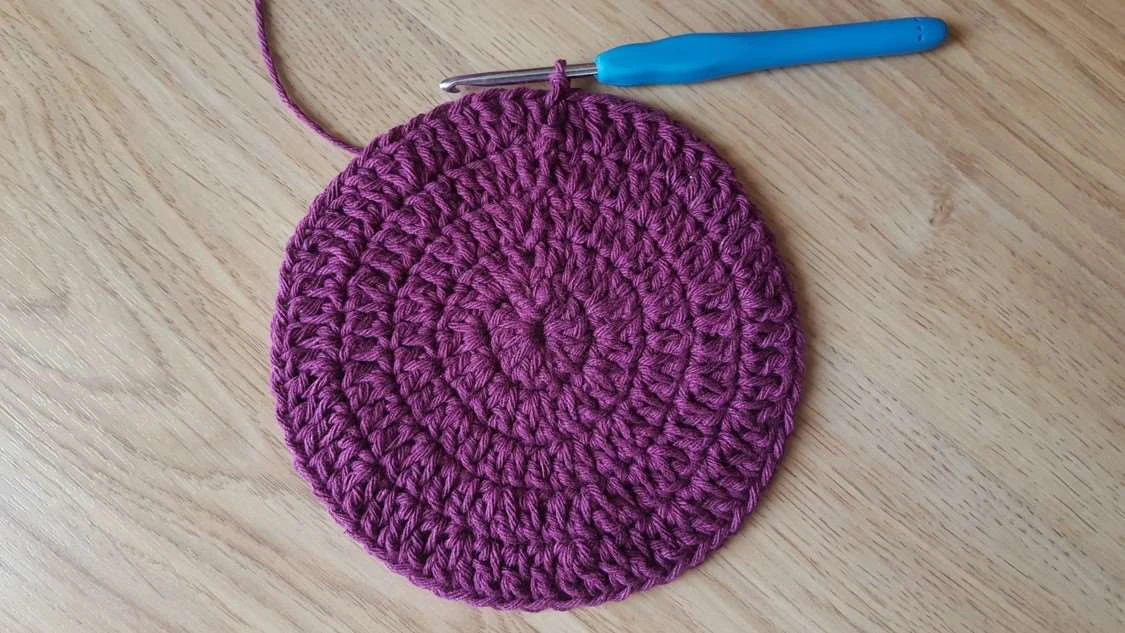
Row 6: Ch 2, *Sc in the next stich from the previous row, Ch 1*. Repeat between * until the end
of the row (you will have the same sixty stitches from the previous row, now with a chain space
between each of them).
Keeping it Real 2023 7
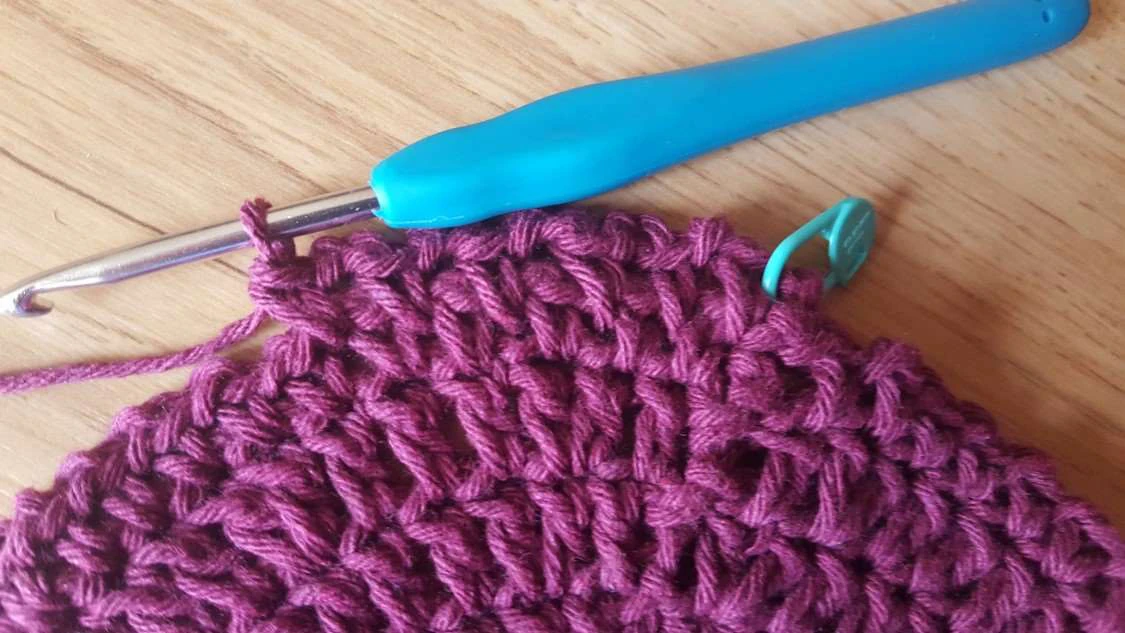
From this point onwards it’s useful to use a crochet marker at the first chain of each row so that
you can keep track of the increases. Also, there’s no need to slip stitch at the end of each row,
you can work in spiral and start the next row chains right after the last stitch from the previous
row.
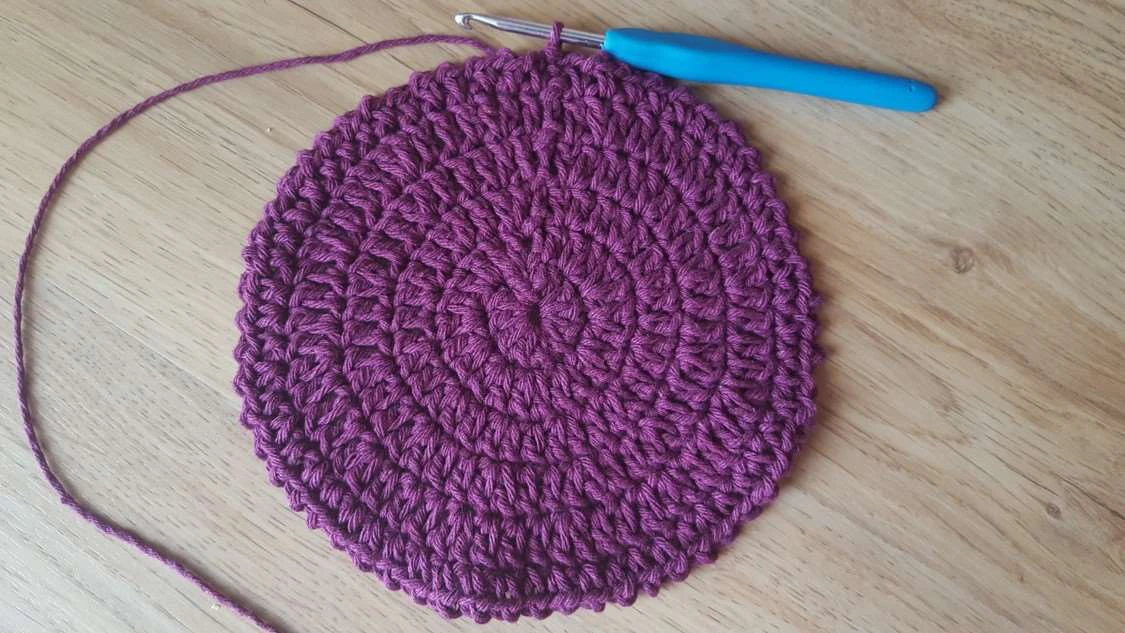
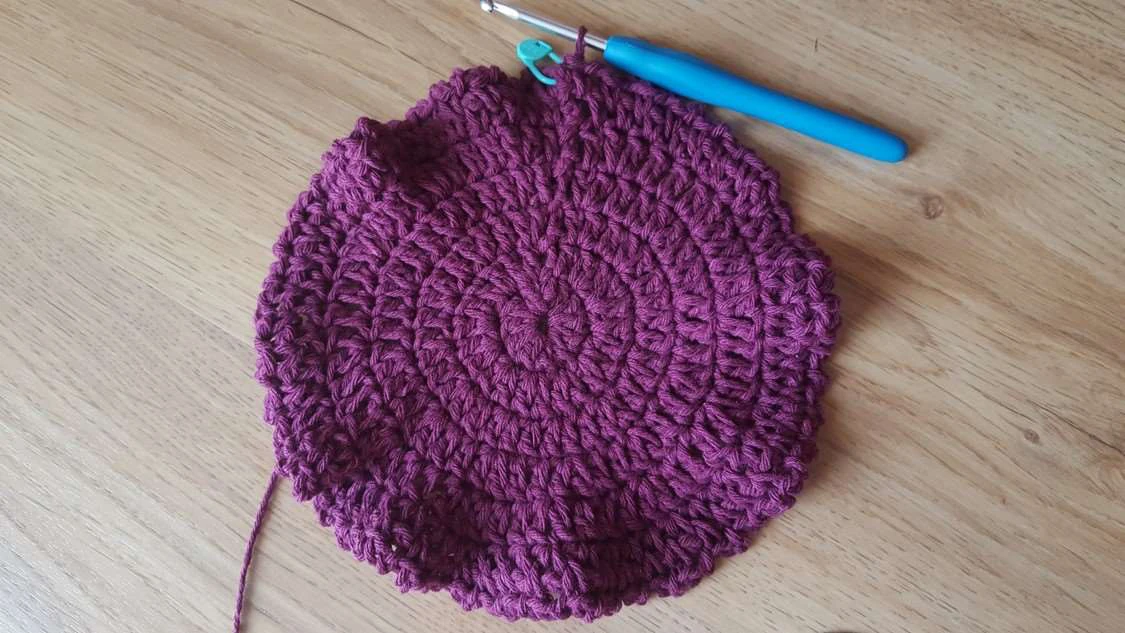
Row 7: *Ch 2, Sc over the next chain from the previous row*. Repeat between * until the end of
the row. Please note that each Sc goes over the chain space from previous row, not the stitches
from previous row.
Keeping it Real 2023 8
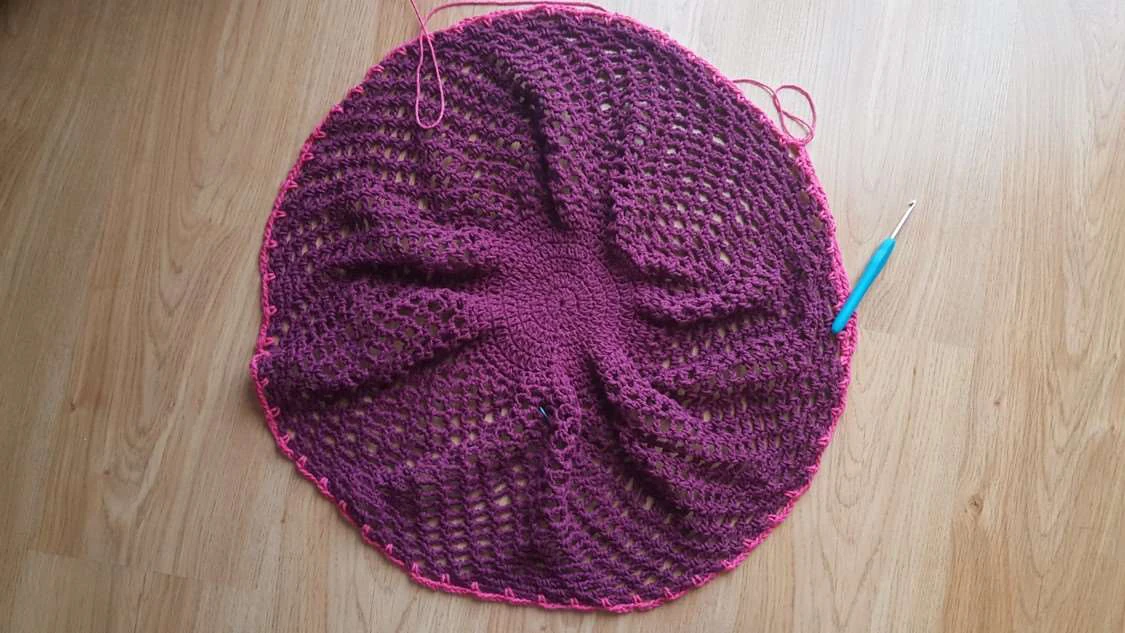
The wavy effect is totally normal and will stabilize once the increments are over and enough rows
are added to form the body of the bag.
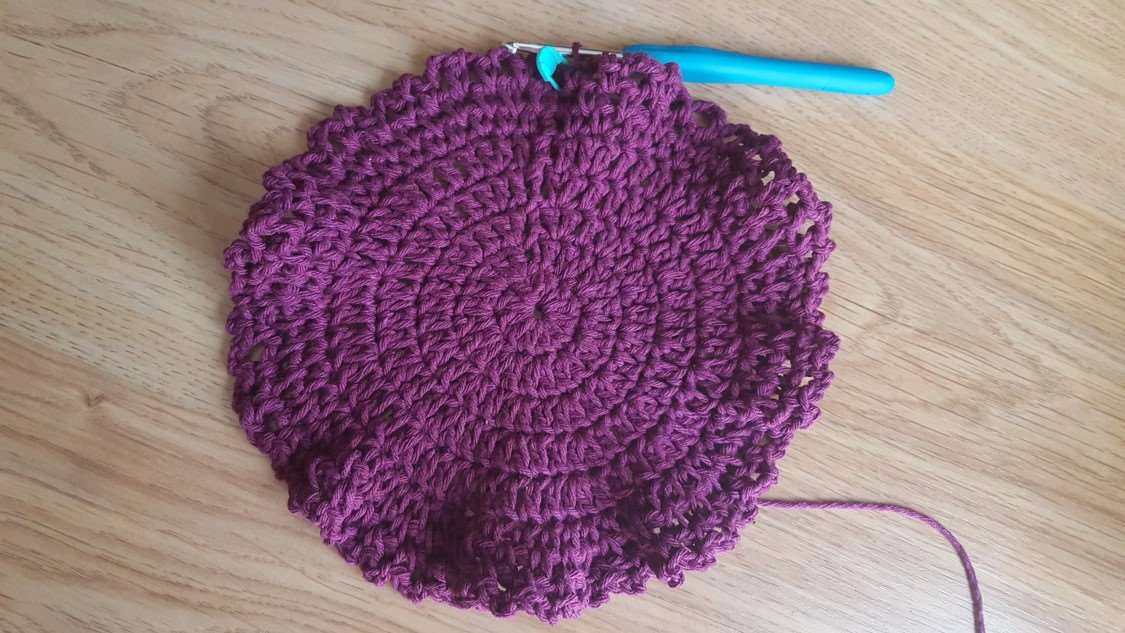
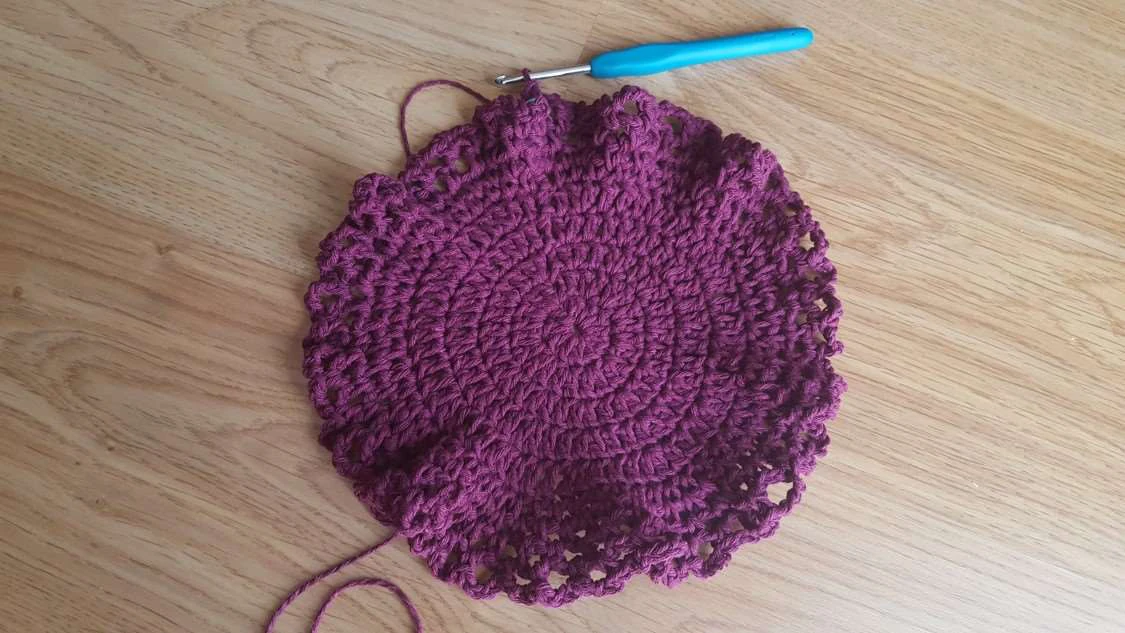
Row 8: *Ch 3, Sc over the next chain from the previous row*. Repeat between * until the end of
the row.
Row 9: *Ch 4, Sc over the next chain from the previous row*. Repeat between * until the end of
the row.
Keeping it Real 2023 9
It you’re using stitch markers, place one now at the end of this row and leave it there. Since the
next rows are a repetition of row 9, it is much easier to keep track of the number of rows you’ve
finished if you know where row 9 ends and row 10 begins. If you’re not using stitch markers, you
can for example tie a contrasting piece of yarn in place.
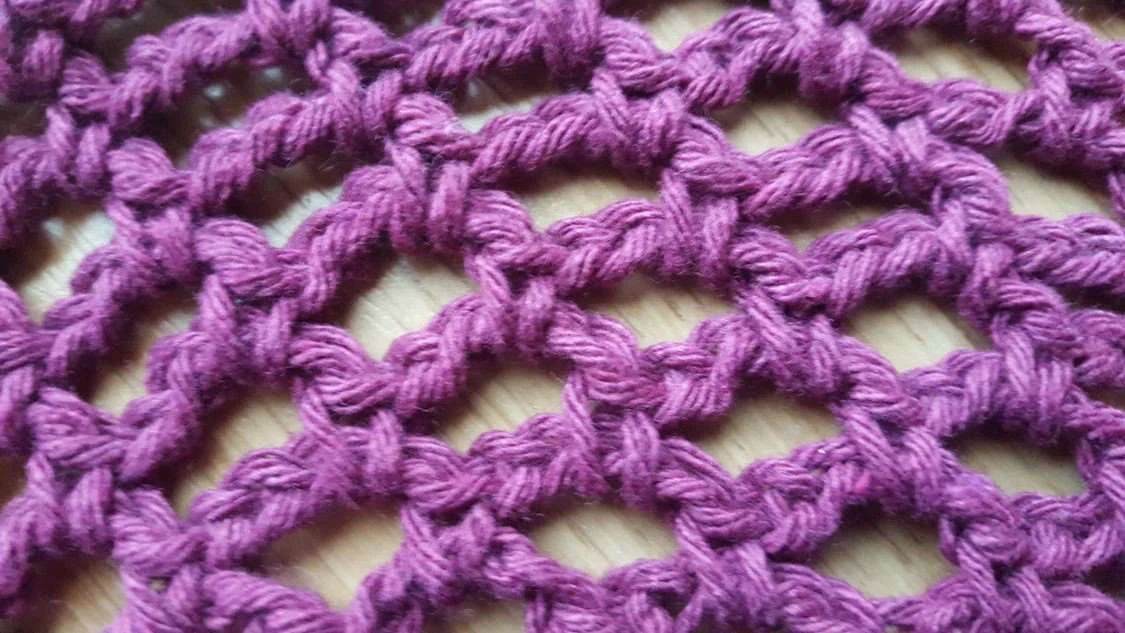
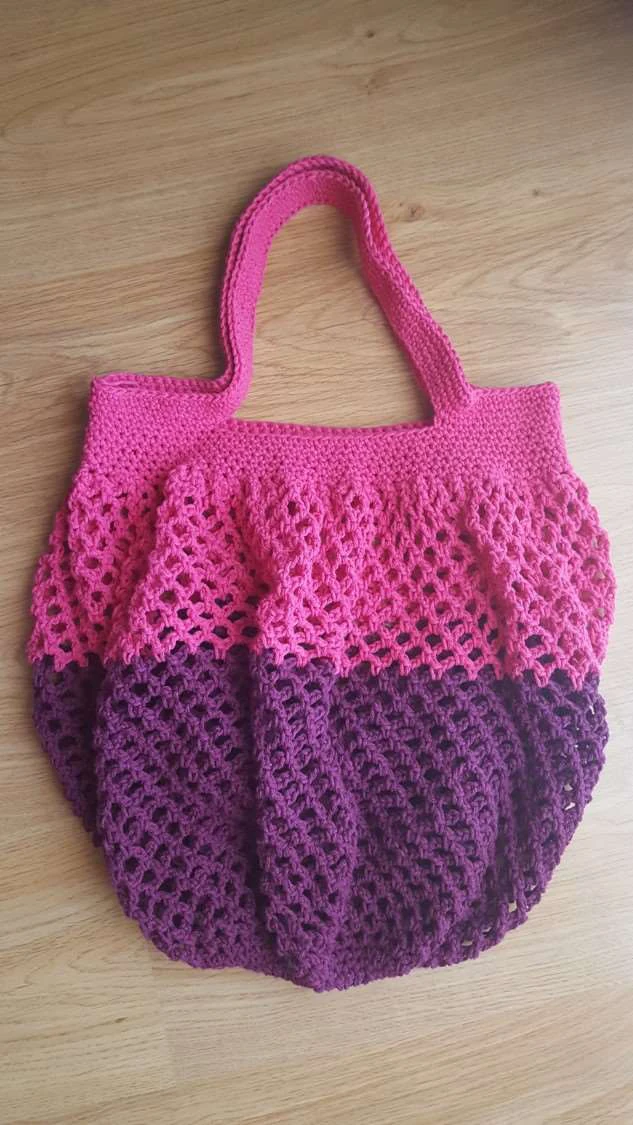
Rows 10 to 40: repeat row 9. This is how your stitches will look like as you work:
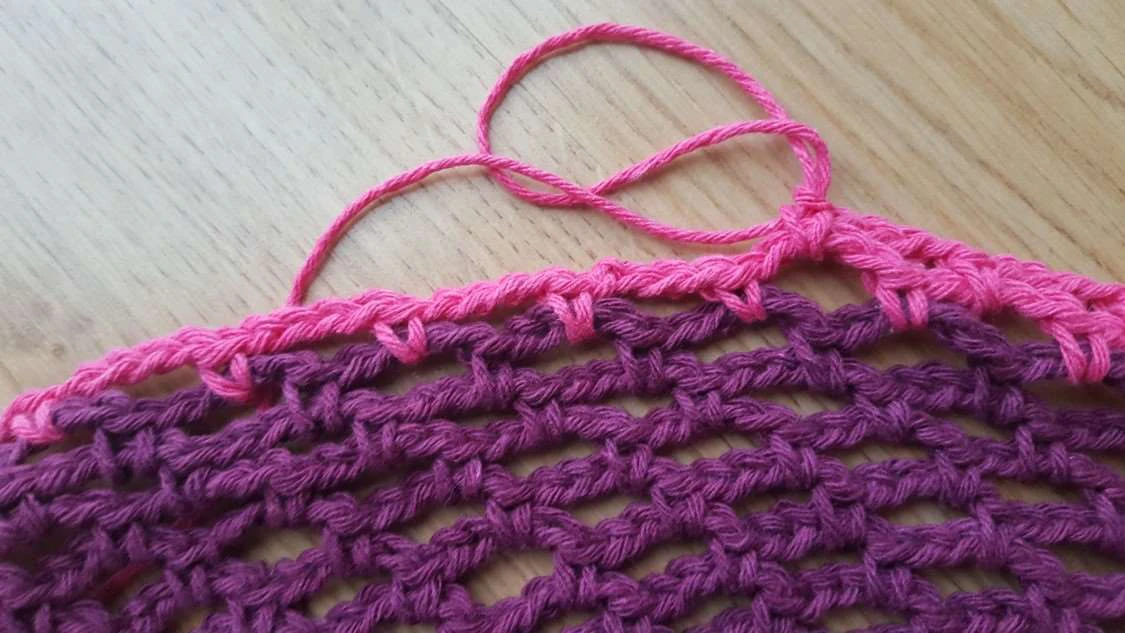
You can make your bag all in one color, or change colors any time you want. In the case of this
particular bag, I used two colors, so you can see below the color change:
Keeping it Real 2023 10
This is how you can expect your work to look like at row 19:
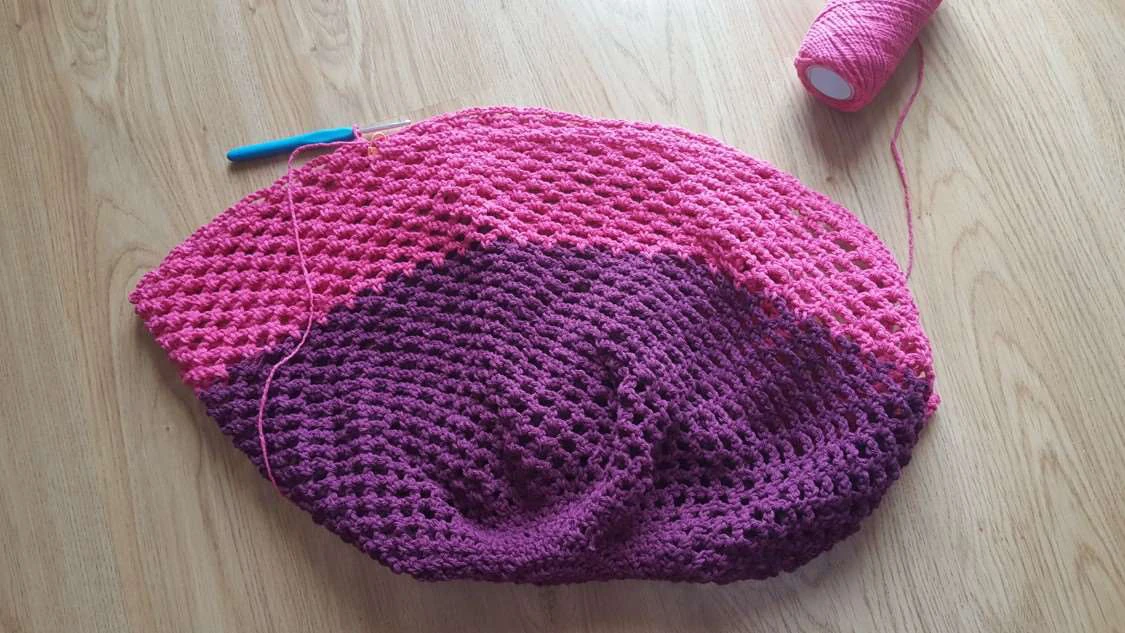
And this is how it will look at the end of row 40:
Row 41: Ch 2. *One Sc over the Sc from previous row, one Sc over the chain from previous row,
one Sc over the next Sc from previous row, skip the next chain*. Repeat the pattern between *
until the end of the row. Sst over the initial chain to finish the row (90 stitches in total).
Basically you’ll be adding one Sc over each Sc from row 40 and one Sc on alternated chains from
row 40.
Keeping it Real 2023 11
Row 42: Ch 2. Add one Sc over each of the stitches from previous row. Sst to join at the end of
the row (always 90 stitches).
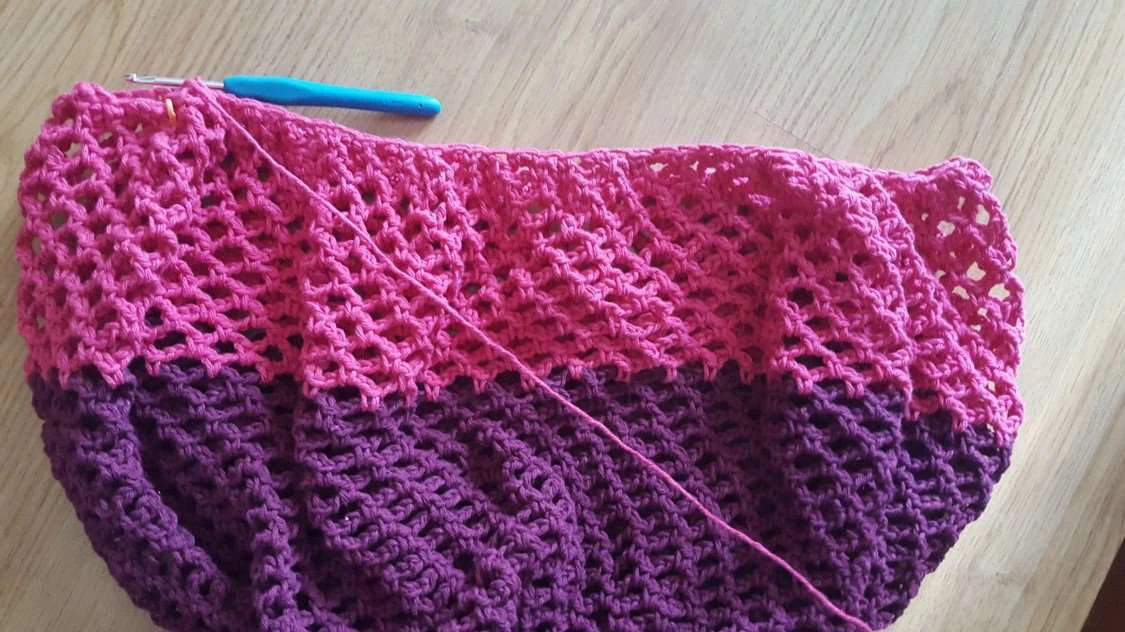
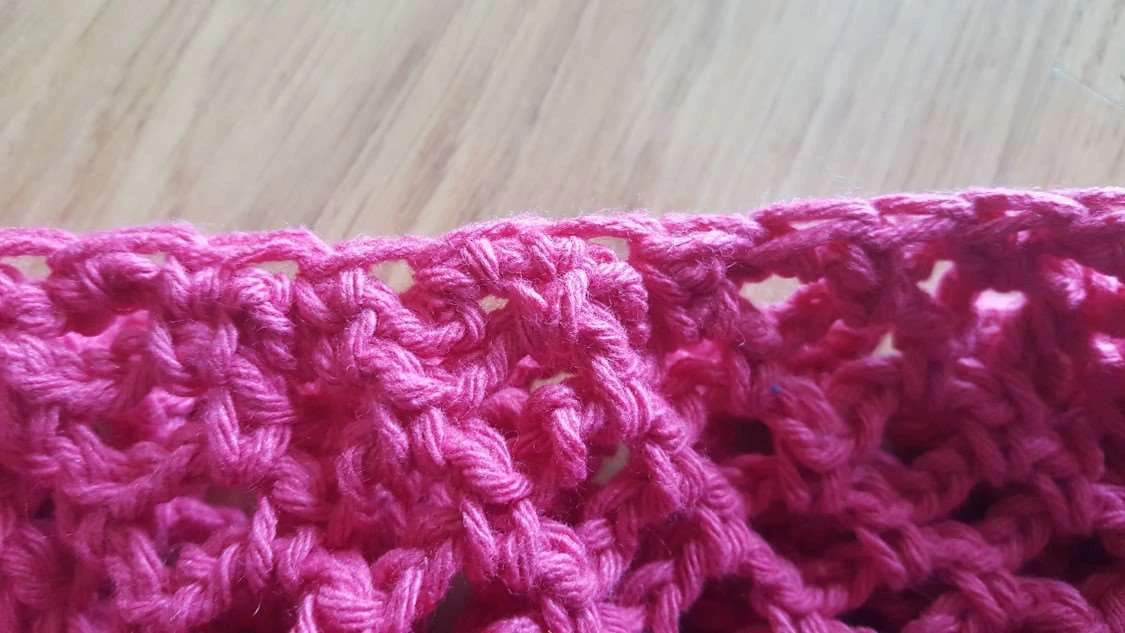
Rows 43 – 46: Repeat row 42. This is what the bag will look like at this point:
Keeping it Real 2023 12
After row 46, you will start to create the bag handles.
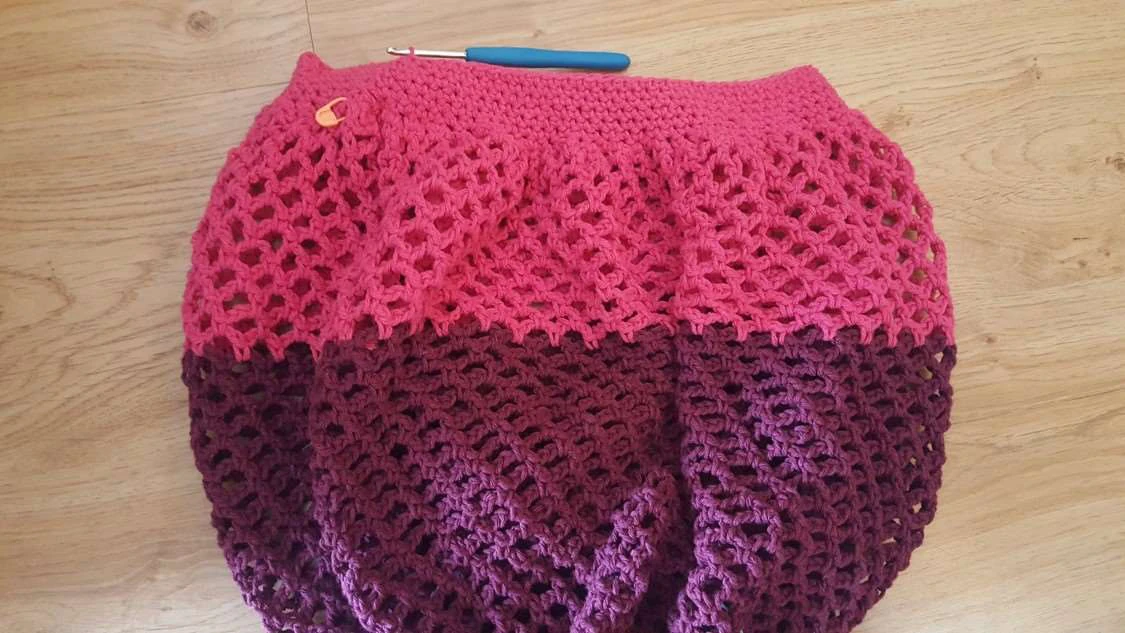
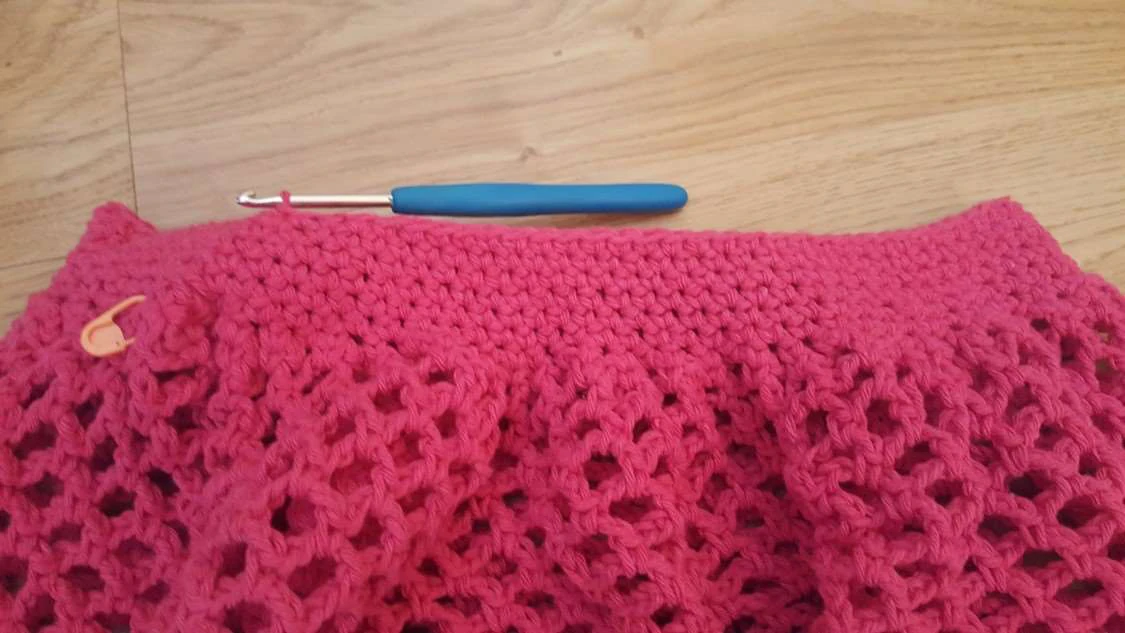
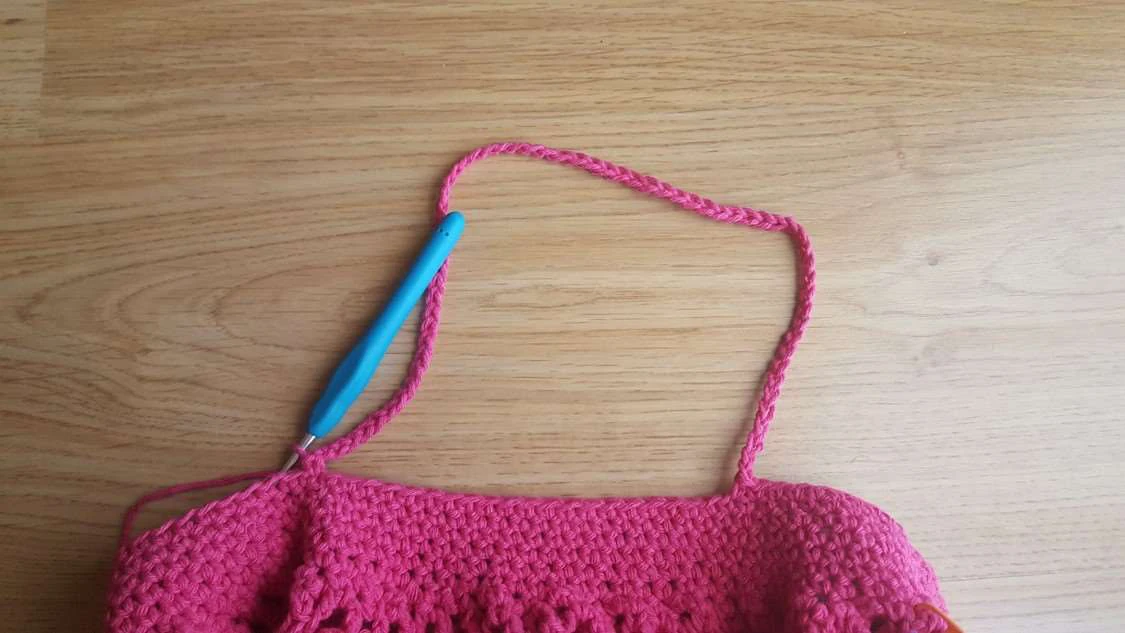
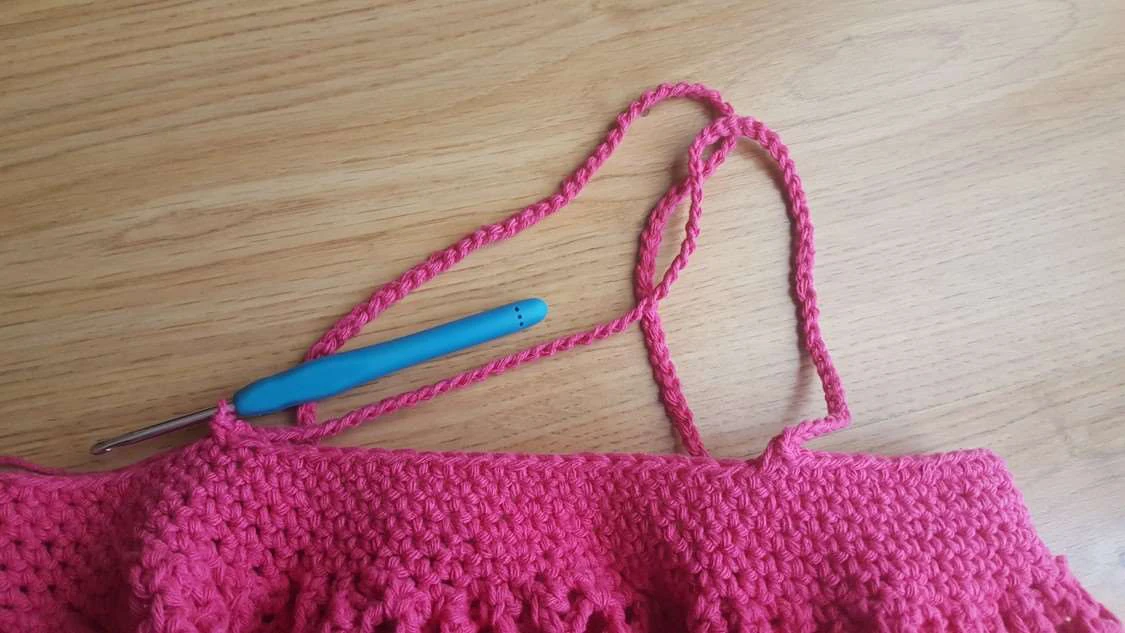
Row 47: Ch 2. Add one Sc over each of the next 12 stitches from previous row. Ch 65, skip 20
stitches and then add one Sc over each of the next 25 stitches from previous row. Ch 65, skip 22
stitches, and add one Sc over the next 13 stitches from previous row, to complete the row. Sst
over the initial chain to join.
Keeping it Real 2023 13
Keeping it Real 2023 14
Note: as per the instructions above, the handles will have an approximate total length of 47
cm/18.5 inches. If you want your bag handles longer or shorter, increase or decrease the 65
chains in row 47 (make sure the number of chains is the same on both handles). Everything else
remains the same.
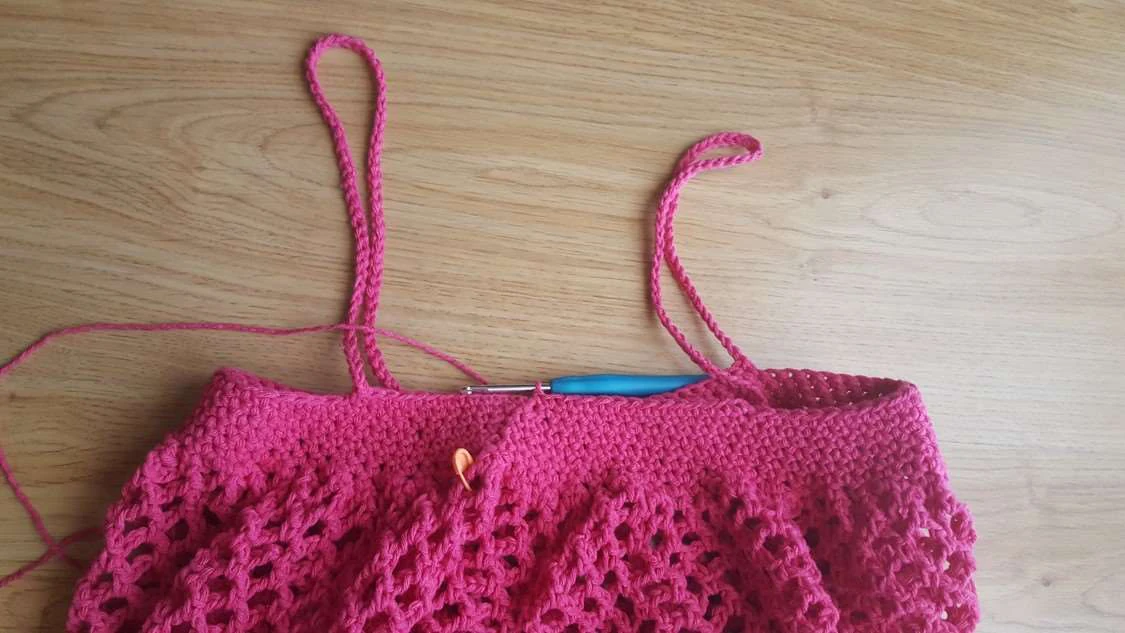
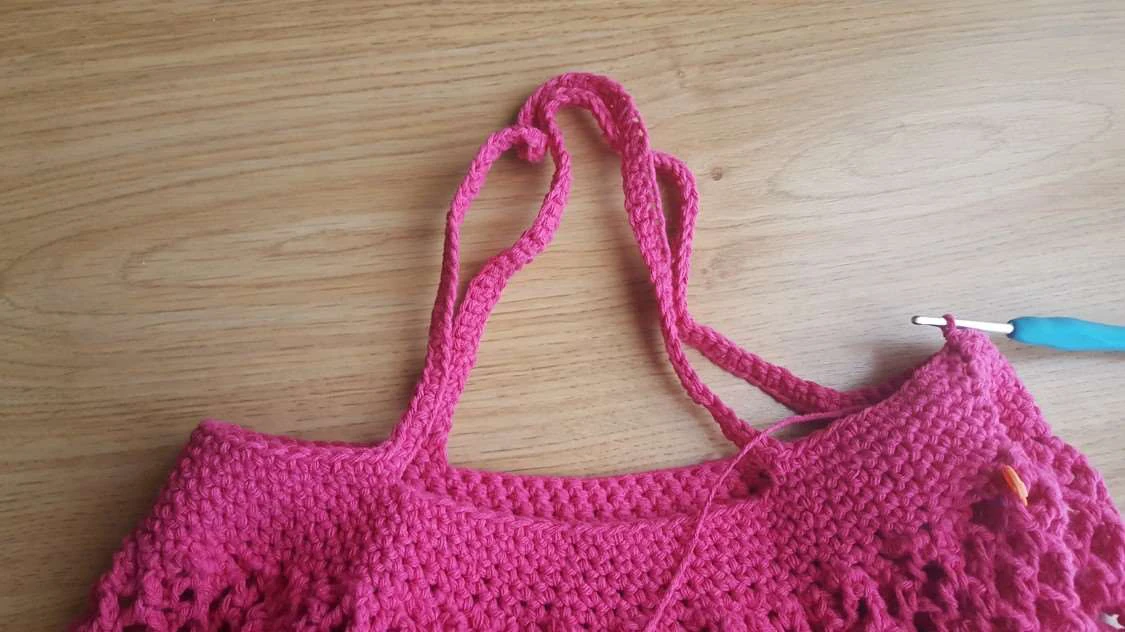
Row 48: Ch 2 and add one Sc over each stitch from previous row, including the chains. Sst to
join at the end.
Rows 49-51: Repeat row 48.
Keeping it Real 2023 15
Note: as per the instructions above, the handles will have an approximate total width of 2.5 cm/1
inch. If you want your bag handles wider or narrower, increase or decrease the number of rows
after row 48. Everything else remains the same.
Cut the yarn, weave in ends, and your new crochet market bag is ready to be used.
Recommended Digital Products
Handmade Crochet Corset Belt Pattern Boho Chic Waist Cincher with Busk & Ribbon Lacing Intermediate Crochet PDF Pattern
$4.99
The Highline Wristlet Keychain Crochet Pattern: Quick, Textured & Market-Ready Accessory
$3.99

The Ultimate Beginner’s Crochet Guide: Master 45+ Essential Techniques & Practical Projects
$5.99

From Loop to Perfection: The Ultimate Step-by-Step Crochet Master Guide
$9.99
Get this Crochet Pattern as a Free PDF
Enter your email to receive the PDF associated with this article.
Leave a Reply