
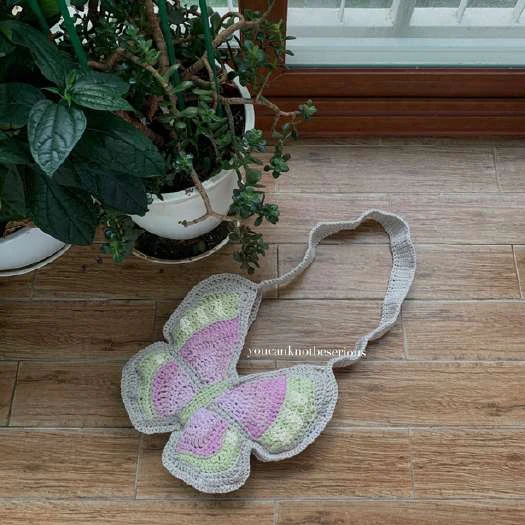
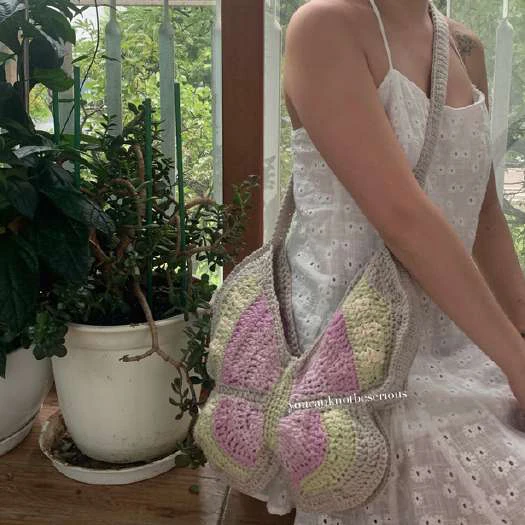
Butterfly Bag
BUTTERFLY BAG
Crochet Pattern
Crochet hook 4.5 mm
Yarn needle and scissors
Acrylic/ Cotton yarn in Medium weight
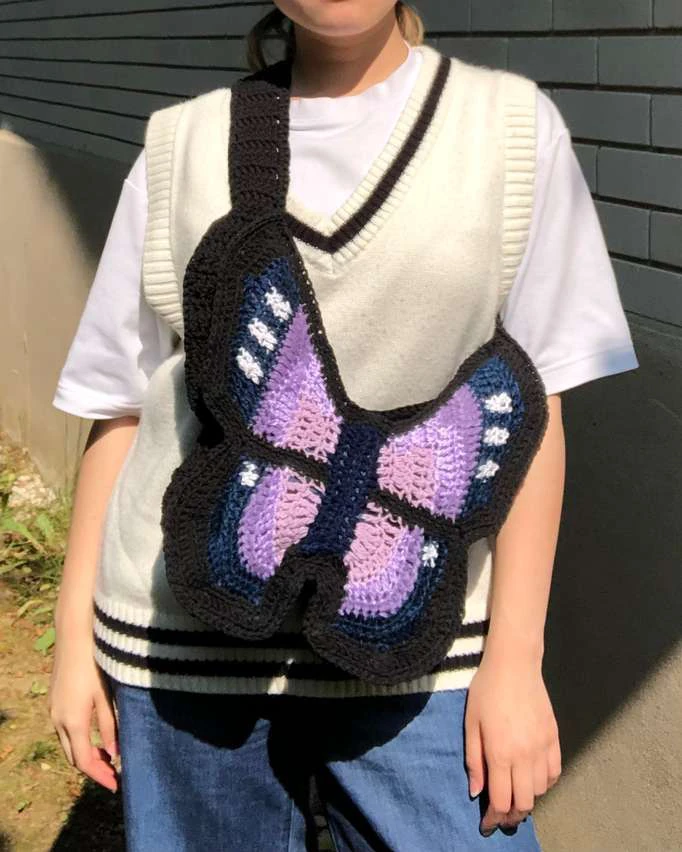
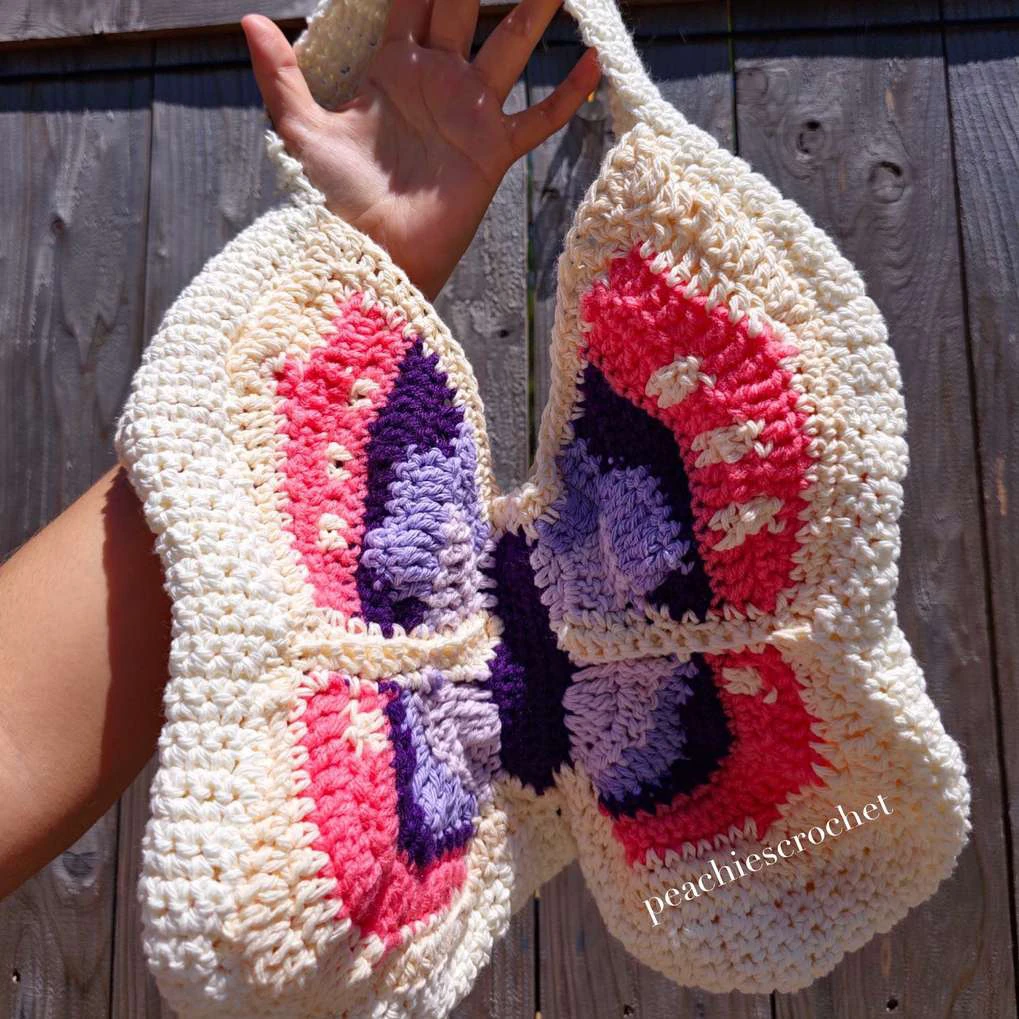
The pictured bag was made in a mix of
acrylic yarn for 166g and cotton yarn for the
border & strap for 330g.
(size 4)
MATERIALS
Ch – chain
Sc – single crochet stitch
Dc – double crochet stitch
Tr – treble crochet
Inc – 2 stitches in one stitch
Sc3tog – single crochet 3 together
Hdc3tog – half double crochet 3 together
Sl st – slip stitch
St(s) – stitch(es)
TO – turn over
ABBREVIATIONS
li
Skilled level: Intermediate.
This pattern starts with making two
butterflies, then crocheting the strap,
and connecting all parts together.
Crochet with your right side out for
all parts, meaning the tail from the
foundation row is on the left.
Ch 1 counts as turning chain and Ch 3
counts as 1 dc.
Ch 3 = 1 dc = 1 stitch
Ch 3 at the end of the row = 1st
stitch for the dc row.
In all dc rows, start from the 2nd
stitch.
Weave in the loose ends as work
progresses.
You can add a lining if using soft yarn
so it does not stretch too much.
DESCRIPTION
li
Foundation row: Ch 17,
Row 1: sc in the 2nd ch from your
hook, sc 14, sc 3 into the next stitch,
sc 14, sc inc, sl st and ch 1. (34)
Row 2: sc 16, sc inc, sc 16, sc inc, sl
st and fasten off. (36)
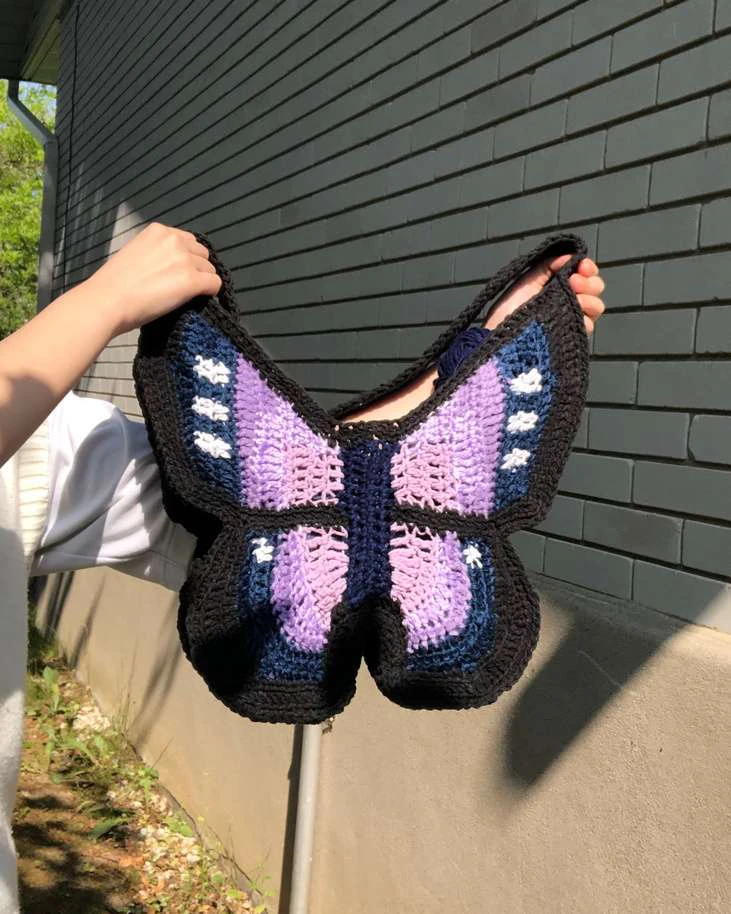
Size: 3.5 cm x 12.5 cm
Crochet in rounds.
ABDOMEN
Stop crocheting before pulling through the
last 2 loops on the hook. Drop the old
color of yarn.
Lay the new yarn over the hook, and pull
the new color through the last 2 loops to
complete the stitch. Then continue
crocheting with the new yarn.
If you‘re done with the old yarn, fasten off.
This works for all stitches.
COLOR CHANGING
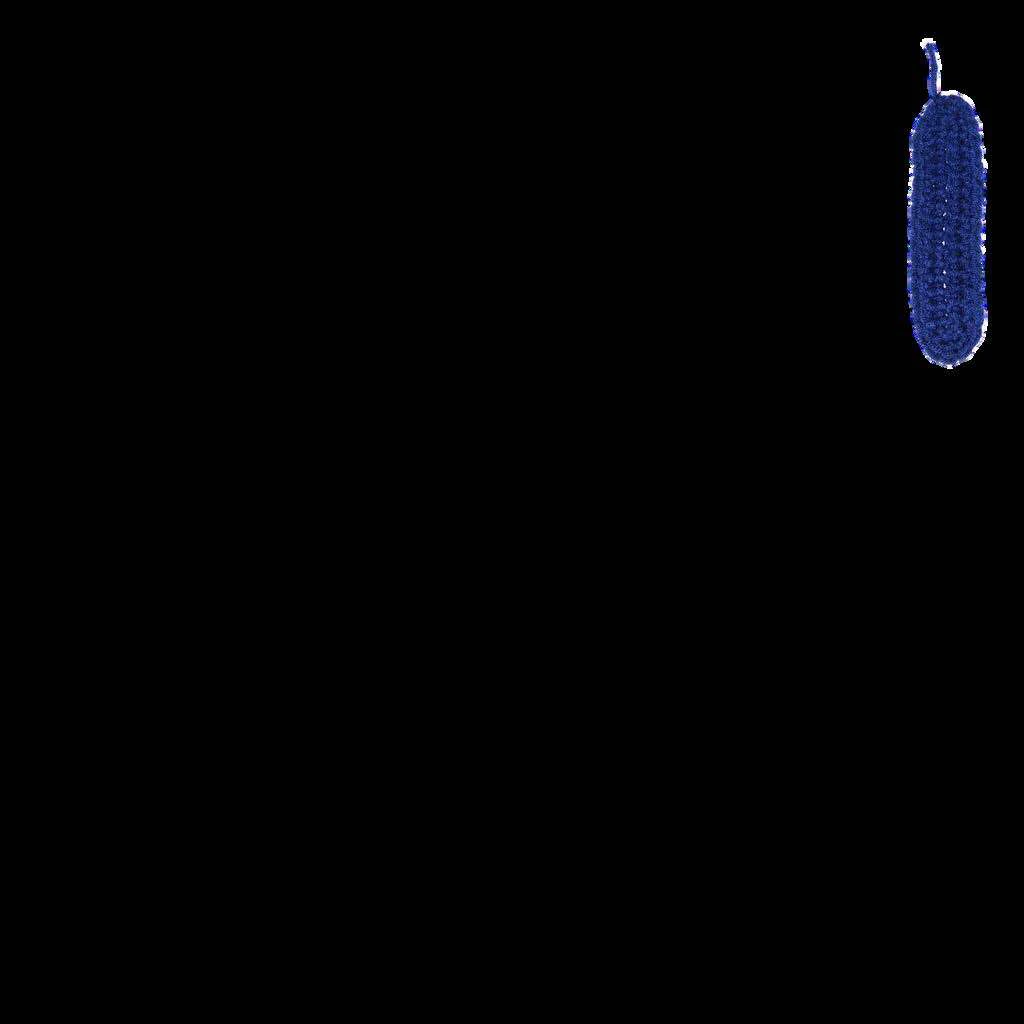

Graph of the butterfly:
Colors: Light purple-1, medium purple-2,
dark purple-3, blue-4 and white-5.
Attach your yarn-2 to the 3rd stitch of the
abdomen with the right side facing up.
Row 1: Insert your hook and make a
chain, sc in the same stitch (change to
yarn-1), then dc 3, sc 1, ch 3 and TO. (5)
Row 2: 2 dc inc (change to yarn-2) dc 1,
dc inc, ch 3 and TO. (8)
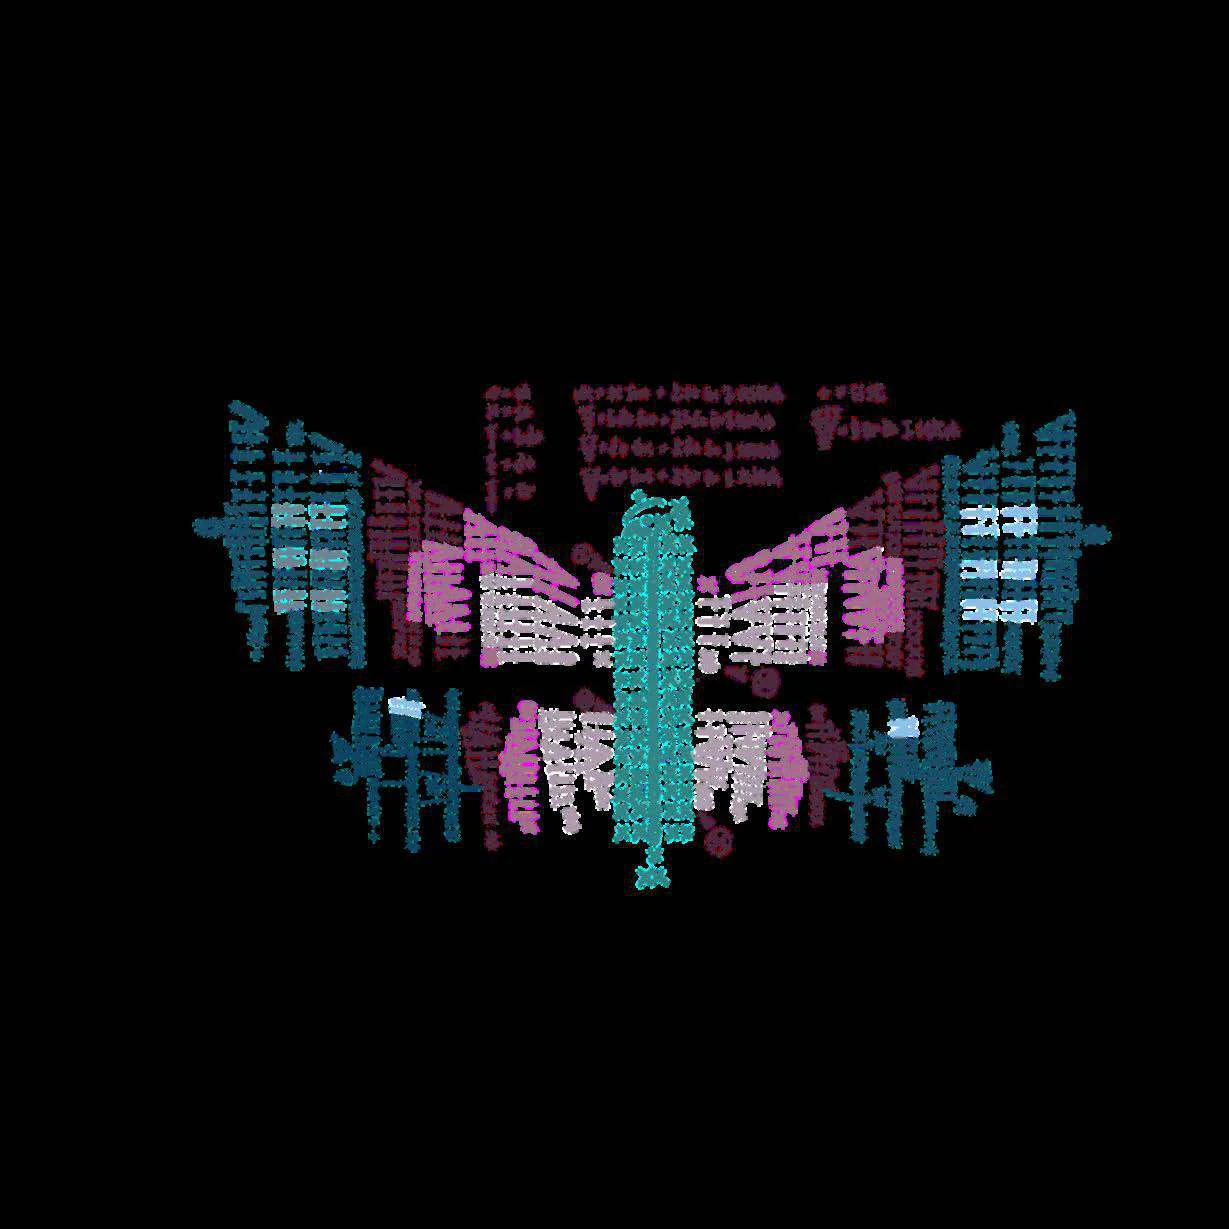
FOREWINGS(LEFT)
Row 3: Dc in the same stitch, dc inc
(change to yarn-1), tr 2, dc 4 (change to
yarn-2), ch 1 and TO. (10)
Row 4: Sc 1 (change to yarn-1), sc 5
(change to yarn-2), sc 1, dc 2, dc inc
(change to yarn-3), ch 3 and TO. (11)
Row 5: Dc in the same stitch, dc 2
(change to yarn-2), dc inc, dc 2, 2 tr inc,
dc 1 (change to yarn-3), dc 2, ch 1 and
TO. (15)
Row 6: Sc 3 (change to yarn-2), sc 7
(change to yarn-3), sc 4, sc inc, ch 3 and
TO. (16)
Row 7: Dc in the same stitch, dc 2, tr 4,
dc 4, sc 5 (change to yarn-4), ch 1 and
TO. (17)
Row 8: Sc across the row, ch 3 and TO.
(17)
FOREWINGS (L)
Row 9: Dc in the same stitch, dc 2
(change to yarn-5), dc 2 (change to
yarn-4), dc 2 (change to yarn-5), dc 2
(change to yarn-4), dc 2 (change to
yarn-5), dc 2 (change to yarn-4), dc 4,
ch 1 and TO. (18)
Row 10: Sc 4 (change to yarn-5), dc 2
(change to yarn-4), dc 2 (change to
yarn-5), dc 2 (change to yarn-4), dc 2
(change to yarn-5), dc 2 (change to
yarn-4), dc 3, sc inc, ch 3 and TO. (19)
Row 11: Dc in the same stitch, dc 4, tr
2, ch 4, sl st to the 2nd tr, tr 2, dc 4,
hdc 2, sc 3, sl st and fasten off. (20)
You have finished the the left
forewing. Let's work on the right
forewing.
FOREWINGS(L)
FOREWINGS (RIGHT)
Attach yarn-1 to the 28th stitch of the
abdomen with the right side facing up.
Row 1: Insert your hook and ch 1, sc in the
same stitch, dc 3 (change to yarn-2), sc 1,
ch 3 and TO. (5)
Row 2: Dc in the same stitch, dc 1 (change
to yarn-1), 2 dc inc, dc 1, ch 3 and TO. (8)
Row 3: Dc 3, tr 2 (change to yarn-2), 2 dc
inc, ch 3 and TO. (10)
Row 4: Dc in the same stitch, dc 2, sc 1
(change to yarn-1), sc 5 (change to yarn-
2), sc 1 (change to yarn-3), ch 3 and TO.
(11)
Row 5: Dc 1 (change to yarn-2), dc 1, 2 tr
inc, dc 2, dc inc (change to yarn-3), dc 2,
dc inc, ch 1 and TO. (15)
Row 6: Sc inc, sc 4 (change to yarn-2), sc
7 (change to yarn-3), sc 3, ch 1 and TO.
Row 7: Sc 5, dc 4, tr 4, dc 2, dc inc
(change to yarn-4), ch 1 and TO. (17)
Row 8: Sc across the row, ch 3 and TO.
(17)
Row 9: Dc 3 (change to yarn-5), dc 2
(change to yarn-4), dc 2 (change to yarn-
5), dc 2 (change to yarn-4), dc 2 (change
to yarn-5), dc 2 (change to yarn-4), dc 2,
dc inc, ch 1 and TO. (18)
Row 10: Sc inc, dc 3 (change to yarn-5),
dc 2 (change to yarn-4), dc 2 (change to
yarn-5), dc 2 (change to yarn-4), dc 2
(change to yarn-5), dc 2 (change to yarn-
4), sc 4, ch 1 and TO. (19)
Row 11: Sl st, sc 3, hdc 2, dc 4, tr 2, ch 4,
sl st to the 2nd tr, tr 2, dc 4, dc inc and
fasten off. (20)
FOREWINGS(R)
li
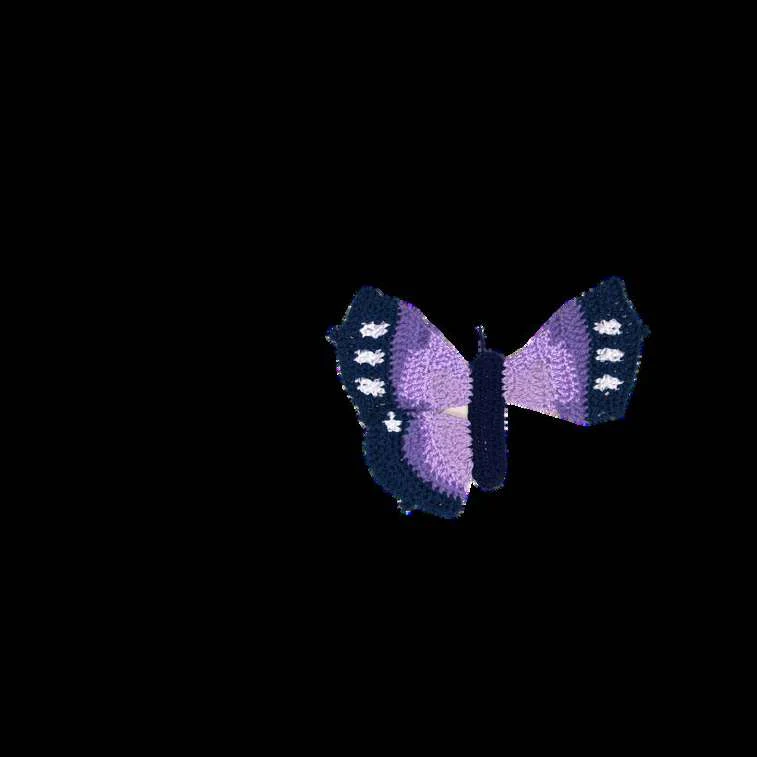
Attach your yarn-1 to the 10th stitch of the
abdomen with the right side facing up.
Row 1: Insert your hook and ch 3, dc in
the next stitch, tr 3 in one stitch, dc inc,
sc inc, ch 1 and TO. (9)
Row 2: Sc inc, hdc 3, dc 1, dc inc, dc 1, tr
2 (change to yarn-2), ch 1 and TO. (11)
Row 3: Sc 1, hdc 2, dc inc, tr 2, dc 2, hdc
2, sc 1 (change to yarn-3), ch 1 and TO.
(12)
Row 4: Sc 5, hdc inc, dc 2, tr inc, dc 1,
hdc 1, sc 1 (change to yarn-4), ch 1 and
TO. (14)
Row 5: Sc 3, sc inc, sc 5, sc inc, sc 4, ch
1 and TO. (16)
Row 6: Sc 9, hdc inc, dc inc, dc 2 (change
to yarn-5), dc 2 (change to yarn-4), sc 1,
ch 3 and TO. (18)
Row 7: Dc 5, 3 dc inc, dc 3, ch 4, sl st to
the last dc, sc 4, sl st 2 and fasten off.
(21)
HINDWINGS (LEFT)
Attach your yarn-1 to the 21st stitch of the
abdomen with the right side facing up.
Row 1: Insert your hook and ch 1, sc inc
in the same stitch, dc inc, tr 3 in the same
stitch, dc 2, ch 4 and TO. (9)
Row 2: Tr 1, dc 1, dc inc, dc 1, hdc 3, sc
inc (change to yarn-2), ch 1 and TO. (11)
Row 3: Sc 1, hdc 2, dc 2, tr 2, dc inc, hdc
2, sc 1 (change to yarn-3), ch 1 and TO.
(12)
Row 4: Sc 1, hdc 1, dc 1, tr inc, dc 2, hdc
inc, sc 5 (change to yarn-4), ch 1 and TO.
(14)
Row 5: Sc 4, sc inc, sc 5, sc inc, sc 3, ch
1 and TO. (16)
Row 6: Sc 1 (change to yarn-5), dc 2
(change to yarn-4), dc 2, dc inc, hdc inc,
sc 9, ch 1 and TO. (18)
Row 7: Sl st 2, sc 4, ch 4, sl st to the 4th
sc, dc 3, 3 dc inc, dc 6 and fasten off. (21)
HINDWINGS (RIGHT)
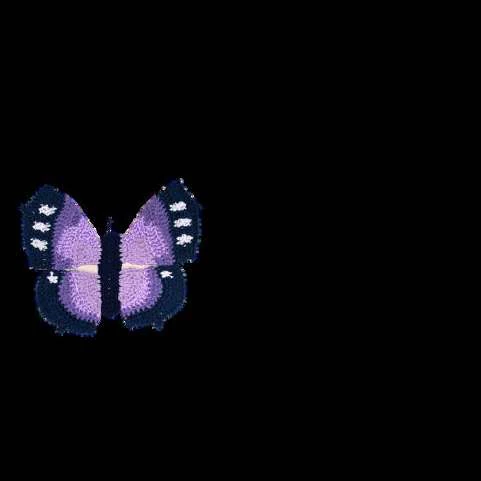
Here is the graph of the border. Row 1 is
graphed in black. Row 2 is in purple and
yellow.
Attach your yarn to the last stitch of the
abdomen with the right side facing up.
BORDER
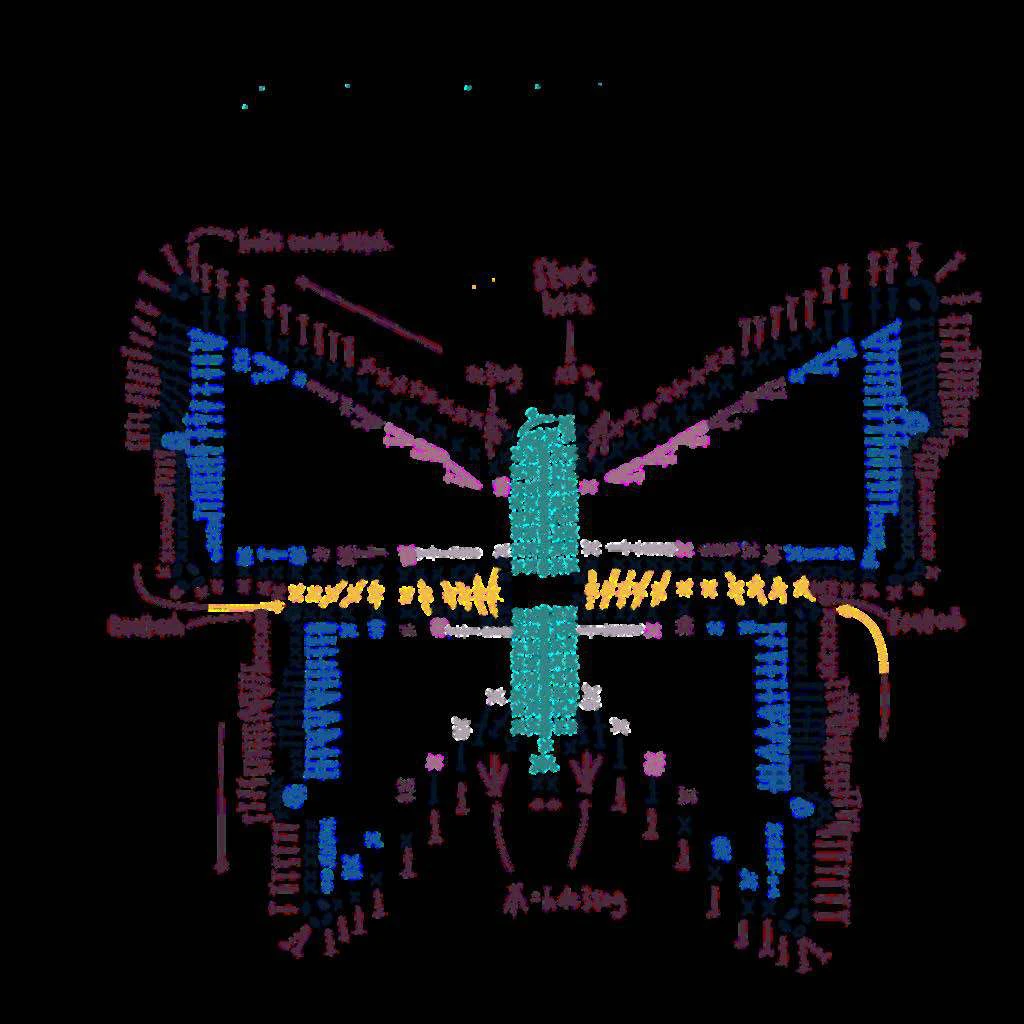
Row 1 (left forewing to the abdomen): Ch
1, sc 17, hdc 2, dc 2, ch 3, sl st to the 2nd
dc, dc in the same stitch, dc 1, tr 2, dc 4, sc
16, ch 3, sl st to last sc, sc in the same
stitch, sc 16
Row 1 (left hindwing to the bottom of the
abdomen): sc 10, ch 2, sl st to the last sc,
sc in the same stitch, sc 3, hdc 2, dc 4, hdc
2, sc 13, ch 3, sl st to the last sc, sc in the
same stitch, sc 3, hdc 2, dc 2, sc 4, dc 1
Row 1 (right hindwing to the abdomen): dc
1, hdc 2, sc 4, ch 3, sl st to the last sc, sc in
the same stitch, sc 12, hdc 2, dc 4, hdc 2, sc
4, ch 2, sl st to the last sc, sc in the same
stitch, sc 11
Row 1 (right forewing): sc 15, ch 3, sl st to
the last sc, sc in the same stitch, sc 15, dc
4, tr 2, dc 2, ch 3, sl st to the last dc, dc in
the same stitch, dc 1, hdc 2, sc 17, sl st and
ch 1. (214)
Row 2: Sc 1, sc3tog, sc 8, hdc 5, dc 4, tr 3,
dc 3, tr 5, dc 4, hdc 5, sc 14,
BORDER
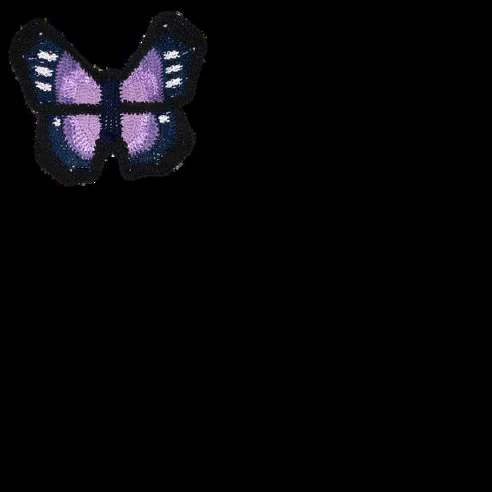
then fold the butterflies into half, right
sides in, and connect the lower part of the
forewing and the top of the hindwing
together by sc 11 and fasten it off.(Yellow
part of the graph)
Attach the yarn to the 2nd ch of the top left
corner of the left hindwing.
ch 1, sc in the same stitch, sc 4, hdc 2, 2 dc
inc, dc 9, hdc 9, hdc inc, hdc 7, hdc3tog, sl
st 2, hdc3tog, hdc 7, hdc inc, hdc 9, dc 9, 2
dc inc, hdc 2, sc 5.
Again, connect 2 wings together by sc 11
and fasten off.
Attach the yarn to the 4th stitch counting
from the right, after the ch 3, from the bottom
of the right forewing.
ch 1, sc in the same stitch, sc 13, hdc 5, dc
4, tr 5, dc 3, tr 3, dc 4, hdc 5, sc 8, sc3tog,
sc 1, sl st and fasten off. (208)
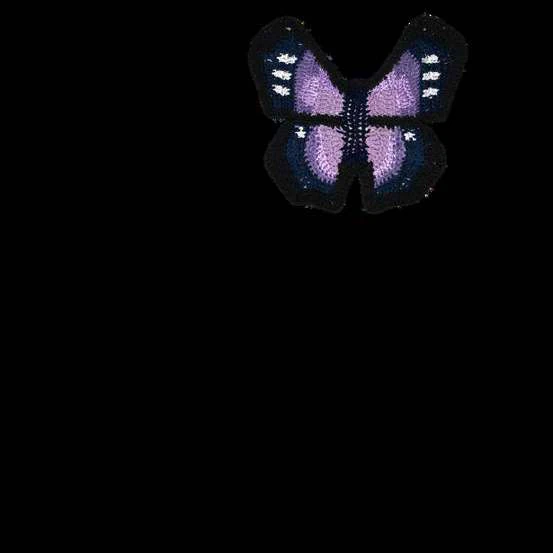
You have now finished 1 butterfly. Make 2
in total. Iron the butterflies if neccessary.
BORDER
ix
el
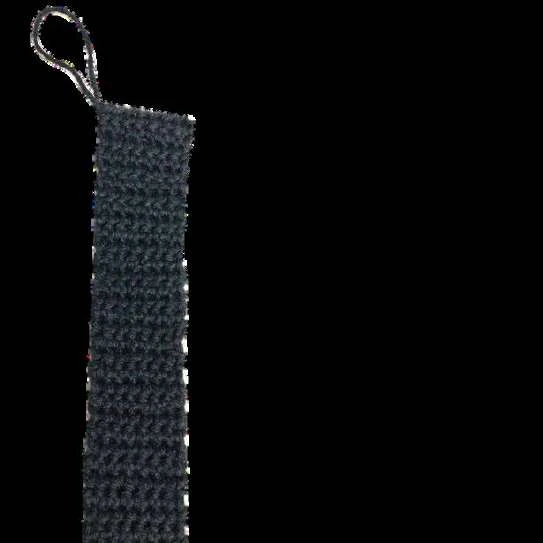
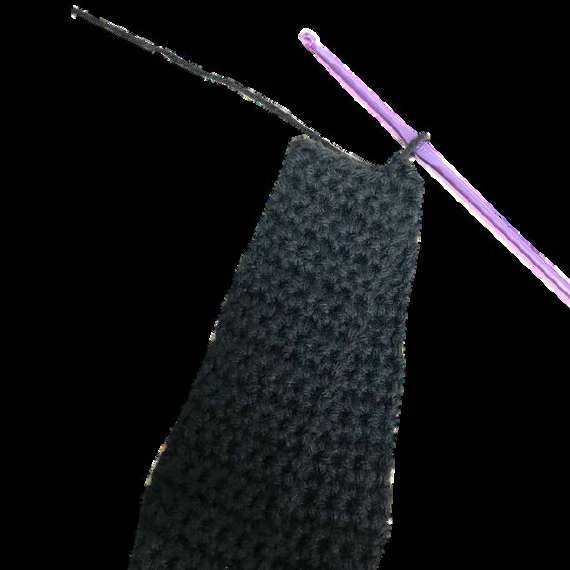
After finishing 2 butterflies, ch 8
(or till the desired width of the
strap), sc in the 2nd ch from your
hook, *sc across, ch 1 and TO*,
repeat till you reach the desired
length, including the border of
the butterfly.
Then you may sc/ sl st/ sew the
ends of the strap together, with
wrong sides facing up.
STRAP
First, crochet a
long rectangle.
Then, connect
the ends of the
strap together.
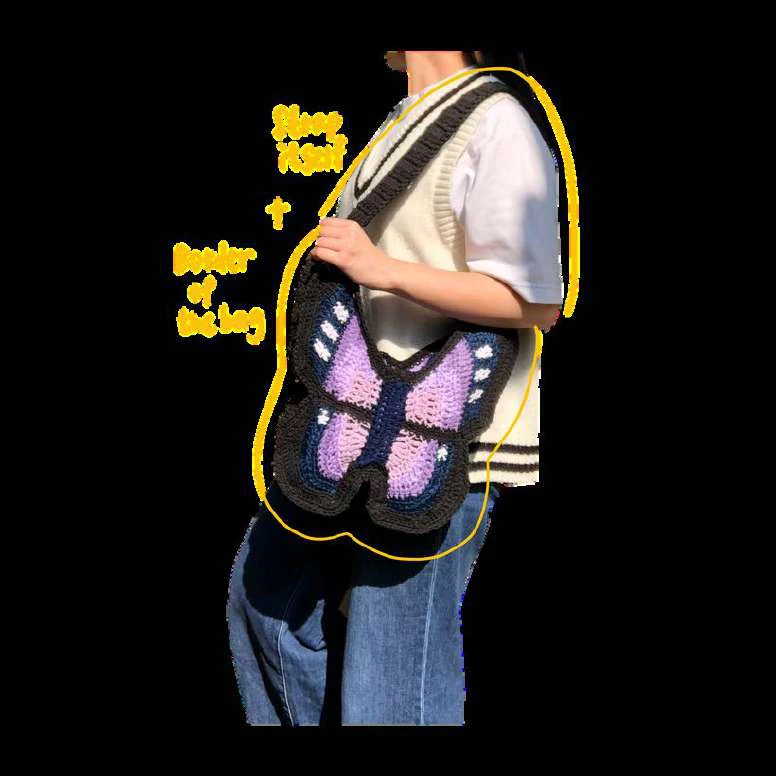
Length of the strap
should include part of
the butterfly bag and
the strap inself.
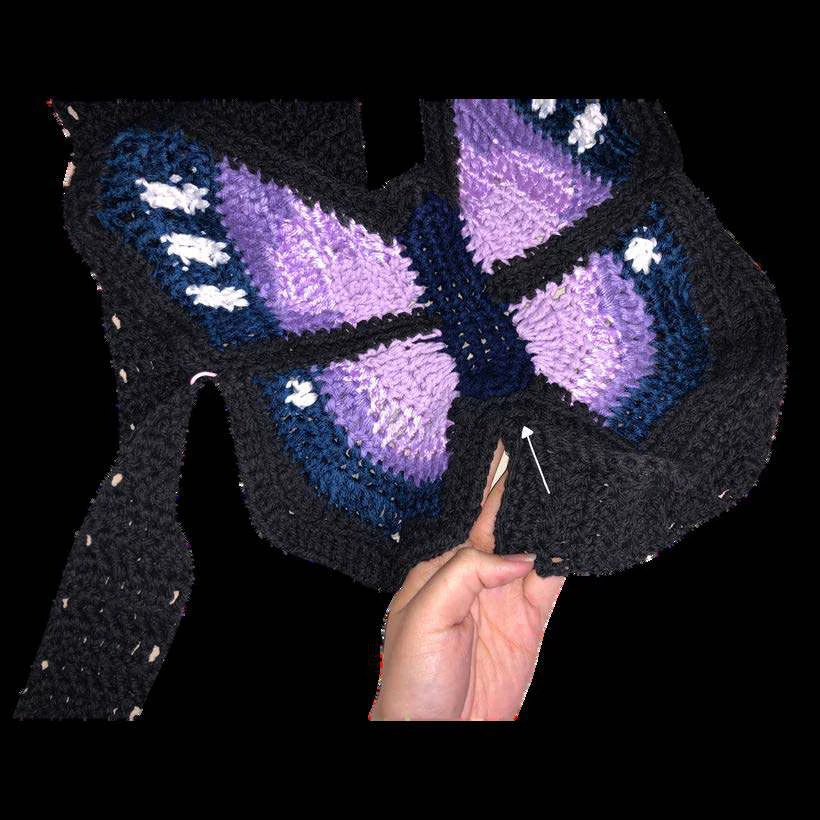
Connect the strap and the butterflies
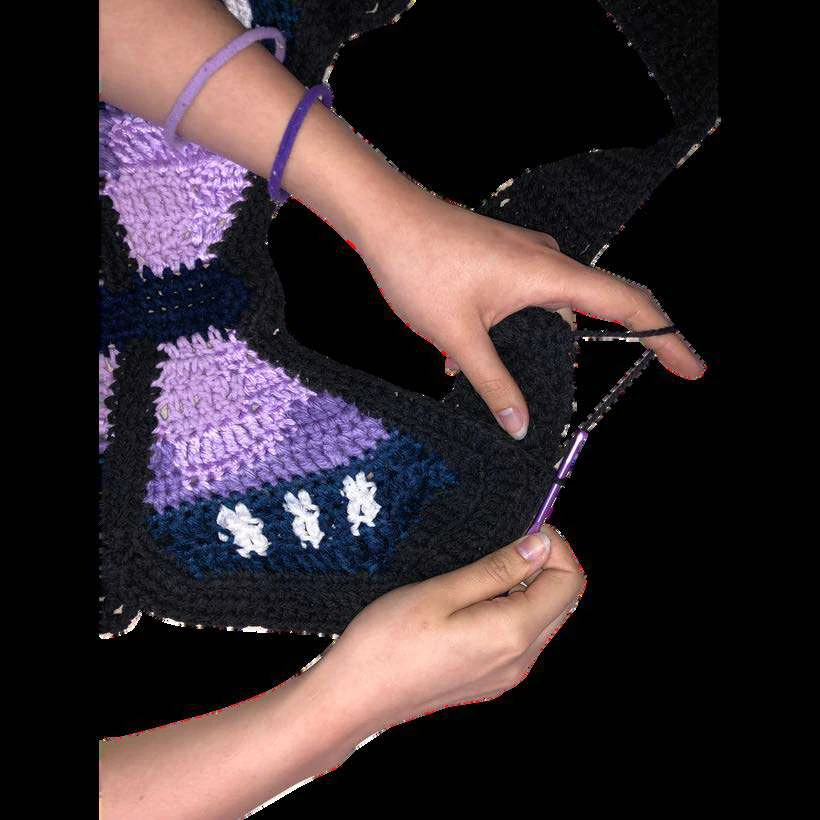
by sc from the bottom centre of the
abdomen, with right sides facing up.
After sc across the left side of the
butterfly, continue to sc along the
edge of the strap, then connect back
to the top of the right wing, sc across
till you reach the bottom of the
abdomen again, sl st and fasten off.
Repeat to connect both butterflies to
the strap.
ASSEMBLY
Start connecting from the
bottom of abdomen.
After, connecting one side
of the bag, continue to sc
along the edge of the strap.
YOU ARE DONE!
I hope you enjoyed this pattern. Tag me in
photos with your Butterfly Bag. I would love to
see your lovely creations! If you have any
ques t i ons o r conce r ns
_k
TESTERS
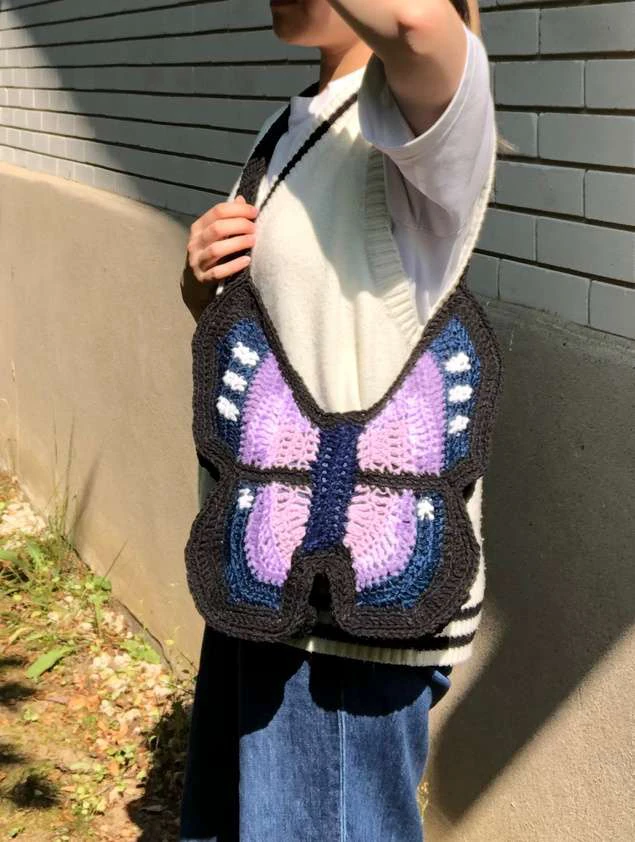
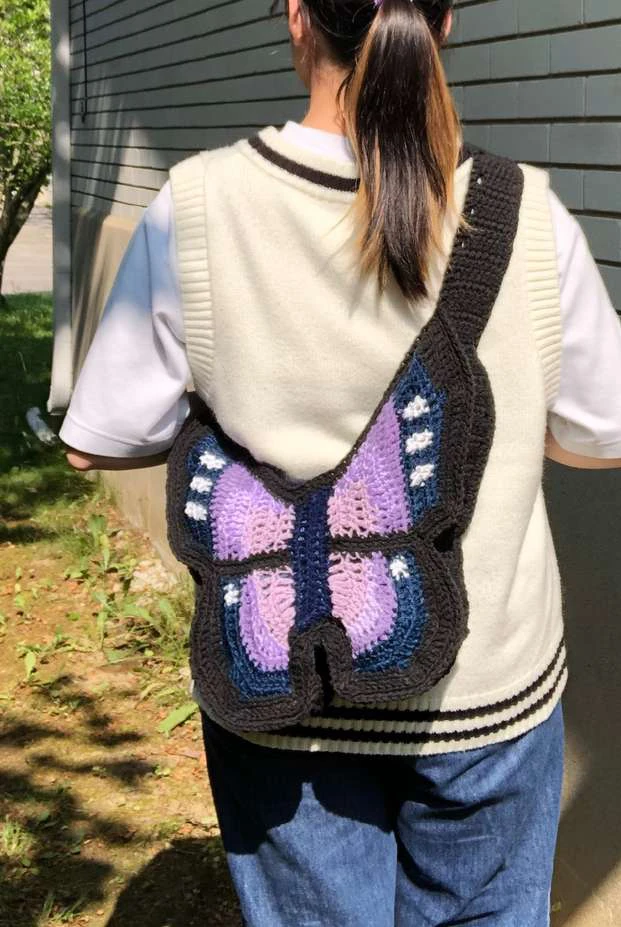
LOOKBOOK
– B U T T E R F L Y B A G –
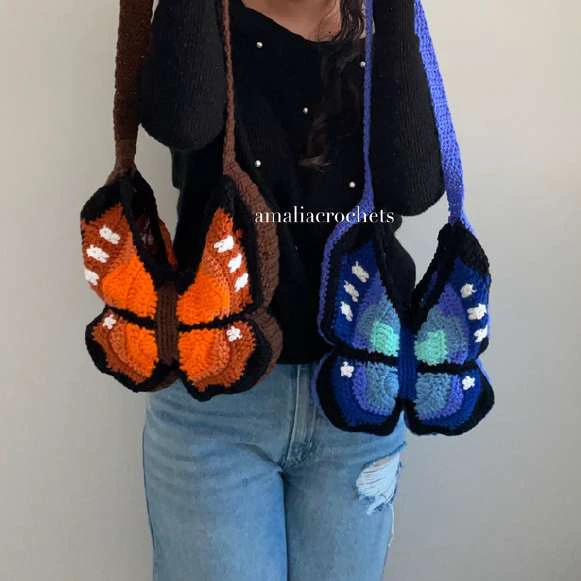
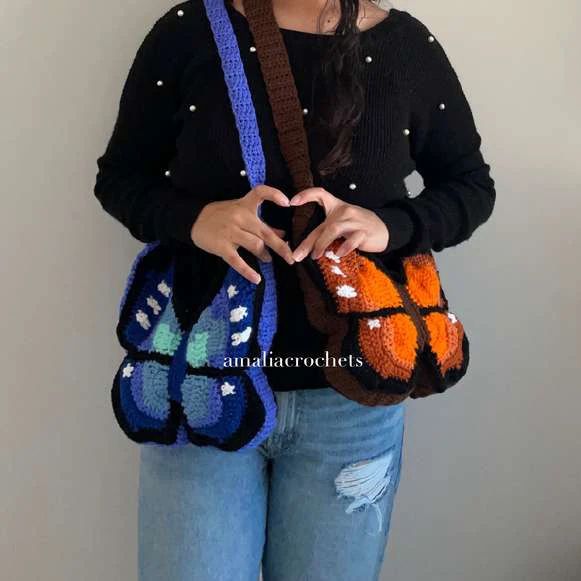
Yarn used: red heart, both weight 4 and acrylic
about 310g, with size 3.5 mm hook
Size of the bag: orange butterfly-10.5inches width and
9inches length; strap is 36inches.
blue butterfly – 9.5inches width and 10inches length;
strap is 30inches.
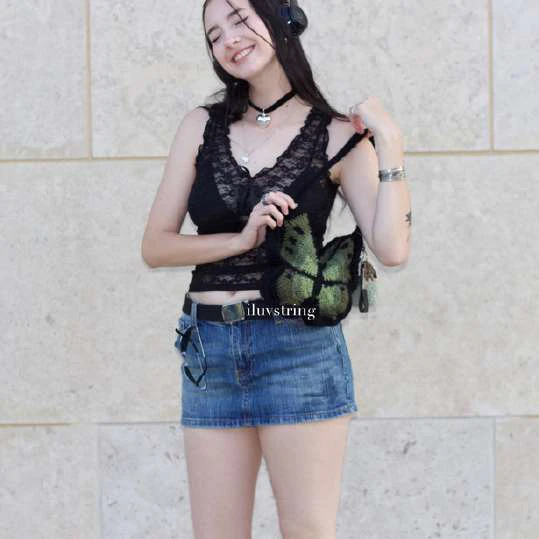
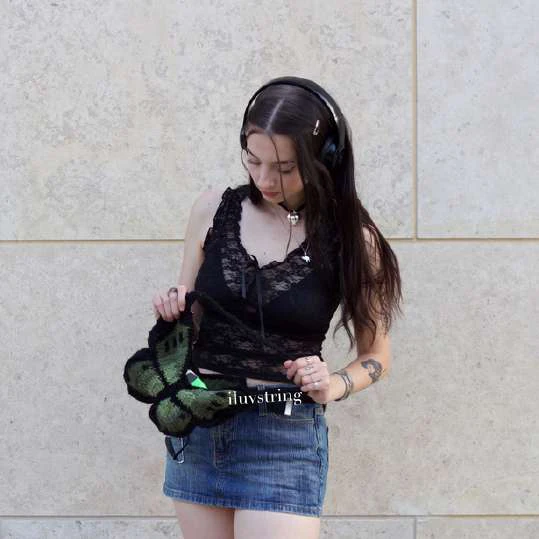
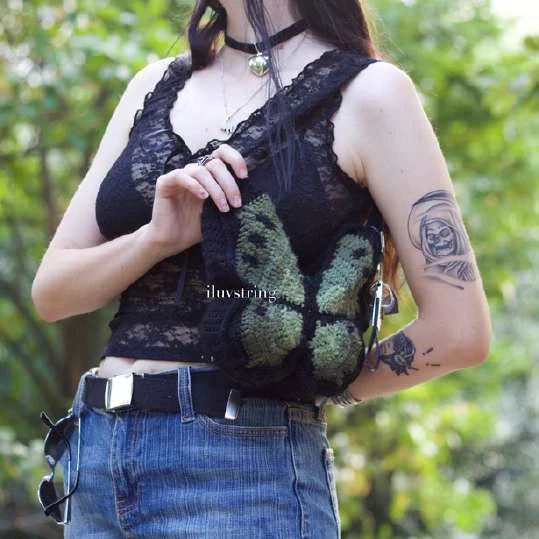
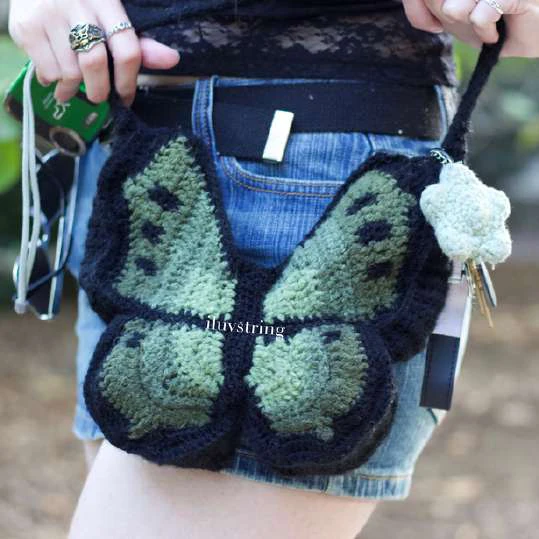
Yarn used: all acrylic weight 4: black- big twist,
greens- loops and threads impeccable
yarns for around 406g
Size of the bag: 8inches width and 9inches height
Size of strap: 18inches length and 1inch width
Yarn used: Weight 4, Acrylic & Cotton for ~200g roughly
Size of the bag: 50inches width and 2inches height
_
Yarn used: acrylic weight 4, cotton weight 4, bamboo weight
2 doubled up, acrylic fuzzy yarn weight 5/6, acrylic fuzzy
yarn weight 7 for 158 grams
Size of the bag: 9.5inches width and 10.5inches height
Size of strap: 10.5inches length and 1inch width
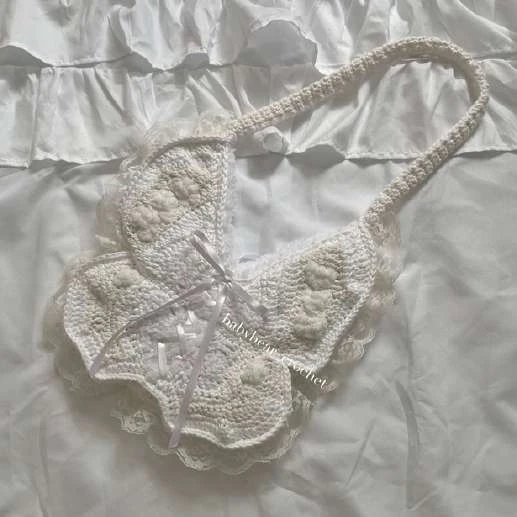
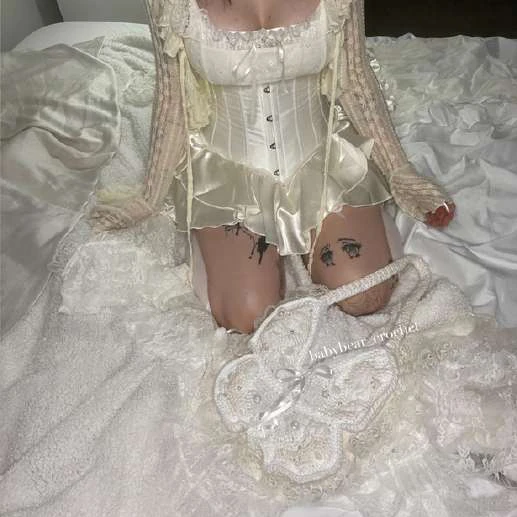
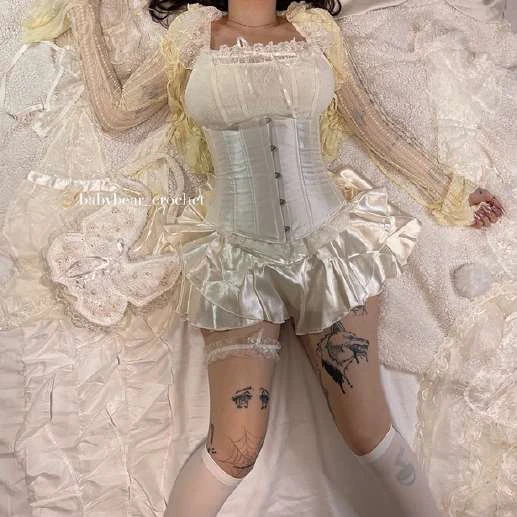
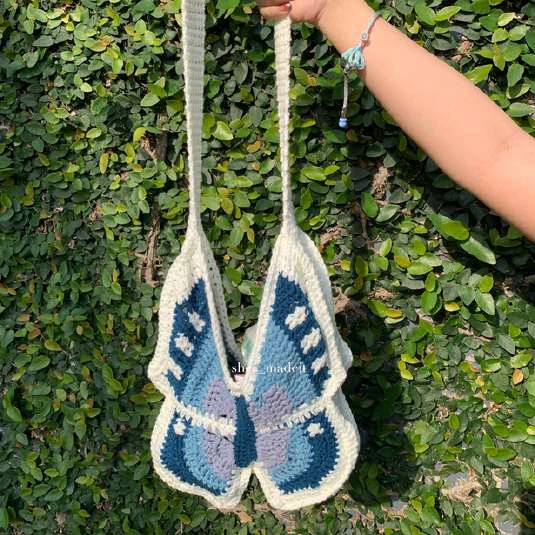
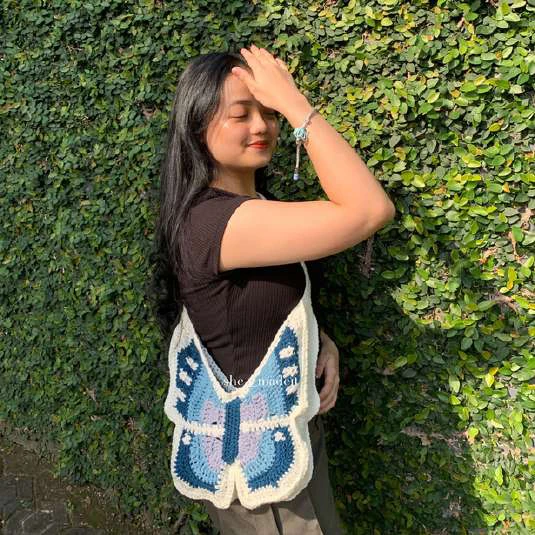
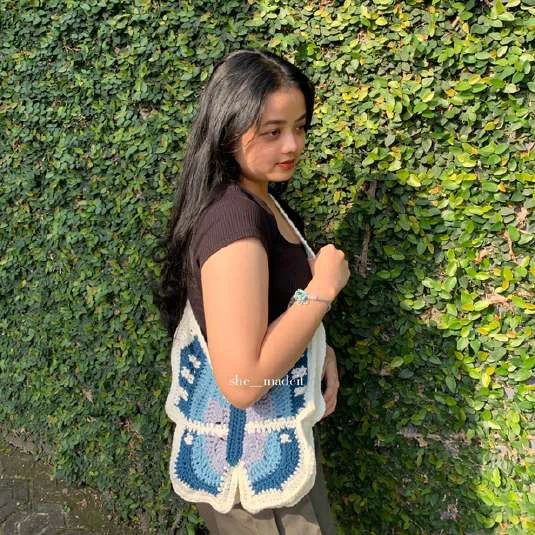
Yarn used: 5 ply Milk Cotton yarn
4 diffrent colors of yarns for approx. 200gr
Size of the bag: 24cm x 26cm
Size of strap: 130cm x4 cm
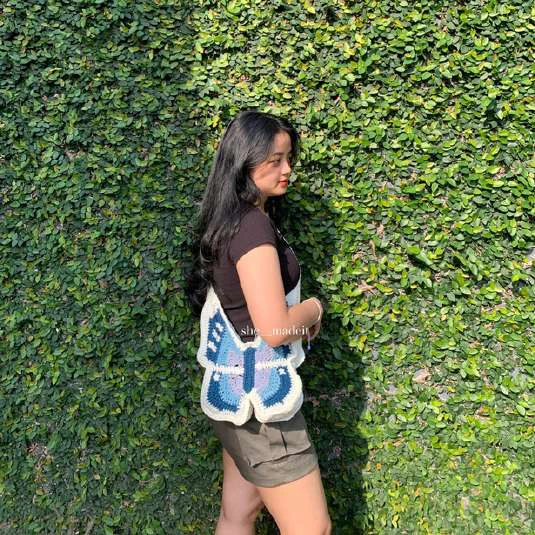
Yarn used: daiso, 100% polyester, fine weight yarn for
approx. 138g/355.72yd
Size of the bag: 8inches width and 8inches height
Size of strap: 38inches length and 1.5inch width
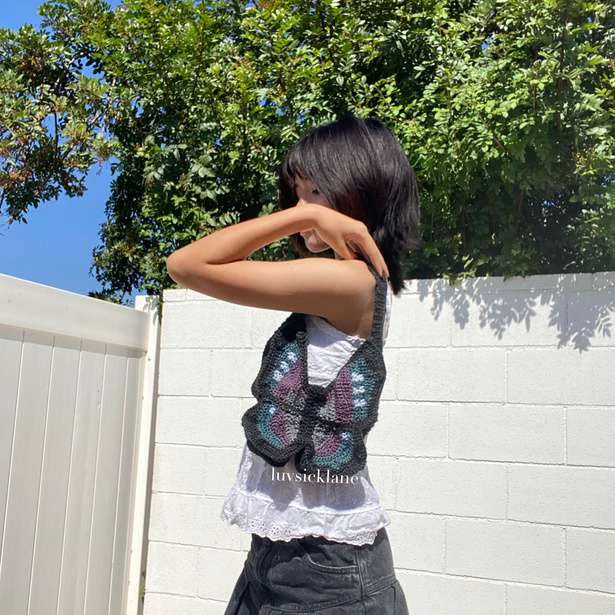
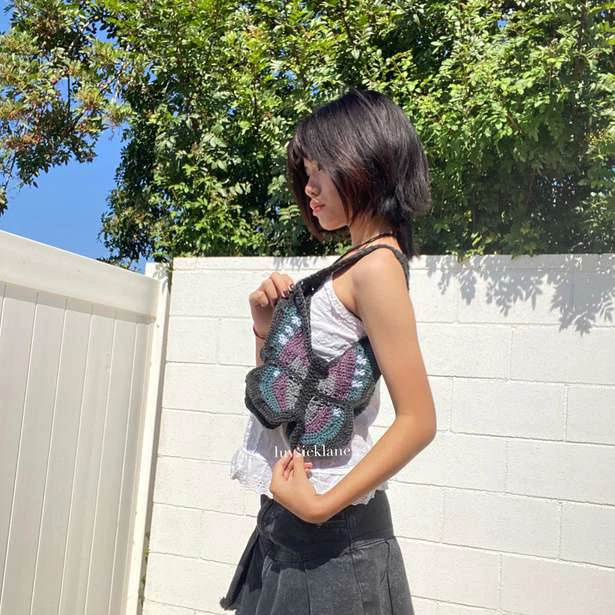
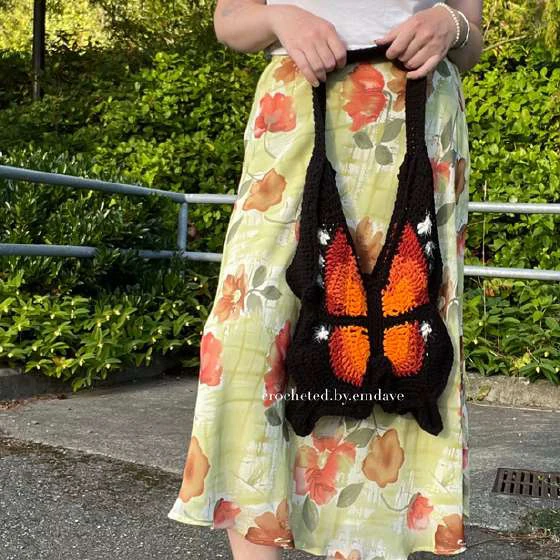
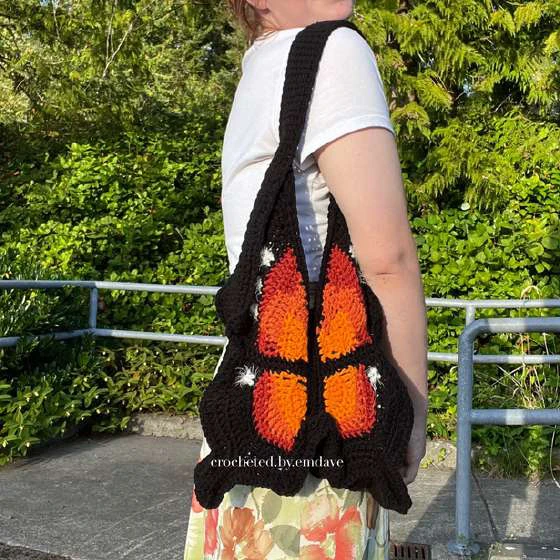
Yarn used: Red Heart Acrylic, Weight 4
(for the white i used caron latte cake, weight 4)
6g yarn-1 (light orange), 8g yarn-2 (orange), 9g yarn-3
(rust), 180g yarn-4 (black), 2g yarn-5 (white)
Size of the bag: 35cm wide and 40cm across
Size of strap: 6cm wide and 47cm across
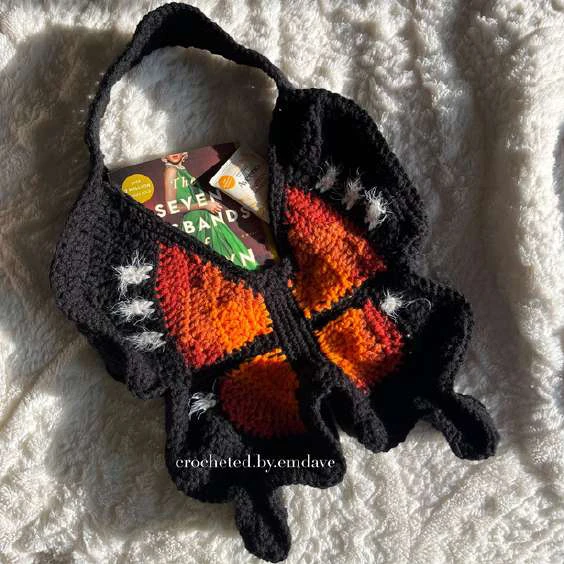
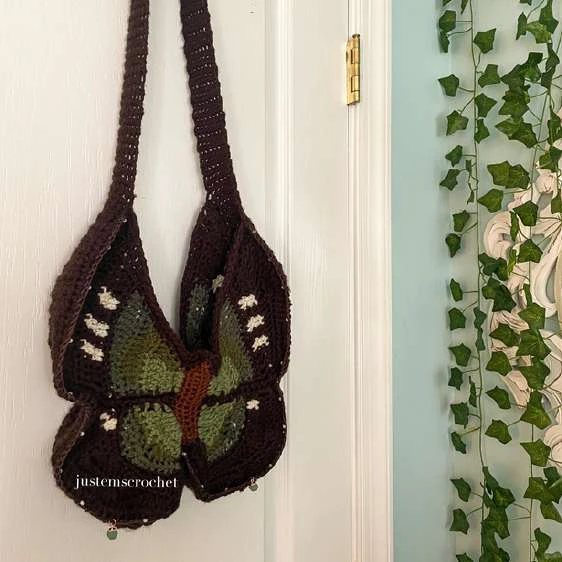
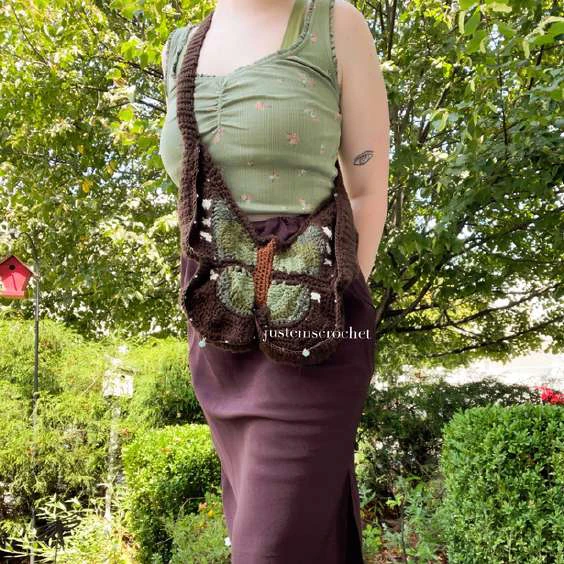
Yarn used: Impeccable/acrylic/4 for ~200 g total
Size of the bag: 7inches width and 8inches height
Size of strap: 1.5inches width and 46inches length
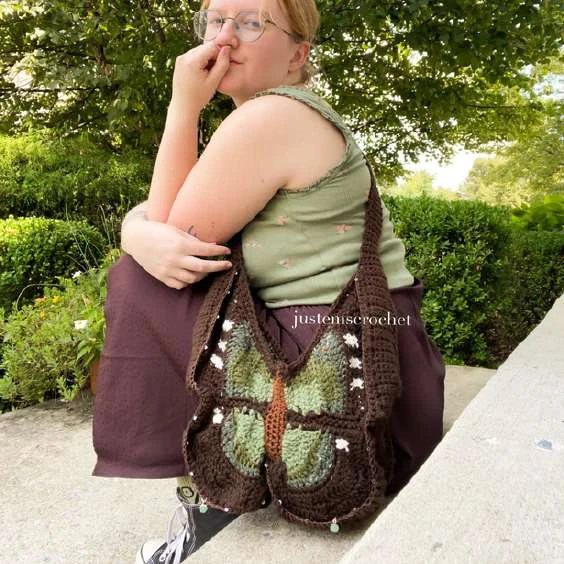
Yarn used: soft rose (loops & treats, acrilic, medium), white
(red heart, acrilic, medium), blue (iris, acrilic, medium) * the
other two (dark pink and white with pink) are acrilic and
medium for 184g = 358.94m. (soft rose= 108g, blue= 6g,
white =24g, dark pink = 40g and white with pink = 6g)
Size of the bag: 12inches height and 11inches width
Size of strap: 36inches length and 2inches width
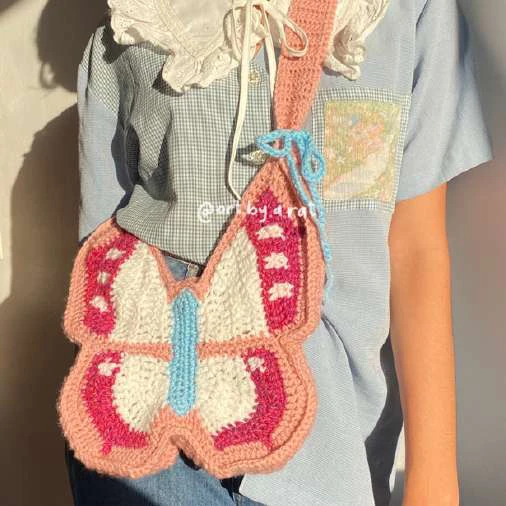
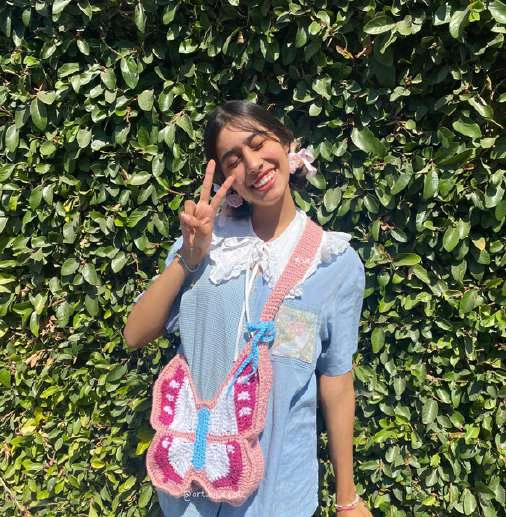
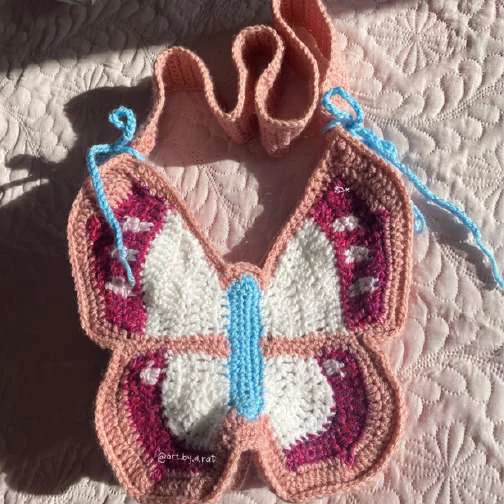
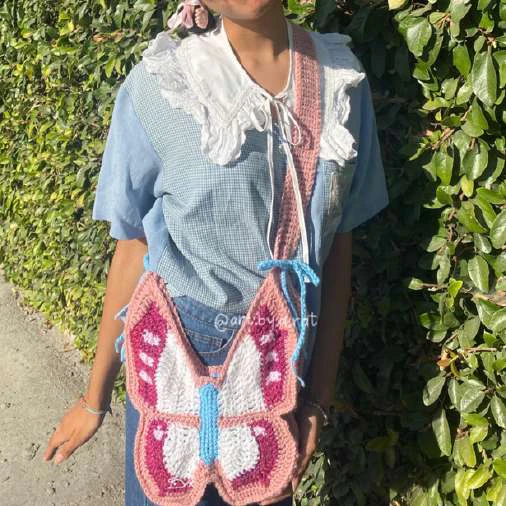
Yarn used: 100% acrylic yarn weight 4
Size of strap: 10 stitches width and 13inches length
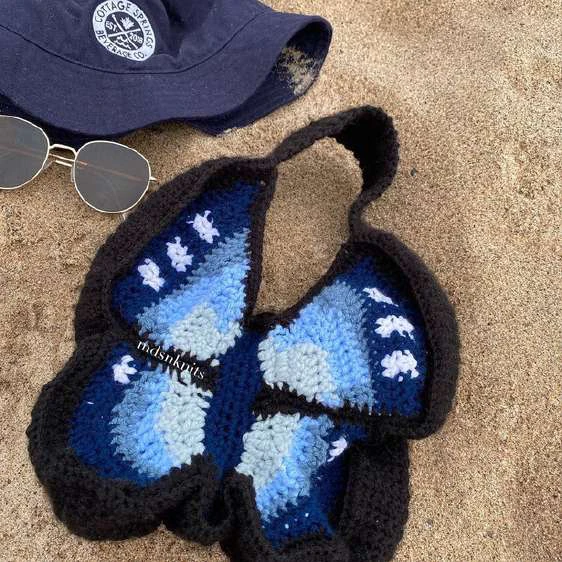
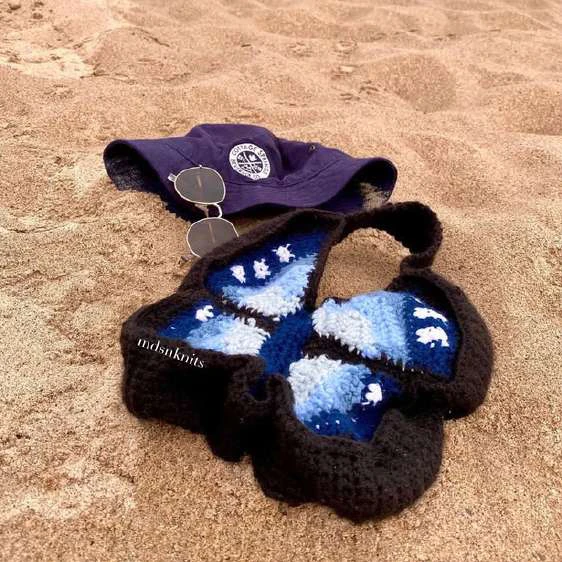
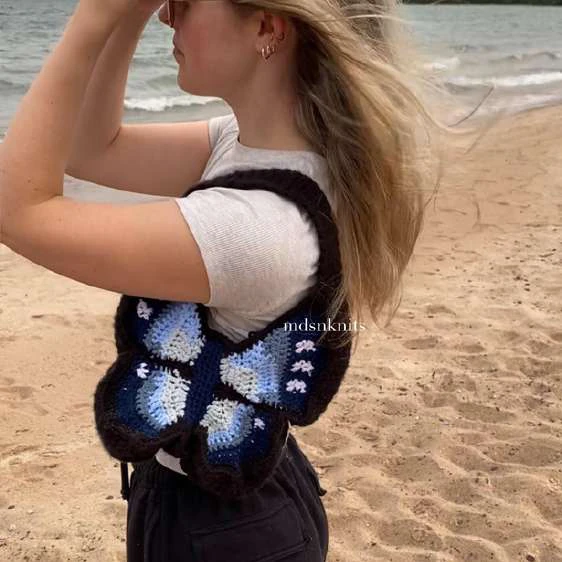
Yarn used: Weight 4, 100% cotton yarn (in a mix of
combed and chenille) Body of the butterfly: 156g mixing
combed cotton and chenille cotton. Border and strap:
144g only using chenille
Size of the bag: 31cm x 36cm
Size of strap: 2cm x 34cm
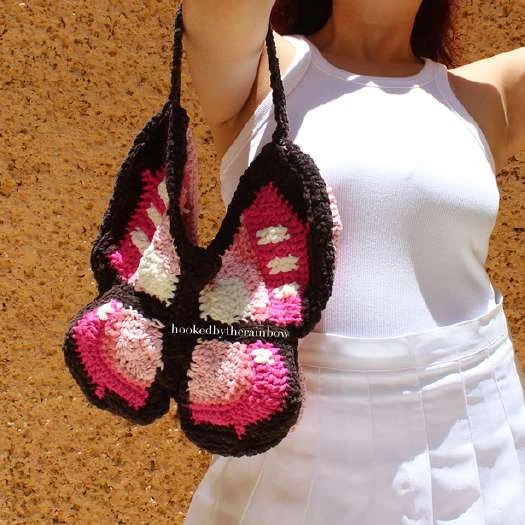
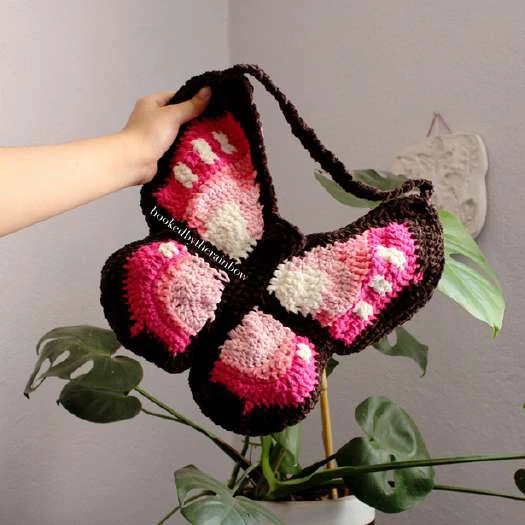
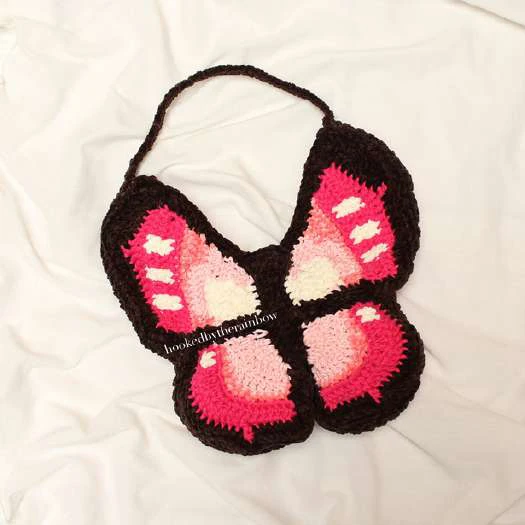
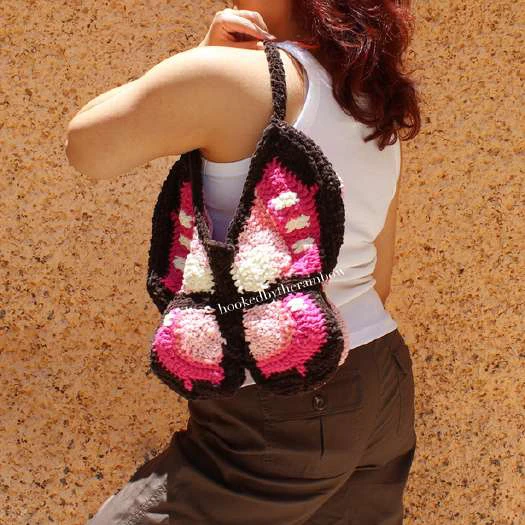
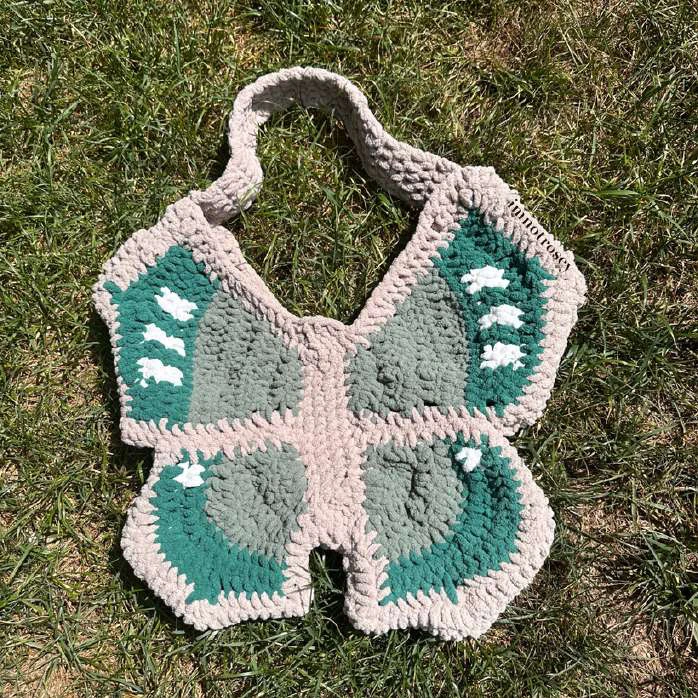
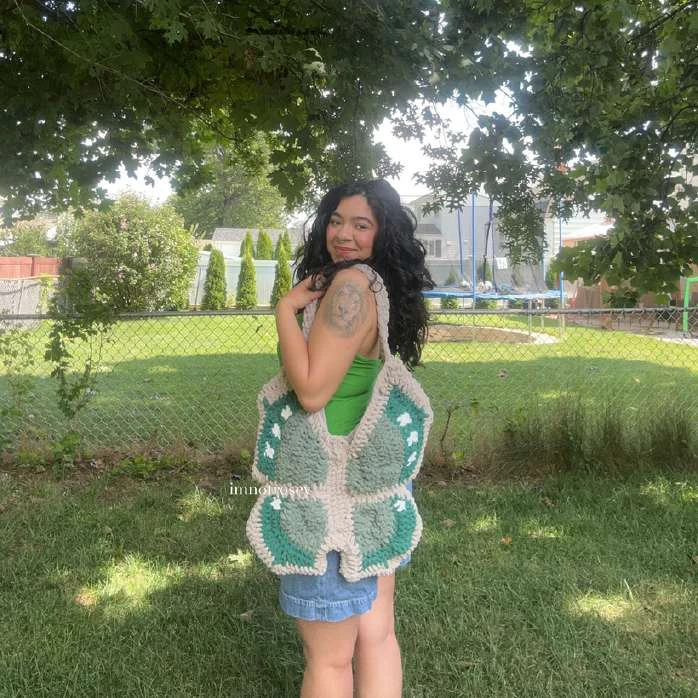
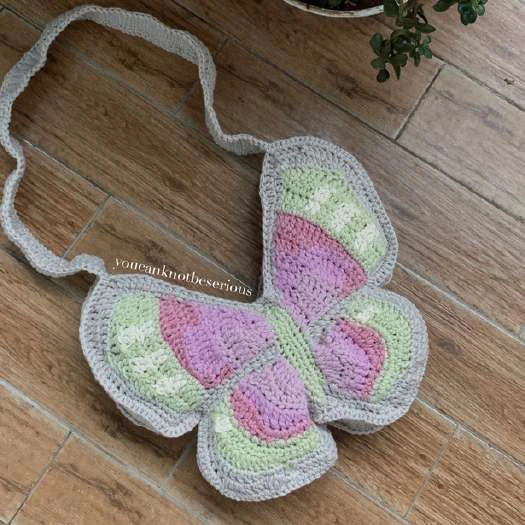
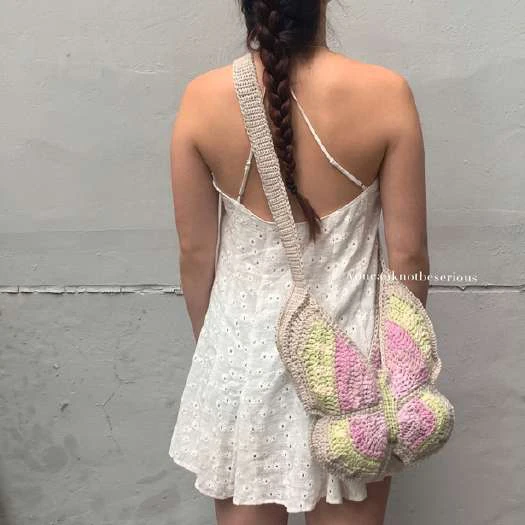
Yarn used: King Cole + Acrylic/Wool + DK (2 strands
except for the strap itself)
For the Butterflies 120g and the Border 200g
Size of the bag: 31cm long and 33cm wide
Size of strap: 183cm long and 5cm wide
Recommended Digital Products
Handmade Crochet Corset Belt Pattern Boho Chic Waist Cincher with Busk & Ribbon Lacing Intermediate Crochet PDF Pattern
$4.99
The Highline Wristlet Keychain Crochet Pattern: Quick, Textured & Market-Ready Accessory
$3.99

The Ultimate Beginner’s Crochet Guide: Master 45+ Essential Techniques & Practical Projects
$5.99

From Loop to Perfection: The Ultimate Step-by-Step Crochet Master Guide
$9.99
Get this Crochet Pattern as a Free PDF
Enter your email to receive the PDF associated with this article.
Leave a Reply