
Bucket Hat 2
Summertime Cuties
Abbreviations
dc – Double crochet
sc – Single crochet
hdc – Half double crochet
dec – Decrease
inc – Increase (Two stitches into
the same space)
pm – Place marker
ch – Chain
Join – Slip stitch into the first stitch
of the round
slst – Slip Stitch
flo – front loop only
** – Repeat from * to * as many
times listed. Ex [*dc1, dc inc*] x6
Materials
– Worsted weight yarn in desired color ( I used a
thinner 4 weight by Big Twist and Mainstays)
– Size G – 4.0mm crochet hook.
– Tapestry needle for sewing in ends
– Scissors
– Polyfill or stuffing of your choice! I used scrap yarn!
– Pearl beads for strawberry seeds
– Needle
– Pink and red thread
Base Colors
Strawberry: Big Twist – Bubblegum (now discontinued,
but hot pink is a close replacement), or Varsity Red
Stem: Red Heart – Spring Green
Frog: Big Twist – Light Green. Medium Rose ( Or
Mainstays Pink). Black. White.
Chick: Big Twist – White. Pale Yellow. Varsity Orange.
Aqua. Black.
Red Heart – Pretty N' Pink
Bee: Mainstays – Yellow. White. Black
Gauge: 4 dc and 2 rows per inch. Please check your
gauge by doing a swatch in the round and adjust hook
size as needed. My personal tension tends to be tighter.
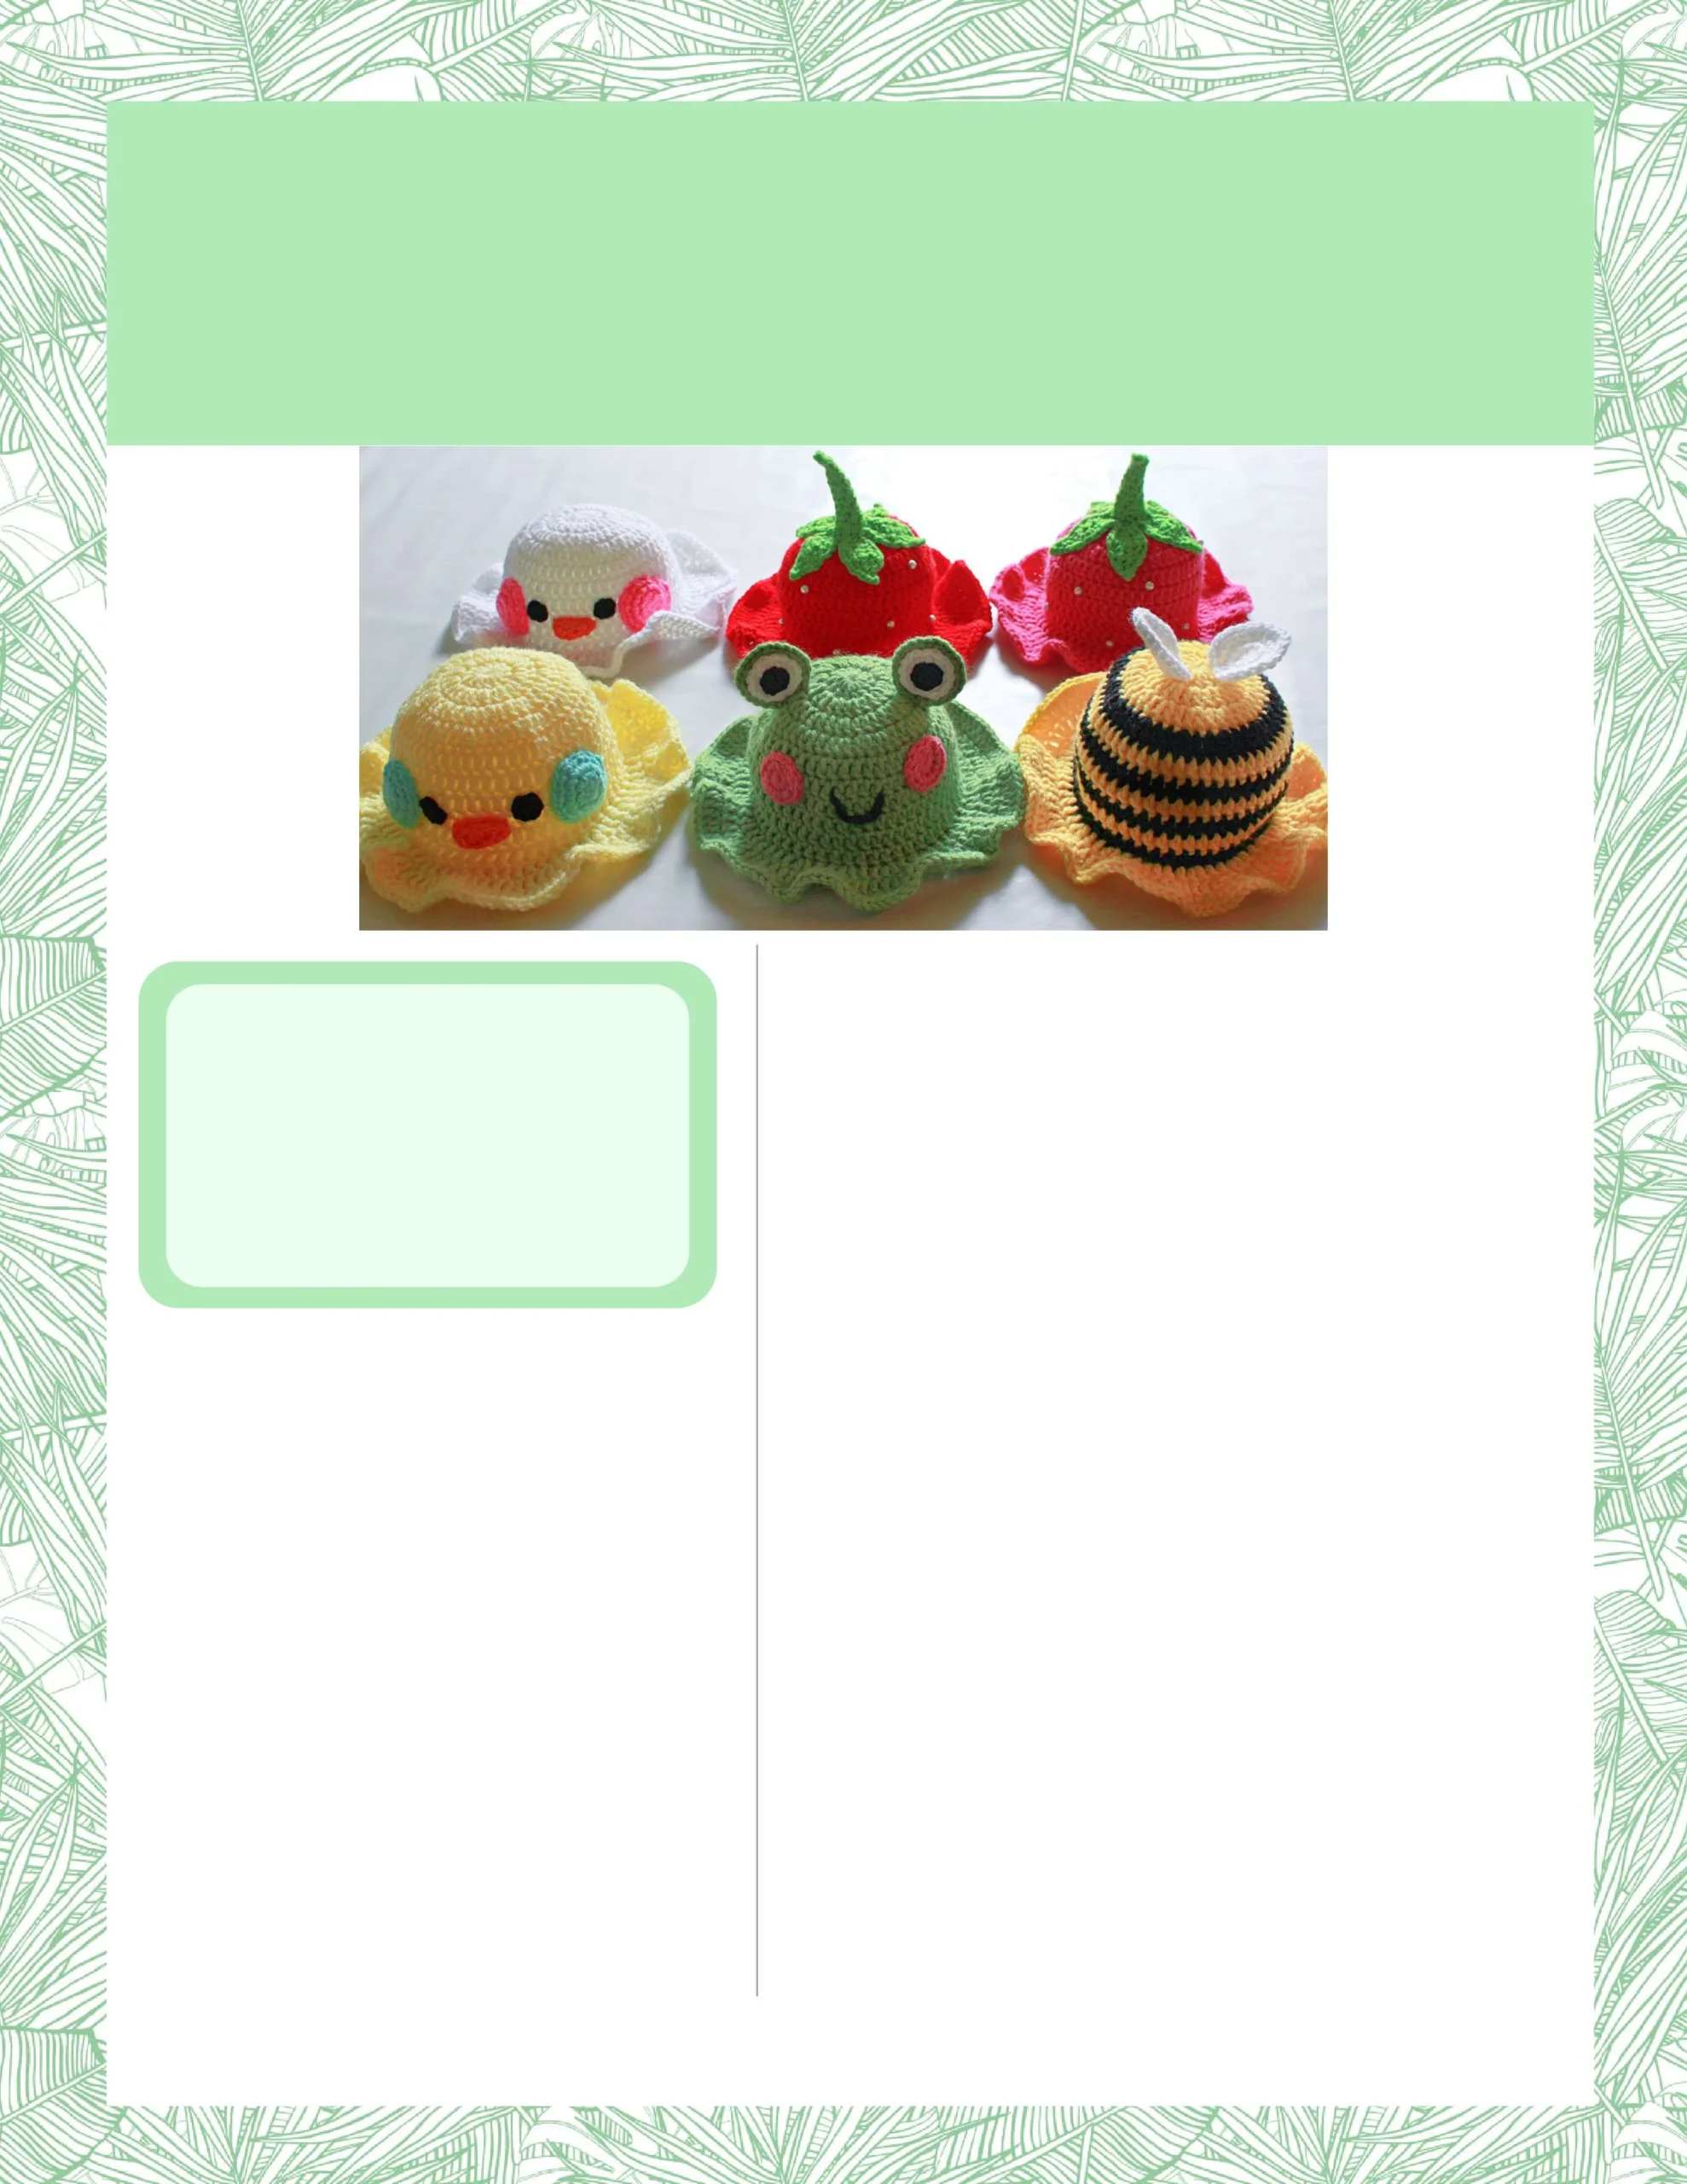
Cute bucket hat designs in 3 sizes from
popular or trending themes. My inspo for
these easy to make hats actually came
from a trend of polymer clay rings made to
look like cute little animals. Some of the
design was also drawn from my favorite
plushies at home!
Hat Bases
Grab the color needed for your desired hat! I will let you know throughout the
rows which size stops where! ch2 does not count as a stitch at any point in
this pattern. See below for row variations regarding bee sizes and stripe rows.
Increase rows:
To set up the hat we will be using a magic ring OR a ch 3 and slst into the first
ch made. You will be working into the center of this ring. FOR LARGE: If you
have a smaller head to make for (my head is small), only add 12 dc and
remove 1 repeat from each row. This will change your total stitch count.
Row 1: ch 2, 13dc into the ring (Pull yarn tail tight if magic ring was used). slst
into the first dc made. -13dc Total
Row2: ch2, dc inc into each stitch around and join. -26dc Total
Row 3: ch2, [*dc inc, dc*] 13x, join. -39dc Total
Row 4: ch2, dc1, [*dc inc, dc 2*] 12x. dc inc, dc in last stitch and join. -52dc
Total Your increase rows end here if you are making a small/newborn
size.
Row 5: ch2, [*dc inc, dc 3*] 13x, join. -65dc Total
Your increase rows end here if you are making a medium size
Row 6: ch2, dc 2, [*dc inc, dc 4*] 12x. dc inc, dc 2 and join. -78dc Total
This is the end of increase rows for the adult size!
Feel Free to try on the hat and decide if you
need a deeper crown fit. Just add more of the
crown row.
Edging rows do not affect how well the hat will
sit on your head but may slightly obstruct your
view if you make the hat too deep.
Crown Rows:
This one row will be worked a different amount of times for each hat!
Row 1: ch2, dc 1 in each stitch around. join
Small: Repeat 6 times -52dc Total
Medium: Repeat 7 times -65dc Total
Large: Repeat 7 times -78dc Total
Edging
There is no final stitch count for these few rows as they may vary
based on if you went with 12 or 13 dc to begin..
Row 1: ch2, [* In flo, dc inc, dc 2*]
Row 2: ch2, [*dc inc, dc 2*] until all stitches are filled. Join.
Row 3: ch2, [*dc, dc inc*] until all stitches are filled. Join and tie off.
Now is the time to weave in any ends from your hat. You could
always finish your hat here if you want a solid color or to decorate on
your own, but the main part of this pattern is in the decorating I have
done!
Small hat:
Row 1-3 Yellow.
Row 4 Black
Row 5 Yellow
Row 6 Black
Row 7 Yellow
Row 8 Black
Row 9 Yellow
Row 10 Black
Edging rows in
yellow
Large hat:
Row 1- 3 Yellow
Row 4-5 Black
Row 6-7 Yellow
Row 8-9 Black
Row 10-11 Yellow
Row 12-13 Black
Edging rows in
yellow
Bee color changes
Medium hat:
Row 1-4 Yellow
Row 5 Black
Row 6 Yellow
Row 7 Black
Row 8 Yellow
Row 9 Black
Row 10 Yellow
Row 11 Black
Row 12 Yellow
Edging rows in
yellow
You can always
change up the
stripes to how you
would prefer them
or even make
them thicker.
The small hats have a circumference of 13-14 inches
and is a good size for your typical newborn!
The medium sized hats have a circumference of
18-19 inches and will fit a 1-3 Year old child. My son
is 3 and this size fits him just fine!
The Large size has a circumference of 20.5-22 inches
and has fit every adult I have tried it on thus far.
Keep in mind that the nature of crochet fabric means
it will stretch and have a bit of give to it.
Chicks
Here I will keep all the instructions for each size separate.
Medium Hat
Beak
With orange you will make a slip
knot and chain 6
We will be working in the round. Do
not join rows.
Row 1: sc inc into second chain
from the hook, sc 3, sc 3 into the
last chain. Continuing down the
other side of the chain for row 1:
sc 3, sc into the same space as the
first sc inc, pm -12sc Total
Row 2: sc inc, sc 5, sc inc, sc 5, pm
-14sc Total
Row 3: sc inc, sc 7, sc inc, sc 5, pm
-16sc Total
Row 4: sc inc, sc 8, sc inc, sc 6, pm
-18sc Total
Row 5: sc, slst and tie off leaving a
long end to sew. Squish it in half as
this is how it will be sewn on!
Eyes (Make 2)
Row 1: Make a magic ring, ch 1, sc
8 into the ring and pm -8sc Total
Row 2: [sc inc] 8x -16sc Total
Join and leave a long end for
sewing. Tighten the tail and weave
it in.
Cheeks (Make 2)
Row 1: Make a magic ring, ch1, sc
8 into the ring and pm -8sc Total
Row 2: Working in the round now!
[*sc inc, sc*] 4x, pm -12sc Total
Row 3: [*sc inc, sc*] 6x, pm -18sc
Total
Row 4: [*sc 2, sc inc*] 6x, pm
-24sc Total.
Row 5: sc 24 -24sc Total
Tie off leaving a long end to sew.
Tighten the tail and weave it in.
Large Hat
Beak
With orange you will make a slip knot and
chain 8
We will be working in the round, do not join
rows.
Row 1: sc inc into second chain from hook,
sc 5, sc 3 into last chain.
Continuing down the other side of the chain
for row 1:
sc 5, sc into the same space as the first sc
inc, pm -16sc Total
Row 2: sc inc, sc 7, sc inc, sc 7, pm -18sc
Total
Row 3: sc inc, sc 9, sc inc, sc7, pm -20sc
Total
Row 4: sc 2, sc inc, sc 9, sc inc, sc7, pm
-22sc Total
Row 5: sc 2, slst and tie off leaving a long
end to sew. Squish it in half as this is how it
will be sewn on!
Eyes (Make 2)
Row 1: Make a magic ring, ch 1, sc 8 into
the ring and pm – 8sc Total
Row 2: [sc inc] 8x, pm -16sc Total
Row 3: [*sc inc, sc*] 8x -24sc Total
Join and leave a long end for sewing.
Tighten the tail and weave it in.
Cheeks (Make 2)
Row 1: Make a magic ring, ch1, sc 8 into the
ring and pm -8sc Total
Row 2: Working in the round now! [*sc inc,
sc*] 4x, pm -12sc Total
Row 3: [*sc inc, sc*] 6x, pm -18sc Total
Row 4: [*sc 2, sc inc*] 6x, pm -24sc Total.
Row 5: sc 24 -24sc Total
Row 6: [*sc inc, sc*] 12x -38sc Total
Tie off leaving a long end to sew. Tighten the
tail and weave it in. I like to stretch the large
cheeks out a bit to flatten them a little more!
Feel free to use felt pieces instead
if you are not one to enjoy the
making and sewing of smaller
pieces!
As these are different sizes, I will
leave it to you to pin and sew as
you'd like! Stuff the cheeks lightly
but don't stuff the beaks!
Frog-Bee-Strawberry
Hey, Guess what! Now we get to make a bunch of circles! All of these will be listed with what row ends the size for
each hat and part, just like for the hats!
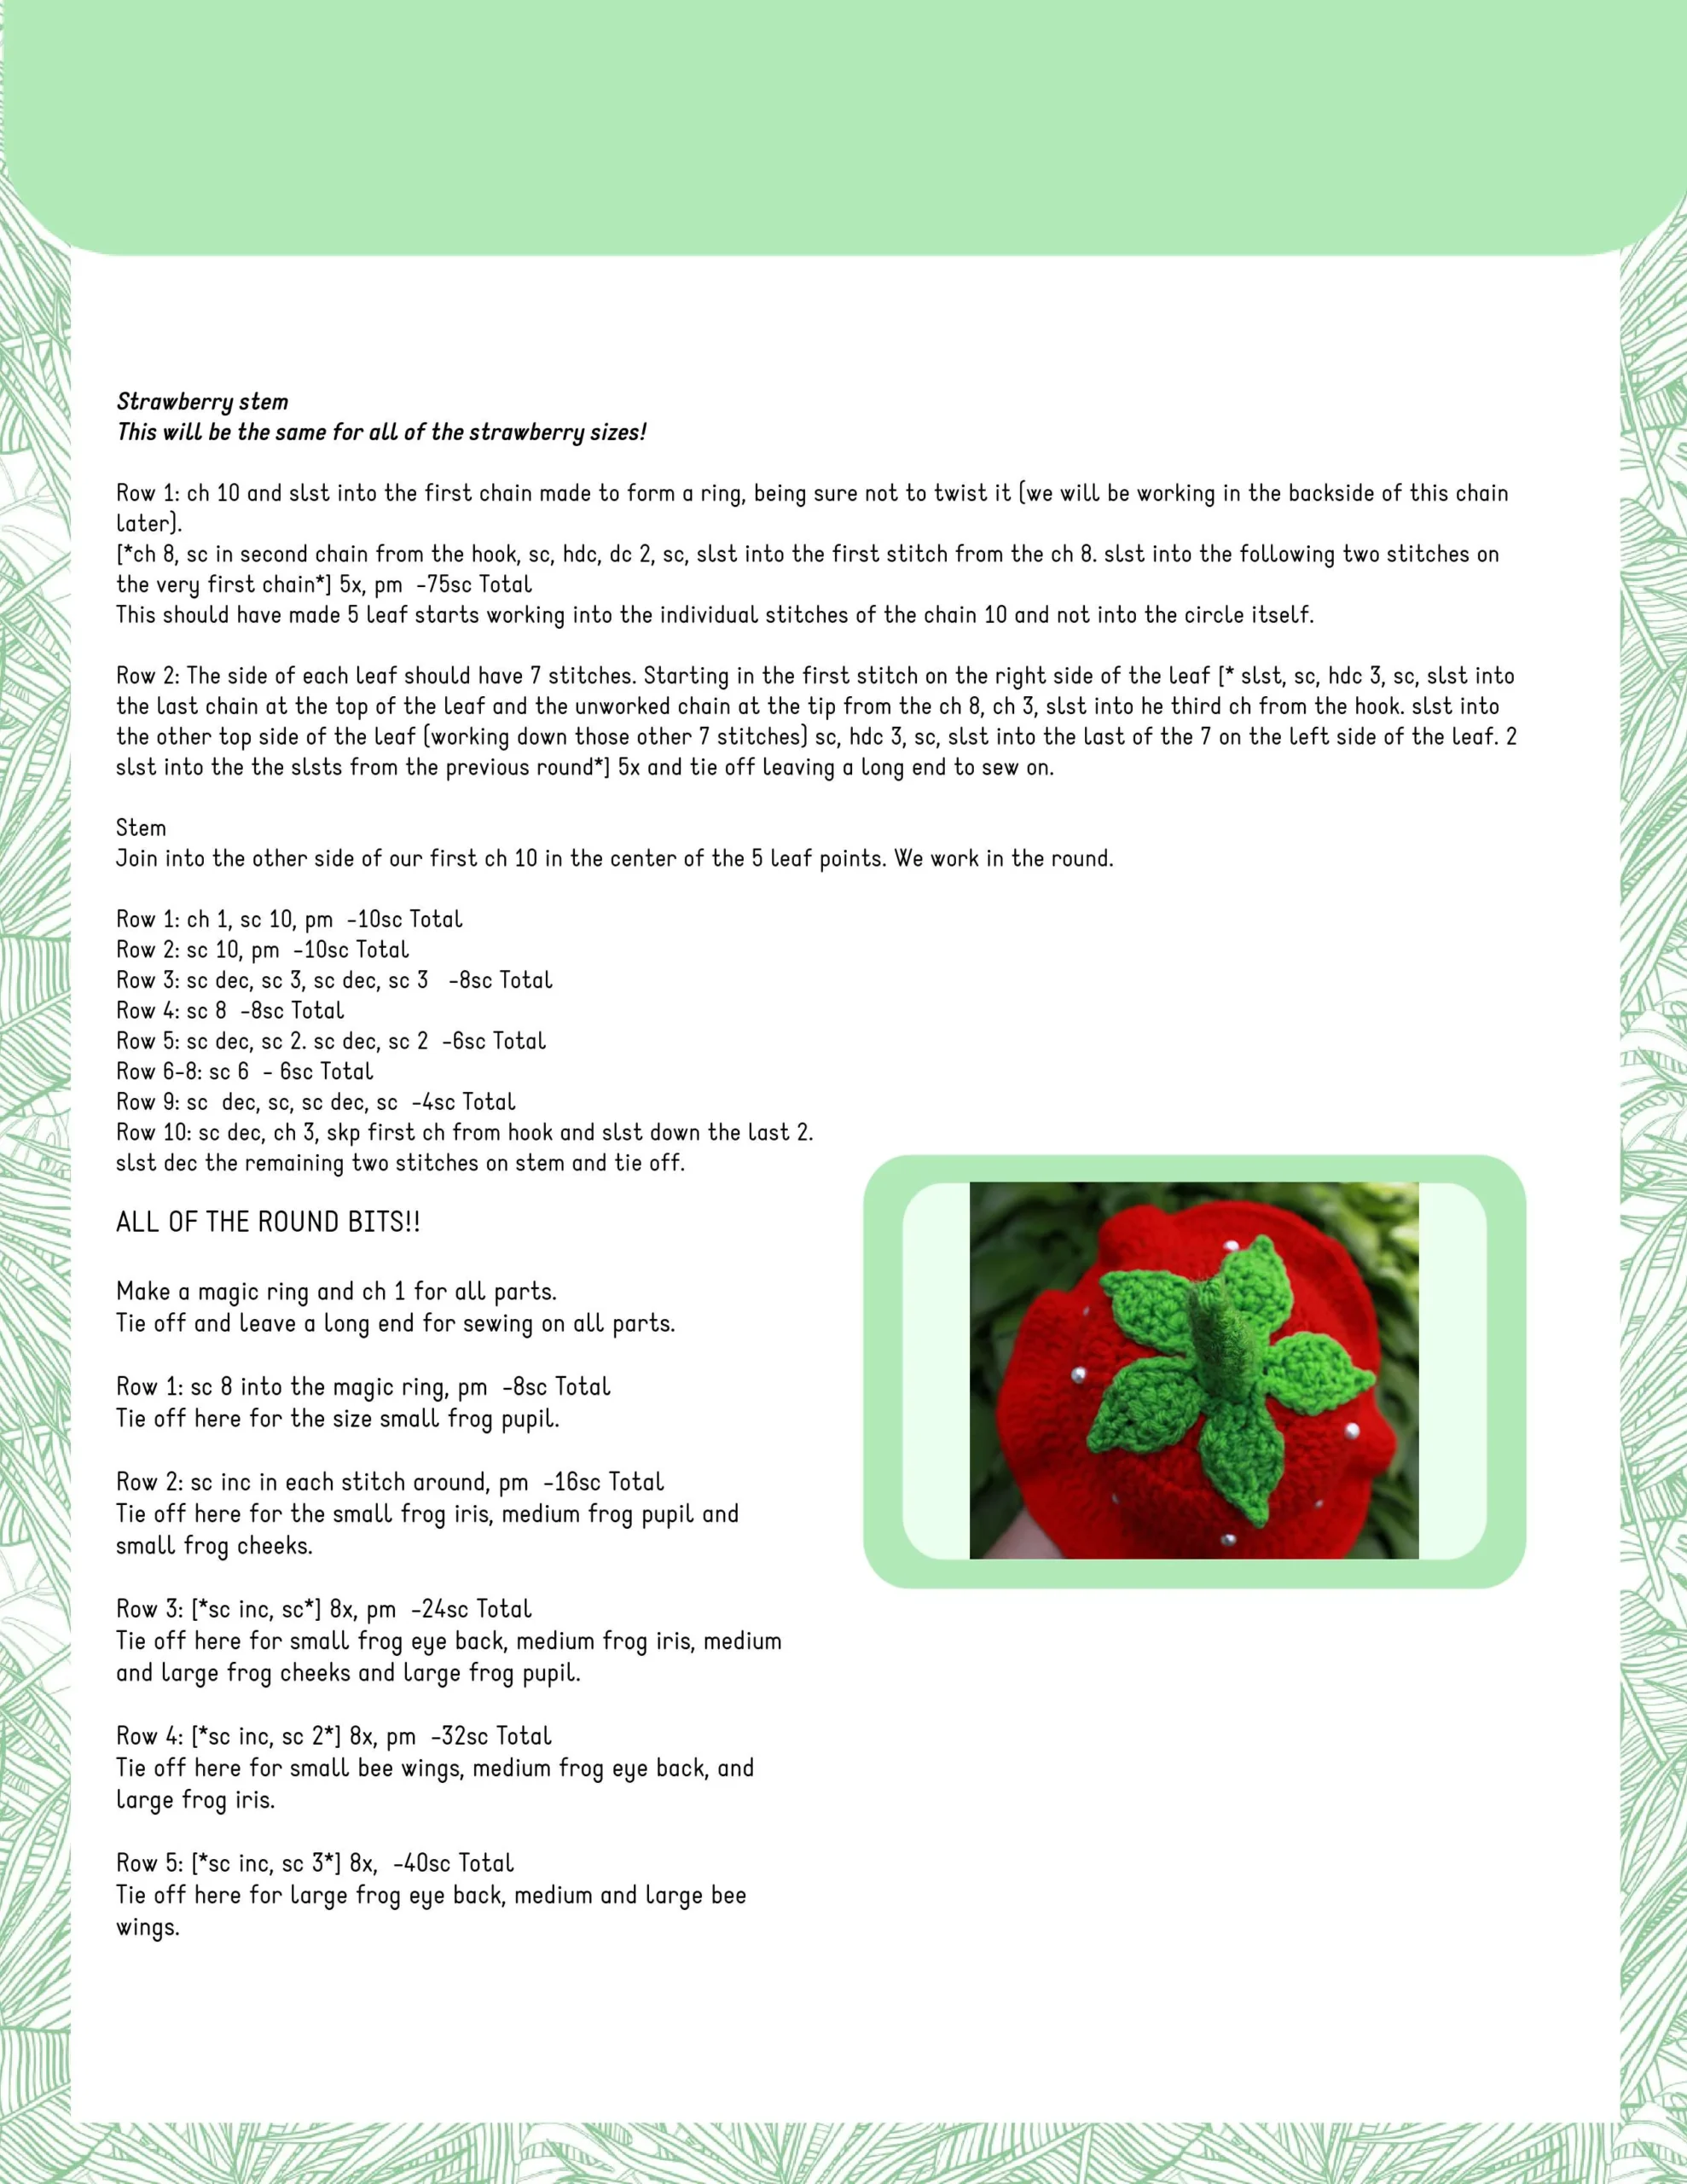
Again all the sewing is down to preference, besides how the
eyes are sewn together that is! Stuff the stem with leftover
yarn or fiber fill before sewing it on. I tend to sew in and out of
the stitches rather than out and around them, just to keep it
clean. For the strawberry hat seeds I just use matching thread
doubled and sew them on wherever I think looks good. I tie
each one individually and don't weave in the thread. After
trying to use yarn for the seeds.. just trust me when I say this
if you have any questions and make sure to use my photos as
reference!
For adding the frogs mouth I had just slip stitched through the hat. You can also just sew it on. It takes
me a few attemps for every frog mouth to sit right!
Photos
Recommended Digital Products
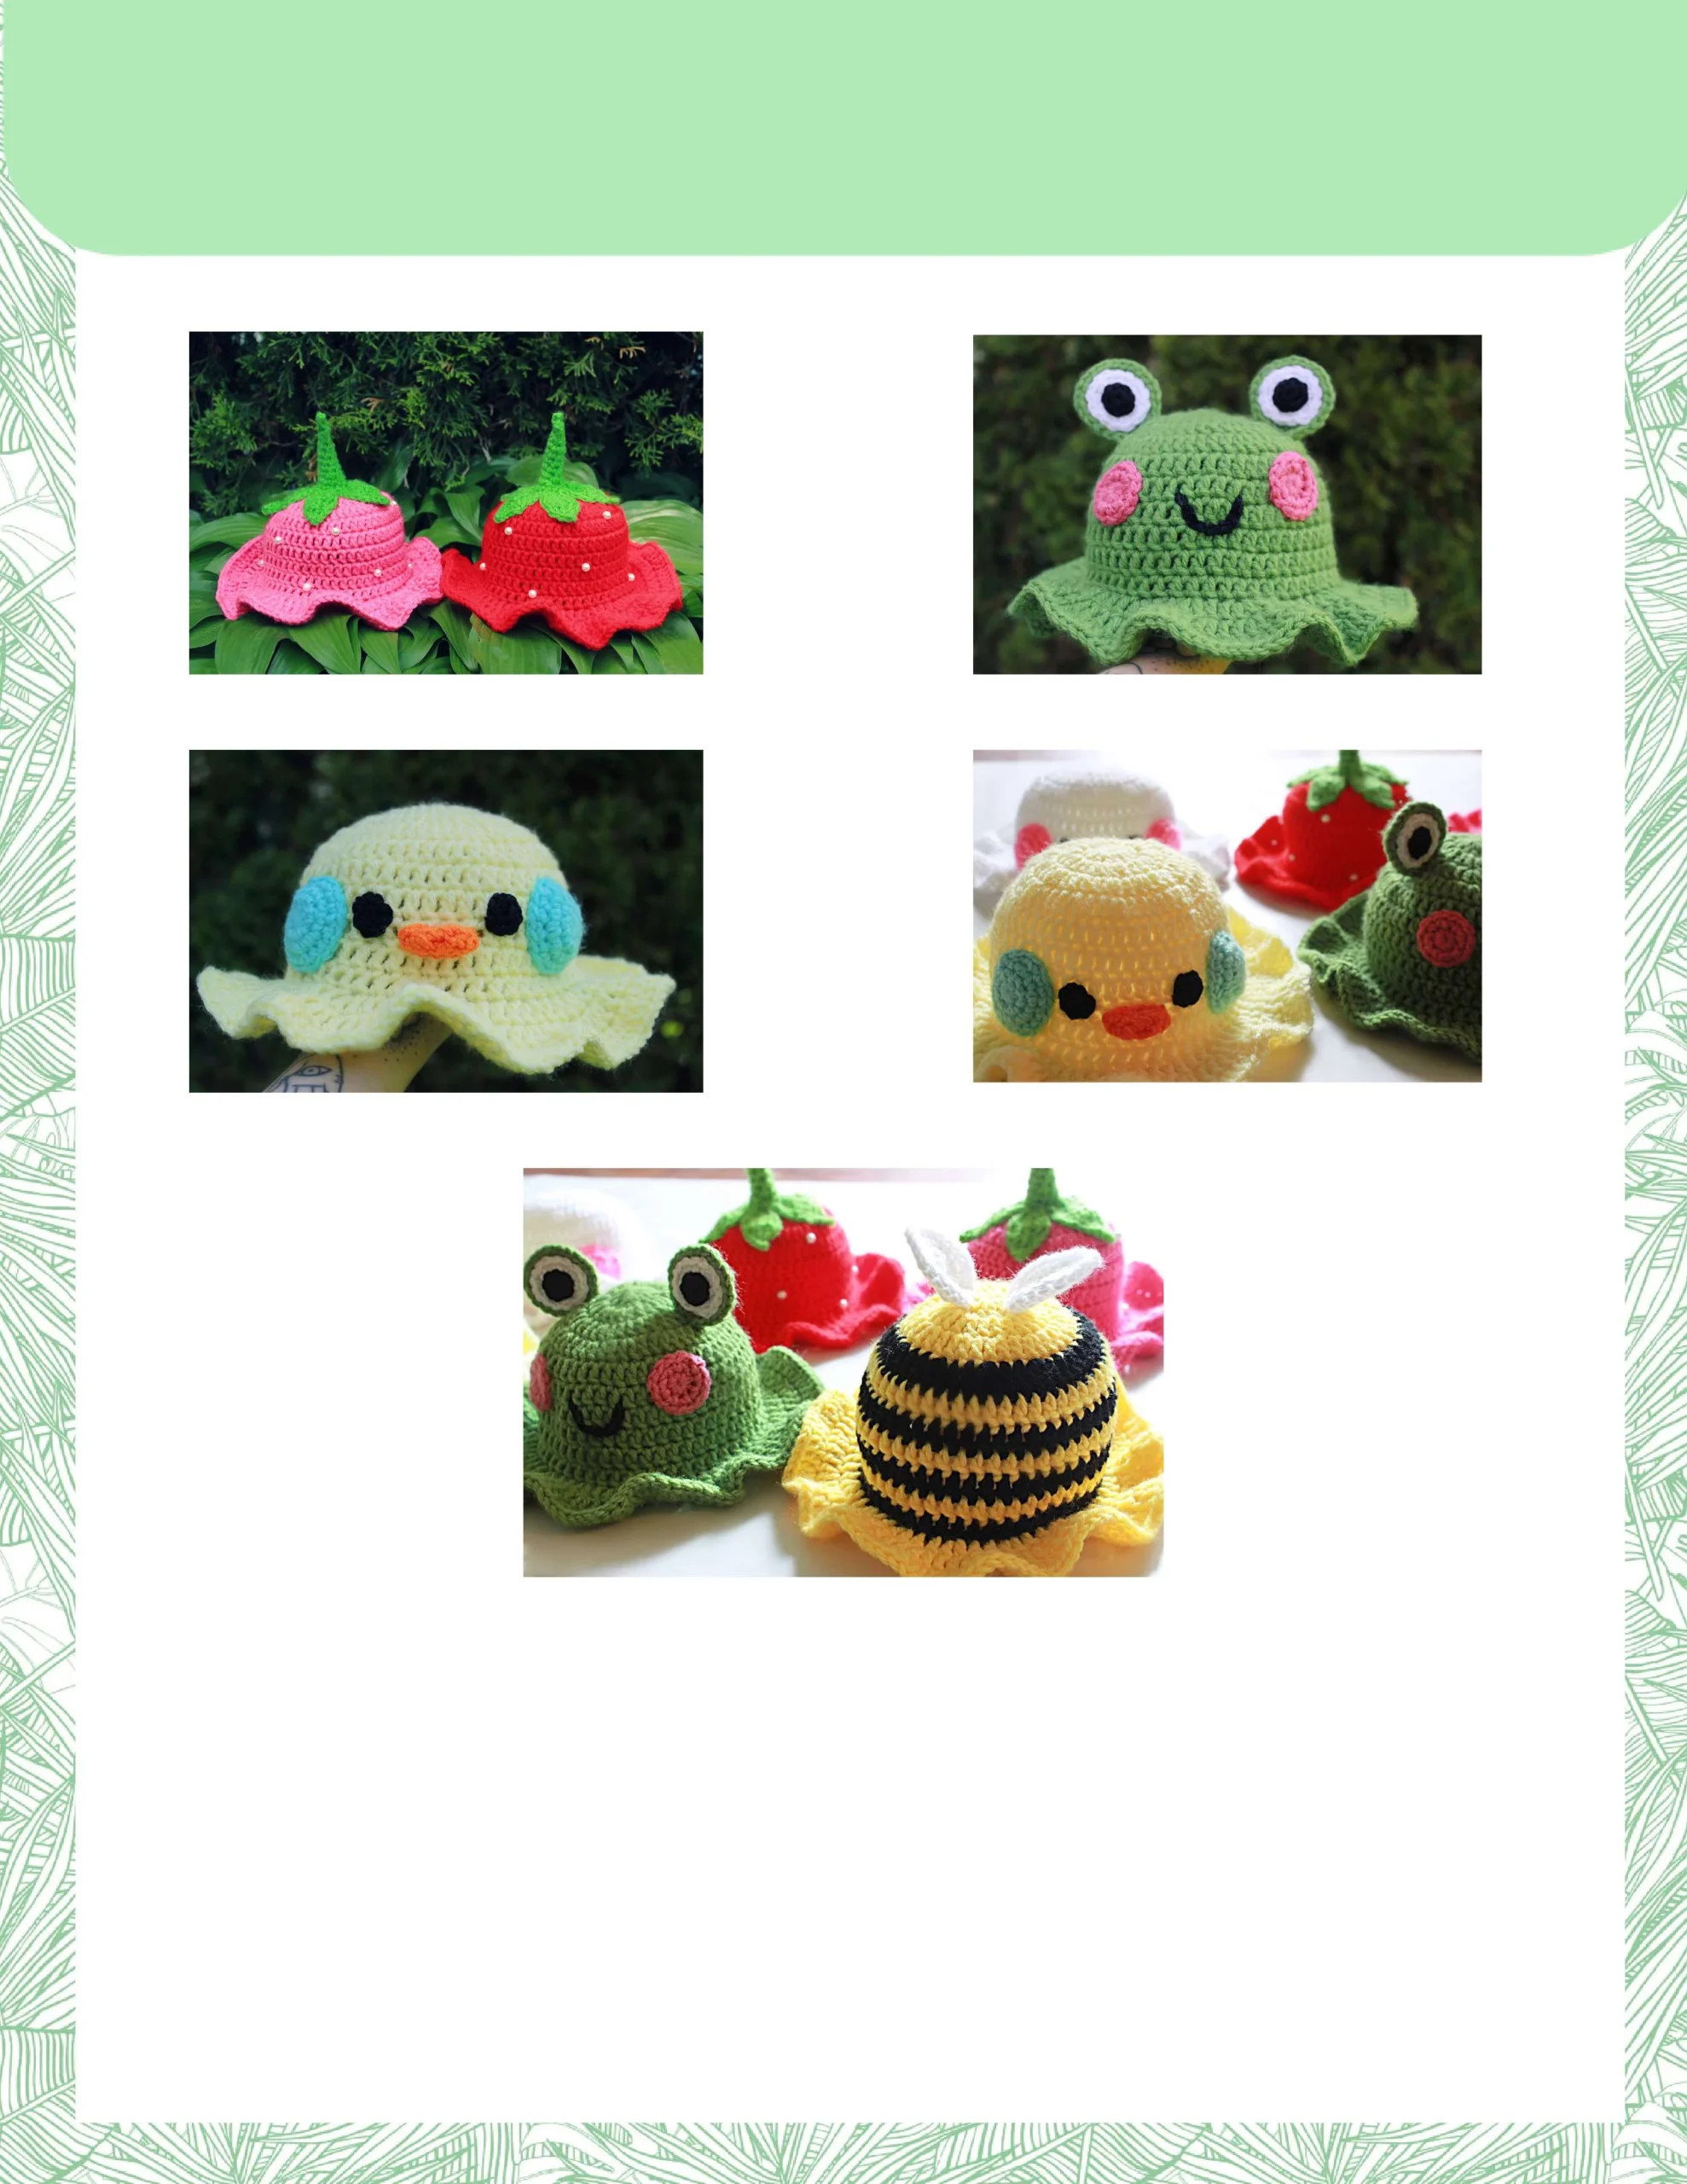
Handmade Crochet Tunic Pattern | Beginner-Friendly Colorful Striped Beach Cover-Up & Top PDF Pattern
$4.99
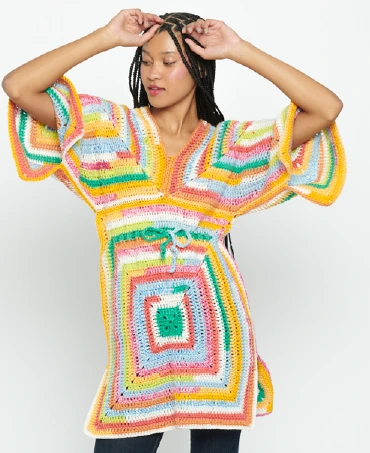
Handmade Crochet Corset Belt Pattern Boho Chic Waist Cincher with Busk & Ribbon Lacing Intermediate Crochet PDF Pattern
$4.99
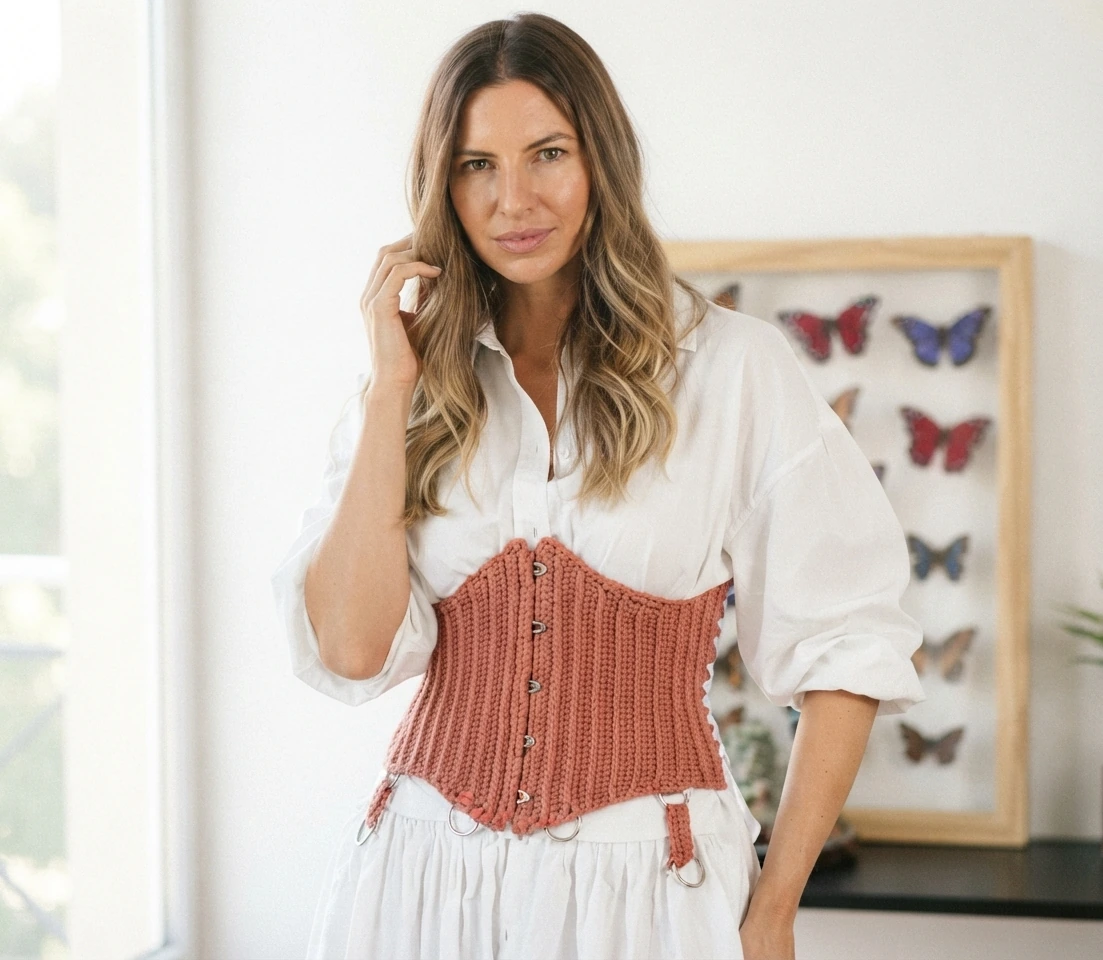
Simple Playdays Baby Cardigan Crochet Pattern PDF | Easy Unisex Newborn to 4 Years Sweater with Rainbow & Bunny Appliques
$4.99

The Ultimate Beginner’s Crochet Guide: Master 45+ Essential Techniques & Practical Projects
$5.99
Get this Crochet Pattern as a Free PDF
Enter your email to receive the PDF associated with this article.
Leave a Reply