
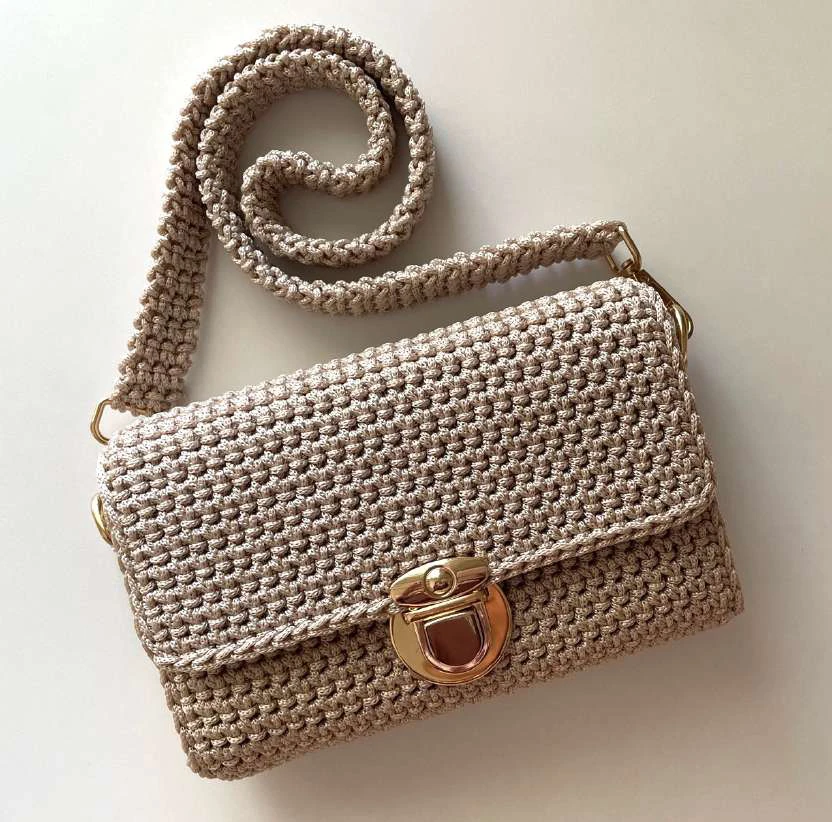
Bag Crossbody
Mini
crossbody
bag
Skill level: advanced beginner

MATERIALS AND TOOLS:
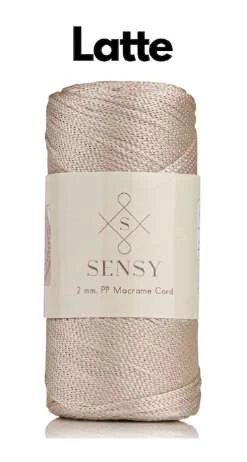
Original yarn: Sensy 2 mm (100% polypropylene macrame cord,
230 m/251 yads 200g / 7 oz per skein) approx. 251 yards total.
Substitute yarn: macrame cord 2 mm
Hook: 3.50 mm (E/4)
Notions: measuring tape, scissors, stitch markers, tapestry needle,
bag accessories.
Gauge: 17 sc* 13 rows = 4’’ (10cm). Always use a crochet hook size
that will result in the correct gauge after blocking.
TIP: If there is anything I can help you with, or you have any
questions about the pattern, alternative yarn or about your
crocheting process
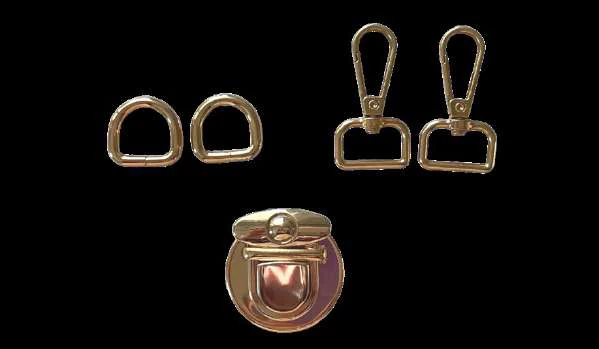
16mm 5/8" inner
metal d ring
46mm×44mm bag lock
25mm / 1 " inner
metal swivel clasp
SIZE:
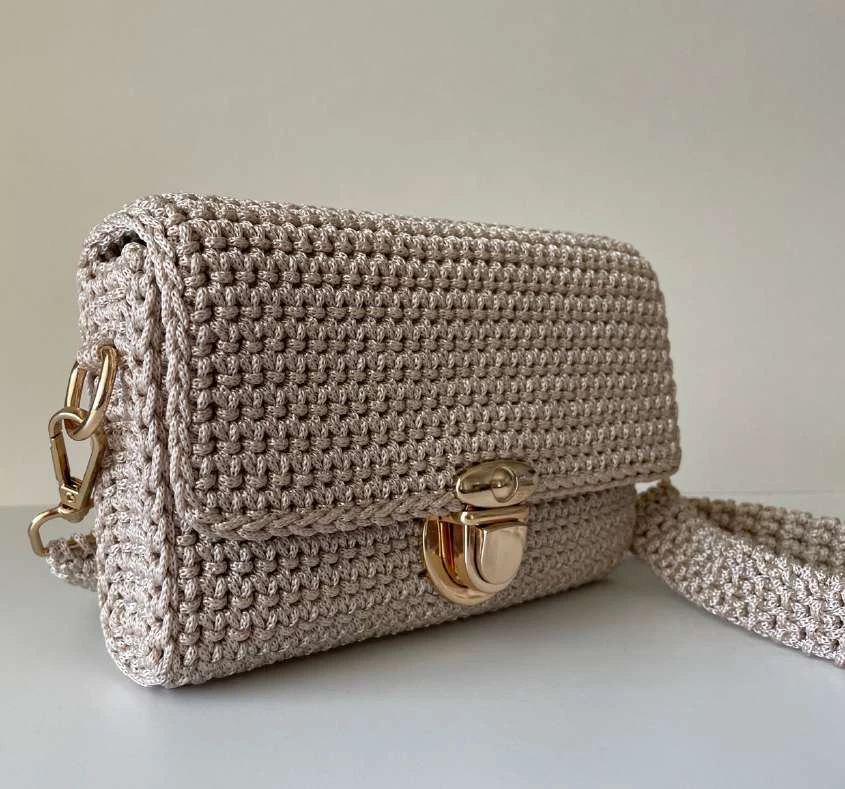
when using similar materials, the bag will be
width = 18.5 cm / 7.3”
height = 11 cm / 4.5”
depth = 4 cm / 1.5”
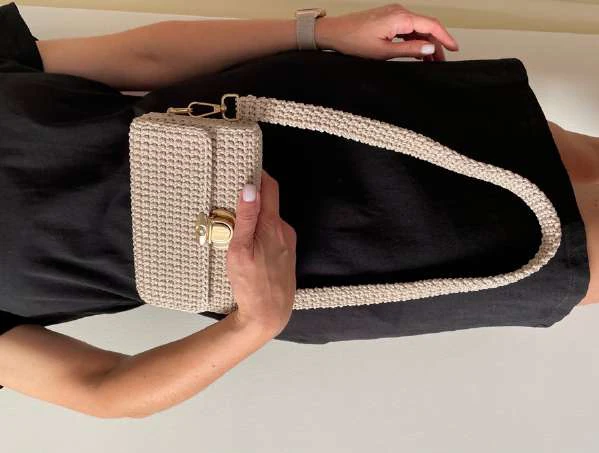
handle length = 70 cm / 27.5”
ABBREVIATIONS: all stitches are listed in US terms!
Abbreviation
Description
BLO
back loop only
ch
chain stitch
dec
decrease – work 2 sc together
FLO
front loop only
inc
increase – work 2 sc in 1 st of previous rnd
PM
place marker
(…)
number of sts in total
rep
repeat
rep (…) *N
repeat instruction in brackets N times
RS
right side
sc
single crochet
sl-st
slip stitch
WS
wrong side
STEP 1. MAIN PART
Leave a long tail of yarn approximately 25 cm / 10 inches and
make a chain of foundation chain stitches.
Note: You can make more or fewer stitches depending on the
desired width of the bag.
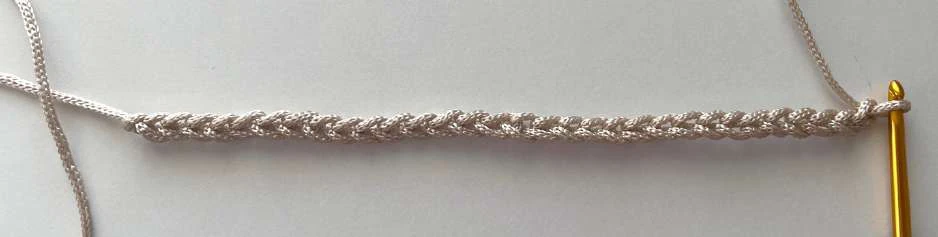
I made 31 chains [Fig 1].
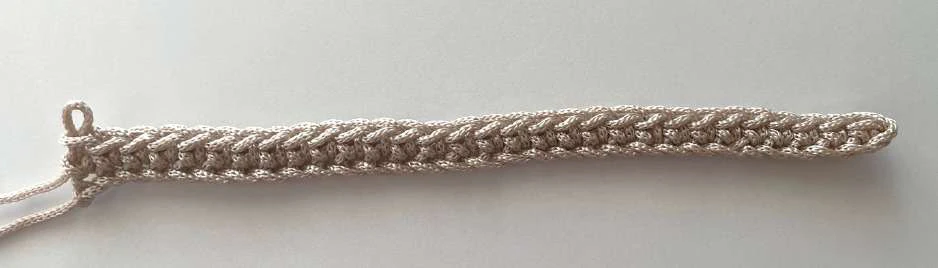
Row 1: 30 sc, 1 ch, turn [Fig 2].

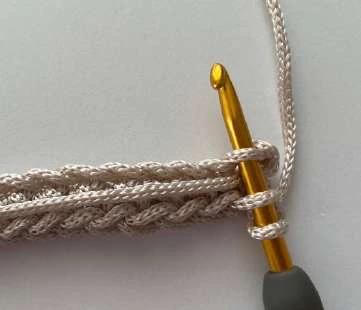
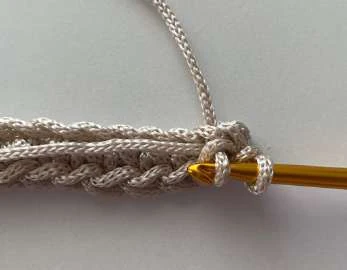
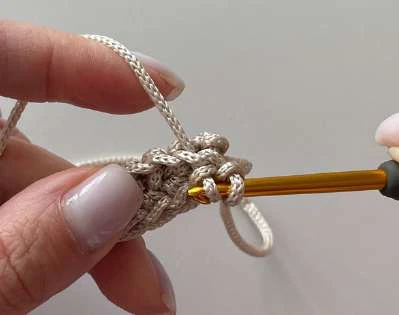
Next, lay the long tail of yarn on top, and will crochet it into
the second row.
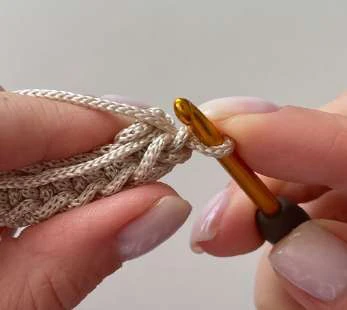
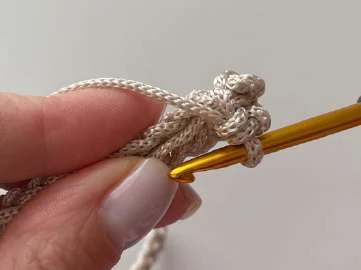
Work single crochet stitches, inserting the hook into the
back loop of the current row and the loop of the foundation
chain [Fig 3-6].
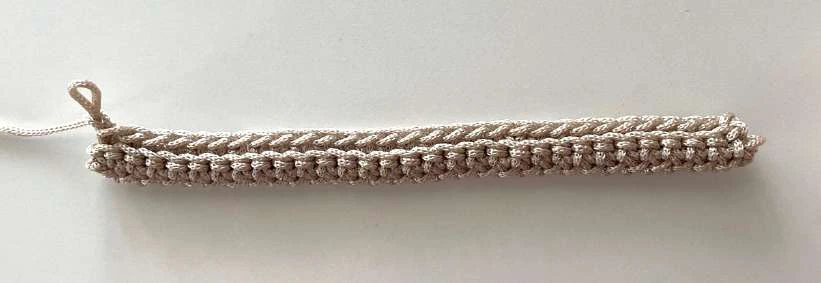
Row 2: 30 sc, 1 ch, turn [fig 7].
Straighten the beginning of the crocheted fabric and use
the long tail to adjust so that the first rows are not
overstretched.
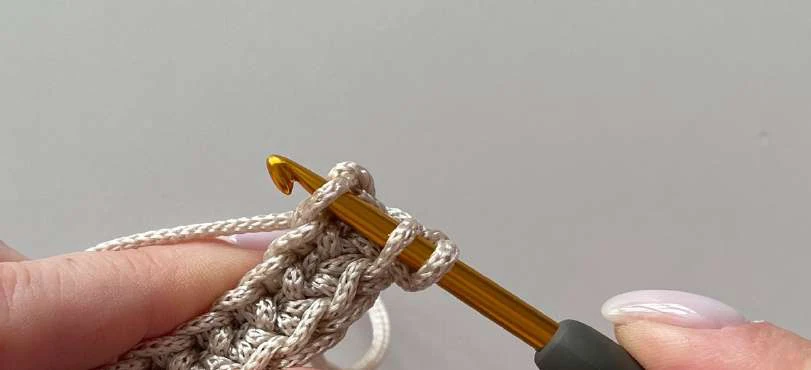
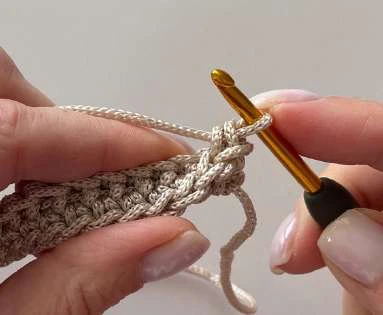
MAIN PATTERN: Work single crochet stitches, inserting the
hook into the back loop of the current row and the back
loop of the previous row [Fig 8-10].
Detailed instructions for crocheting this pattern are shown
in the video.
Row 3: 30 sc, 1 ch, turn [Fig 11].
Back loop of
the current row
Back loop of
the previous
row
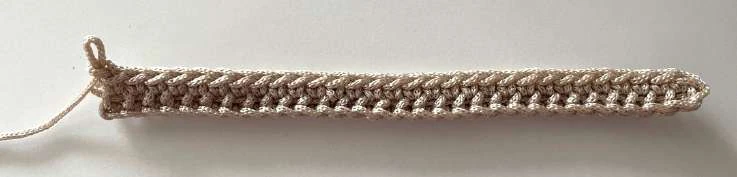
Repeat Row 3 until the desired length is reached, 35-36 cm /
13.8 – 14 inches.
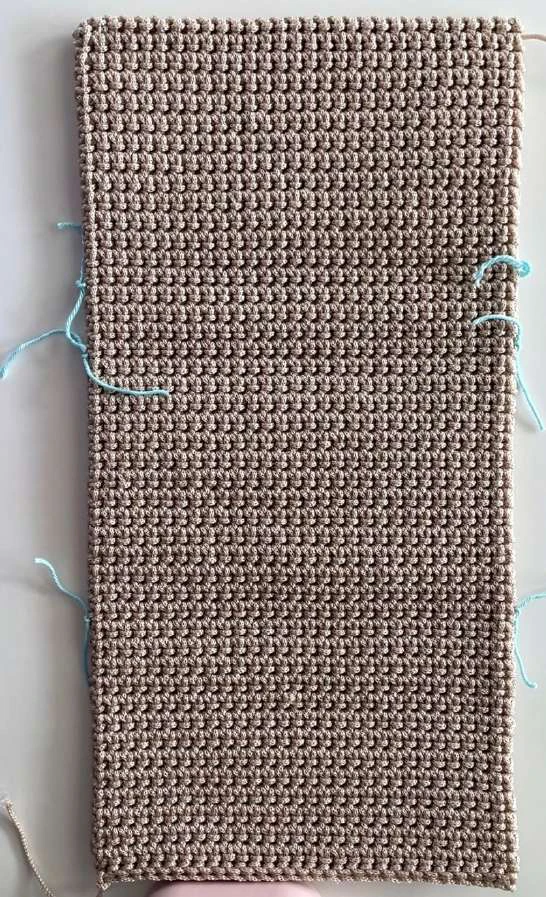
I ended up with 90 rows [Fig 12]. Straighten the fabric, steam
it, and shape it into a clear rectangular form. Measure the
length and width.
Mark the bottom and sides of the bag with stitch markers.
Note: You can fold the fabric along these markers to estimate
the size of the finished bag.
11 cm / 4.3’’
11 cm / 4.3’’
3 cm/1.1’’
36 cm / 14’’
STEP 2. BAG SIDES (MAKE 2)
Make a chain of 5 foundation chain stitches.
Row 1: 4 sc, 1 ch, turn.
Continue with the main pattern.
Row 2: 4 sc, 1 ch, turn.
Rows 3-25: 4 sc, 1 ch, turn.
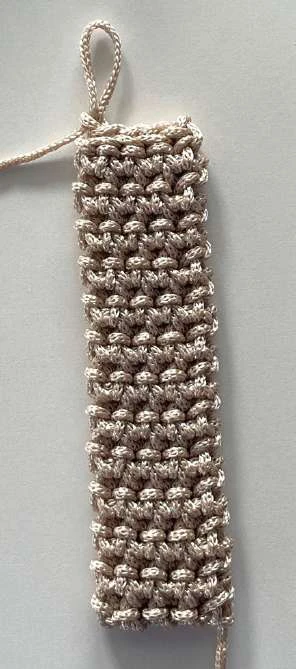
Row 26: 4 sl-sts [Fig 13]
Cut the working yarn.
Straighten and steam the side piece.
3 cm/1.1’’
10 cm/4’’

STEP 3. ASSEMBLY
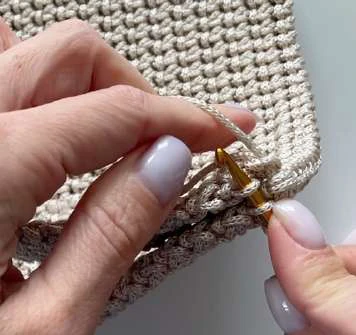
Attach the side pieces to the main part using sl-sts.
Start with the left side piece. Place the side piece onto the
main part and connect the corner parts [Fig 14].
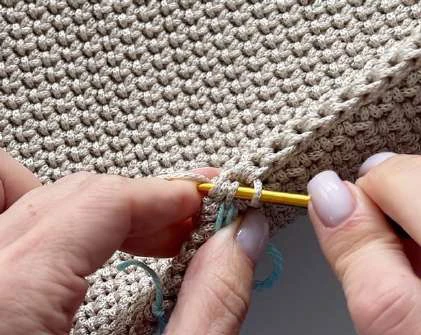
Insert the hook into the back loop of the main part and the
front loop of the side piece (3 loops on the hook) and pull
the working yarn through all 3 loops [Fig 15]. In this way,
work slip stitches along the three sides of the bag side
piece [Fig 16-17]. A video of the joining process can be
found here.
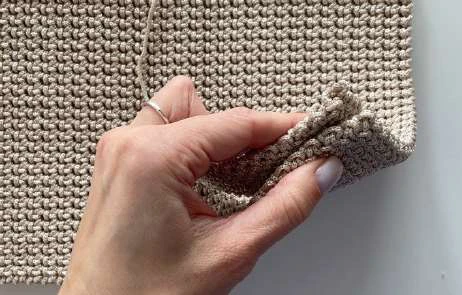
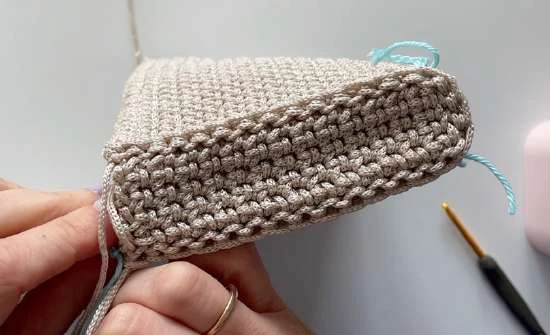

Do not cut the working yarn! Continue to crochet slip
stitches along the main part to the corner and then to the
middle of the closing flap. Cut the yarn [Fig 18-19].
Attach the right bag side in the same way [Fig 20-21].
Weave in the ends of the working yarn into the fabric. Mark
the center of the flap [Fig 22].
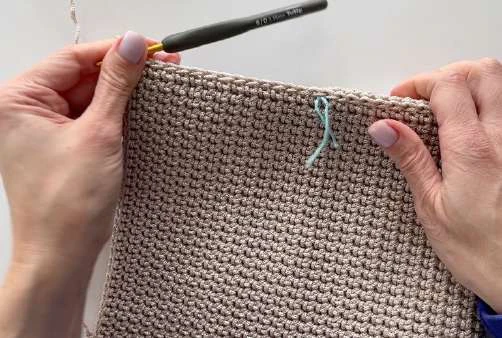
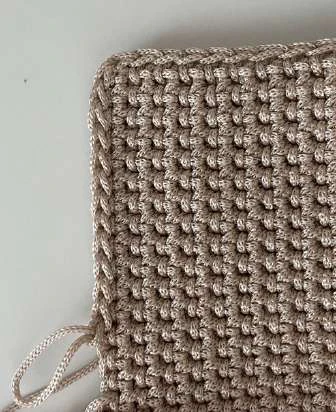
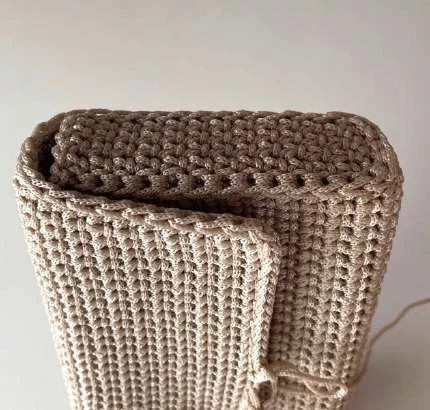
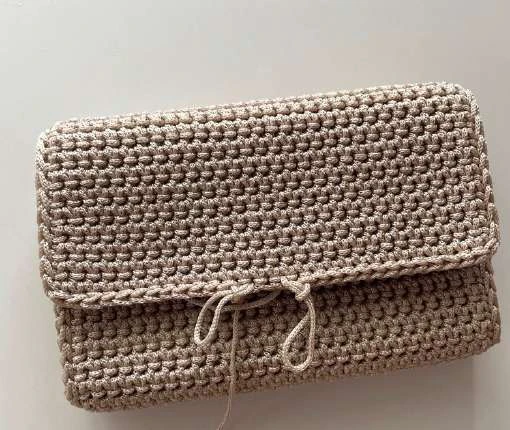
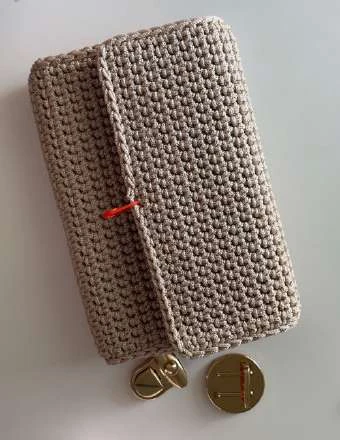
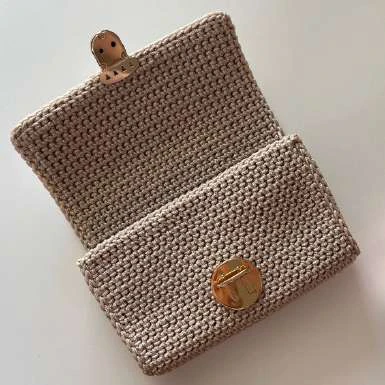
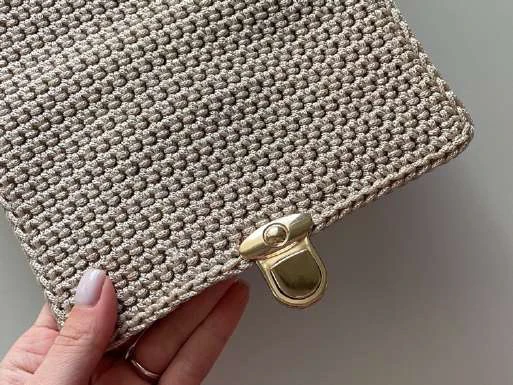
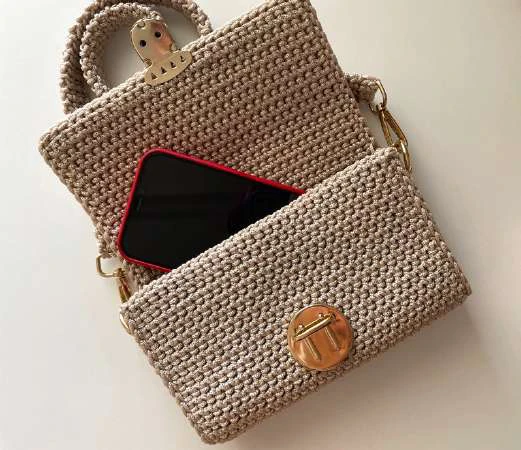
Attach the clasp to the flap. First, attach the lock to the upper
flap [Fig 23], and then the corresponding part of the lock to
the main part of the bag [Fig 24-25].
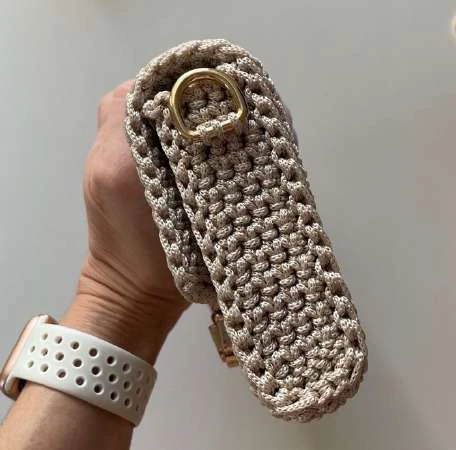
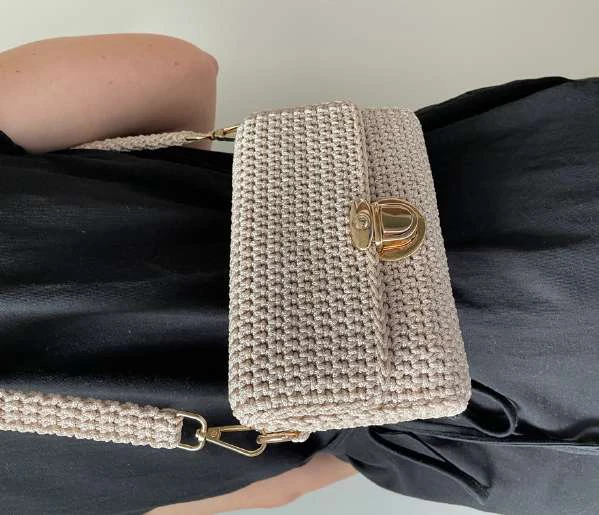
Sew D-rings to the bag side for attaching the handle [Fig 26].
STEP 4. HANDLE
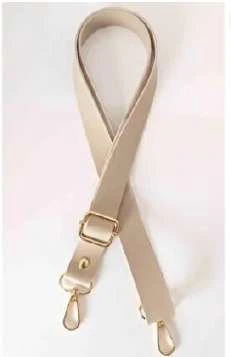
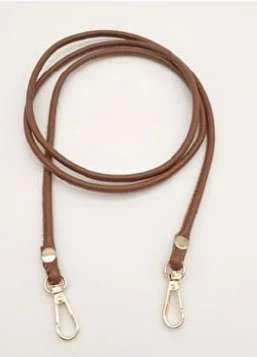
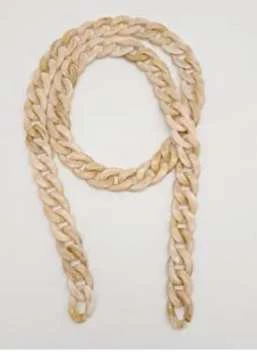
You can use a ready-made handle or crochet one.
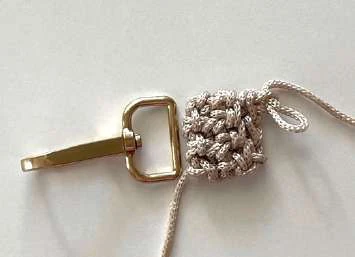
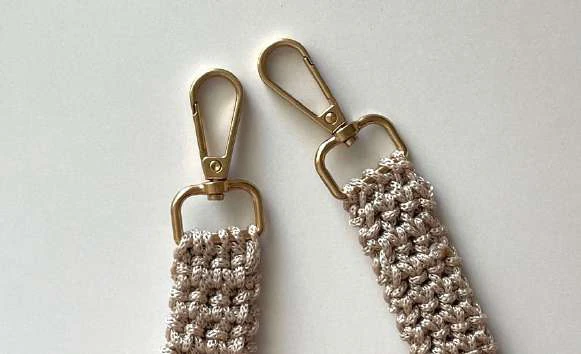
For easy attachment of the handle to the bag, I use a 2.5 cm / 1-inch
wide carabiner [Fig 26].
Leave a long tail of yarn approximately 15 cm / 6 inches.
Make a chain of 4 foundation chain stitches.
Row 1: 3 sc, 1 ch, turn.
Continue with the main pattern of the bag.
Row 2: 3 sc, 1 ch, turn.
Row 3: 3 sc, 1 ch, turn.
Crochet rows until the desired length of the handle is reached.
I made a medium-length handle, 67 cm / 26 inches long. I ended up
with 146 rows.
Attach the handle to the carabiners [Fig 27].
Weave in the yarn ends.

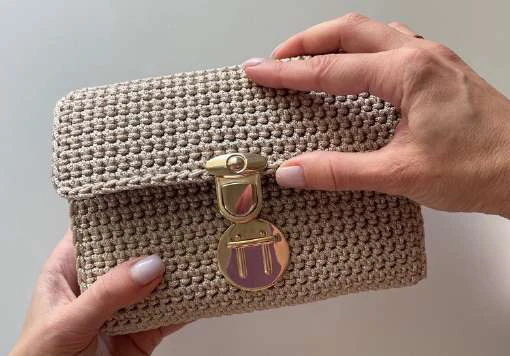
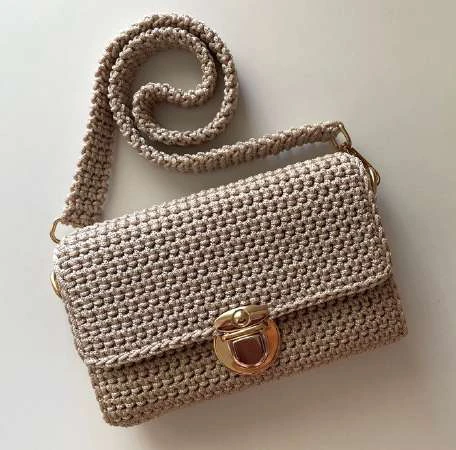
Attach the handle, and the bag is ready!
Recommended Digital Products
Handmade Crochet Corset Belt Pattern Boho Chic Waist Cincher with Busk & Ribbon Lacing Intermediate Crochet PDF Pattern
$4.99
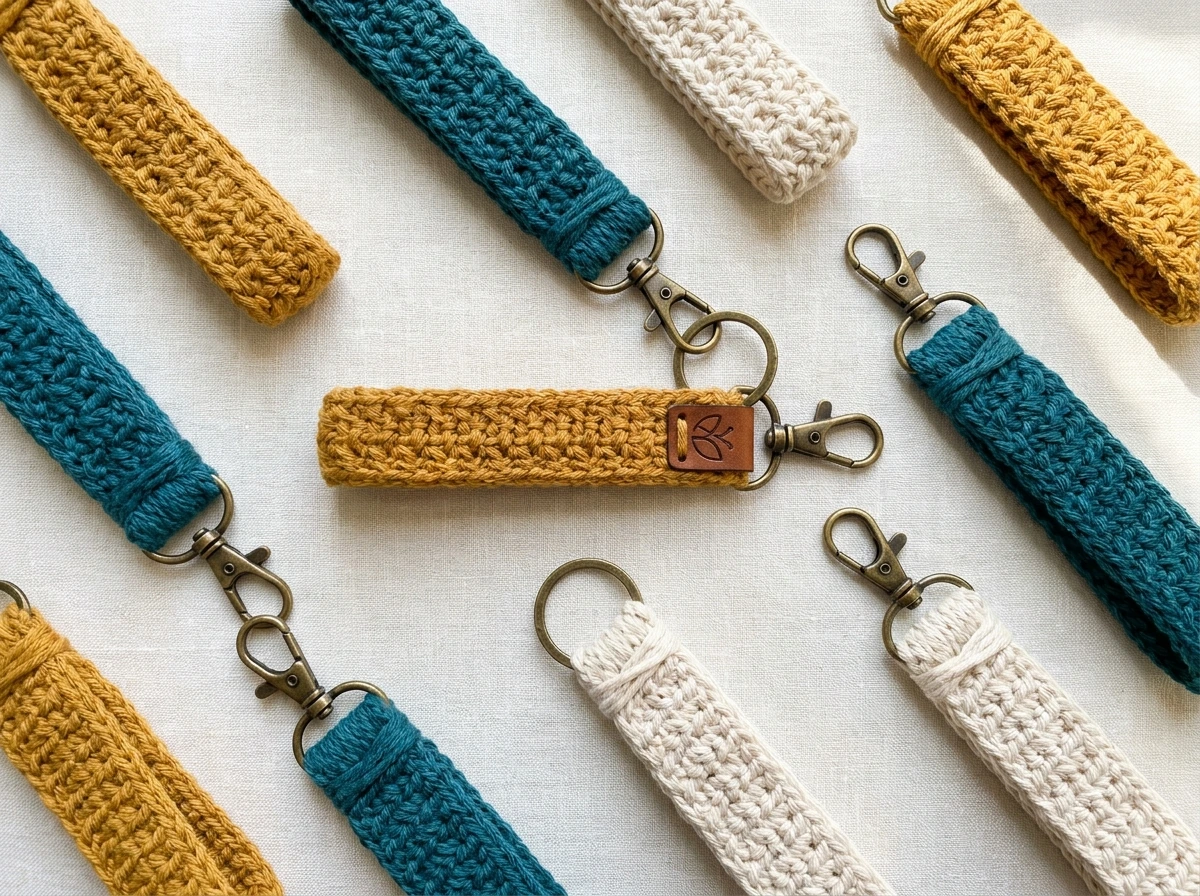
The Highline Wristlet Keychain Crochet Pattern: Quick, Textured & Market-Ready Accessory
$3.99

The Ultimate Beginner’s Crochet Guide: Master 45+ Essential Techniques & Practical Projects
$5.99

From Loop to Perfection: The Ultimate Step-by-Step Crochet Master Guide
$9.99
Get this Crochet Pattern as a Free PDF
Enter your email to receive the PDF associated with this article.
Leave a Reply