
Baby Shoes
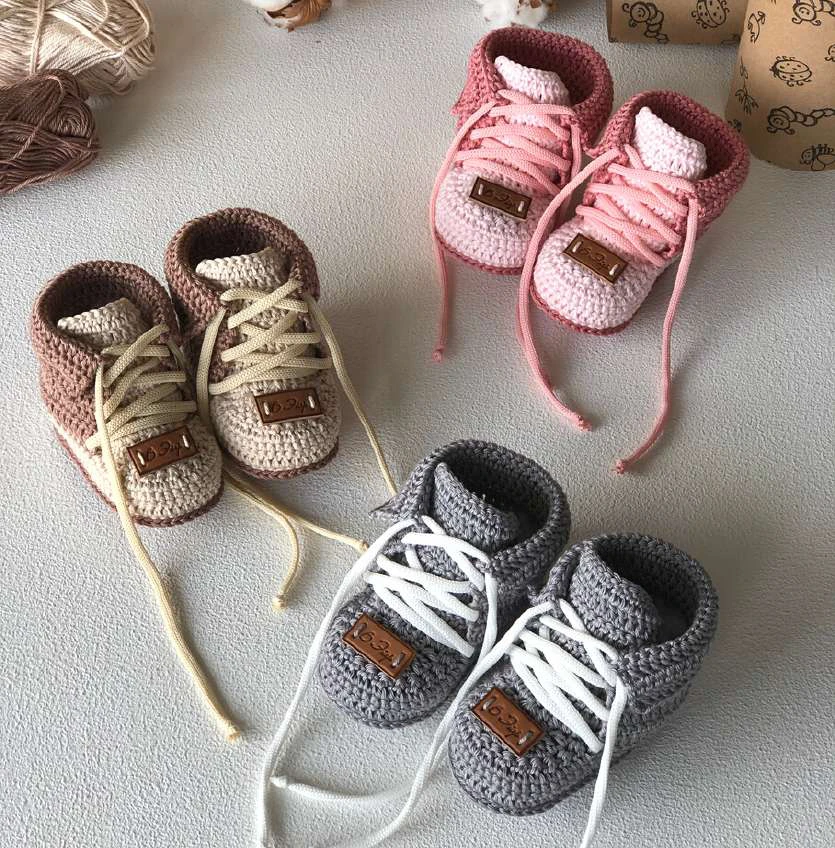
Materials Needed
• 2 hanks of yarn in different colors Vita cotton
Lily 100% mercerized cotton, 1.75oz(50g)/137
yds(125m)
You can substitute yarn, just
make sure that it matches original proportions.
Suggested substitute yarn
Scheepjes Catona, Schachenmayr
Catania
• Crochet hook C/2 or D/3 (2.5mm or 3mm), OR
SIZE TO OBTAIN GAUGE
• Scissors
• Tapestry needle or smaller crochet hook
• Shoe laces or satin ribbon. (I use cord 4mm)
• Brooch or tag, or button for decoration (if
desired)
• Measuring tape
Abbreviations (US terminology)
• ch – chain
• cont – continue
• BOR – beginning of the round
• dc – double crochet
• hdc – half double crochet
• sc – single crochet
• sl st – slip stitch
• rnd(s) – round(s)
• dc2tog – dс 2 together
• RS – right side
• st(s) – stitch(es)
• WS – wrong side
• MC – main color
• CC – contrasting color
Gauge
26 dc x 13 rows = 4”(10cm)
TAKE TIME TO CHECK YOUR GAUGE!
! Number of stitches is provided below according to the size as follows:
0months / 0-3months / 3-6 months / 6-12 months
0 months – foot length approx 3.15”(8 cm)
0-3 months – foot length approx 3.5”(9 cm)
3-6 months – foot length approx 3.9”(10 cm)
6-12 months – foot length approx 4.3-4.7”(11-12 cm)
! Measure the baby’s foot for better fit.
Instructions
With MC ch 16/19/22/26.
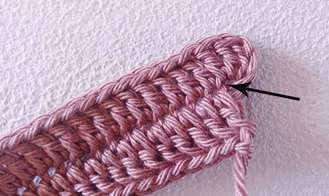
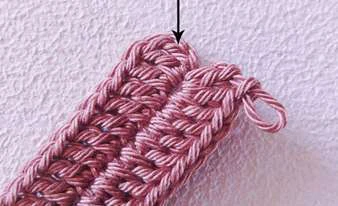
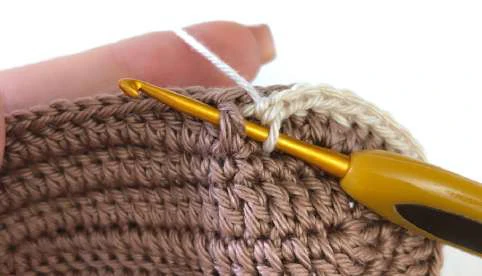
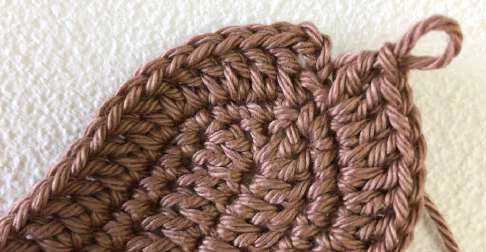
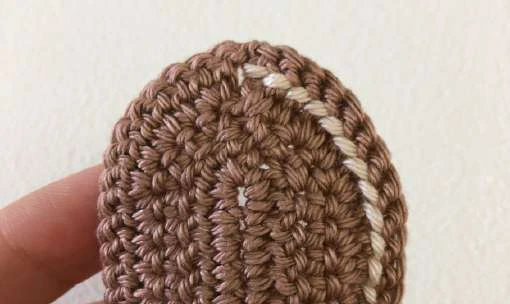
Rnd 1: 2dc in the 4th st from the hook, dc in next 11/14/17/21 sts, 6dc in
the last st, cont to work along the opposite side of the chain, dc in next 11/14/17/21
sts, 3dc in the last st (pic.1). Finish with sl st in ch (pic.2). (34/40/46/54 sts)
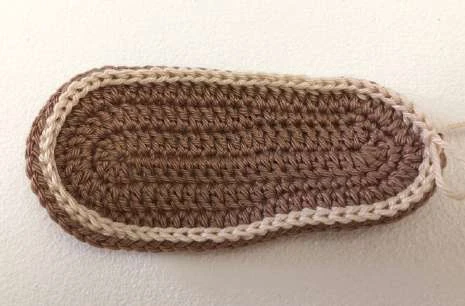
Sole
Rnd 2: ch1 (counts as 1 sc), sc in the same st, sc in next st, 2sc in next st, sc in next 4/5/6/7
sts, hdc in next 2 sts, dc in next 5/7/9/12 sts, 2dc in each of next 6 st, dc in next 5/7/9/12
sts, hdc in next 2 sts, sc in next 4/5/6/7 sts, 2sc in next st, sc in next st, 2sc in next st.
Finish with sl st in ch. (44/50/56/64 sts).
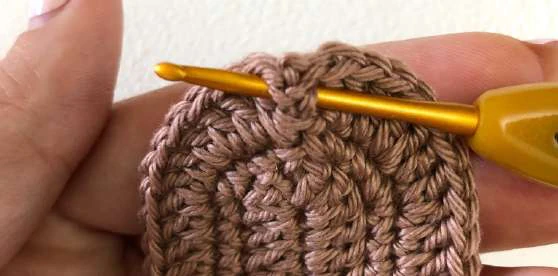
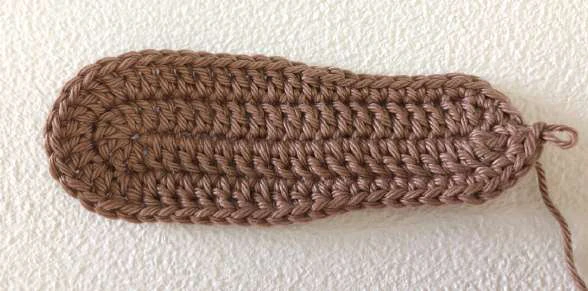
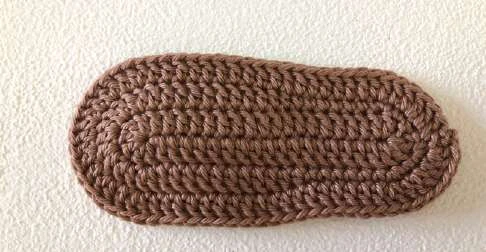
Rnd 3: ch3 (counts as 1 dc), dc in the same st, [dc in next st, 2dc in next st] 2 times, dc in
next 11/14/17/21 sts, [2dc in next st, dc in next st] 6 times, dc in next 11/14/17/21 sts,
[2dc in next st, dc in next st] 2 times, 2dc in next st. Finish with sl st in ch.(Pic.4).
(56/62/68/76 sts). Fasten off and cut yarn. The sole is ready.
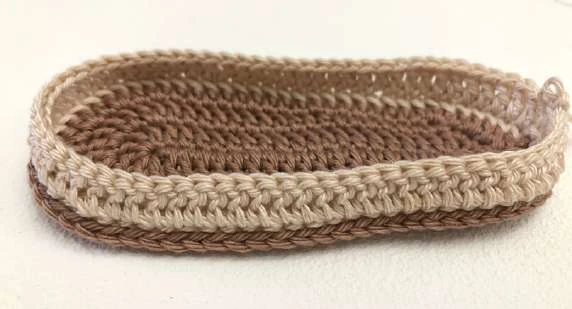
Sidepiece
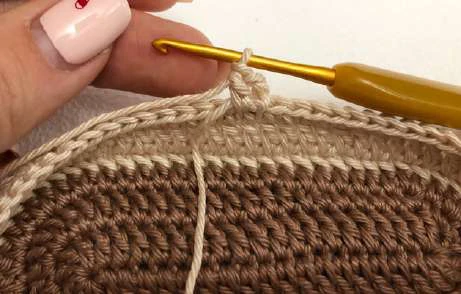
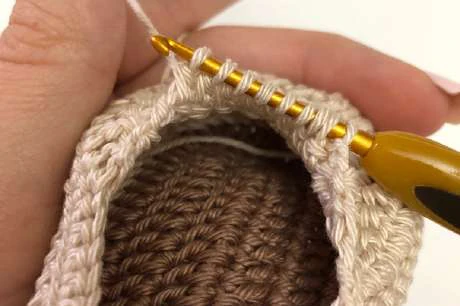
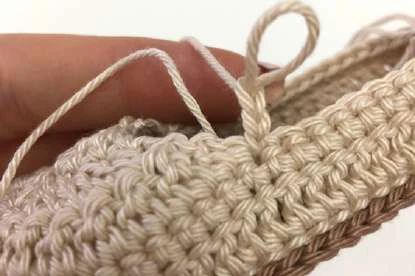
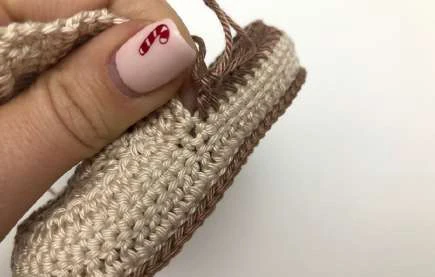
Rnd 1: with CC cont to work starting from BOR with RS facing you, sc, inserting the hook
not in the st but under the post of dc of the previous rnd of the sole. RS is inside the bootie.
(pic. 6-7)
Work as follows: ch1 (counts as sc), sc in next 55/61/67/75 post of dc. Finish with sl st in
ch. (56/62/68/76 sts)
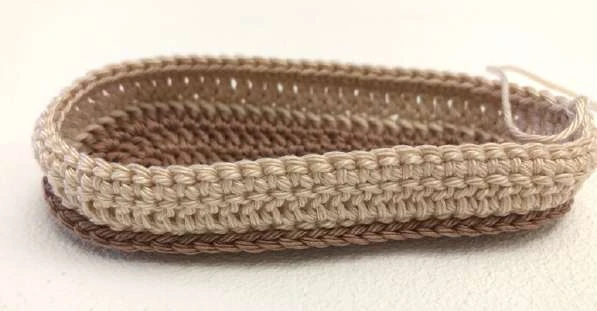
Rnd 2: ch3 (counts as dc), dc in next 55/61/67/75 sts. Finish with sl st in ch. (56/62/68/76
sts).
outside
Rnd 3: ch1 (counts as sc), sc in next 55/61/67/75 sts. Finish with sl st in ch. (56/62/68/76
sts). Fasten off and cut yarn. The sidepiece is ready.
*If the baby's foot is roly poly or has a high arches, I recommend repeat round 3 1-2 more
times to make higher sidepiece.
Toe
Toe worked back and forth in rows, shaping with decreases.
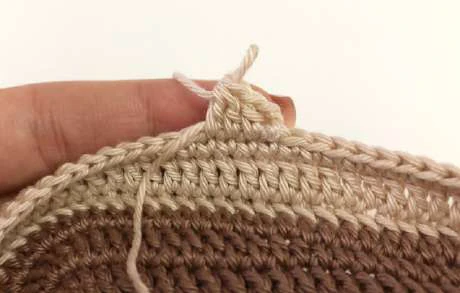
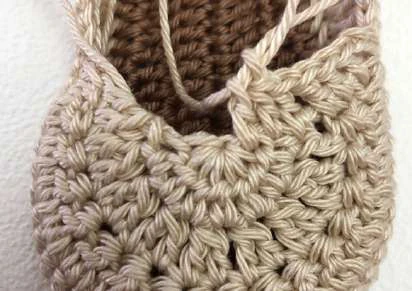
Row 1(WS): count 14/15/16/18 sts starting from the BOR, join CC yarn at
15th/16th/17th/19th st, ch2, dc in next st, dc2tog 13/15/17/19 times.
Row 2(RS): ch2, dc in next st, dc2tog 6/7/8/9 times.(Pic.15)
Row 3(WS): ch2, dc6tog/ dc7tog/ dc8tog/ dc9tog.(Pic.16-18). Fasten off and cut yarn. Toe
is ready.
Bootie tongue
The bootie tongue is worked in the same way for all sizes. Continue to work back and for
in rows, using CC.
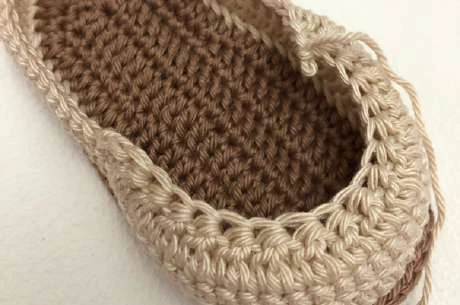
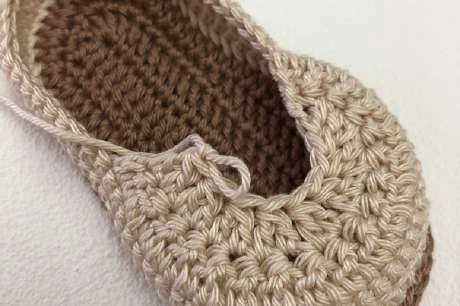
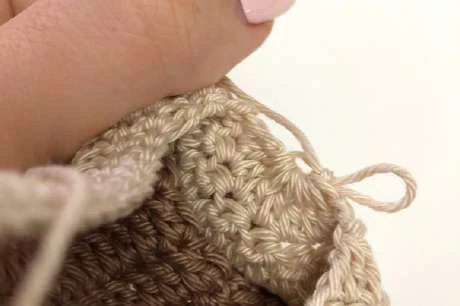
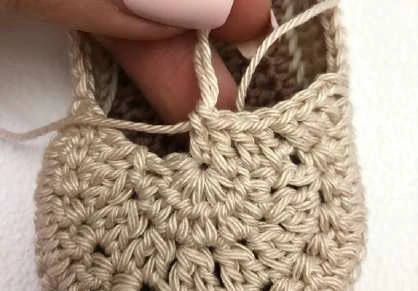
Row 1: join yarn at st, indicated on the pic. 19. Ch3 (counts as dc), 6 dc in
horizontal sts of the toe, dc in the st, indicated on the pic. 21, 6 dc in next horizontal sts of
the toe. Work the last dc in the st, indicated on the pic. 23. (15 sts). Turn.
Row 2-8: ch3 (counts as dc), dc in next 14 sts (15 sts). Turn.
Fasten off and cut yarn. The bootie tongue is ready.
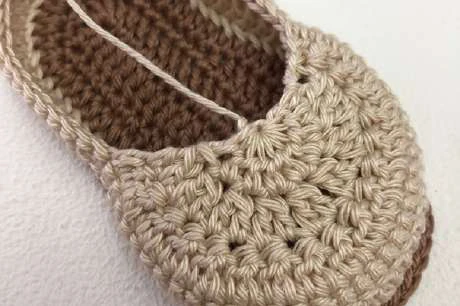
Row 1: join MC at the st, indicated on the pic.26, 3 ch (counts as dc), dc in next st. Then
cont to work as follows: dc in next 28/30/32/36 sts. Work dc in next 2 sts, indicated on
the pic. 28. (32/34/36/40 sts). Turn.
The upper part
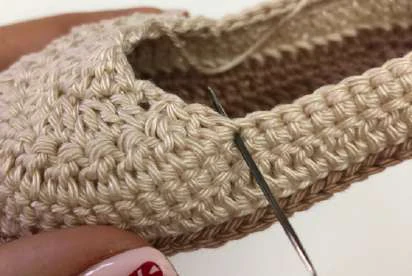
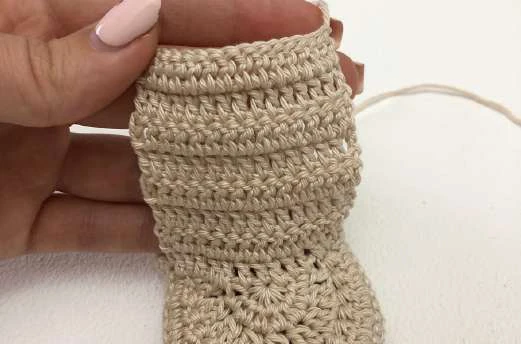
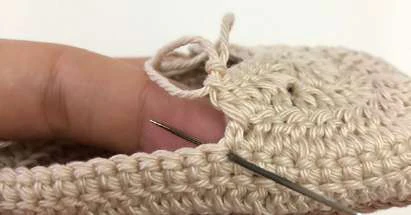
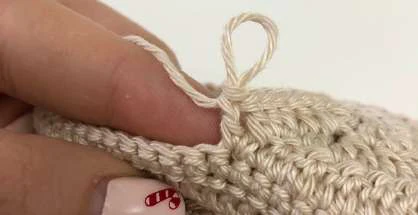
Row 2-10: ch3 (counts as dc), dc in next 31/33/35/39 sts (32/34/36/40 sts). Turn.
Fasten off and cut yarn. The upper part is ready.
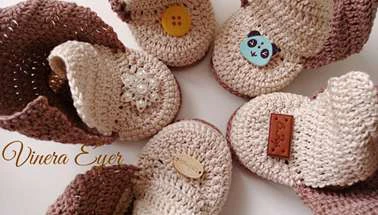
Weave in ends using a tapestry needle or a crochet hook. Decorate the toe with a tag, a
brooch or a button if desired.
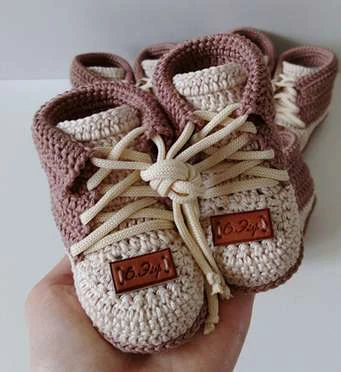
Fold three rows of the upper part and insert laces as it’s show on the picture.
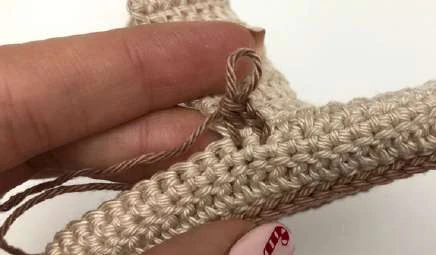
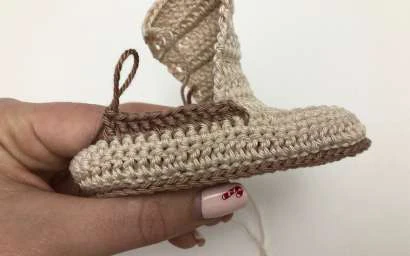


Rep the same for the 2nd bootie. The baby booties are ready!
Recommended Digital Products
Baby Superhero Amigurumi Crochet Pattern PDF | Easy Little Green Monster Plush Toy Pattern | DIY Chibi Superhero Plushie
$4.99
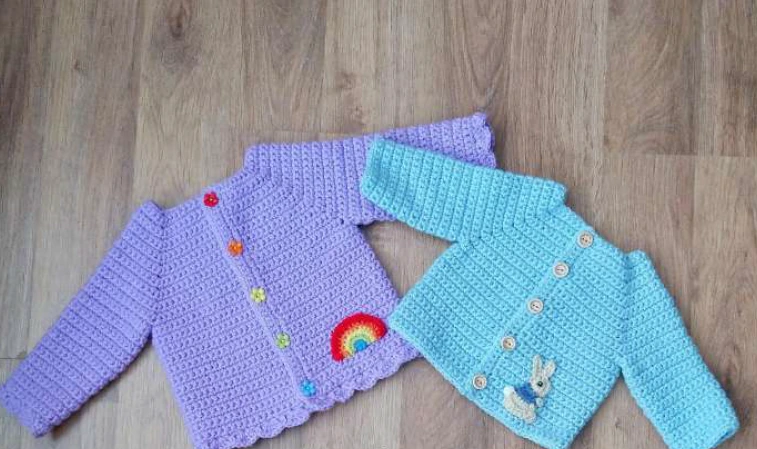
Simple Playdays Baby Cardigan Crochet Pattern PDF | Easy Unisex Newborn to 4 Years Sweater with Rainbow & Bunny Appliques
$4.99
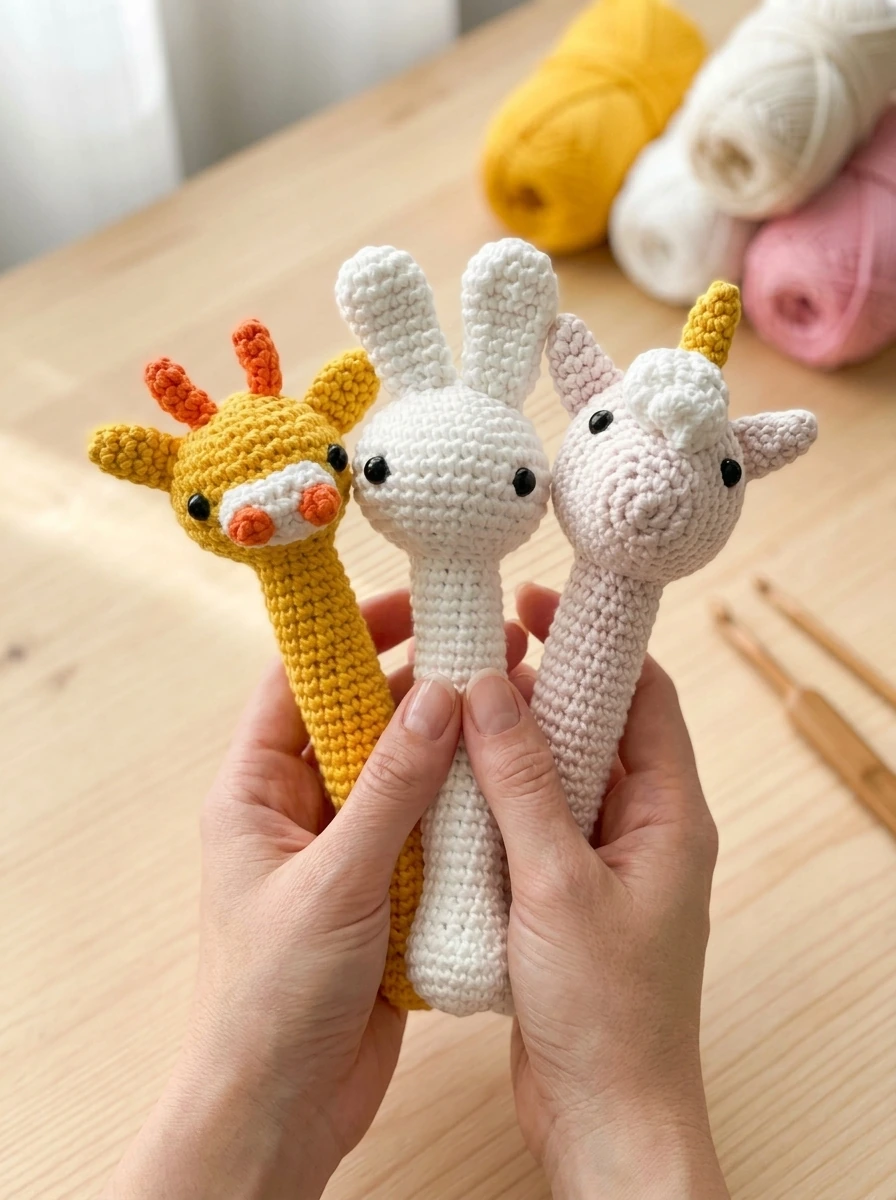
Crochet Baby Rattle PDF Pattern – Amigurumi Stick Toy Set (Bunny, Giraffe, Unicorn)
$4.99
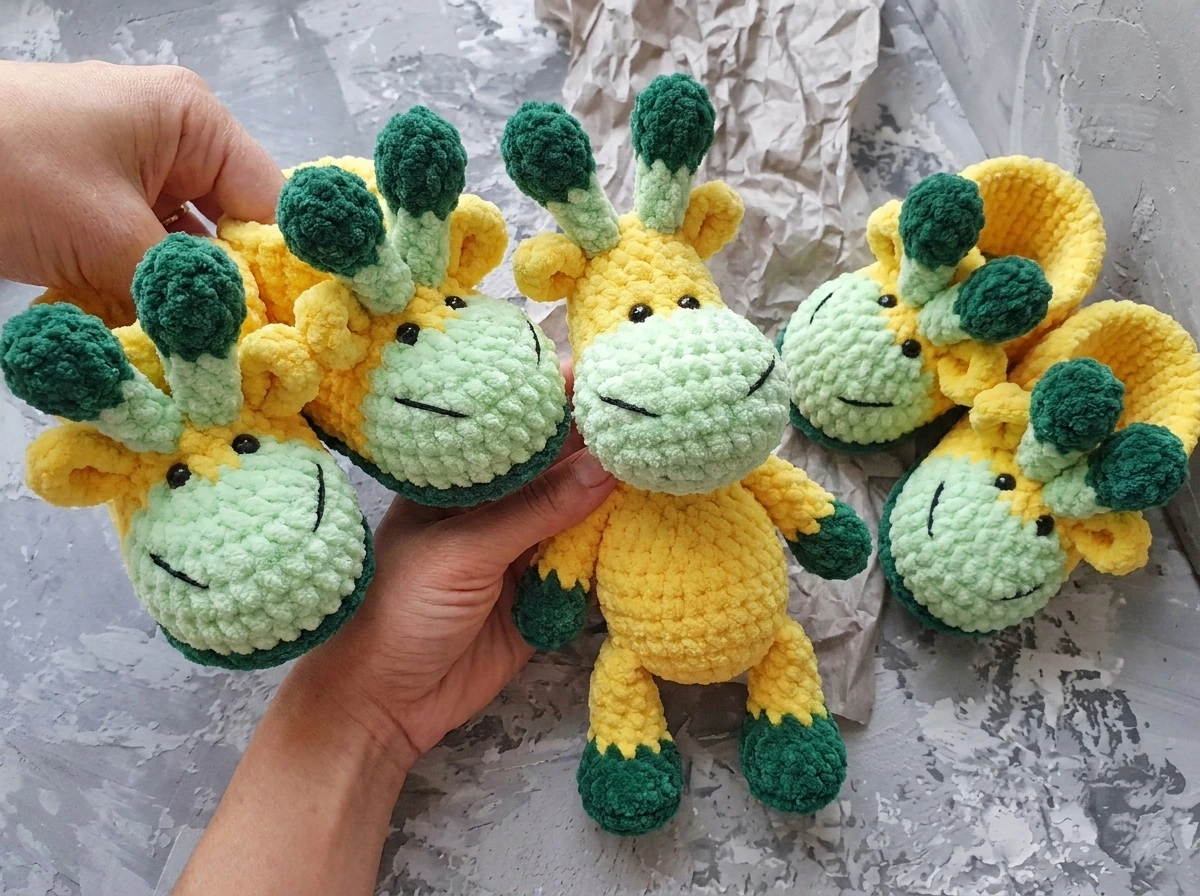
Crochet Baby Animal Booties PDF Pattern – Plush Amigurumi Shoes (Unicorn, Giraffe, Deer, Penguin)
$4.99
Get this Crochet Pattern as a Free PDF
Enter your email to receive the PDF associated with this article.
Leave a Reply