
Phone bag 3
Phone pouch with back pocket
P a g e 1 | 9
Phone pouch with back pocket
Crochet Pattern
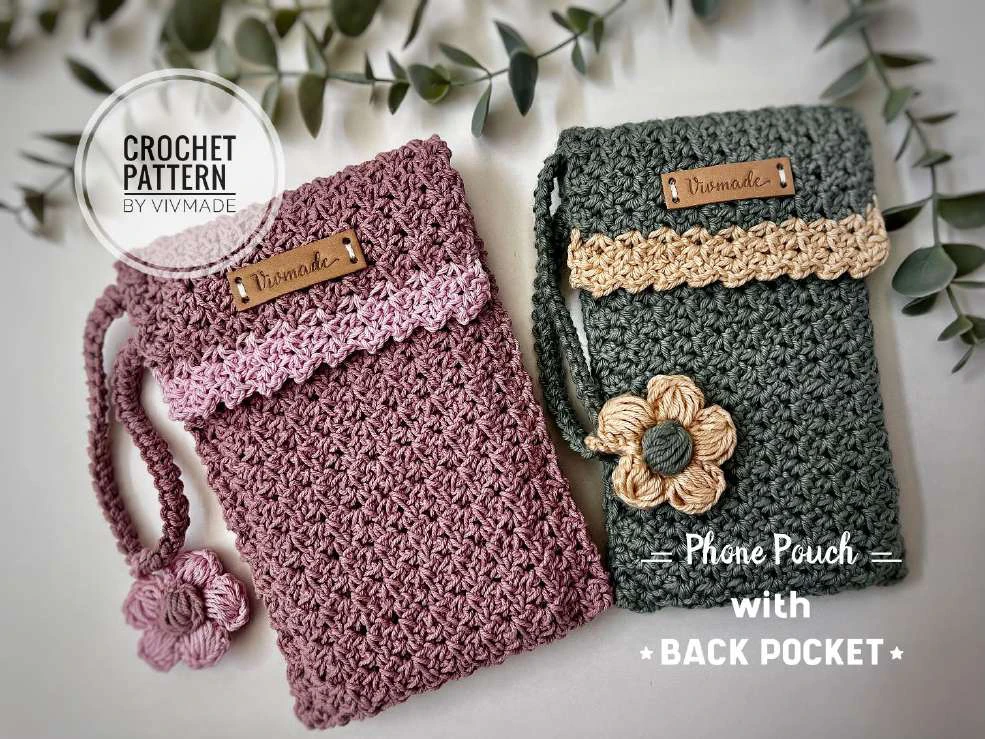
Phone pouch with back pocket
P a g e 2 | 9
Material & Tools
✓Worsted, hard cotton or polyester yarn
Approx 150 meters
✓Crochet hook 3 mm
✓Tapestry needle
✓Stitch markers
✓Magnetic button
✓Sewing pin
✓Leather label (optional)
•
This is a phone bag. The most suitable material to be used for this pattern is a hard cotton or any
non-stretchy cord, so that it will not stretch too much when you are carrying a phone.
•
It may be helpful to use a stitch marker to mark the 1st stitch of each round.
Pouch body
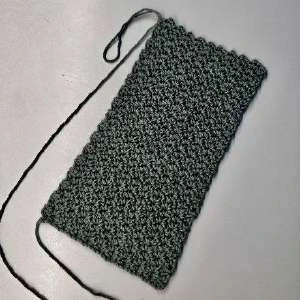
CH 31 (Main color yarn)
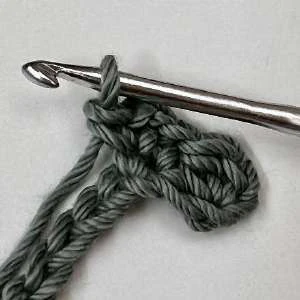
Row 1: HDC into 3rd CH from hook, skip 1 ST, *SC, CH2, SC* into the next S Photo 1. [Skip 2 STS,
*SC, CH2, SC* into the next ST] x 8 times, skip 1 ST, HDC into last CH. CH 1, turn. Photo 2
Row 2: HDC into next ST, [*SC, CH2, SC* into CH 2 SP from last row] x 9 times, HDC into last ST. CH
1, turn.
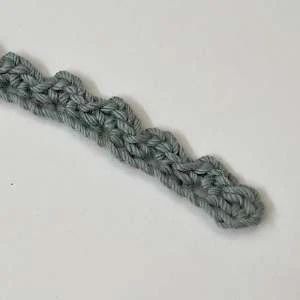
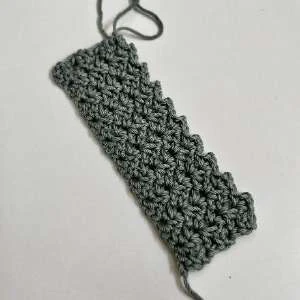
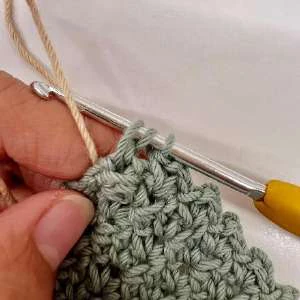
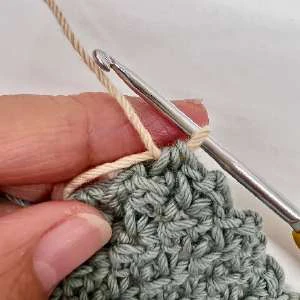
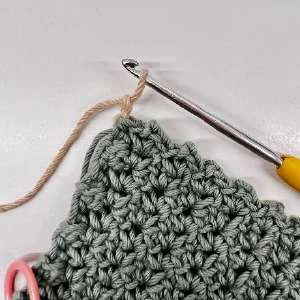
Repeat row 2 for 60 times or about 38 cm long. Photo 3,4
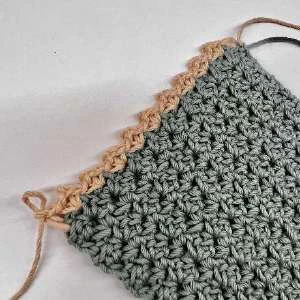
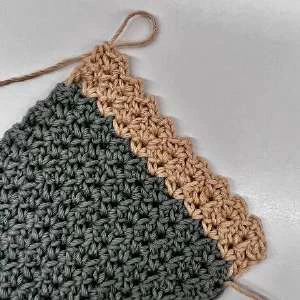
Change color (contrast color yarn)
Before finishing HDC of the last row, lay the new strand of contrast color yarn over the hook, and
hold the yarn end to the back of the work. Then, pull the contrast color through the 3 loops on the
hook to complete the stitch, then CH 1, turn. Photo 5,6,7. Fasten off and cut the main color yarn and
hide the yarn end. Continue with contrast color.
Skill level : Intermediate
Finished Size :
16 cm (6.3”) height
11 cm (4.33”) width
Abbreviations (US terms)
SC
Single crochet
INC
Increase (2 sts in one ST)
MR
Magic ring
HDC
Half Double Crochet
CH
Chain
SP
Space
SLST
Slip stitch
ST(S)
Stitch(es)
* *
As a group
( ) Total
Phone pouch with back pocket
P a g e 3 | 9
Row 63-65: Repeat row 2 for 3 more times. Photo 8,9. Fasten off, cut the yarn, and hide the yarn
end. Total length is about 40cm.
Photo 1
Photo 2
Photo 3
Photo 4
Photo 5
Photo 6
Photo 7
Photo 8
Photo 9
Photo 10
Photo 11
Back pocket
CH 25 (Main color yarn)
Row 1: HDC into 3rd CH from hook, skip 1 ST, *SC, CH2, SC* into the next ST. [Skip 2 STS, *SC, CH2,
SC* into the next ST] x 6 times, skip 1 ST, HDC into last CH. CH 1, turn.
Row:2. HDC into next ST, [*SC, CH2, SC* into CH 2 SP from last row] x 7 times, HDC into last ST. CH
1, turn.
Repeat row 2 for 12 times for a total of 14 rows or until piece measures 8.5cm long.
Phone pouch with back pocket
P a g e 4 | 9
Change color (refer to page 2)
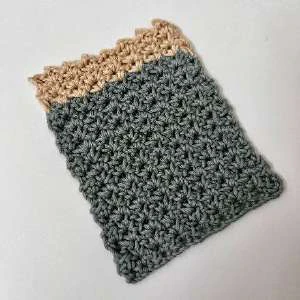
Row 15: Repeat row 2 for 3 more times. Fasten off, cut the yarn, and hide the yarn end. Photo 10
Total length is about 10.5cm.
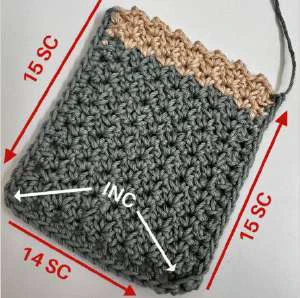
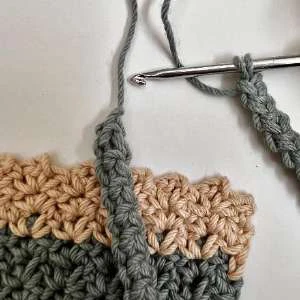
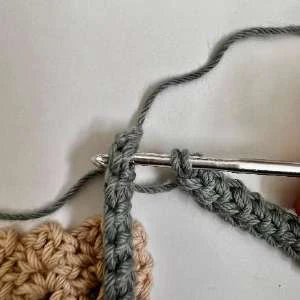
SC along the edge of the pocket.
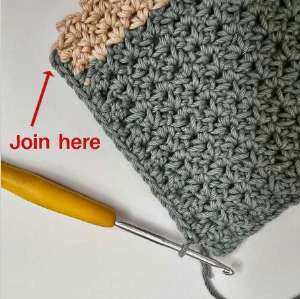
Use new strand of main color yarn, join top part side of the piece. Photo 11.
CH1, 15 SC along the side, INC at the corner, 14 SC along the bottom, INC at the corner, 15 SC along
another side. Fasten off, cut the yarn, and leave a long yarn about 50cm to sew the pocket into the
pouch. Photo 12.
Photo 10
Photo 11
Photo 12
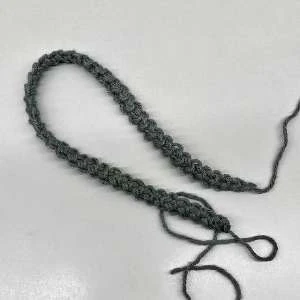
Strap -Romanian cord (This can be color of your choice)
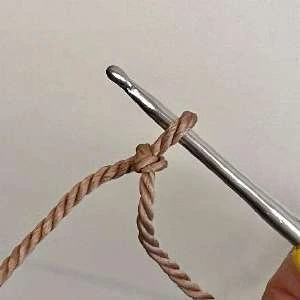
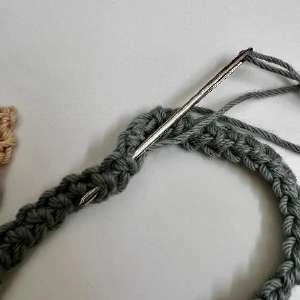
Leave 20 cm long yarn before beginning the CH for attaching the handle to the bag. Start with a slip
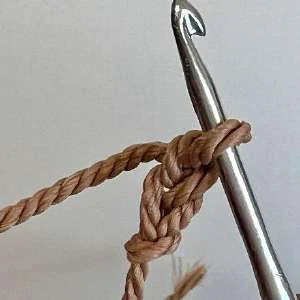
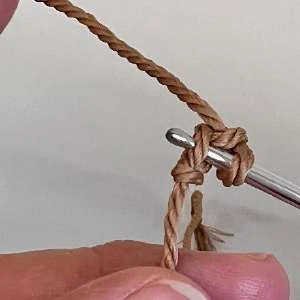
knot Photo 13. CH 2, 1SC in 2nd CH from hook Photo 14,15,16 turn your work from right to left and
you will work in the one loop on the bottom ST. Photo 17. 1 SC through the one loop on the bottom
of ST, Photo 18,19. Turn your work from right to left again, this time you need to work through 2
loops in the next row Photo 20. 1 SC through 2 loops. Photo 21,22,23. Repeat until 25cm long or
your desired length. Please leave two loops on the hook at the strap's end because you will need to
connect the other end. Leave a yarn tail, cut the yarn but do not fasten off.
Photo 13
Photo 14
Photo 15
Phone pouch with back pocket
P a g e 5 | 9
Photo 16
Photo 17
Photo 18
Photo 19
Photo 20
Photo 21
Photo 22
Photo 23
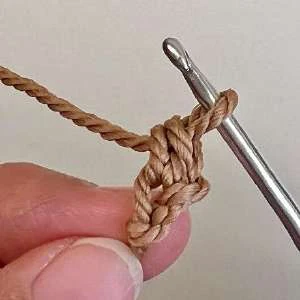
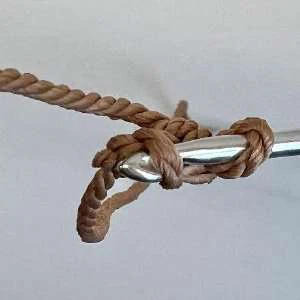
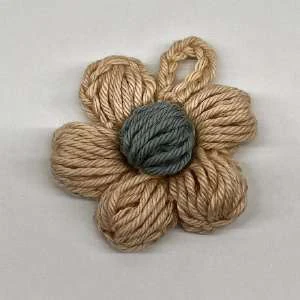
Flower – petal (contrast color yarn)
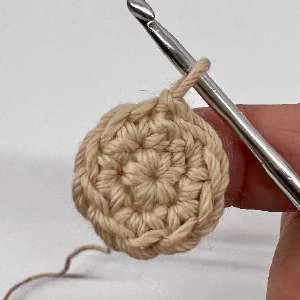
Round 1: MR, CH 1, 5 SC into the MR. SLST into the top of CH 1. (5)
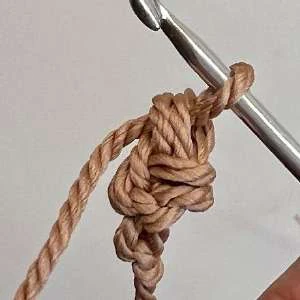
Round 2: CH 1, INC x 5 times (10), SLST into CH 1 from the beginning. Photo 24.
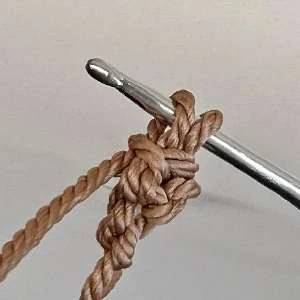
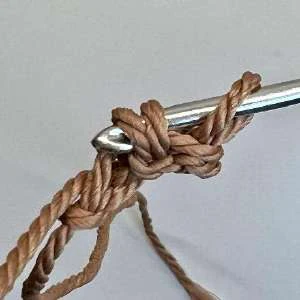
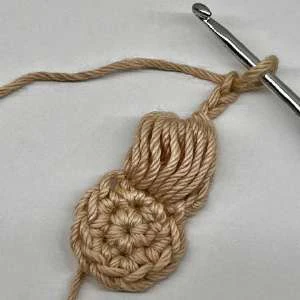
Round 3: *CH 3, yarn over and insert hook into same stitch, yarn over and pull up a loop as tall as
your beginning CH 3 to form a long loop. [Yarn over, insert hook into same stitch, yarn over and pull
up a long loop] x 2 times. Yarn over, insert hook into next stitch, yarn over and pull up a long loop,
[Yarn over, insert hook into same stitch, yarn over and pull up a long loop] x 2 times. Yarn over and
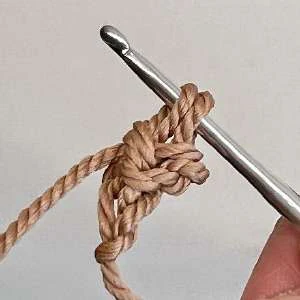
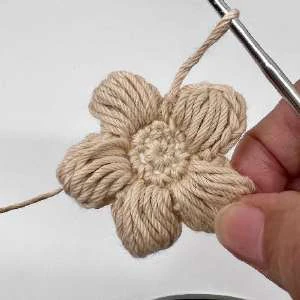
pull through all loops on hook. CH 2, SLST into next stitch*. Photo 25. Repeat pattern from * to * 4
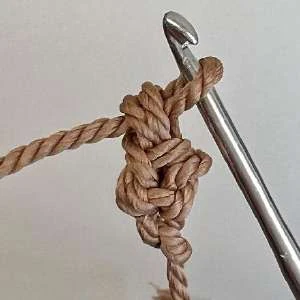
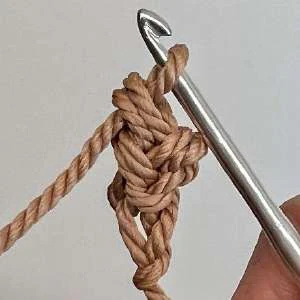
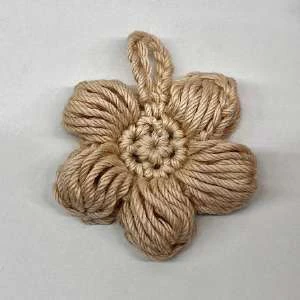
more time. SLST into CH of the 1st petal, continue CH 10, SLST into the base of CH 10 to from a loop.
Fasten off, cut the yarn, and hide the yarn end. Photo 26,27.
Phone pouch with back pocket
P a g e 6 | 9
Photo 24
Photo 25
Photo 26
Photo 27
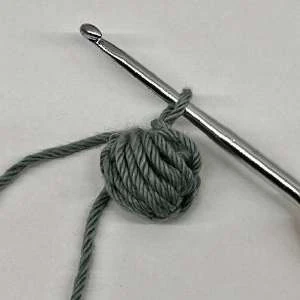
Flower – center (make 2 for front and back) (Main color yarn)
CH 3, yarn over and insert the hook into the 1st CH and pull up a loop as tall as your CH 3 to form a
long loop, repeat for another 8 times, yarn over and pull through all the loops on your hook, CH 1.
Photo 28. Fasten off, leave a yarn tail to sew it into both side middle of the flower. Photo 29.
Photo 28
Photo 29
Phone pouch with back pocket
P a g e 7 | 9
•
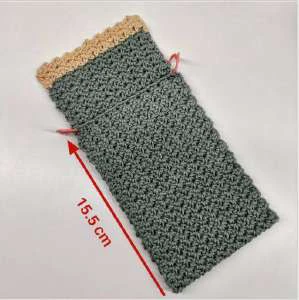
Fold the piece about 15.5cm toward the upper portion of the piece. Photo 30.
•
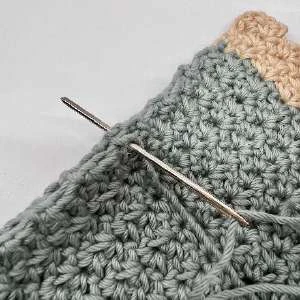
Cut a piece of yarn about 25cm long, thread it through a tapestry needle, and sew the two right
sides of the pieces together using a running stitch. Fasten off, cut the yarn, and hide the yarn end.
Photo 31. Repeat on other side.
•
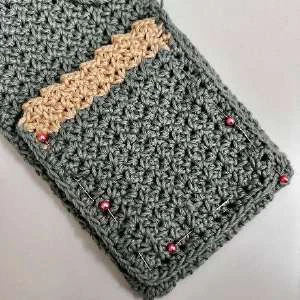
Place the pocket piece to back of the lower pouch. Use the sewing pin to secure the piece. Sew it
to the pouch through the back loops of the pocket. Feel free to stitch through the front to back for
a strong seam. Photo 32.
•
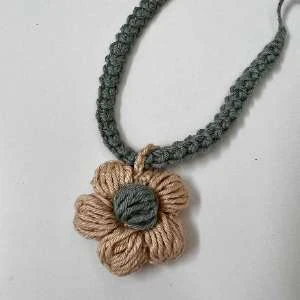
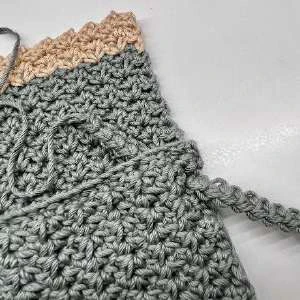
Thread the strap through the flower's loop. Photo 33,34. Then go through the side of the pouch.
Photo 35. Put your hook through two loops on one end of the strap Photo 36, then insert it through
further on the other end Photo 37. Yarn over, pull the yarn through the loops. Use the yarn ends to
tie the two pieces together. Weave the ends in the opposite directions. Photo 38.
•
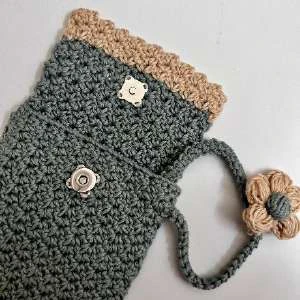
Sew the magnetic button inside of the flap so they match up to the magnet button on the bag.
Photo 39.
•
Sew the leather label to the above center of the cover. Photo 40
Photo 30
Photo 31
Photo 32
Photo 33
Photo 34
Photo 35

Phone pouch with back pocket
P a g e 8 | 9
Photo 36
Photo 37
Photo 38
Photo 39
Photo 40
Phone pouch with back pocket
P a g e 9 | 9
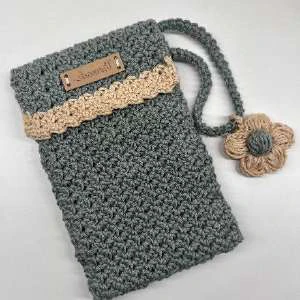
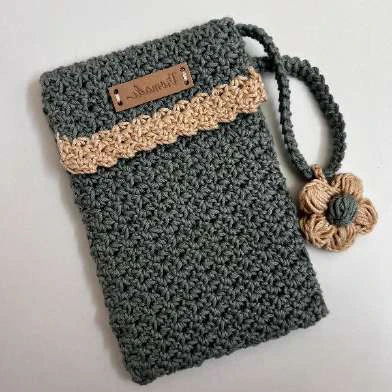
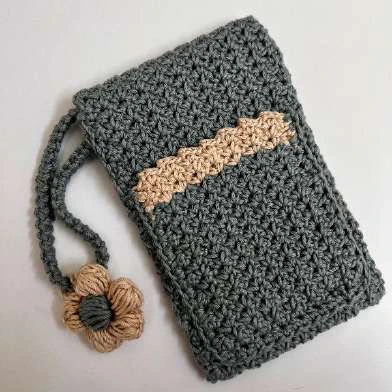
Well done! Your Phone bag with back pocket is complete, I hope you enjoy making this pattern.
Recommended Digital Products
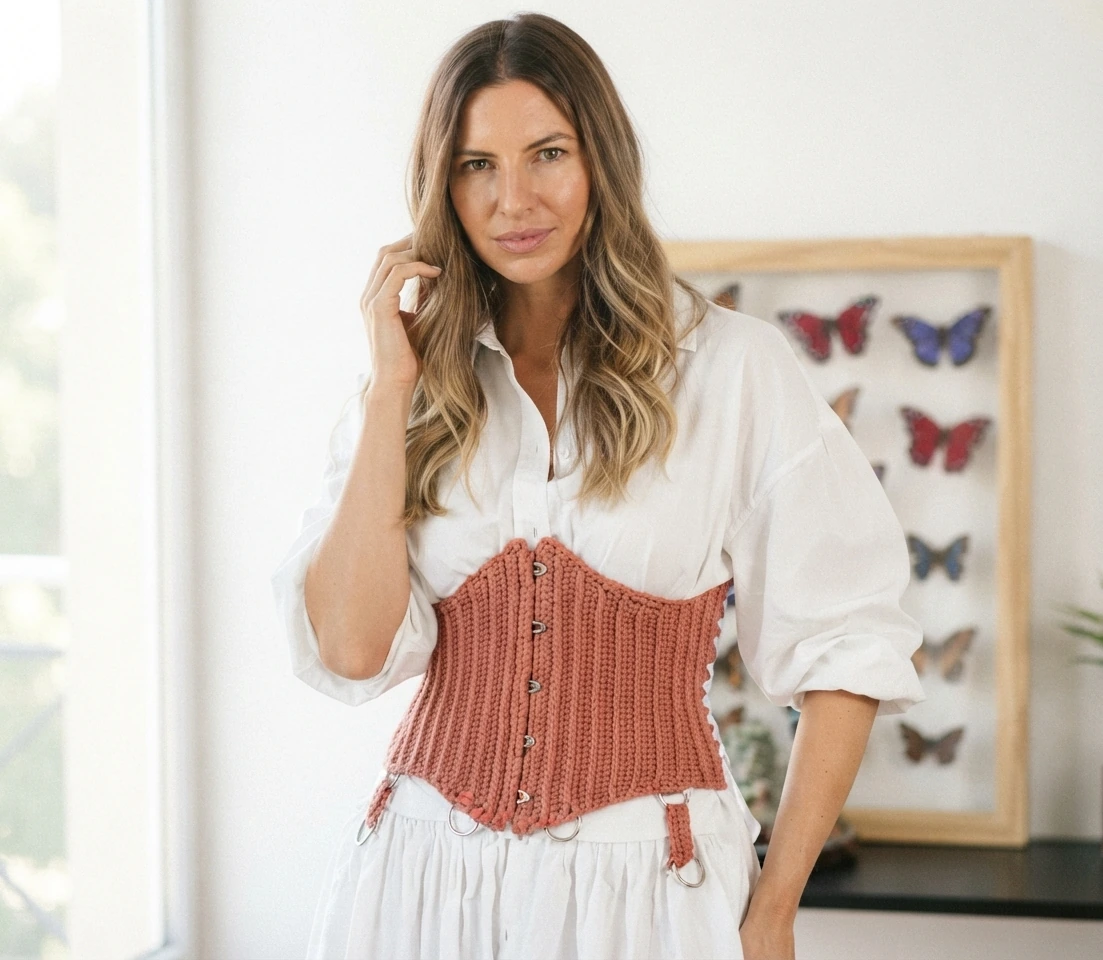
Handmade Crochet Corset Belt Pattern Boho Chic Waist Cincher with Busk & Ribbon Lacing Intermediate Crochet PDF Pattern
$4.99
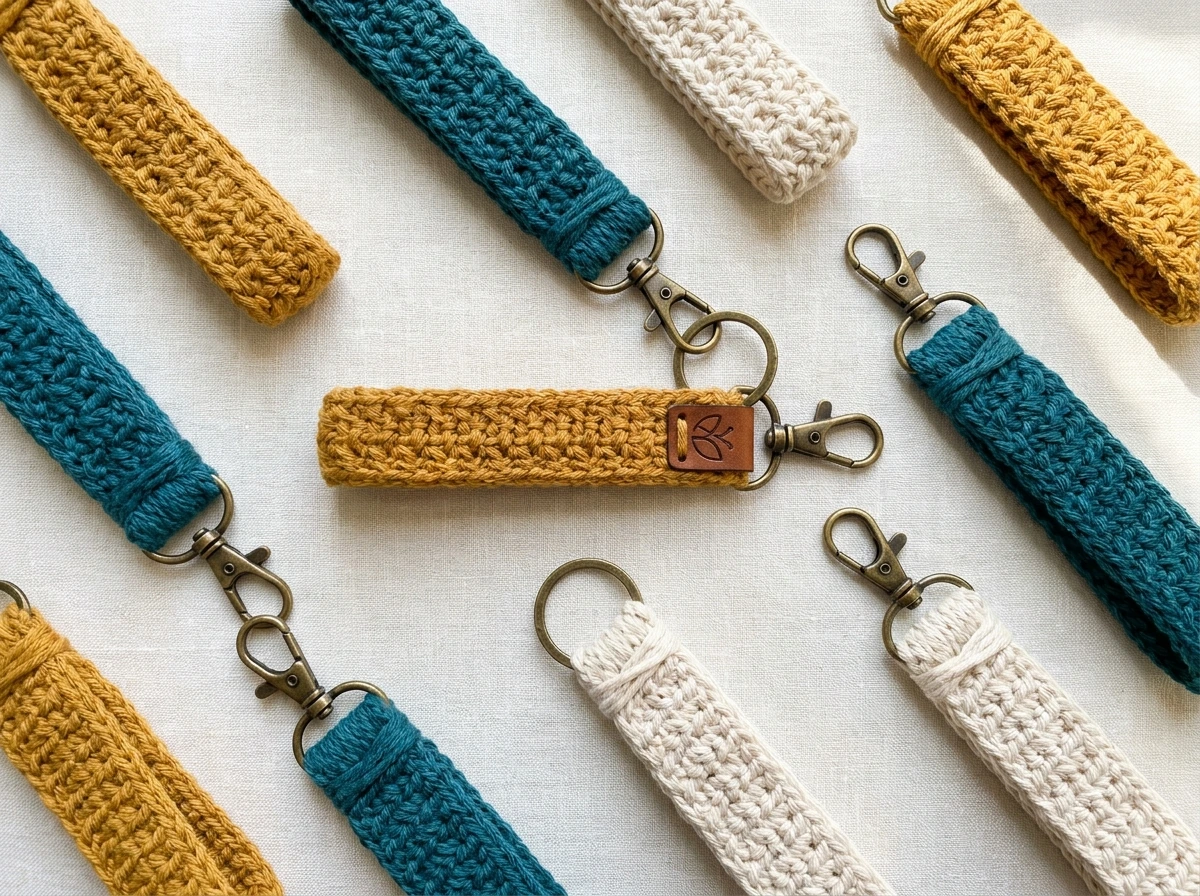
The Highline Wristlet Keychain Crochet Pattern: Quick, Textured & Market-Ready Accessory
$3.99

The Ultimate Beginner’s Crochet Guide: Master 45+ Essential Techniques & Practical Projects
$5.99

From Loop to Perfection: The Ultimate Step-by-Step Crochet Master Guide
$9.99
Get this Crochet Pattern as a Free PDF
Enter your email to receive the PDF associated with this article.
Leave a Reply