
DIYLeopardtote
Crochet pattern
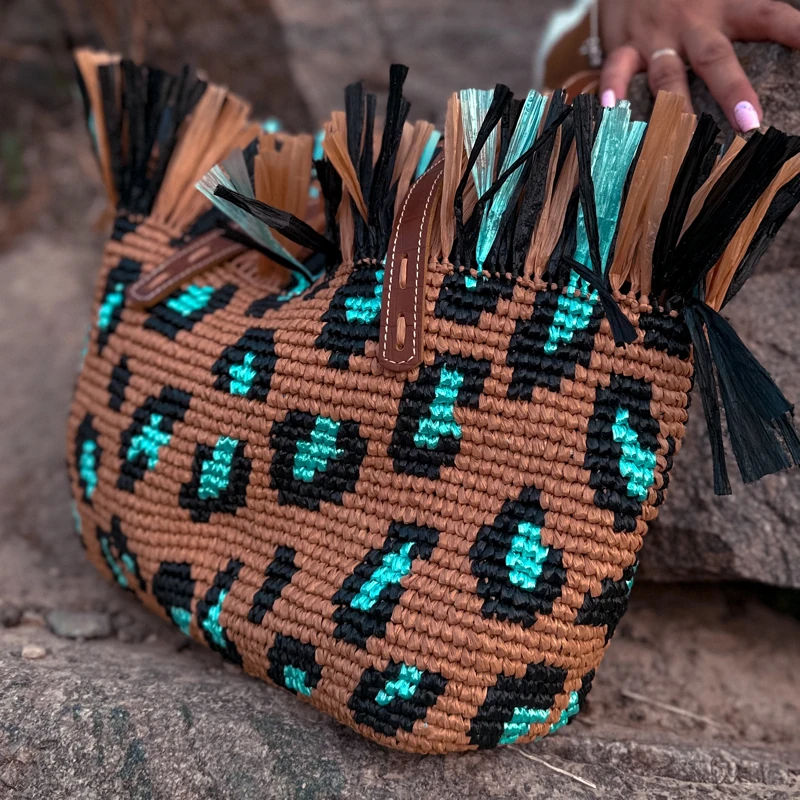
Leopard tote
Level: intermediate
of
!!!THIS PATTERN IS ONLY FOR FREE PERSONAL USE. YOU ARE
NOT ALLOWED TO TRANSLATE, SELL OR DISTRIBUTE THIS
PATTERN WITHOUT MY PERMISSION. YOU ARE FREE TO SELL
YOUR FINISHED PRODUCT
MATERIAL AND TOOLS:
Any raffia yarn of 3 colors, 225 yards (200 m) each. For example, raffia Ispie.
I used the following colors: Autumn, Black and Salt Lake;
Leather bottom, 12*4 inches (30*10 cm) with 60 hole;
Sewing handles, (75*1.5 cm);
3 mm hook;
Plastic needle with large eyelet;
2 markers;
Felt for the lining;
Sewing thread and needle;
Scissors.
Gauge: 15 stitches and 14 row = 4*4 inches (10*10cm).
Finished bag from the specified materials: length – 18 inches (45 cm),
height without fringe – 9 1/2 inches (24 cm).
ABBREVIATIONS
CH – chain stitch,
SlSt – slip stitch,
SC – single crochet.
🎥Link to the video of the process (1 h. 37 min.):
of


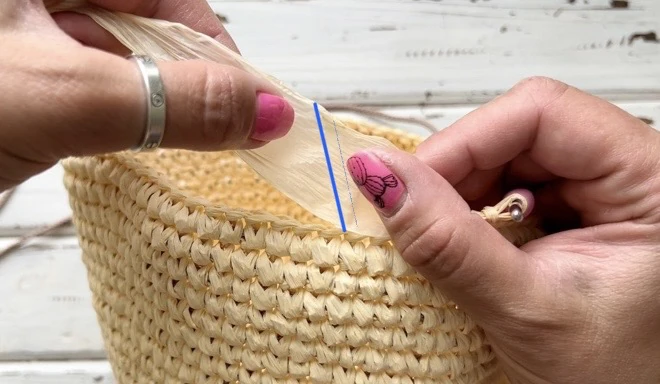
❗RECOMMENDATION for working with raffia yarn
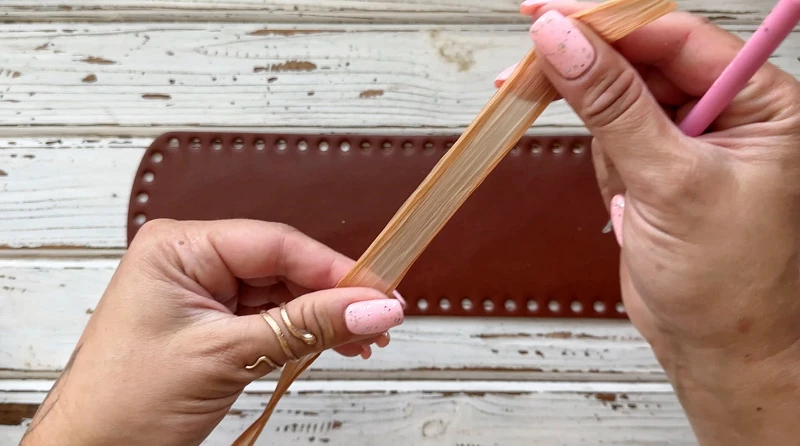
1.Before crocheting with raffia, it must be straightened. If you have
Fibranatura, then you need to «fluff» the yarn with your hands. If you have
Ispie, you can steam yarn with an iron.
2.When the thread runs out, you need to take a new skein and straighten the
end of the thread. Put on the end of the working thread and the thread from
a new skein with a clearance of 5 mm. Glue together with PVA glue. After
drying, lightly wrap the thread.
of
3.If you had to rip out your work, steam thread with an iron. The yarn will
return to its original shape.
BASE TRIM OF THE BOTTOM
Leave the end about 8 inches (20 cm) long to close the rows of the base trim.
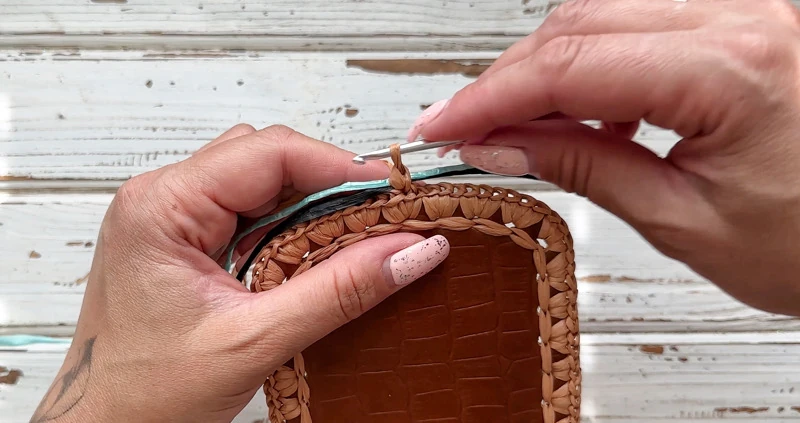
Crochet around the bottom edge as shown in the picture.
Insert the hook in the side hole in the middle, pull the loop.
Make CH, crochet 2 SC in the same hole.
Next crochet 3 SC in each hole along the side part.
Crochet 3 SC in 1 in the corner.
Crochet 3 SC in 1, 2 SC in 1 along the long side of the bottom, repeat to the
corner.
Crochet 3 SC in 1 in the 2nd corner.
of
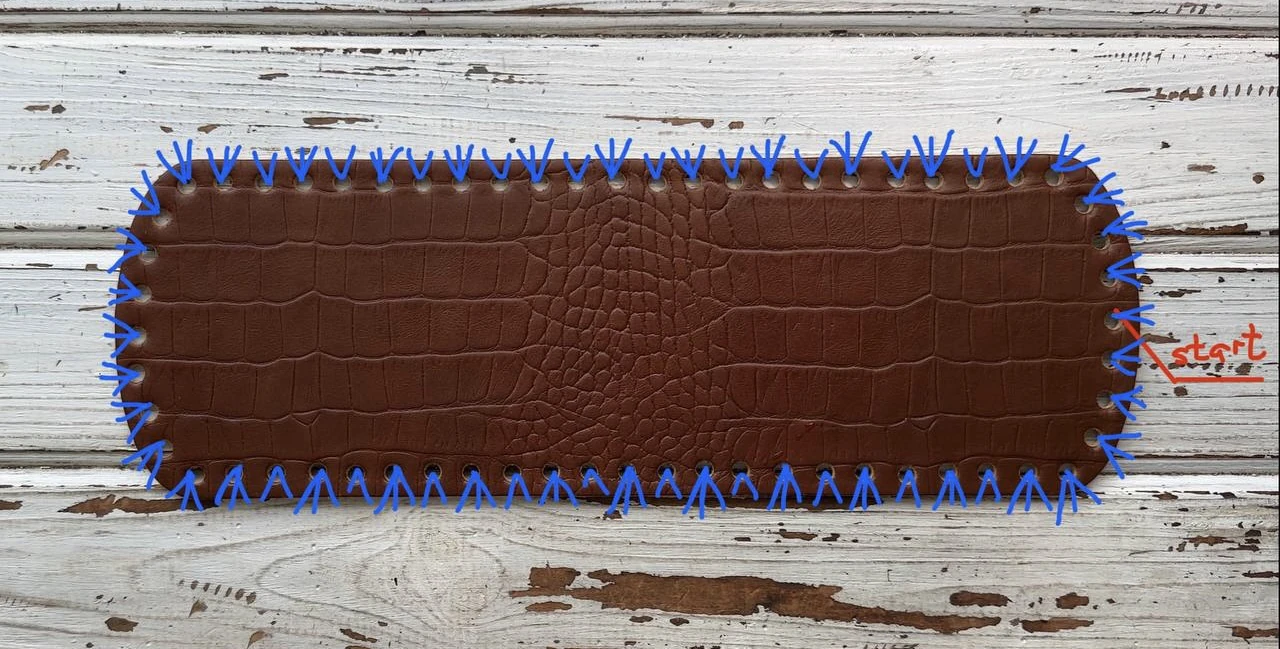
Crochet 3 SC in each hole along the 2nd side part.
Crochet 3 SC in 1 in the 3rd corner.
Crochet 3 SC in 1, 2 SC in 1 along the 2nd long side of the bottom, repeat to
the corner.
Crochet 3 SC in 1 in the 4th corner.
Crochet 3 SC in 1 in the hole, which are left on the 1st side part.
Crochet the last SC with the end. Pull out the end. Pull the end under the 1st
loop of the row. Pull back to the wrong side.
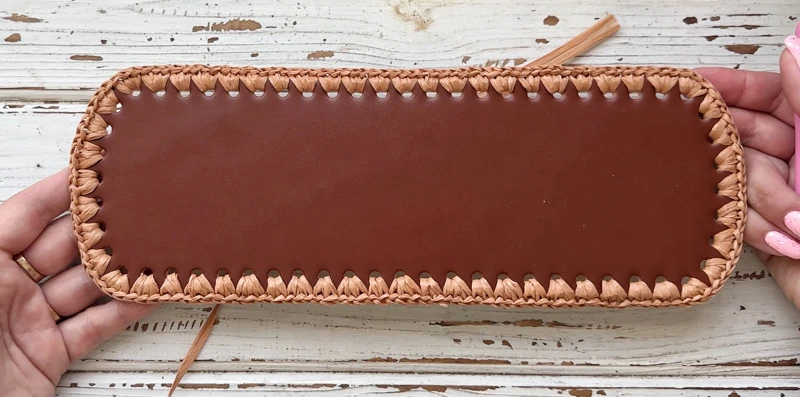
There are 160 loops now.
Pull the working loop, crochet SlSt in each hole.
Crochet the last SlSt with the end. Pull out the end. Pull the end under the
1st loop of the row. Pull back to the wrong side.
Cut the thread, tie the knot. Hide the ends.
of
CROCHET THE BASE PART
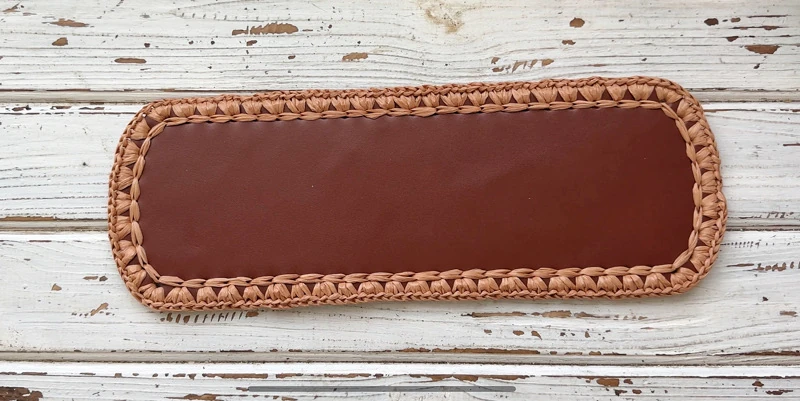
1 row. Take 3 skeins of the raffia yarn. Place it so that the thread unwinds
counterclockwise.
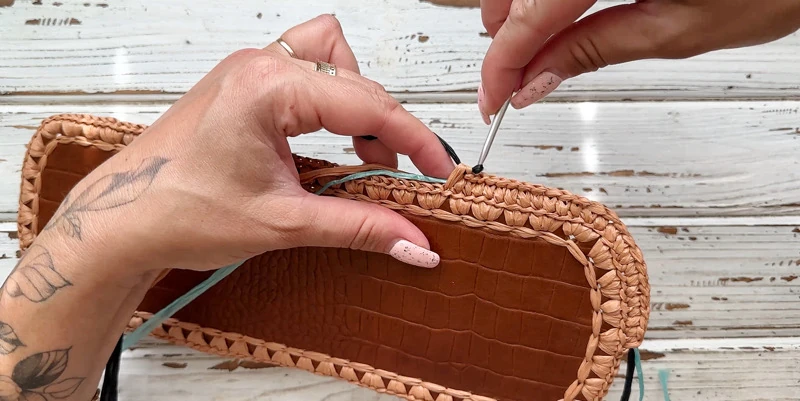
Take the thread of the base color. Insert the hook in the middle loop on the
side part of the bottom on the back loop and the jumper only.
of
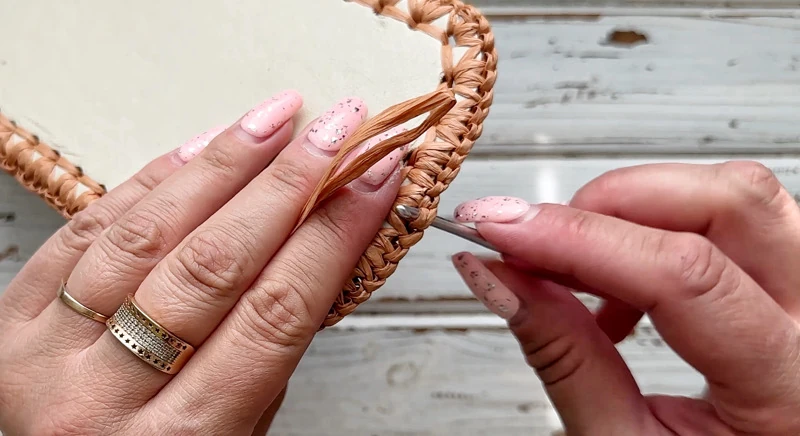
Pull the loop. Take 2 more thread of 2 different colors, put on along the row,
crochet CH.
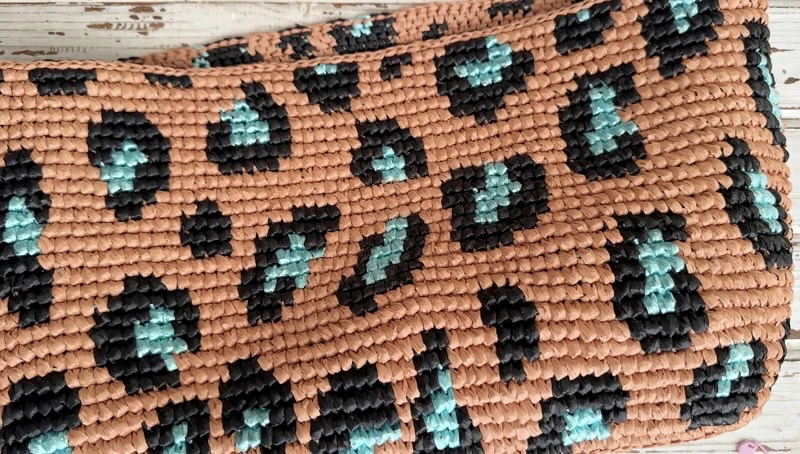
Crochet row with SC on the back loop and the jumper only. Crochet the
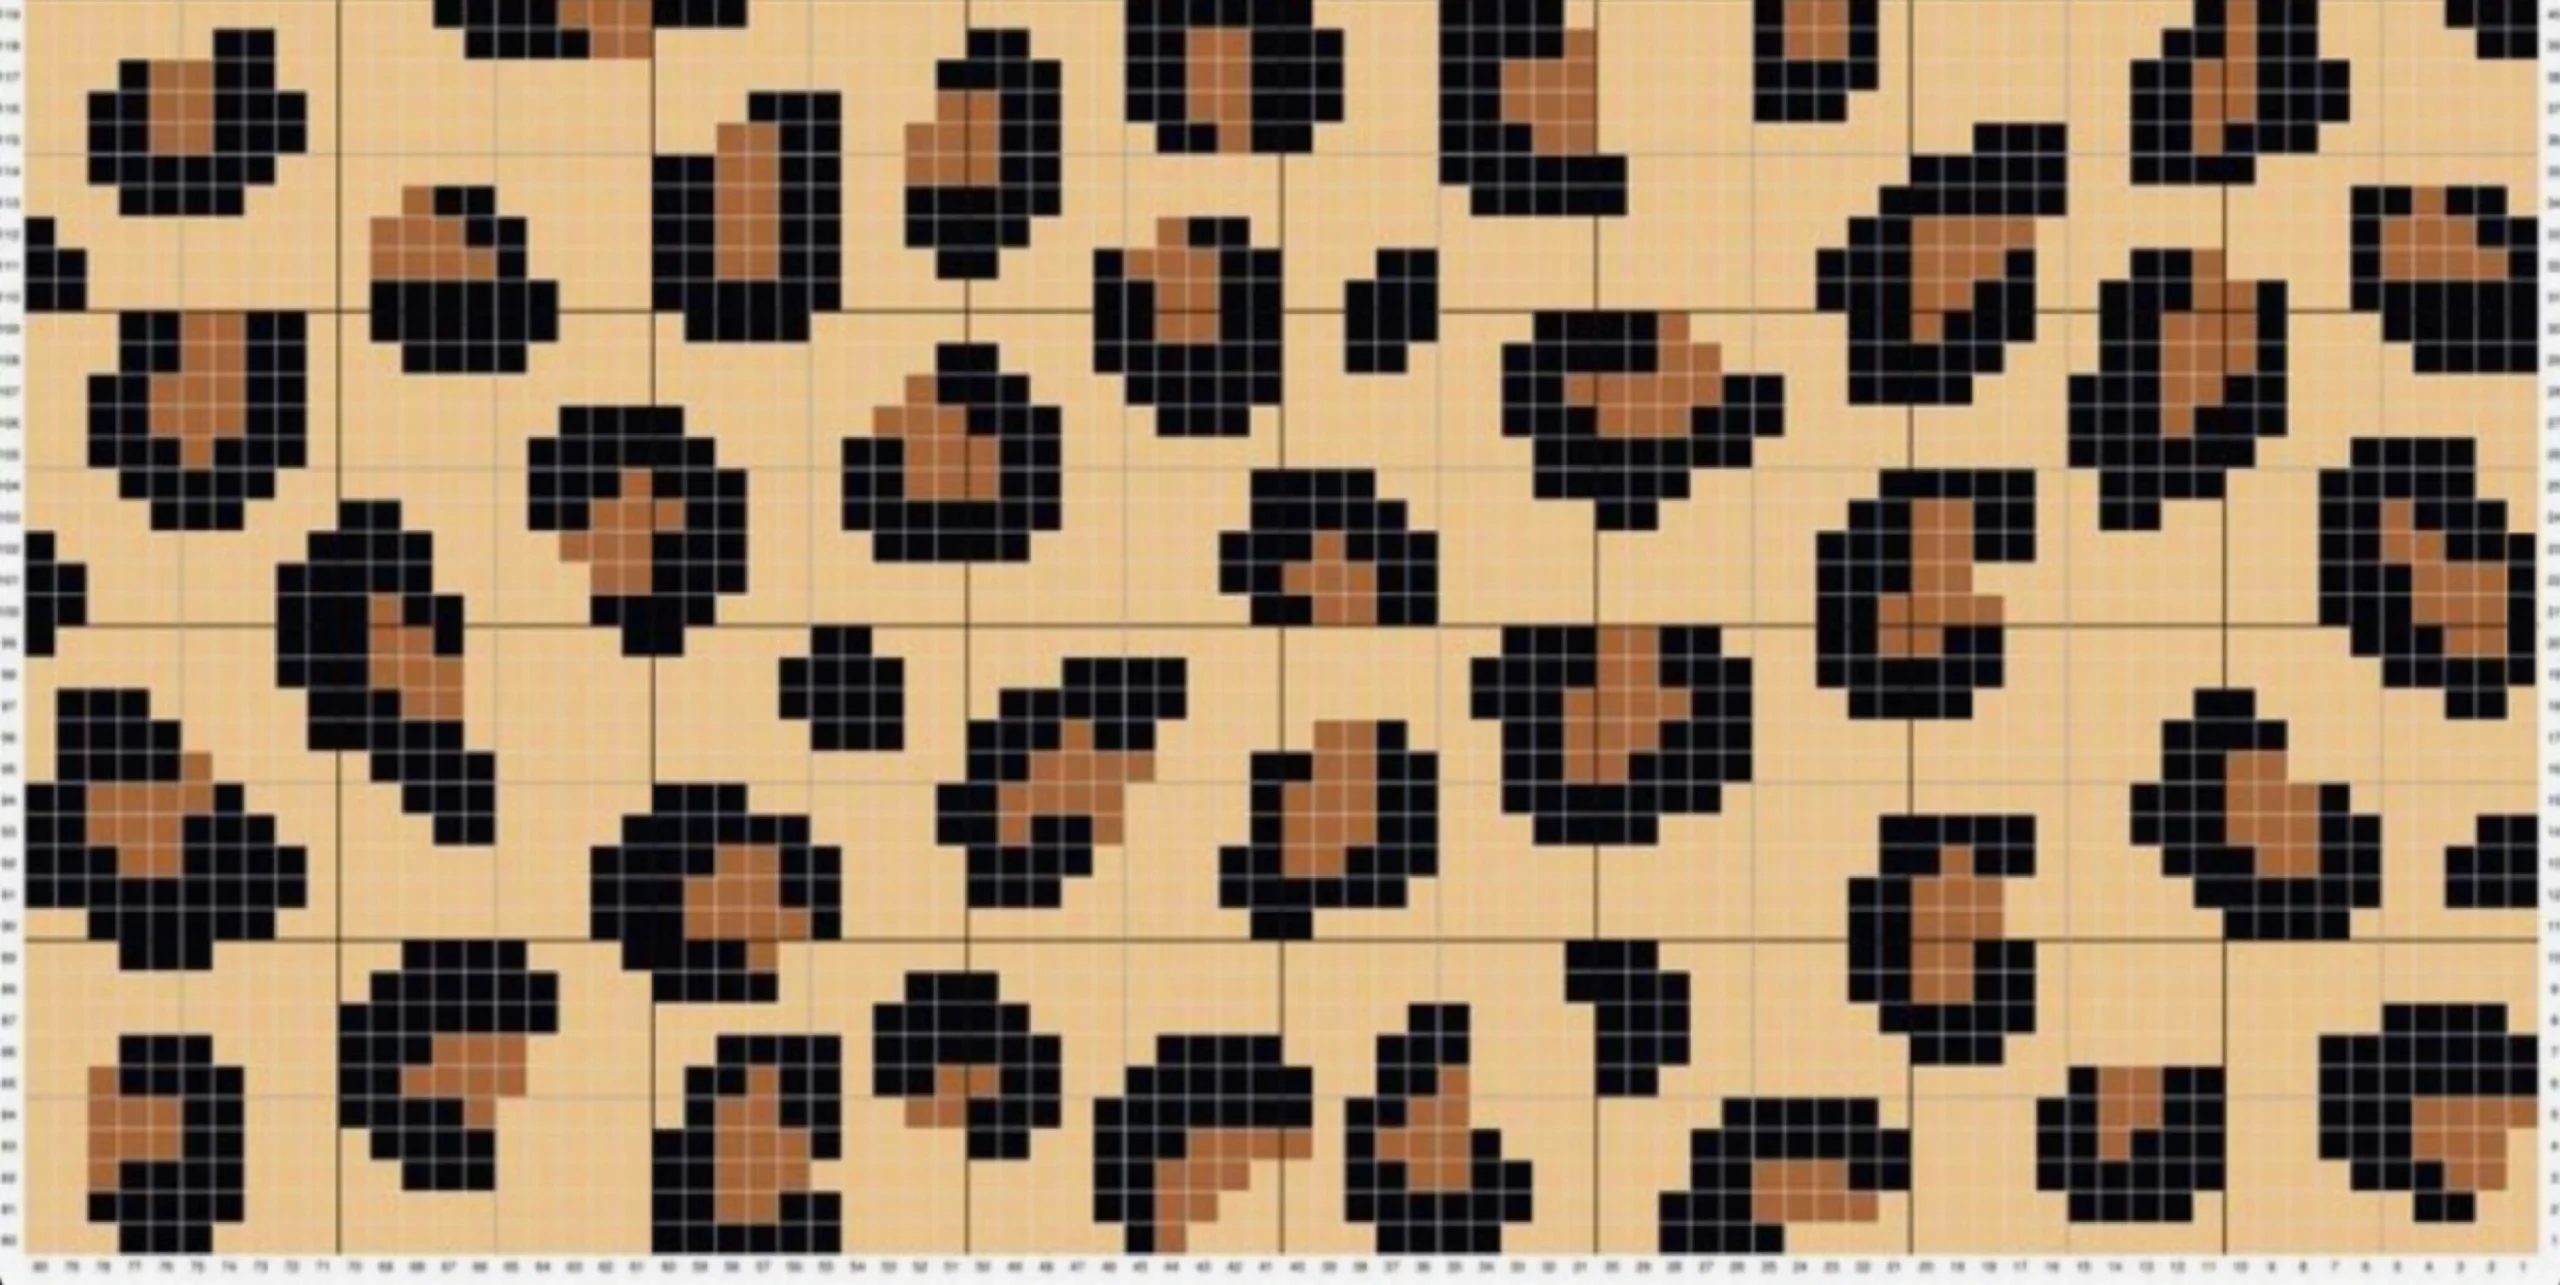
leopard print following to the pattern provided in the attachment.
❗When crocheting jacquard, crochet the last stitch before the color
change with the next color. Do not pull the threads tightly inside to avoid
tightening the canvas.
of
Pattern consists of 80 loops, that is, we crochet 2 halves with the same
pattern (=160).
Place the markers in the 1st loops of the halves of the row.
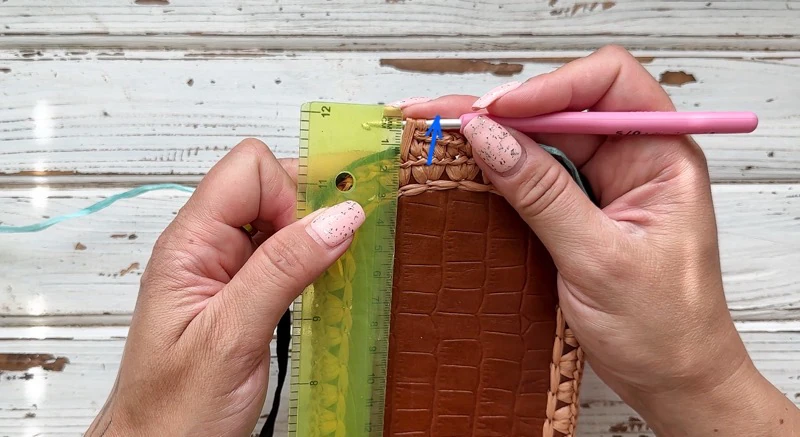
❗Always pull the working loop to the level of the hook by 15-17 mm to
make the canvas even and tight. After crocheting, pull the loop back.
of

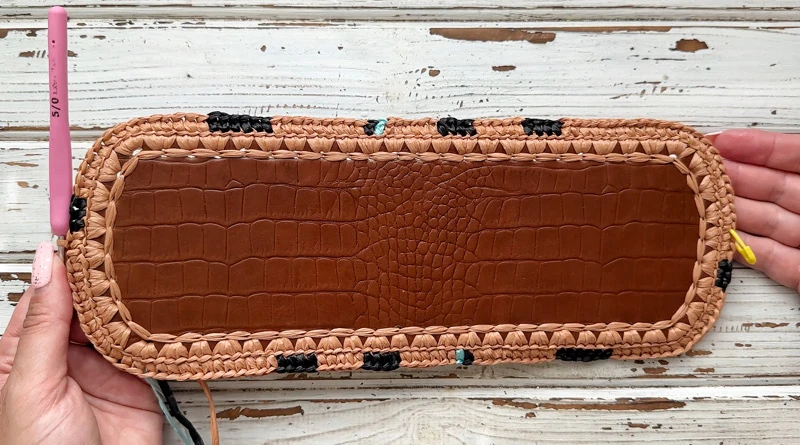
Crochet the last SC in the 1st loop of the row.
Next crochet a spiral.
2 row. Crochet 80+80 SC following to the pattern (=160).
of


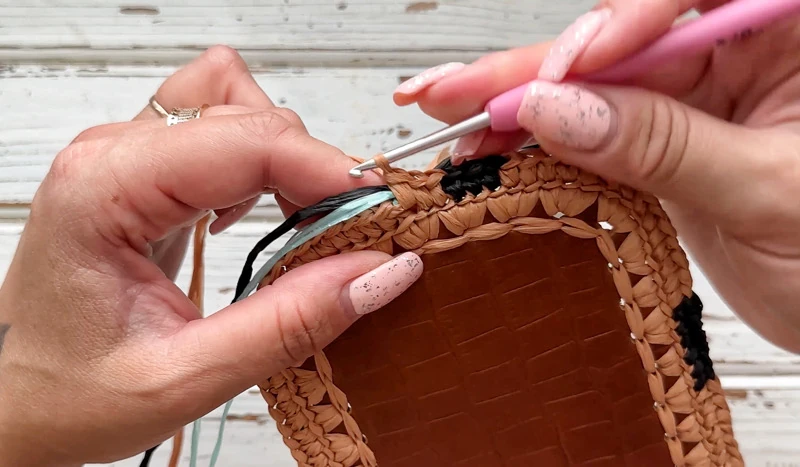
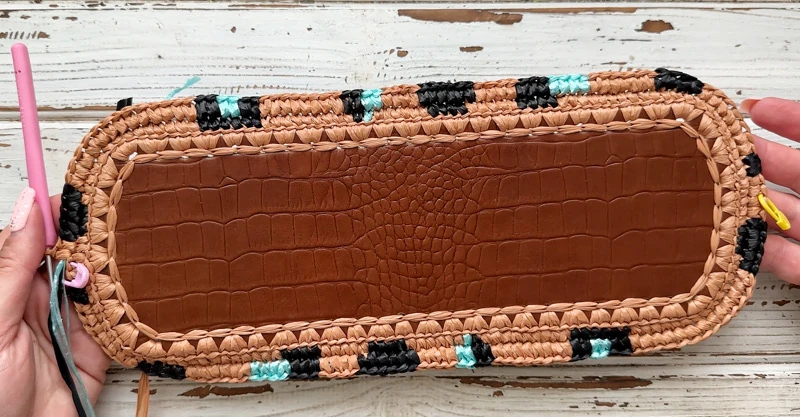
❗ Recommendation. Place the skeins at a distance so that the threads do
not get tangled. Rearrange the threads in the same order as your skeins
are, when changing the thread in jacquard.
If the thread is very twisted, then when it goes under the pattern,
untwist it in the other direction, straight into the harness, until it is
aligned. If it has already happened that nothing can be done, then just
cut, straightened, glue PVA and crochet following to the pattern.
3 row. Crochet 80+80 SC following to the pattern (=160).
4 row. Crochet 80+80 SC following to the pattern (=160).
Now hide the ends at the beginning of crocheting, and cut off the excess.
of
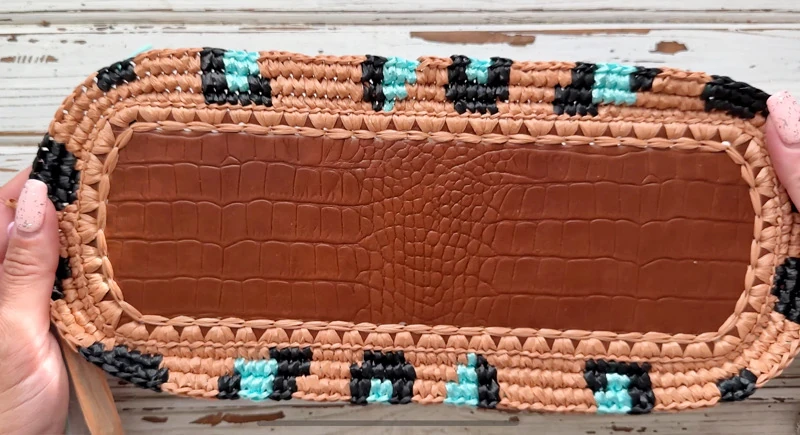
5 row. Crochet 80+80 SC following to the pattern (=160).
of
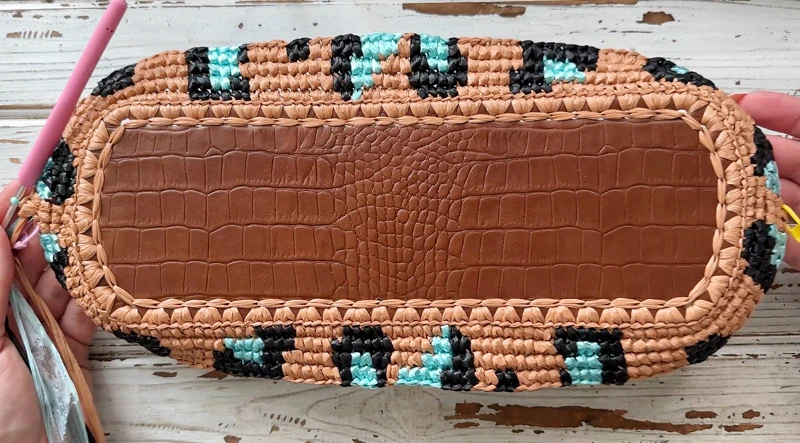
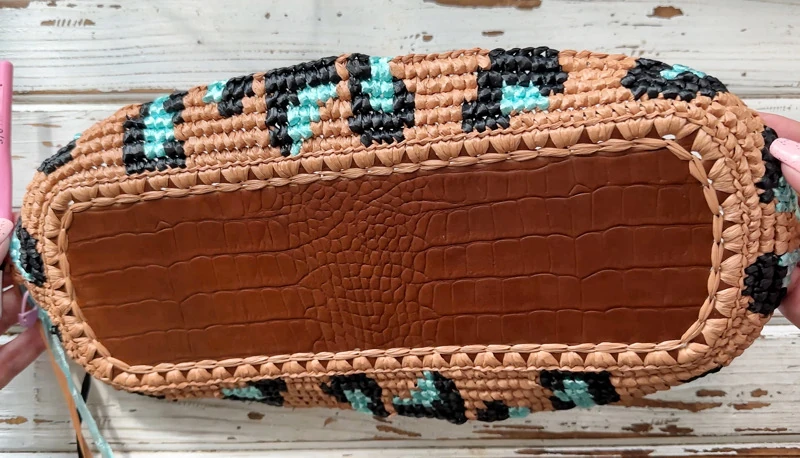
6-30 rows. Crochet 80+80 SC following to the pattern (=160).
Steam the base of the bag with an iron after crocheting 10-12 rows.
of
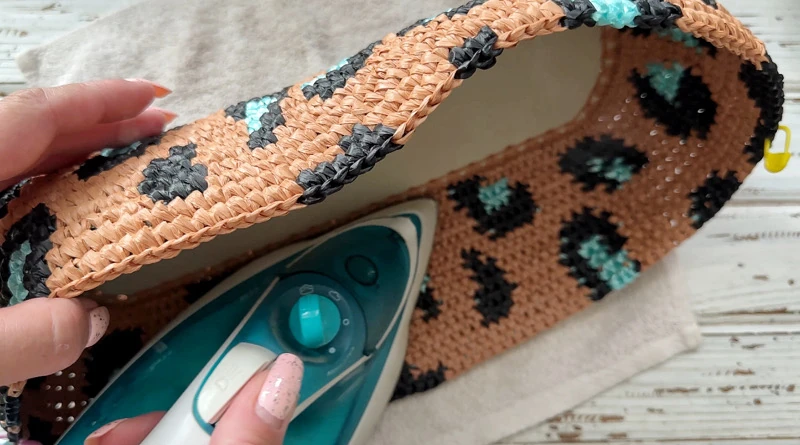
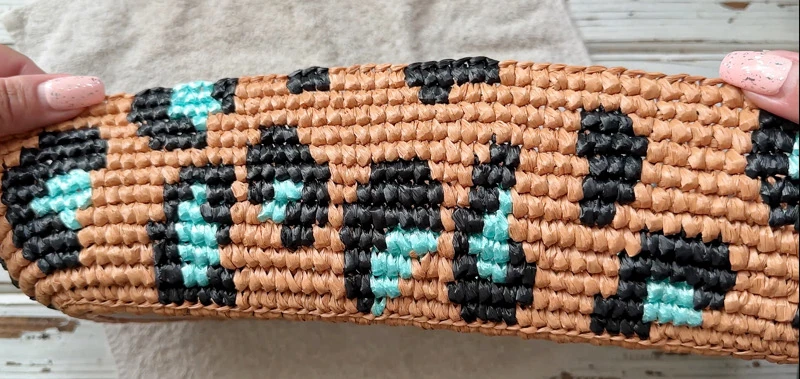
You can crochet more rows in height following to the pattern as desired.
In the last row, before 2 SC to the marker, cut off additional threads, leaving
only the main thread. Crochet 2 SC with a gradual decrease in the height of
the SC.
Remove the markers.
BASE TRIM
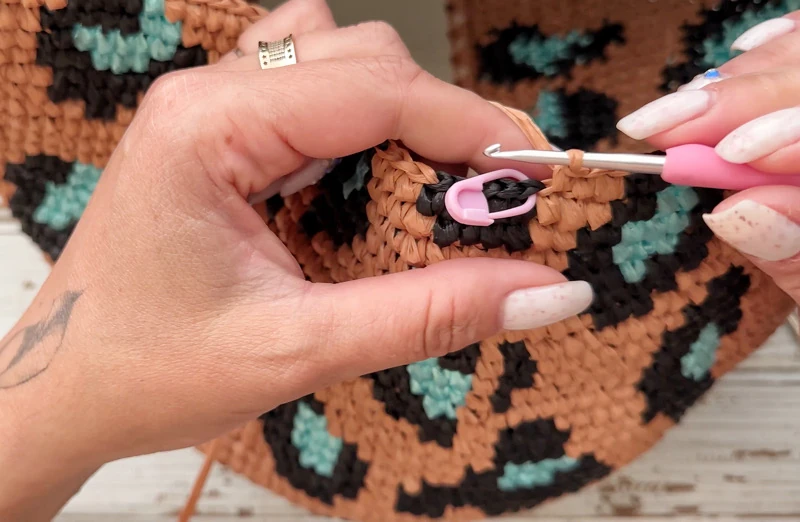
Crochet SlSt in each SC of the last row. Pull the loop by 4-5 mm, so as not to
tighten the edge. You can take a 4-4.5 mm hook.
Cut the thread, pull out the end. Pull the end under the 1st SlSt of the row.
Pull back to the wrong side. Strengthen and hide the end on the wrong side.
Steam the base of the bag with an iron.
of
FRINGE
Cut 160 pieces of fringe 8 inches (20 cm) long, of the main, green and black
colors (approximately 80/ 60/ 20, respectively).
of
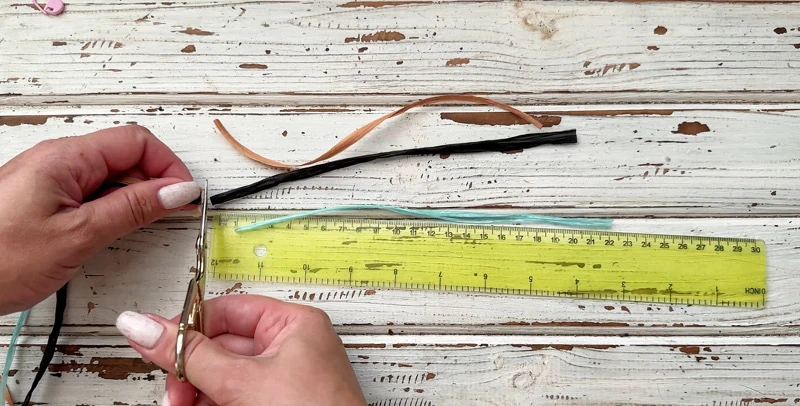
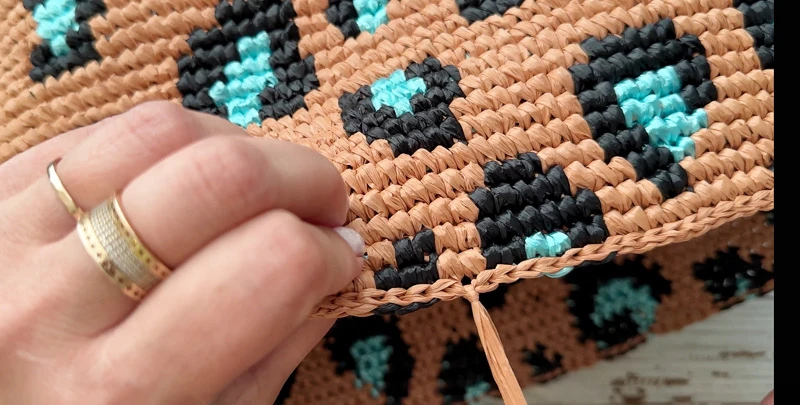
Insert the hook from the wrong side under the braid and the loop of the base
trim, grab the middle of the fringe, pull it out and pull the ends in the loop.
Tighten the loop.
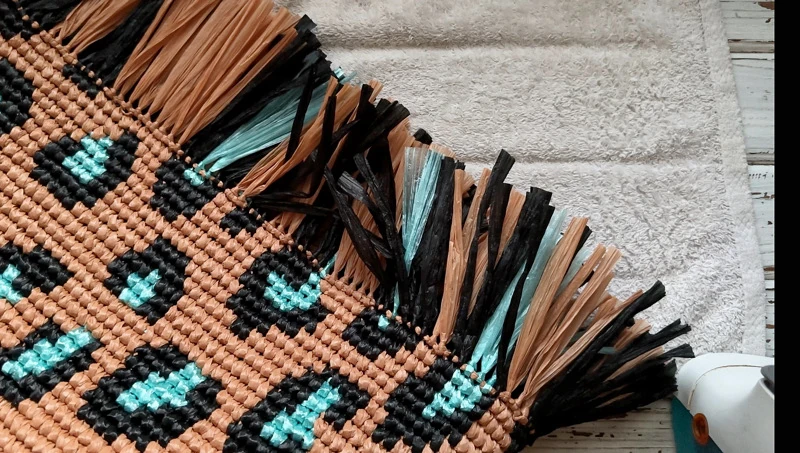
Make the fringe in each loop of the edge (160 pieces). Choose the color of the
fringe, which is the color of the braid of the last row.
Steam the fringe with an iron, shape with hands. Cut off the excess.
of
SEW ON THE HANDLES
Count 6 holes from the corners of the bottom. Put markers on the edge of the
bag opposite the sixth holes.
Put the handles near the markers.
of
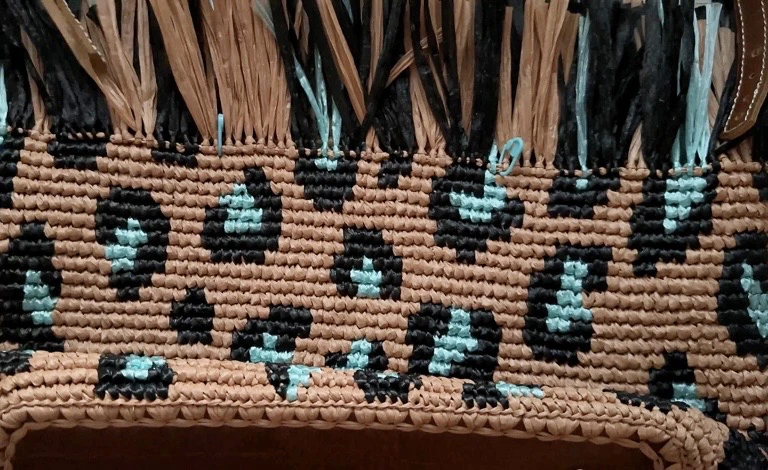
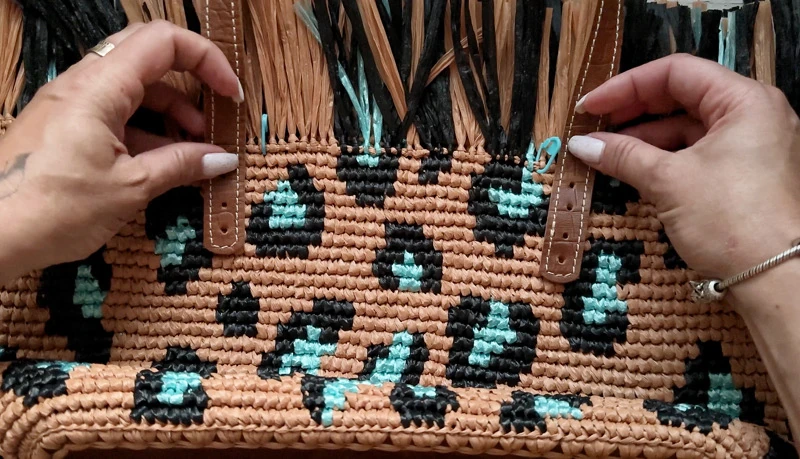
Sew on the handles with the plastic needle. Make a few stitches.
Tie the knot and hide the ends. You can fix it with PVA glue.
LINING
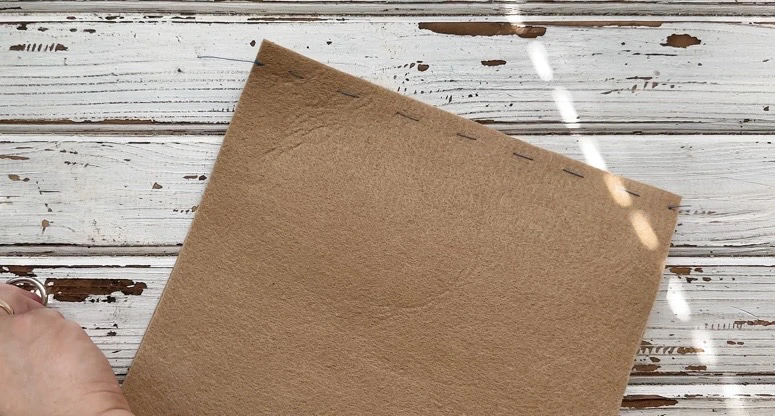
Take felt 2 mm thick for the lining. Cut the bottom according to the shape and
size of the leather bottom without seam allowances. Make 4 notches on the
bottom.
of
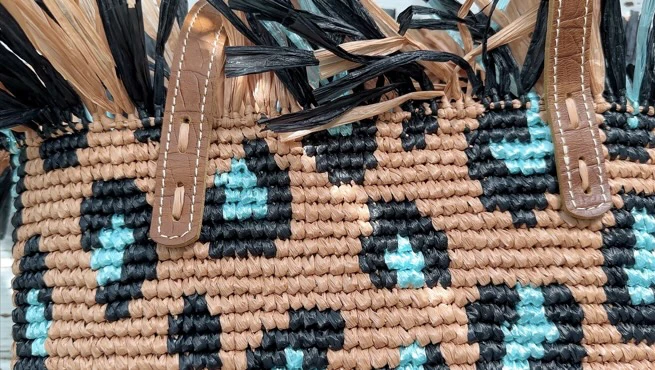
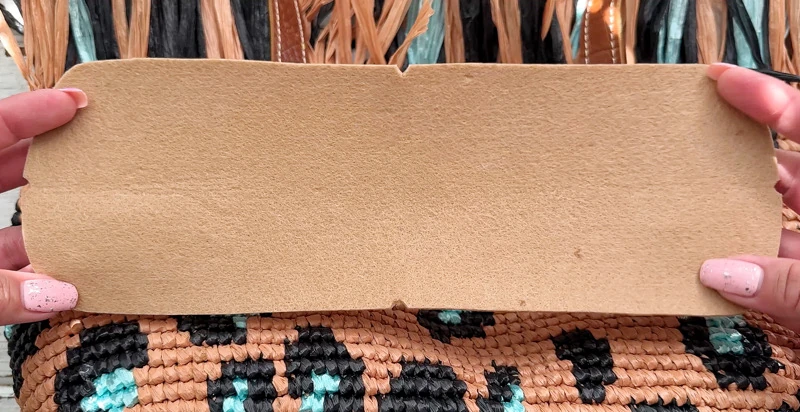
Measure the perimeter of the edge of the bag (in my example, 36 inches (90
cm)).
Measure the height of the bag (in my example, 9 inches (23 cm)).
Cut a stripe from felt 9 inches (23 cm) high and 36 inches (90 cm) long.
Sweep the stripe in a circle along the side seam.
Make 4 notches.
Match the notches of the bottom and the stripe, pin with a pins.
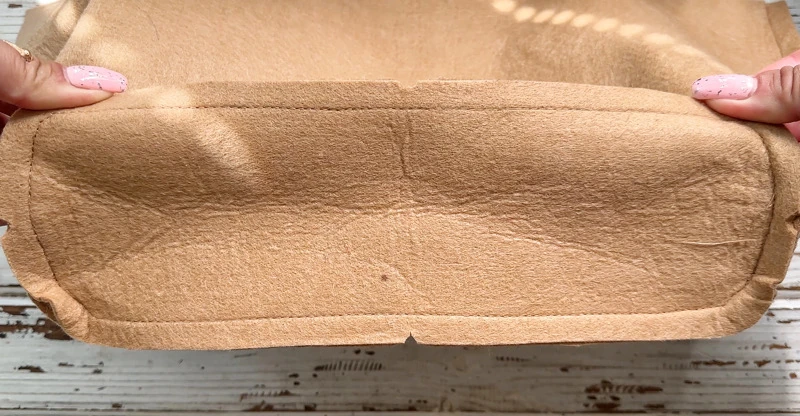
Sweep both parts.
Make 10 mm tucks at the corners.
Sew the lining.
At this stage, you can give it to the atelier.
of
SEW IN THE LINING
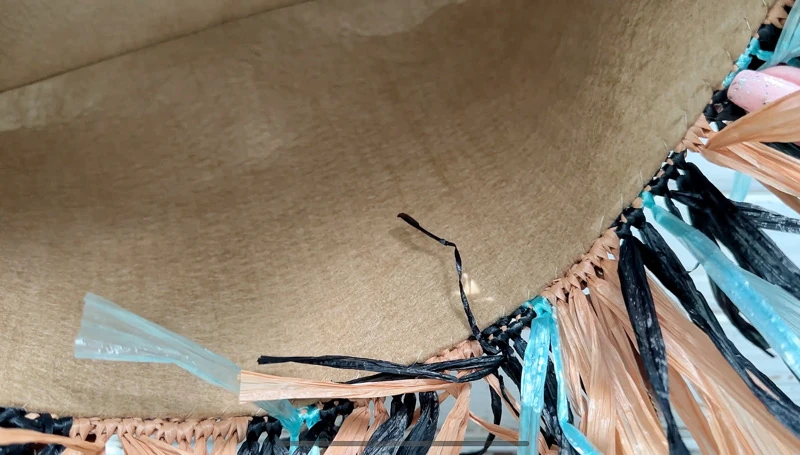
Put in the lining in the bag. Pin with a pins.
Sew neat stitches through one SC. Make a several fixing stitches along the
seam. Strengthen and hide the end of the thread.
of
Congratulations! Your cute tote with trends print is ready 👍
I hope you enjoy this pattern, and if you have
questions about it, please convo me.
I am always glad to help!!!
of



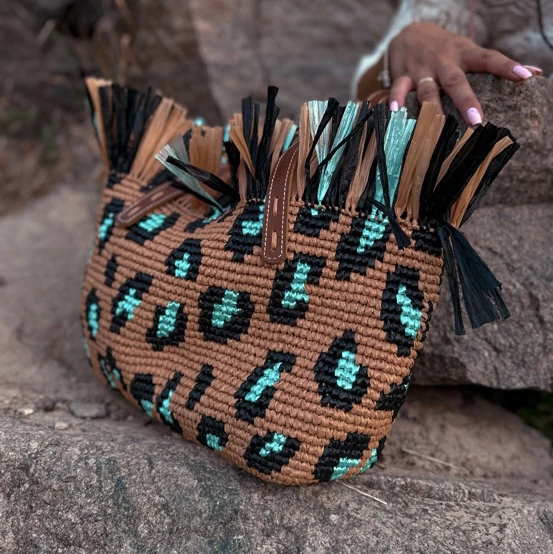
Leopard print (🔲 – 1 SC)
of

Recommended Digital Products
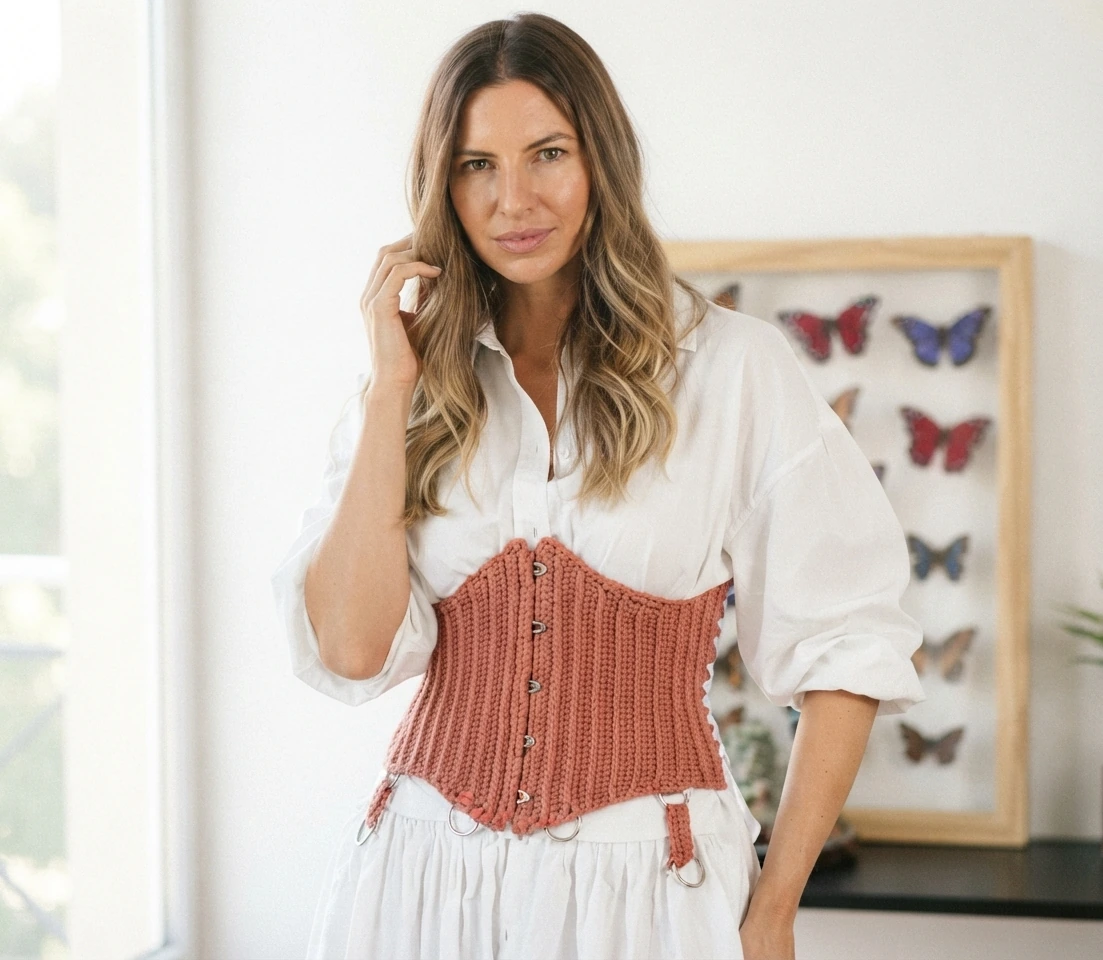
Handmade Crochet Corset Belt Pattern Boho Chic Waist Cincher with Busk & Ribbon Lacing Intermediate Crochet PDF Pattern
$4.99
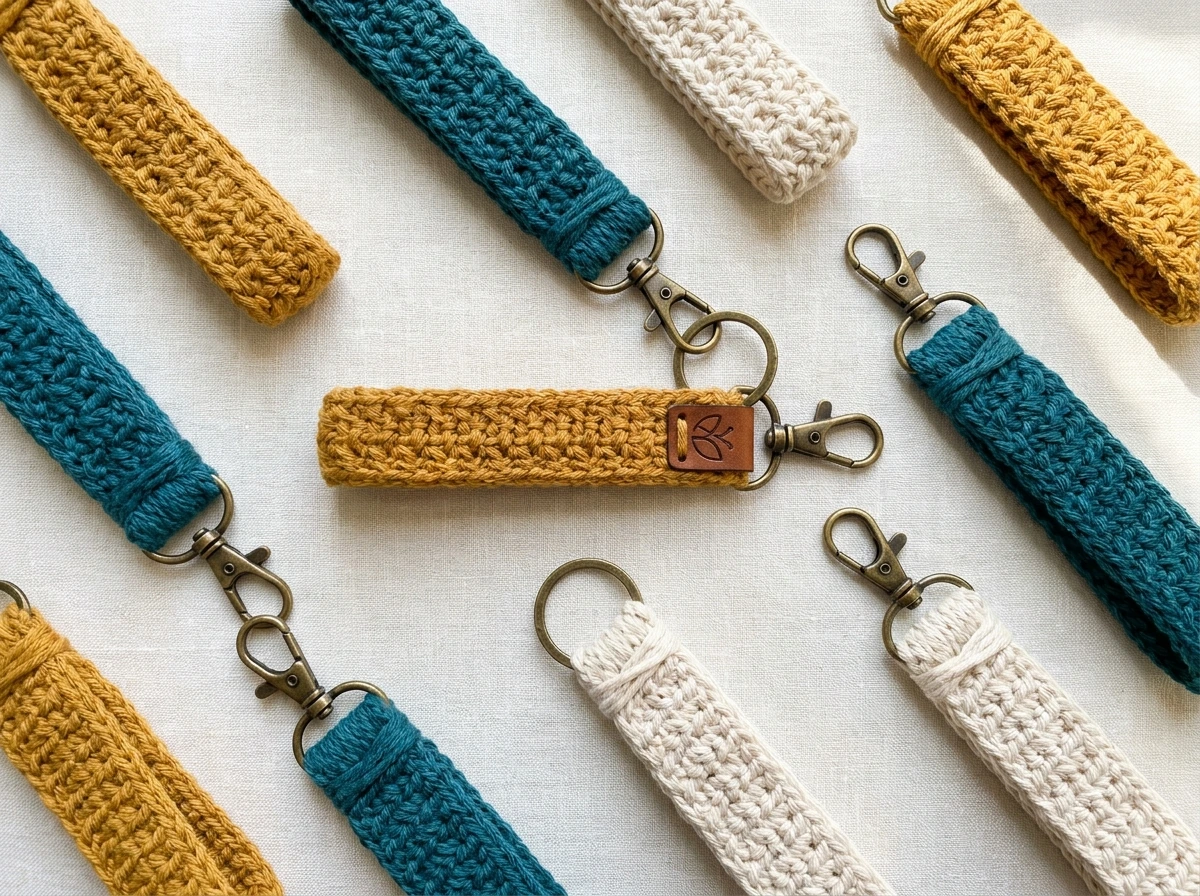
The Highline Wristlet Keychain Crochet Pattern: Quick, Textured & Market-Ready Accessory
$3.99

The Ultimate Beginner’s Crochet Guide: Master 45+ Essential Techniques & Practical Projects
$5.99

From Loop to Perfection: The Ultimate Step-by-Step Crochet Master Guide
$9.99
Get this Crochet Pattern as a Free PDF
Enter your email to receive the PDF associated with this article.
Leave a Reply