
DIY Nymphs bag
Crochet pattern
Nymphs bag
Level: intermediate
of
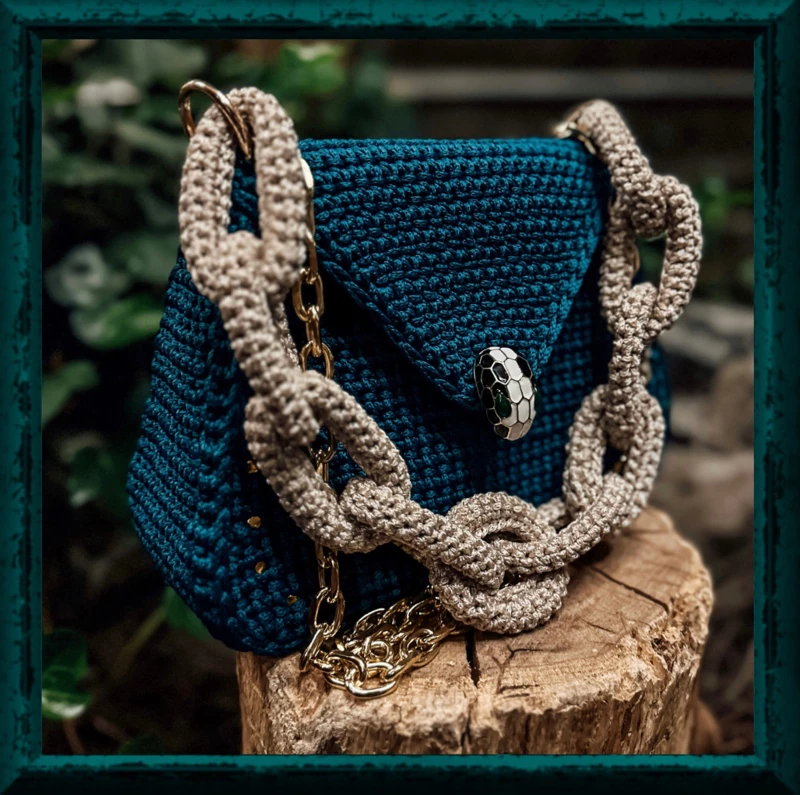
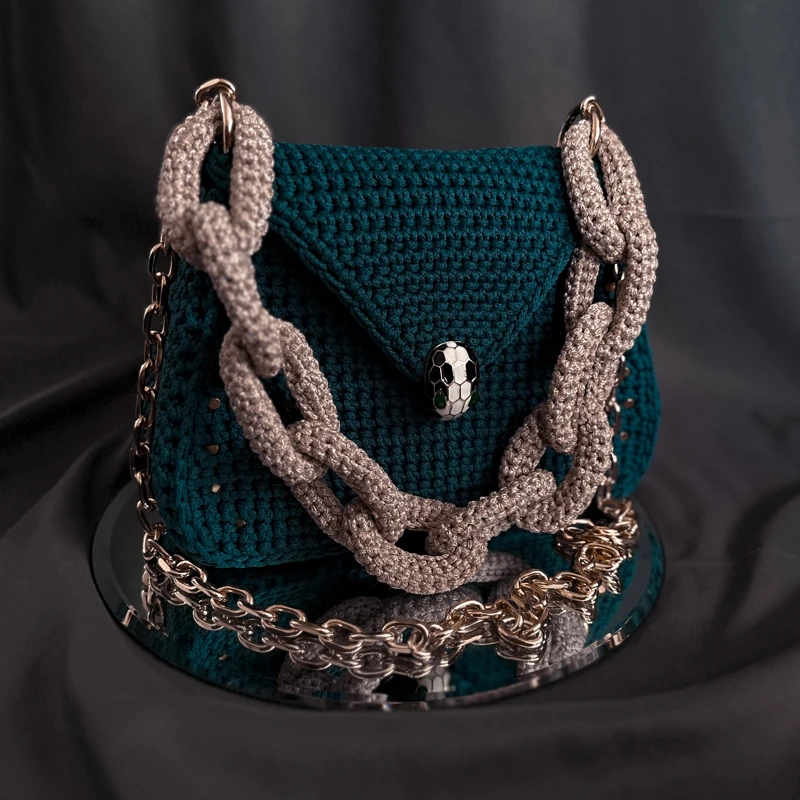
!!!THIS PATTERN IS ONLY FOR FREE PERSONAL USE. YOU ARE NOT
ALLOWED TO TRANSLATE, SELL OR DISTRIBUTE THIS PATTERN. YOU
ARE FREE TO SELL YOUR FINISHED PRODUCT
Material and tools:
Any polyester cord, 3 mm, 400 yards (350 m). In my example, I used
Shikimiki Matte Macrame polyester cord, ocean color;
Any polyester cord, 2 mm, 60 yards (50 m). In my example, I used Shikimiki
PР Мacrame Mini polyester cord, latte color;
3 mm and 4 mm hook;
Snap hook rings, 30-38 mm, 2 pieces;
Chain, 39-43 inches (1-1.2m);
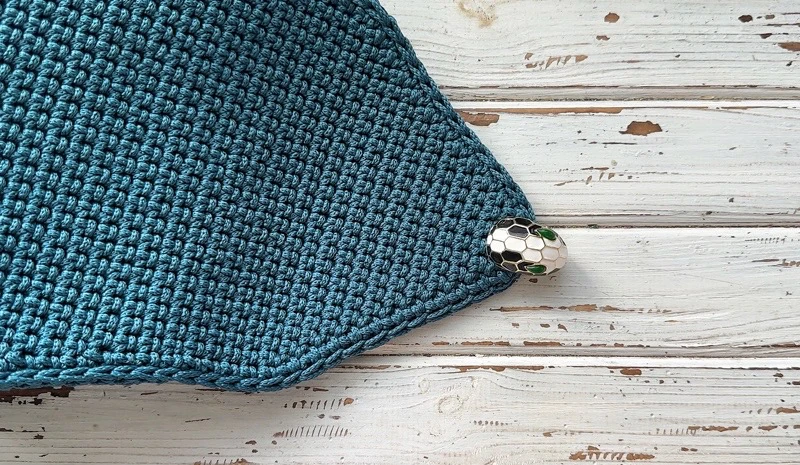
Small snake lock, 1 1/2 inches (4 cm);
Double cap rivets, 5 mm, 20 pieces (optional);
4 markers;
Plastic needle with large eyelet;
Fabric for the lining, 20×20 inches (50×50 cm);
Sew needle and thread of the base color;
Lighter;
Scissors.
Gauge: 15 stitches and 24 row = 4×4 inches (10x10cm)
Finished bag from the specified materials: length – 11 inches (27 cm),
height – 8 inches (20 cm), width – 4 inches (10 cm), length of the crochet
chain – 22 inches (55 cm).
Abbreviations
CH – chain stitch,
SlSt – slip stitch,
SC – single crochet,
Inc – increase (2 SC in 1),
Dec – decrease (2 SC tog).
🎥Link to the video of the process (1 h 58 min):
of


Front side
Take the 3 mm cord and the 4 mm hook.
Crochet 31 CH.
1 row. 30 SC from the 2nd loop from the hook on the back loop of the chain
only, CH.
of
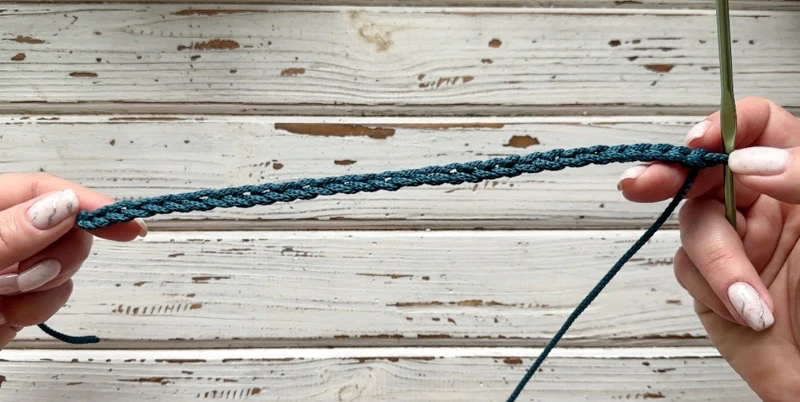
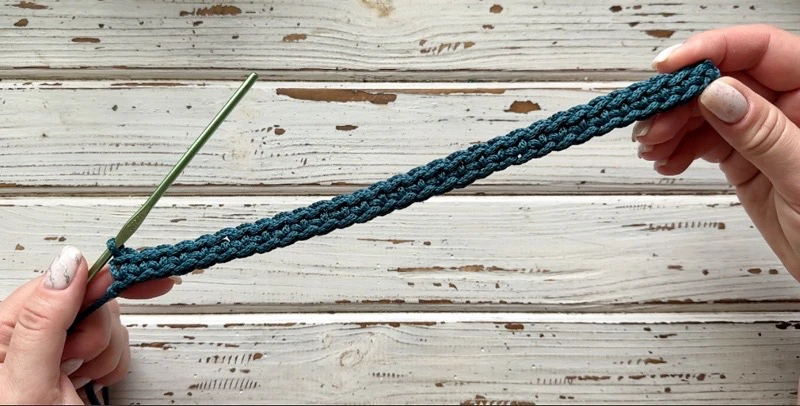
Insert the hook in the last SC, pull out the end.
Crochet in the end in the next row.
Next crochet a turning rows.
of
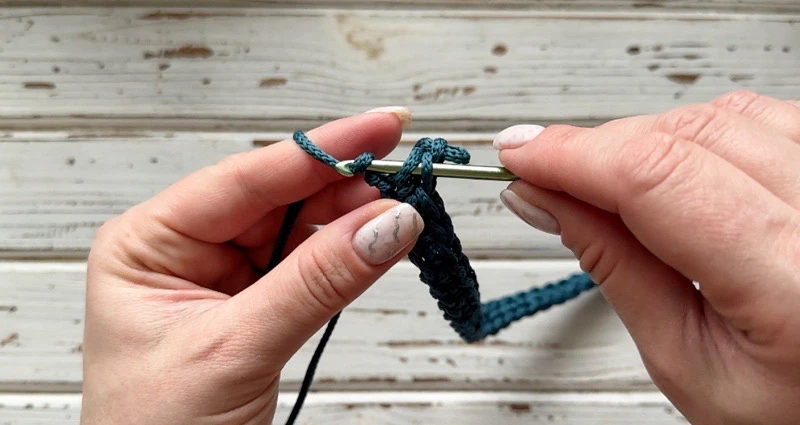
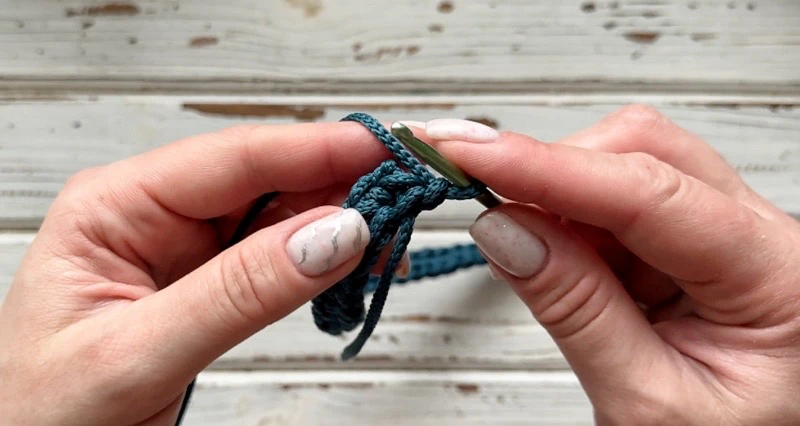
2 row. Inc, 28 SC, Inc, on the back loop and the loop of the chain only, CH
(=32).
of
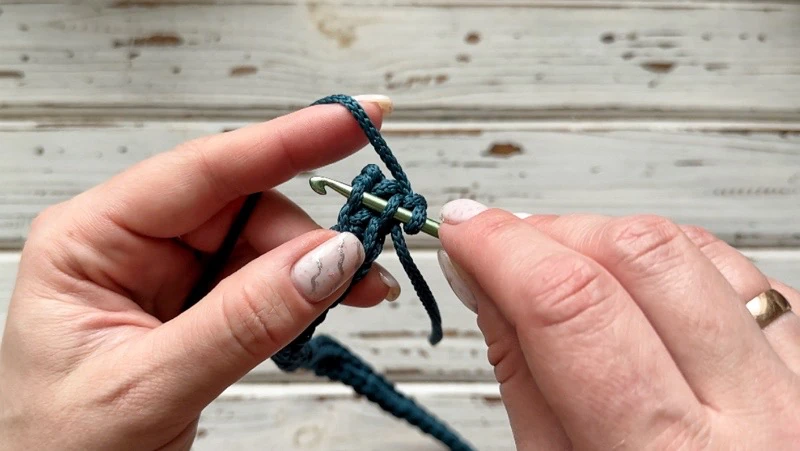
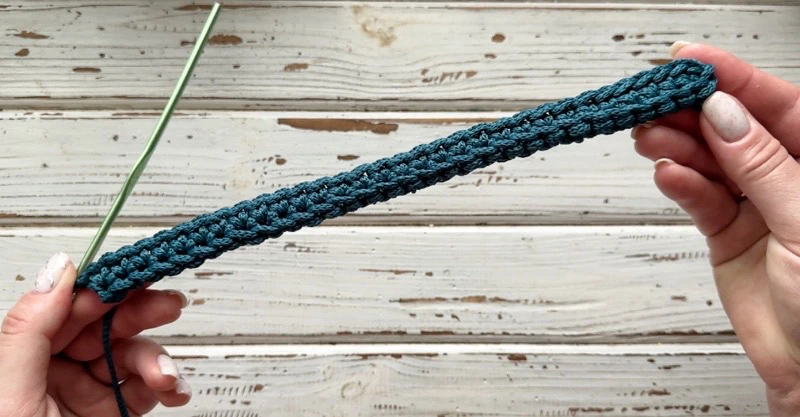
3 row. Inc, 30 SC, Inc, on the back loop and the front loop of the pre-previous
row only, CH (=34).
When making the first increase and SC, as well as the last increase and SC,
insert the hook on the same lower loop of the increase from the previous row.
of
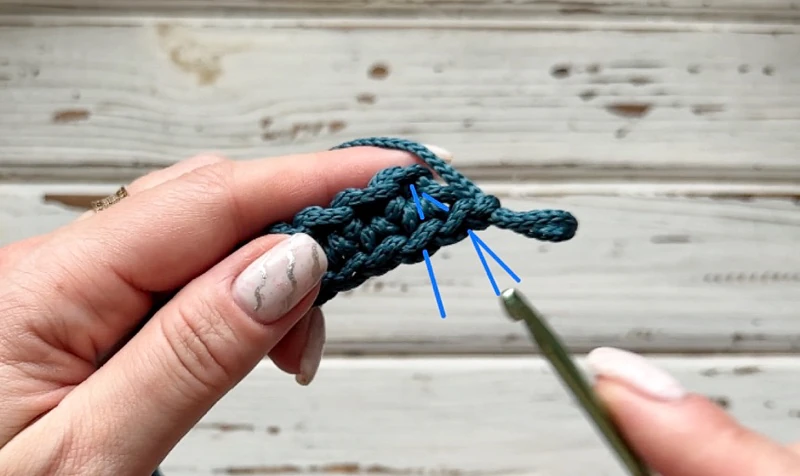
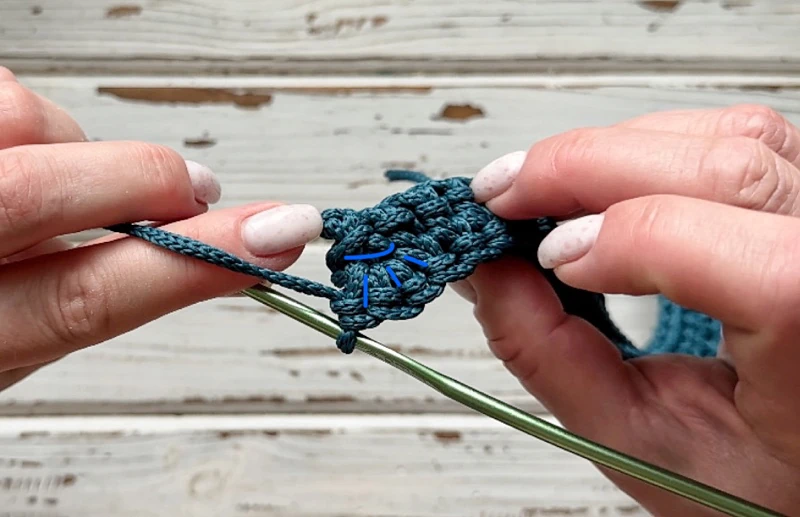
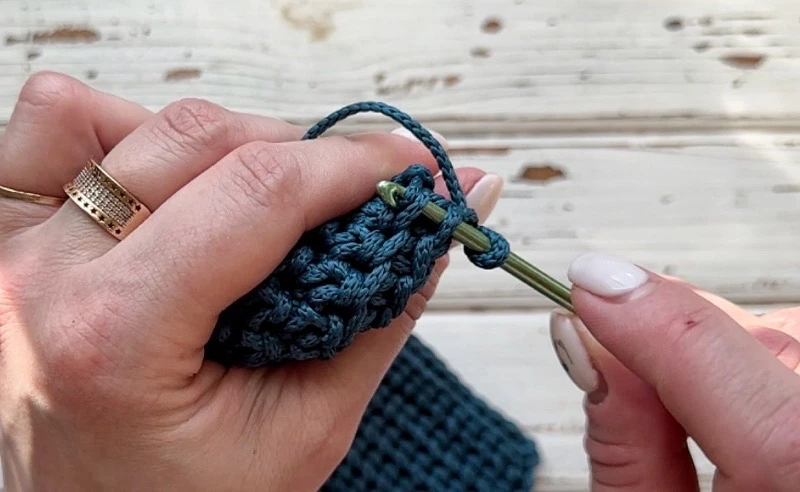
❗Next, crochet SC of the each subsequent row on the back loop and the
front loop of the pre-previous row only (thermal stitch).
4 row. 34 SC, CH. When crocheting the first 2 SC and the last 2 SC, insert the
hook on the same lower loop of the increase from the previous row.
of

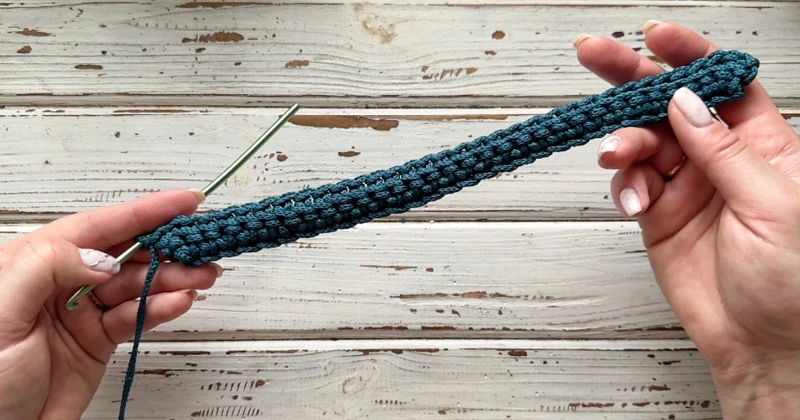
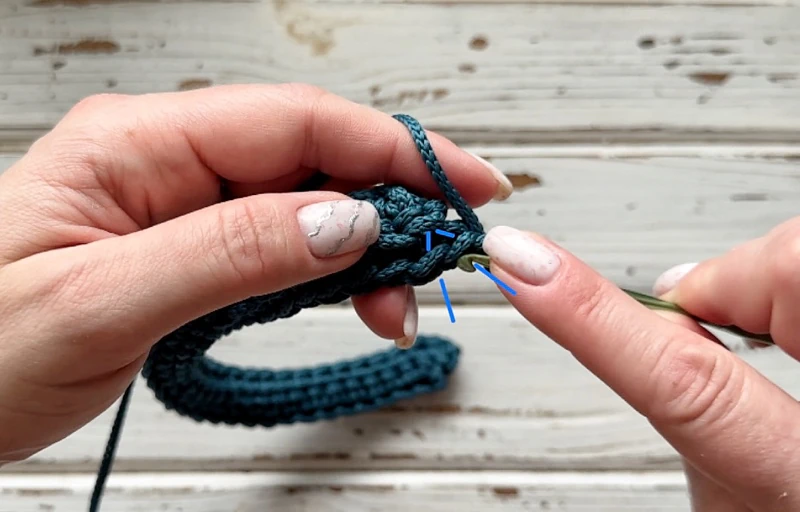
5 row. 34 SC, CH.
of
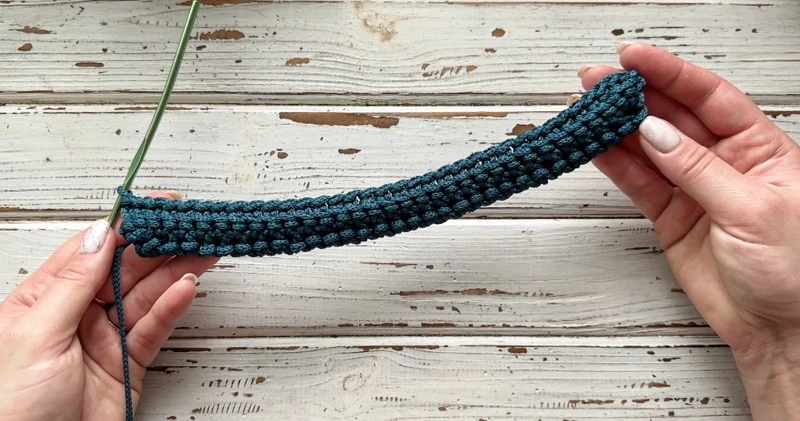
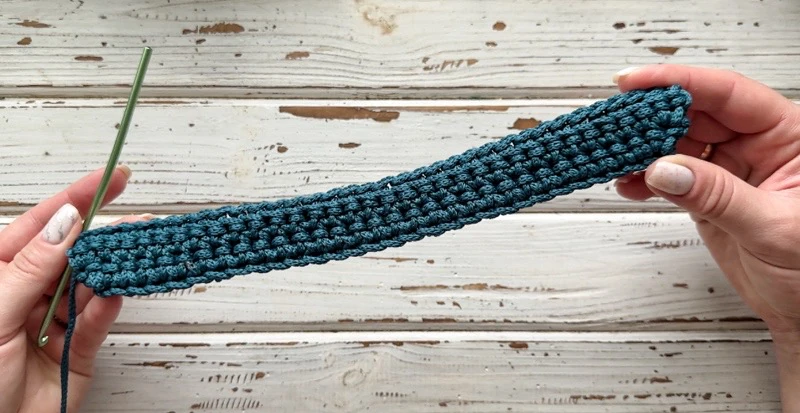
6-10 rows. 34 SC, CH.
11 row. Dec, 30 SC, Dec, CH (=32).
of


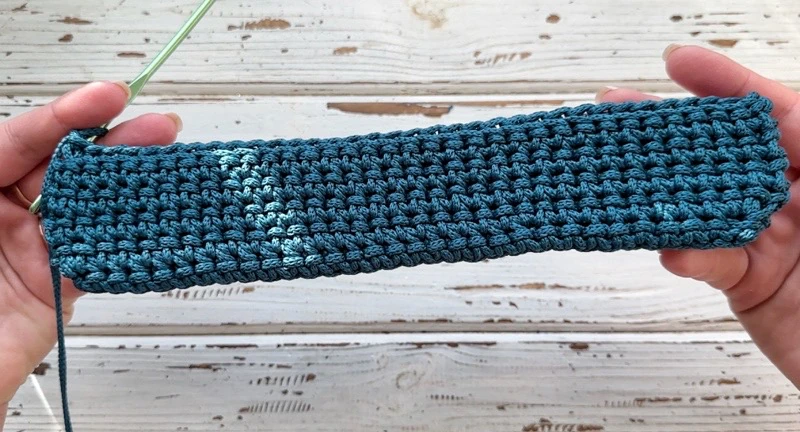
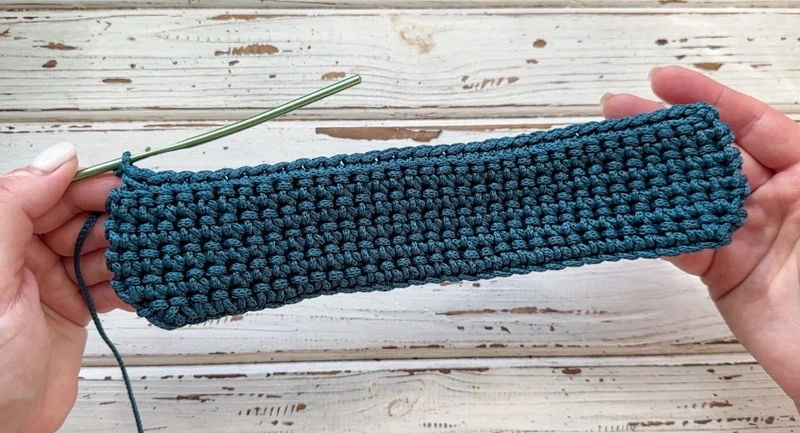
12 row. 32 SC, CH. In this row and the subsequent rows after decreases, when
crocheting the first and last SC, insert the hook on the two lower loops of the
decrease from the previous row.
of
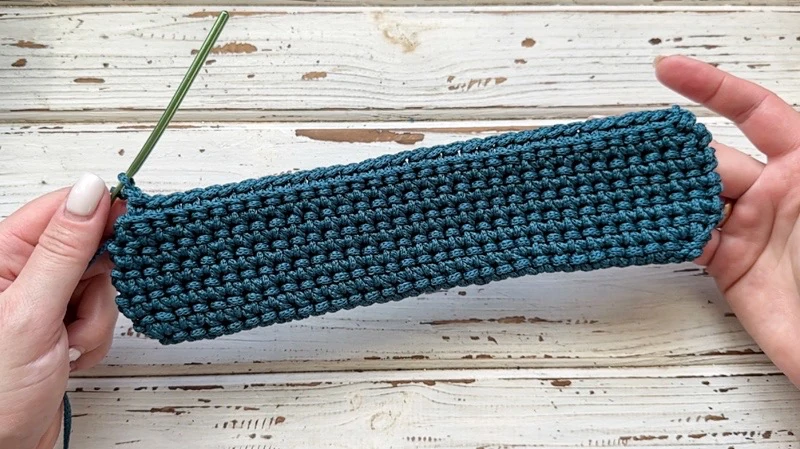
13-16 rows. 32 SC, CH.
17 row. Dec, 28 SC, Dec, CH (=30).
of
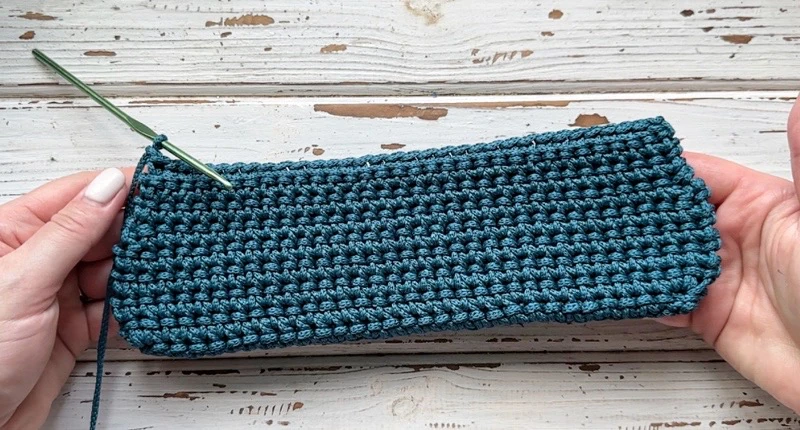
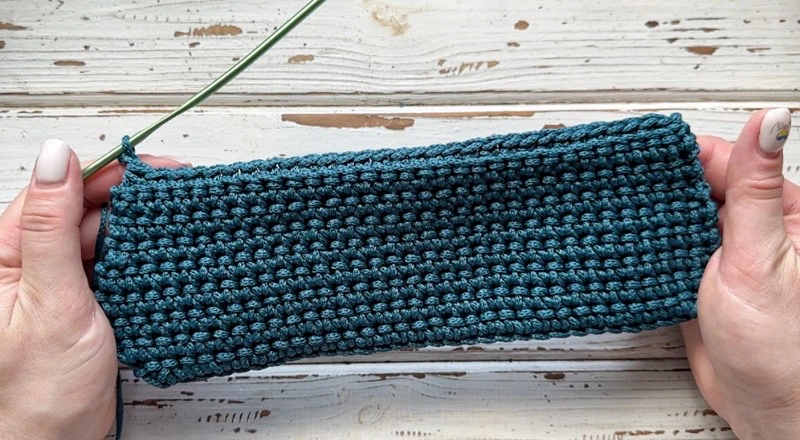
18 row. 30 SC, CH.
19 row. 30 SC, CH.
20 row. 30 SC, CH.
21 row. 30 SC, CH.
22 row. 30 SC, CH.
23 row. Dec, 26 SC, Dec, CH (=28).
24 row. 28 SC, CH.
25 row. 28 SC, CH.
26 row. 28 SC, CH.
27 row. 28 SC, CH.
28 row. 28 SC, CH.
of
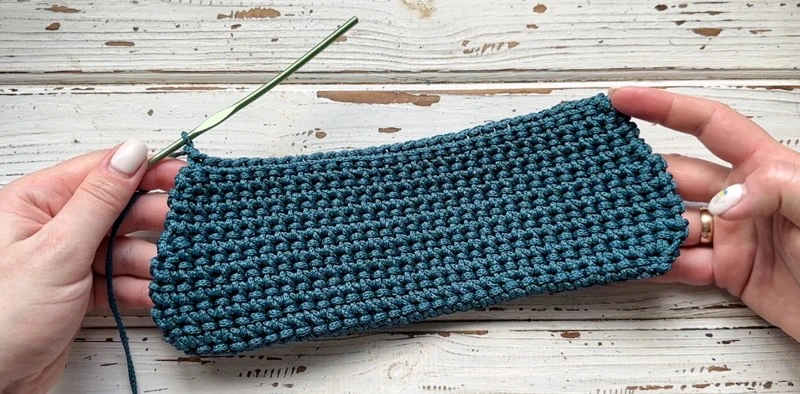
29 row. Dec, 24 SC, Dec, CH (=26).
30 row. 26 SC, CH.
31 row. 26 SC, CH.
32 row. 26 SC, CH.
33 row. 26 SC, CH.
34 row. 26 SC, CH.
of
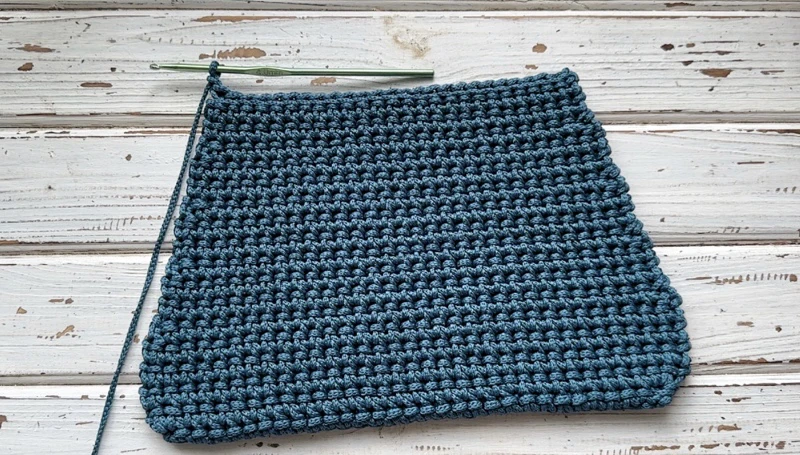
35 row. 26 SC. Crochet the last row on two loops and the front loop of the
pre-previous row only.
Cut the thread, pull out the end. Strengthen and hide the end on the wrong
side. Process with fire.
of
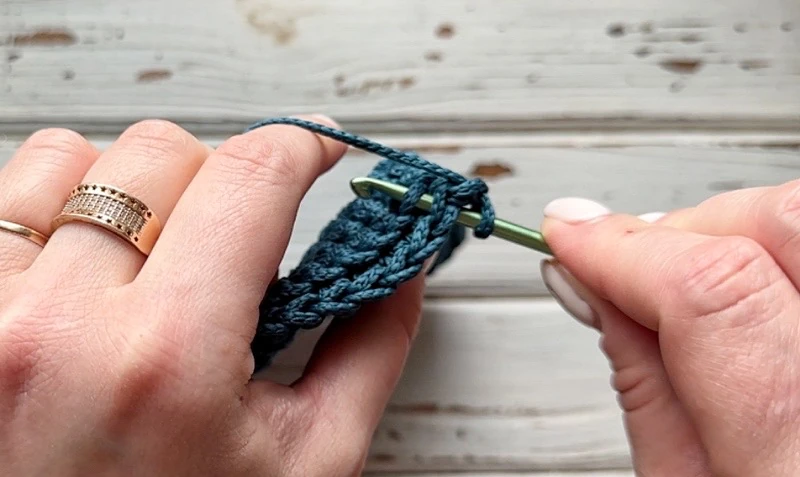
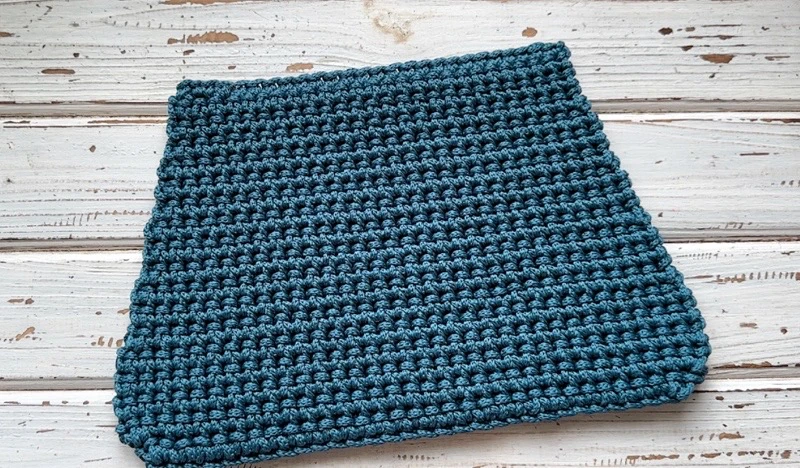
Back side
1-34 rows. Crochet similarly to rows 1-34 of the front side.
35-47 rows. 26 SC, CH.
of
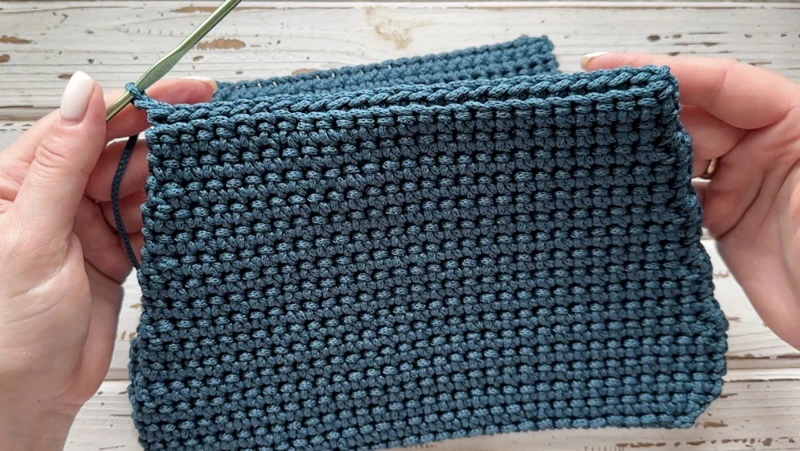
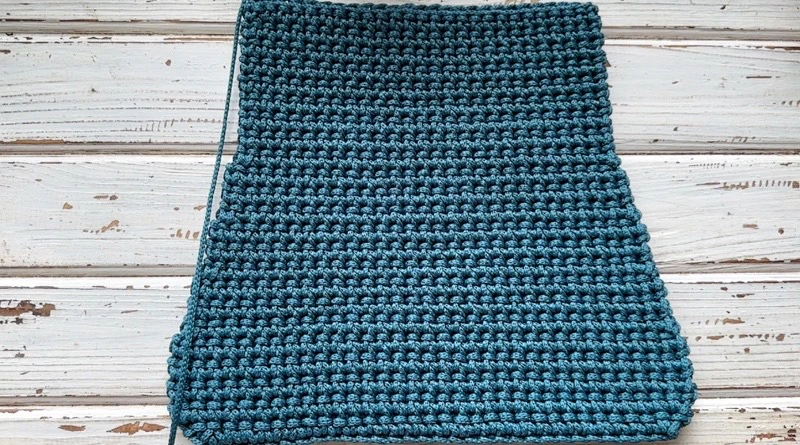
48 row. Dec, 22 SC, Dec, CH (=24).
49 row. 24 SC, CH.
of
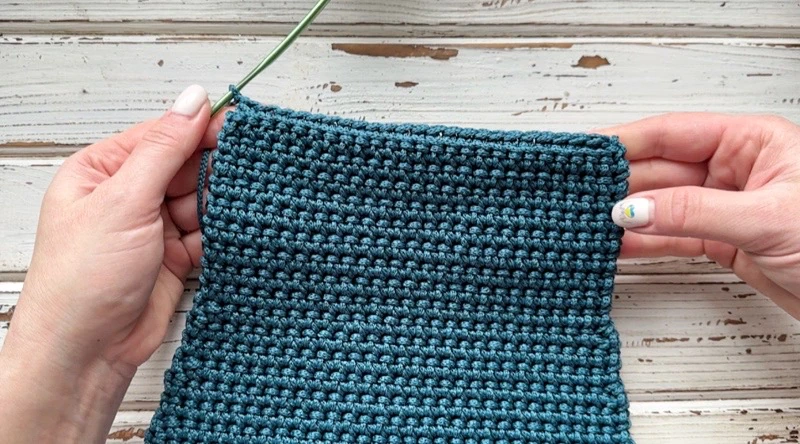
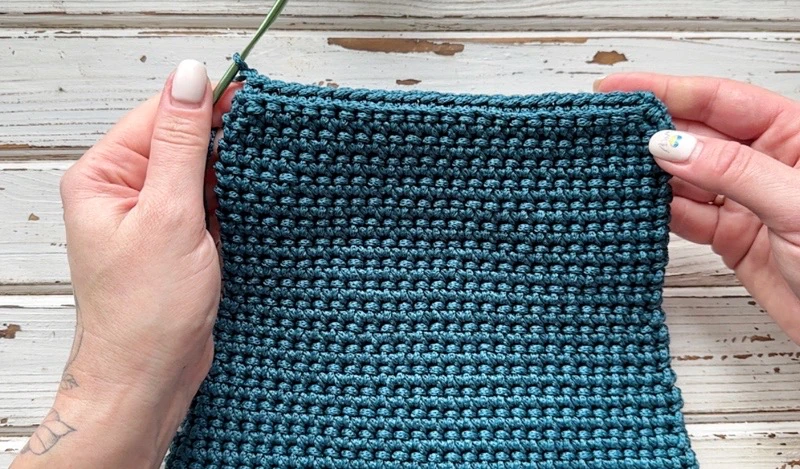
50 row. Dec, 20 SC, Dec, CH (=22).
51 row. 22 SC, CH.
of
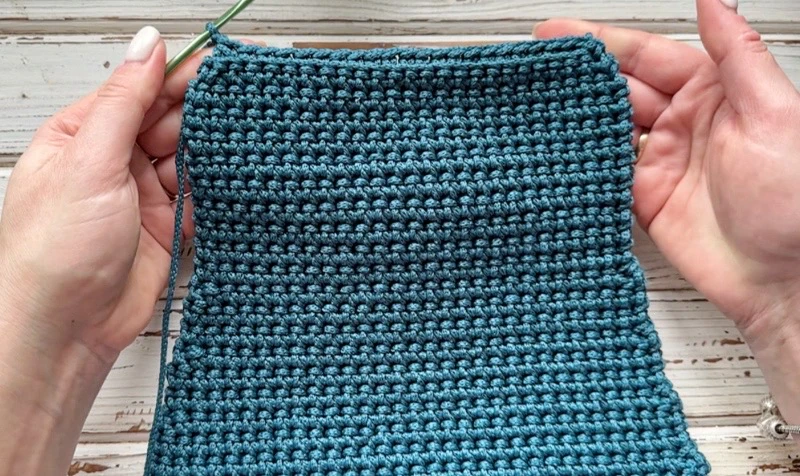
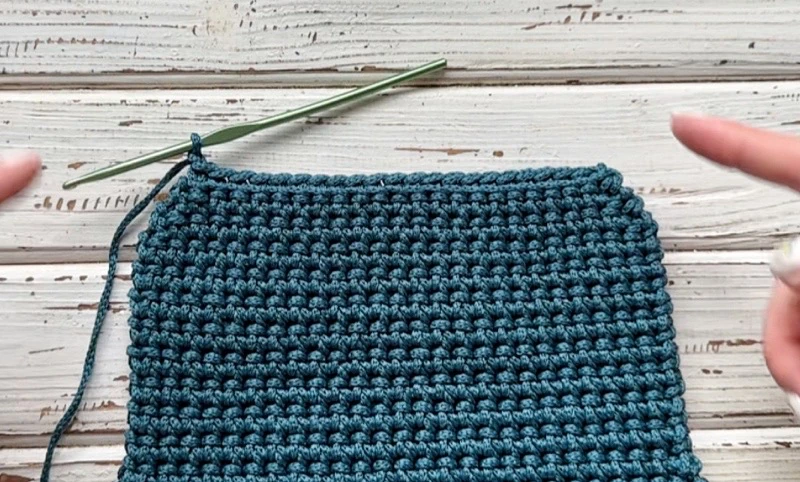
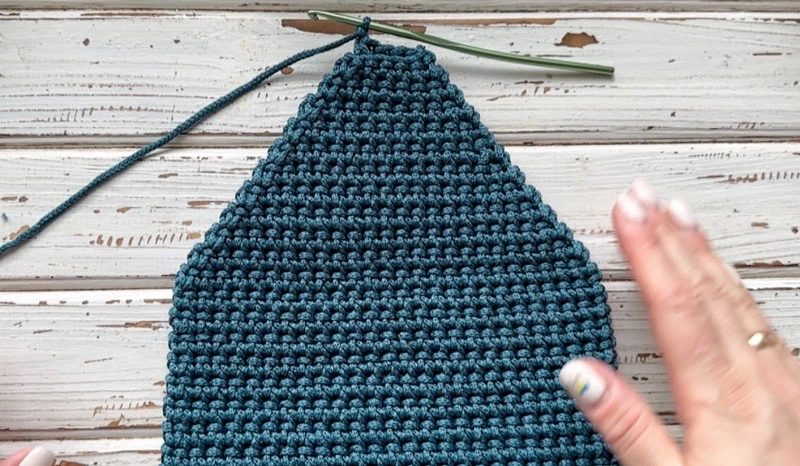
52 row. Dec, 18 SC, Dec, CH (=20).
53 row. 20 SC, CH.
54 row. Dec, 16 SC, Dec, CH (=18).
55 row. 18 SC, CH.
56 row. Dec, 14 SC, Dec, CH (=16).
57 row. 16 SC, CH.
58 row. Dec, 12 SC, Dec, CH (=14).
59 row. 14 SC, CH.
60 row. Dec, 10 SC, Dec, CH (=12).
61 row. 12 SC, CH.
62 row. Dec, 8 SC, Dec, CH (=10).
63 row. 10 SC, CH.
64 row. Dec, 6 SC, Dec, CH (=8).
65 row. 8 SC, CH.
66 row. Dec, 4 SC, Dec, CH (=6).
67 row. 6 SC, CH.
68 row. Dec, 2 SC, Dec, CH (=4).
of
69 row. 4 SC, CH. Crochet the last row on two loops and the front loop of the
pre-previous row only.
Cut the thread, pull out the end. Strengthen and hide the end on the wrong
side. Process with fire.
of
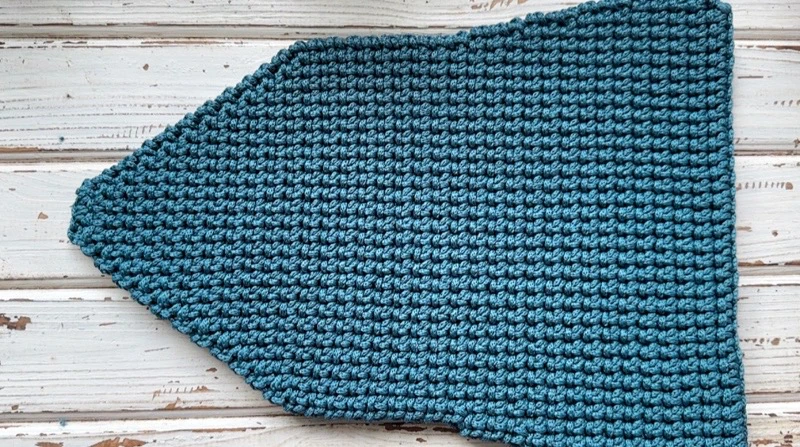
Side part
Crochet 6 CH.
1 row. 5 SC from the 2nd loop from the hook on the back loop of the chain
only, CH.
of
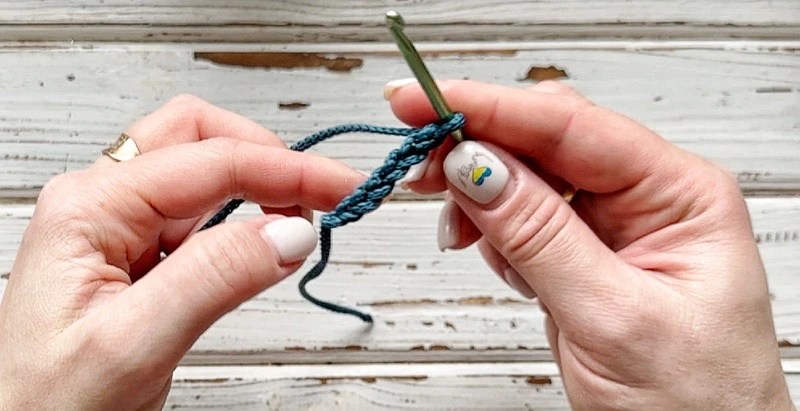
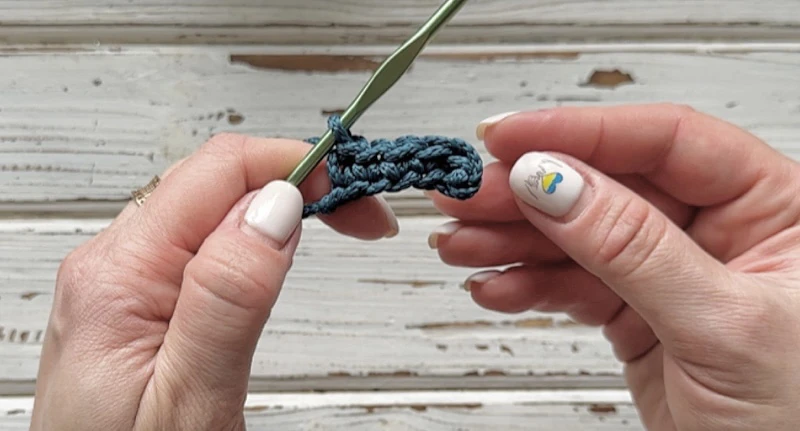
Insert the hook in the last SC, pull out the end.
Crochet in the end in the next row.
Next crochet a turning rows.
2 row. 5 SC, on the back loop and the loop of the chain only, CH.
of
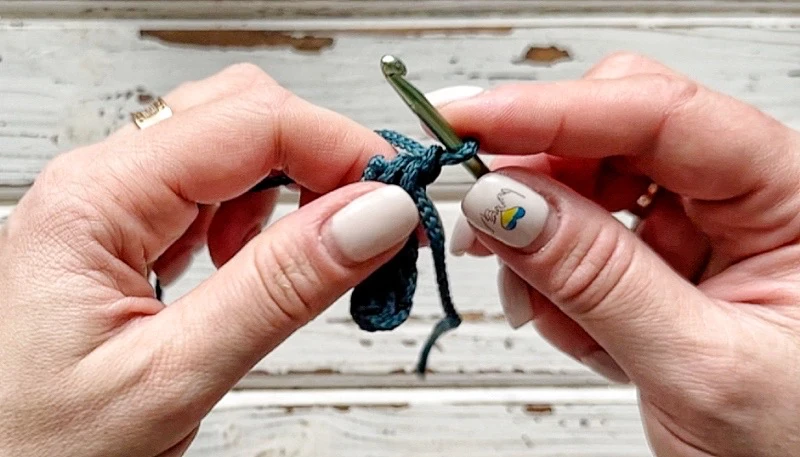
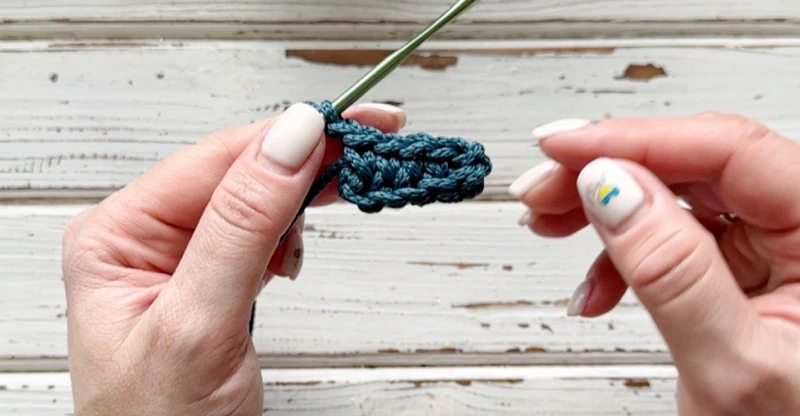
3 row. 5 SC, on the back loop and the front loop of the pre-previous row only,
CH.
❗Next, crochet SC of the each subsequent row on the back loop and the
front loop of the pre-previous row only (thermal stitch).
4 row. 5 SC, CH.
of
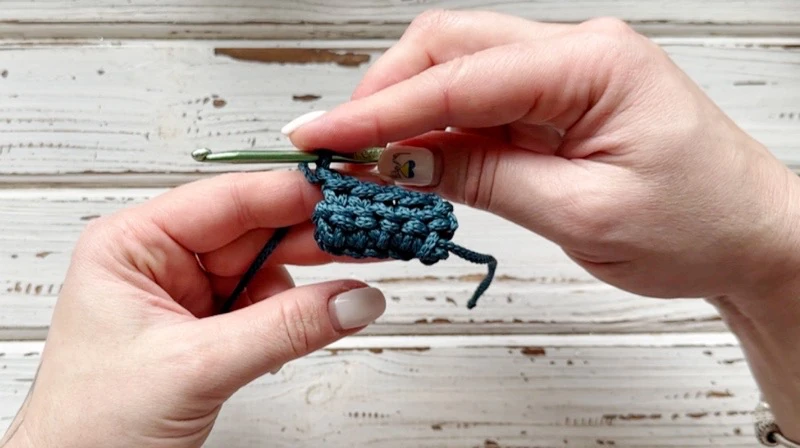
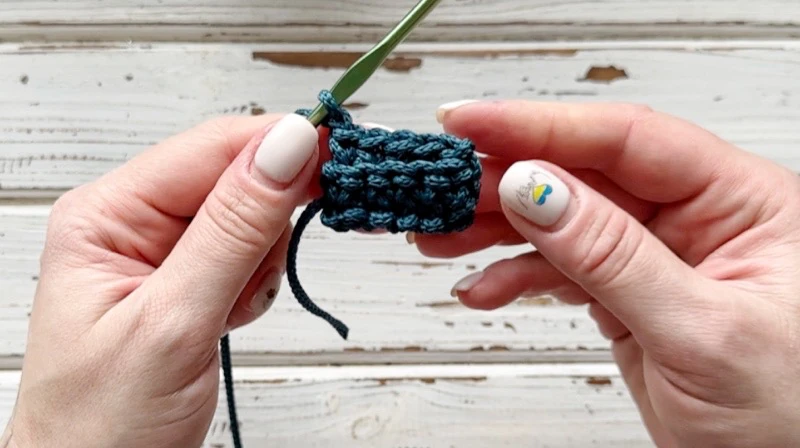
5 row. 5 SC, CH.
6 row. Inc, 3 SC, Inc, CH (=7).
of
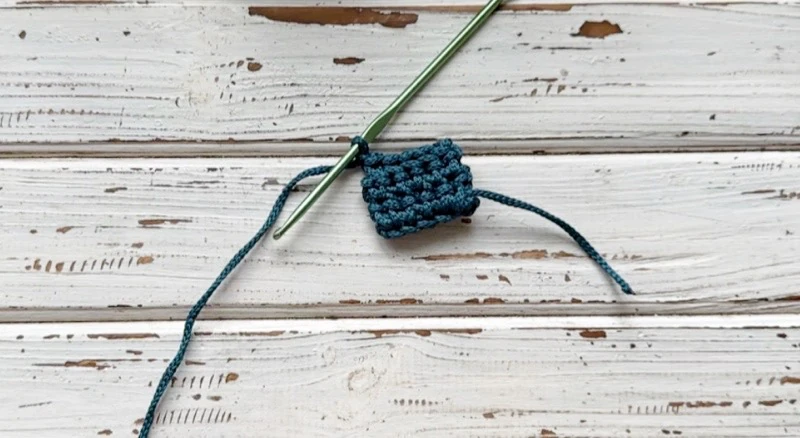
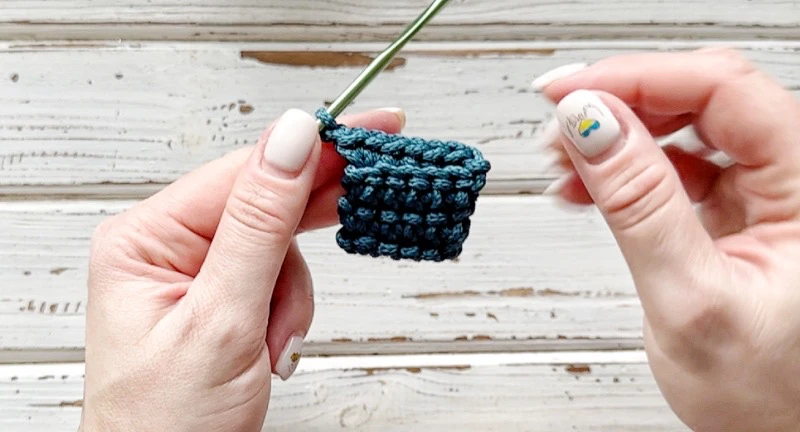
7 row. 7 SC, CH.
In this and the subsequent rows after increases, when crocheting the first two
SC and the last two SC, insert the hook on the one lower loop of the increase
from the previous row.
8 row. 7 SC, CH.
9 row. 7 SC, CH.
10 row. 7 SC, CH.
11 row. 7 SC, CH.
of
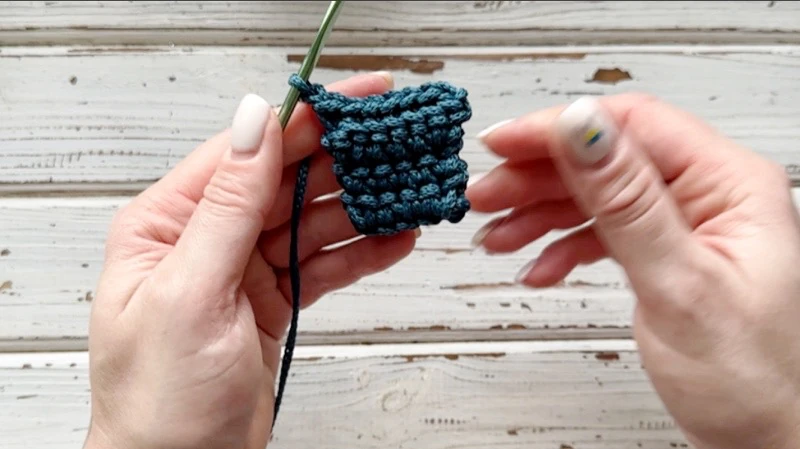
12 row. Inc, 5 SC, Inc, CH (=9).
of
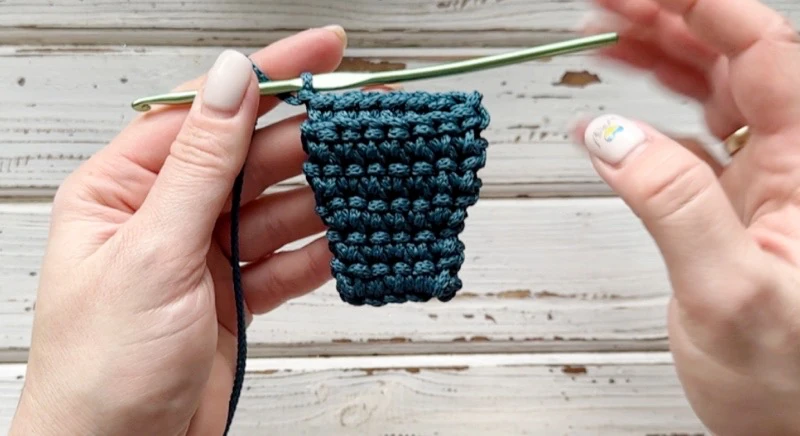
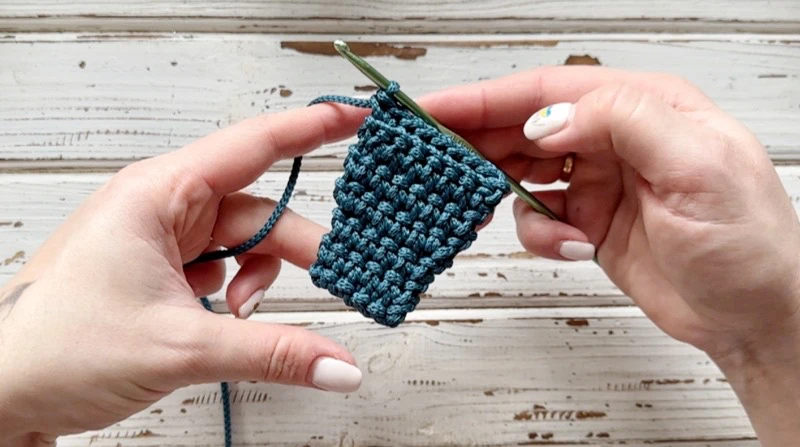
13 row. 9 SC, CH.
14 row. 9 SC, CH.
15 row. 9 SC, CH.
16 row. 9 SC, CH.
17 row. 9 SC, CH.
18 row. Inc, 7 SC, Inc, CH (=11).
19 row. 11 SC, CH.
20 row. 11 SC, CH.
21 row. 11 SC, CH.
22 row. 11 SC, CH.
of
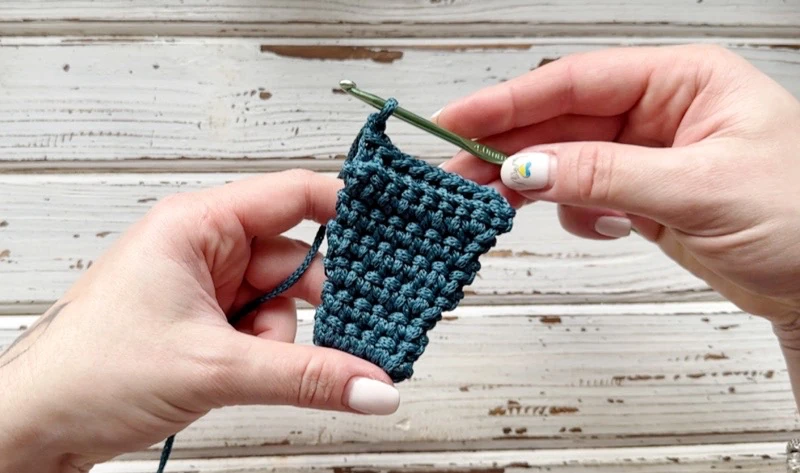
23 row. 11 SC, CH.
24 row. Inc, 9 SC, Inc, CH (=13).
25 row. 13 SC, CH.
26 row. 13 SC, CH.
27 row. 13 SC, CH.
28 row. 13 SC, CH.
29 row. 13 SC, CH.
of
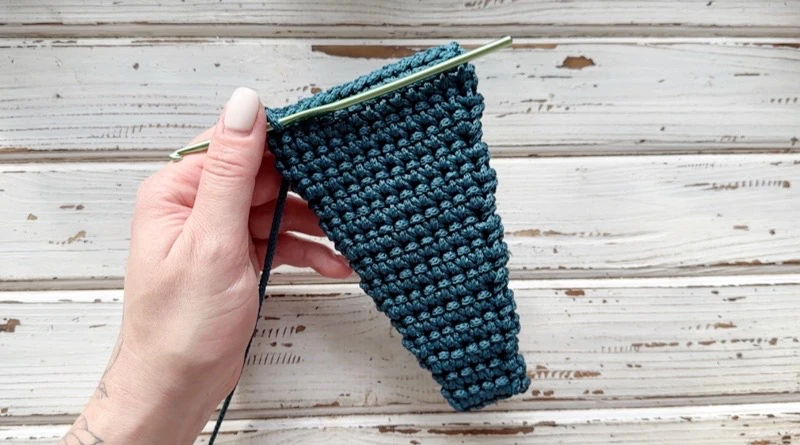
30-96 rows. 13 SC, CH.
97 row. Dec, 9 SC, Dec, CH (=11).
of
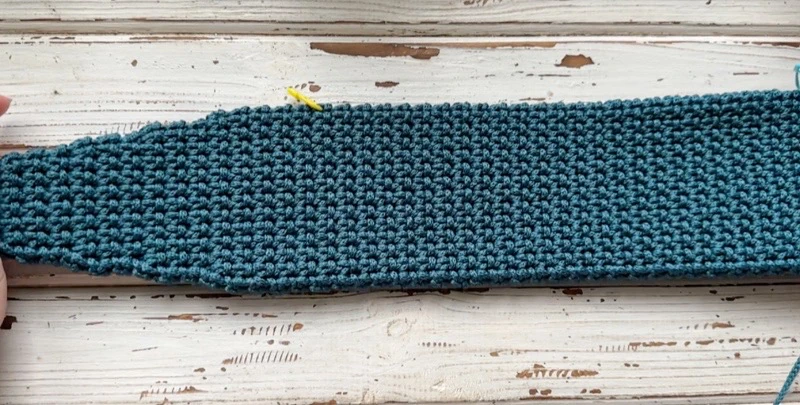
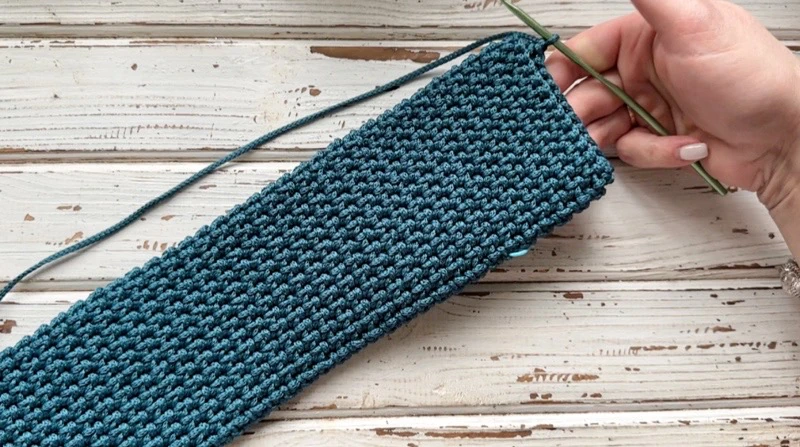
98 row. 11 SC, CH.
99-102 rows. 11 SC, CH.
of
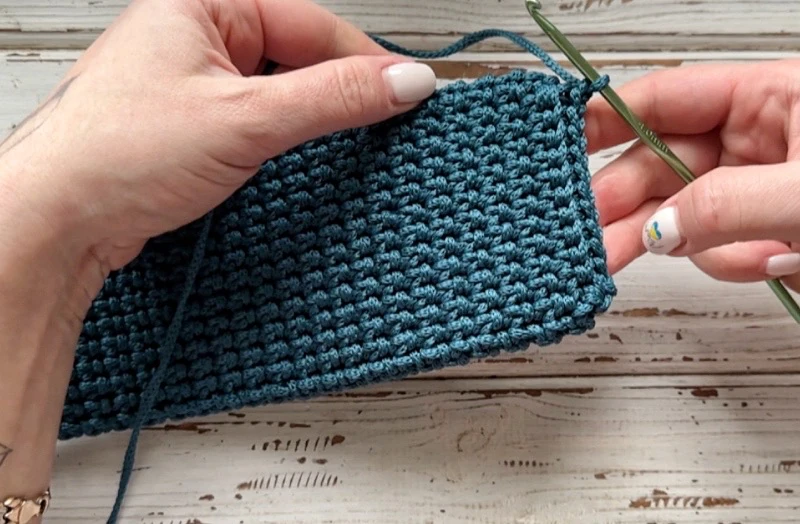
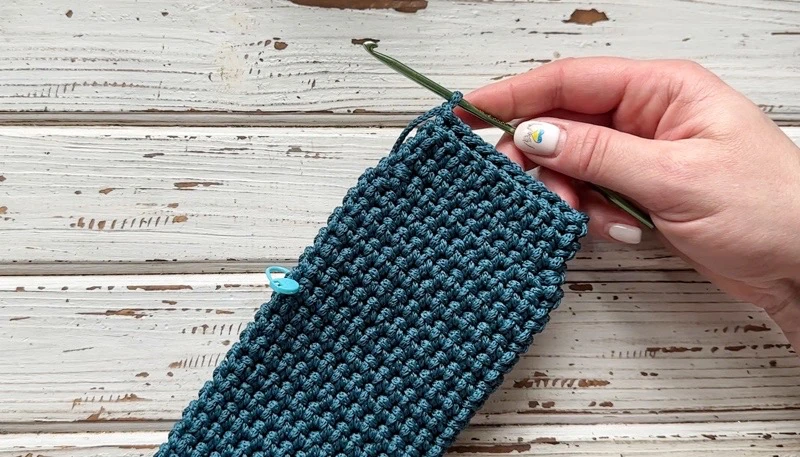
103 row. Dec, 7 SC, Dec, CH (=9).
104 row. 9 SC, CH.
of
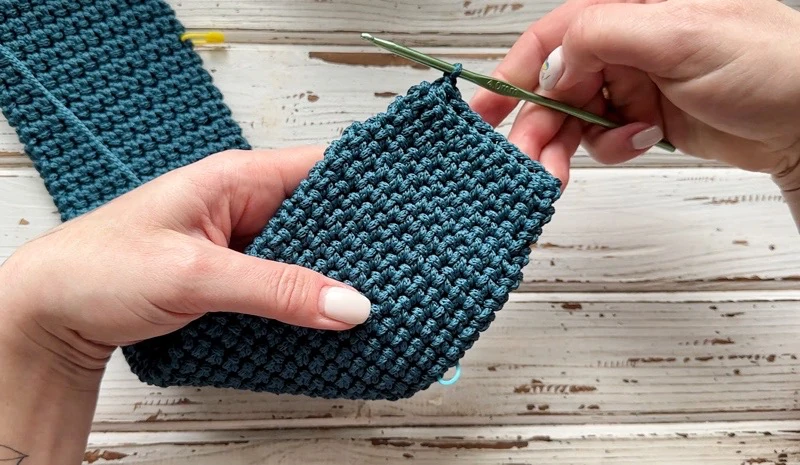
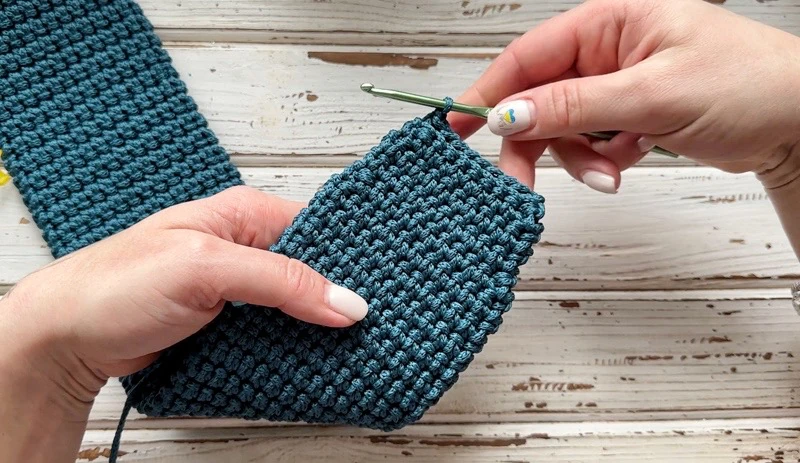
105 row. 9 SC, CH.
106 row. 9 SC, CH.
107 row. 9 SC, CH.
108 row. 9 SC, CH.
109 row. Dec, 5 SC, Dec, CH (=7).
110 row. 7 SC, CH.
111 row. 7 SC, CH.
112 row. 7 SC, CH.
113 row. 7 SC, CH.
114 row. 7 SC, CH.
115 row. Dec, 3 SC, Dec, CH (=5).
116-118 rows. 5 SC, CH.
of
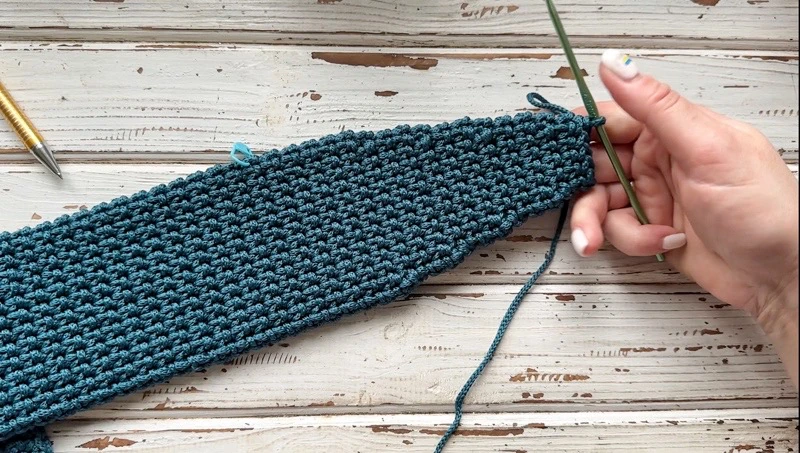
119 row. 5 SC. Crochet the last row on two loops and the front loop of the
pre-previous row only.
Cut the thread, pull out the end. Strengthen and hide the end on the wrong
side. Process with fire.
Cut out the lining
Now, it's necessary to cut out the lining.
It is better to take cotton or linen so that the lining keeps its shape well.
First, transfer the front side and the side part shapes onto the paper.
of
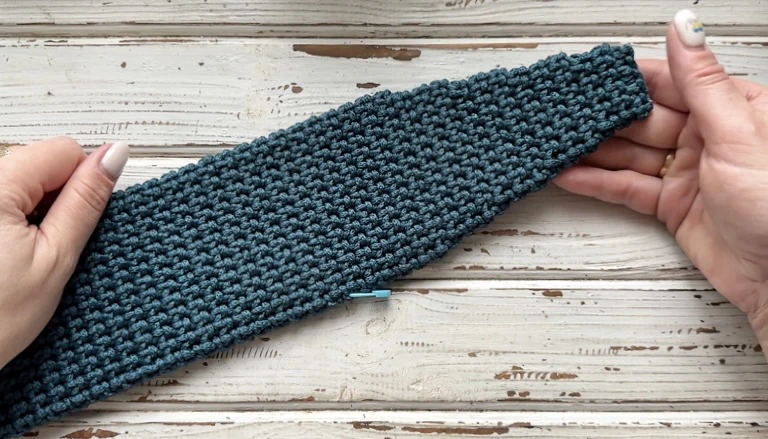
of
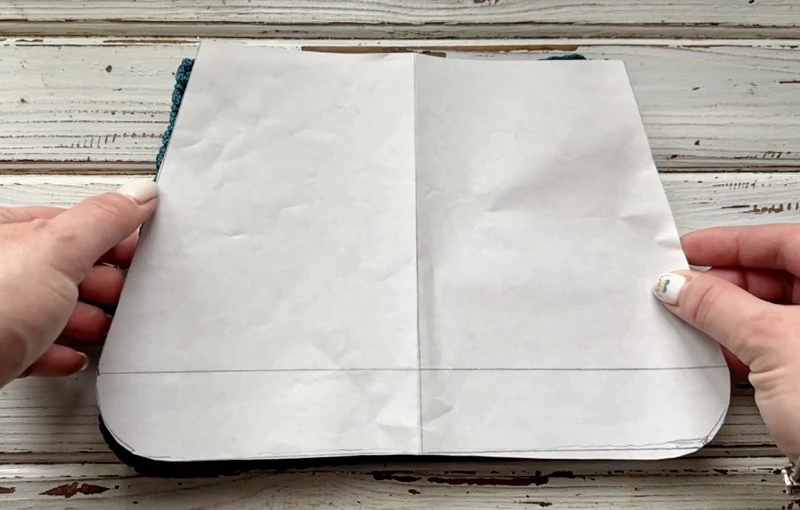
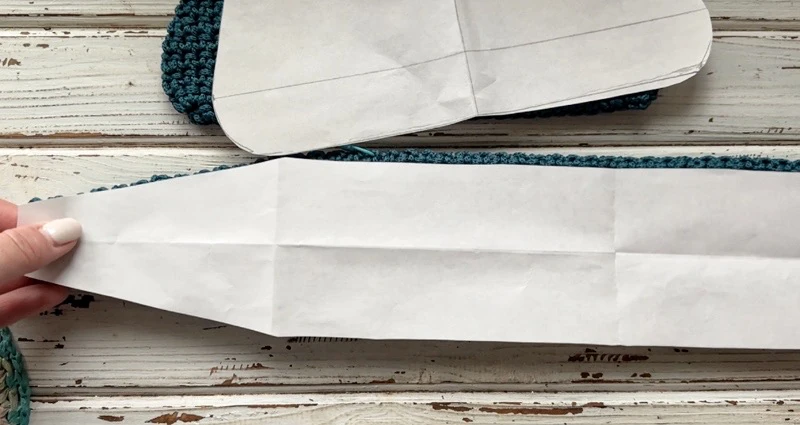
Secure the pattern to the fabric with the pins, folding it in two, as two pieces
of the front side are needed.
Trace with a pencil.
of
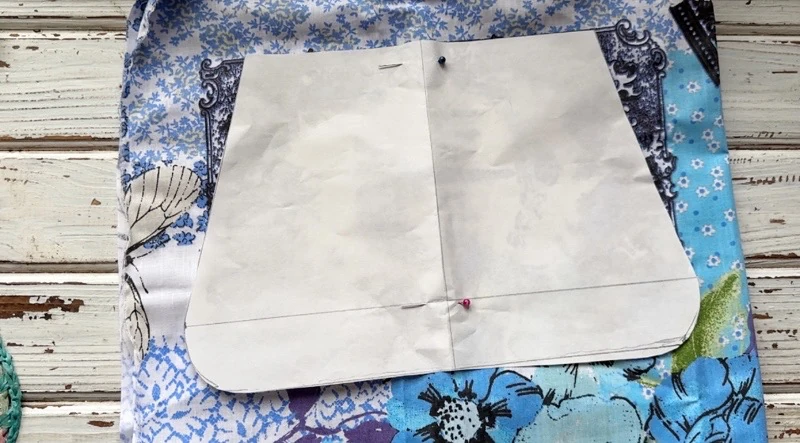
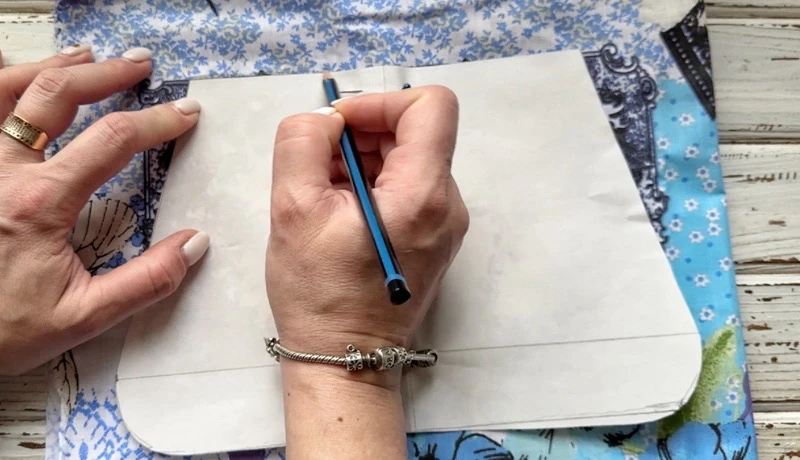
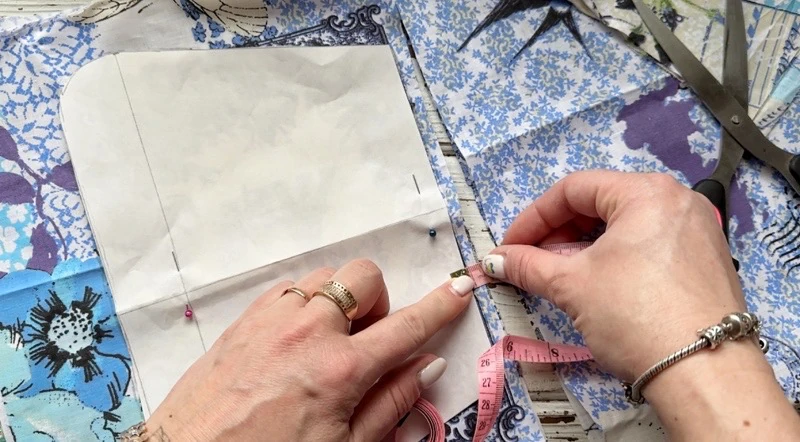
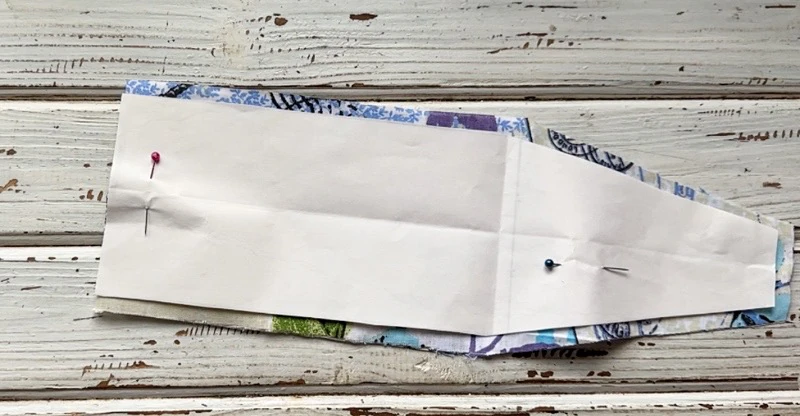
Cut out with a seam allowance of about 7-10 mm.
No seam allowance is needed for the side part on the fold.
of
Install the double cap rivets
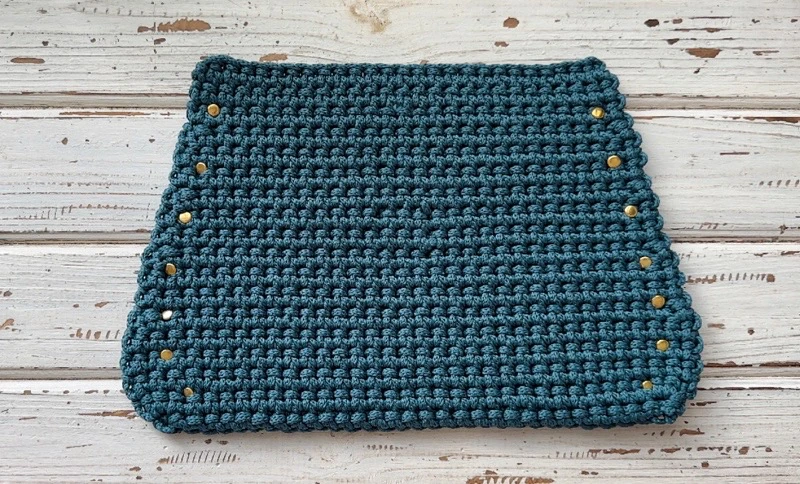
Place the double cap rivets 10 mm away from the edge of the front side, at
equal distances from each other.
Insert the part with the stem on the front side, and cover it with the other
part on the wrong side.
Gently tap with a hammer on the wrong side.
of
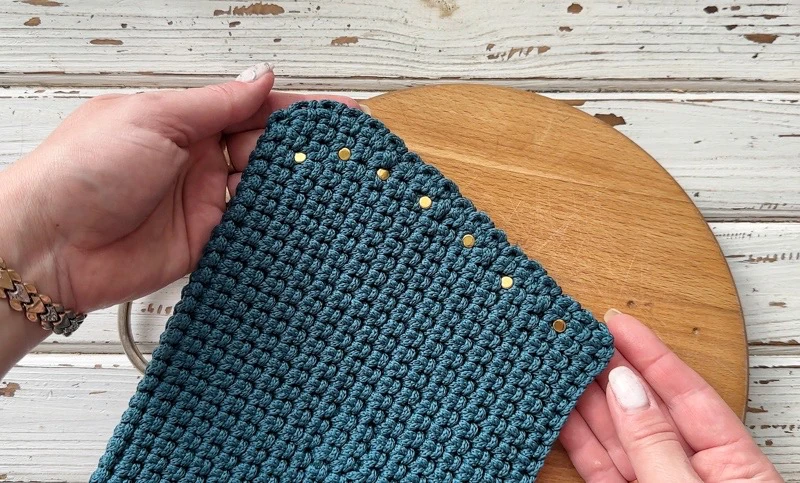
Assembly
Take the front side and connect it with the side part using a marker in the
first loops.
Count 18 ticks from the top on the front side and side parts, place 2nd marker
in the 18th loops.
of
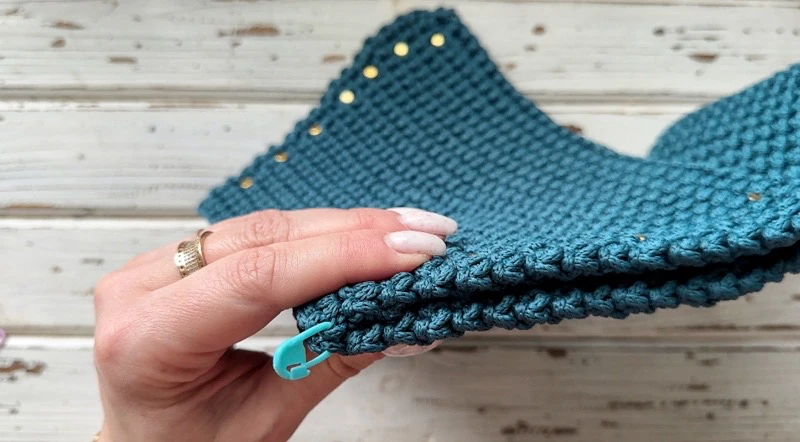
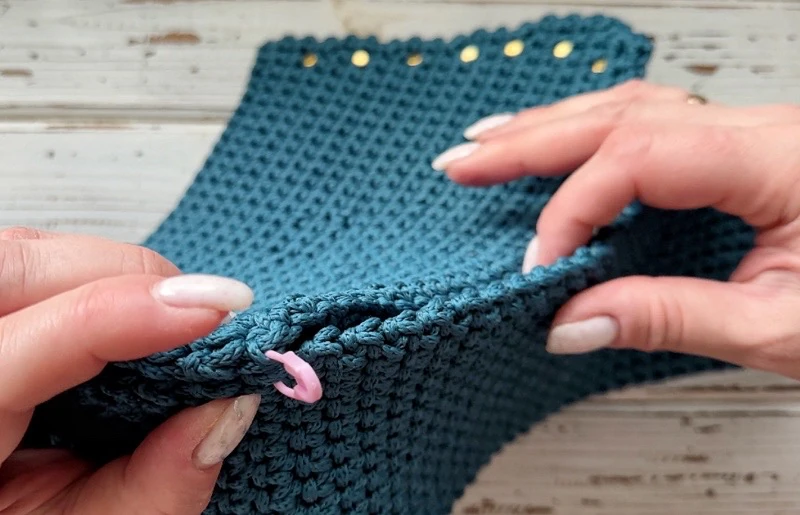
From the other side, place the marker in the first loops also.
Count 18 ticks and place the second marker in the 18th loops.
Between the markers, there should be 30 loops on the bottom of the front
side and 24 ticks on the side part.
of
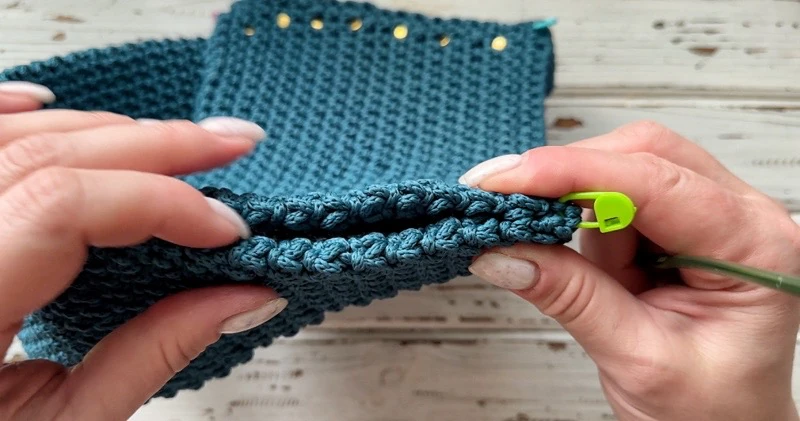
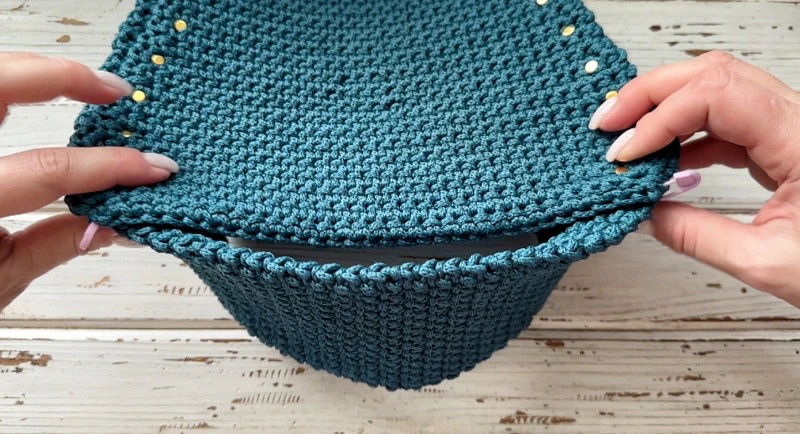
Remove the first marker and insert the hook into the left corner.
Pull the loop, then crochet 17 SlSt along the edge. Insert the hook on the two
loops of the ticks.
Pull the working loop by 12 cm.
of
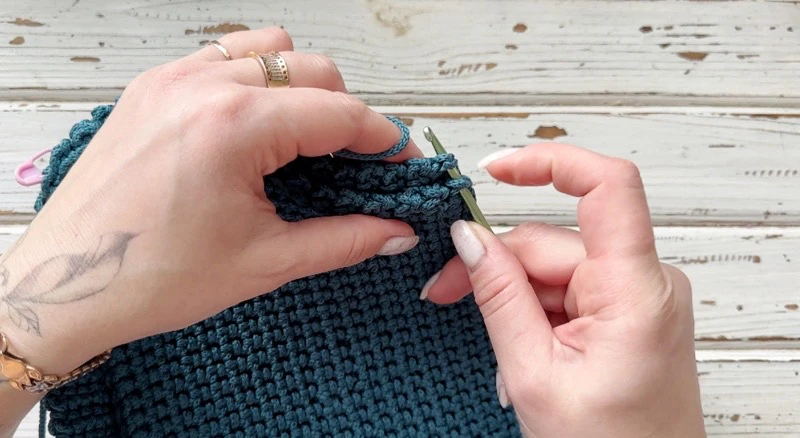
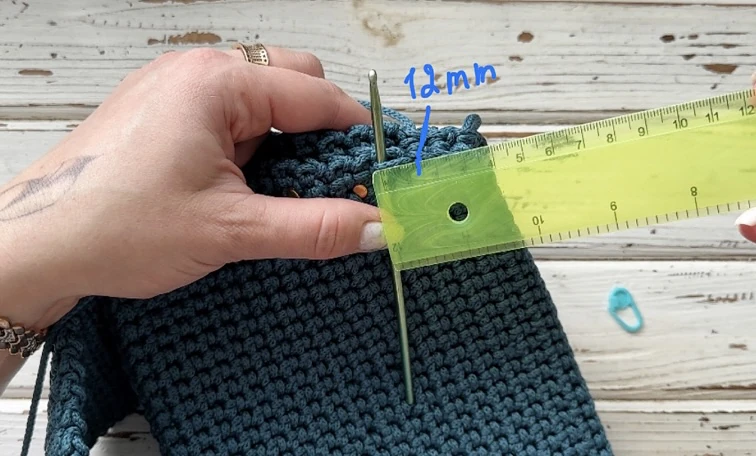
Crochet to the second marker, remove it, and crochet SlSt. Continue to crochet
insert the hook on the back loop of the chain of the front side and the ticks
of the side part.
Crochet 30 SlSt along the bottom. Every 5th SlSt should be crocheted on the
“bridge” between the 4th and the 5th tick of the side part.
of
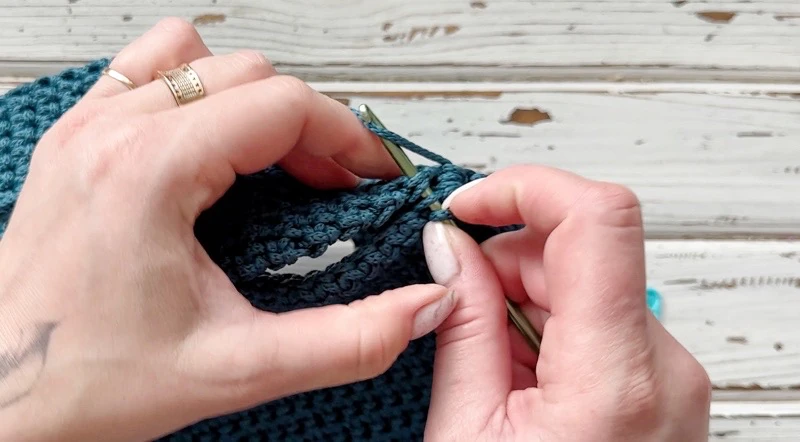
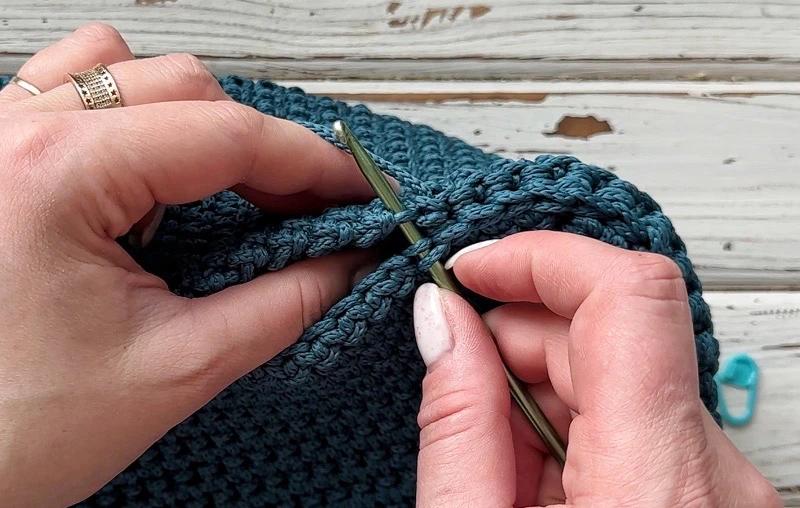
Crochet to the marker, remove it. Crochet 18 SlSt to the end of the row.
Cut the thread, pull out the end. Pass it through the top loops of the parts
twice. Strengthen, hide, and process with fire the end from the wrong side.
Pass the starting thread through the top loops of the parts twice as well.
Strengthen, hide, and process with fire the end from the wrong side.
of
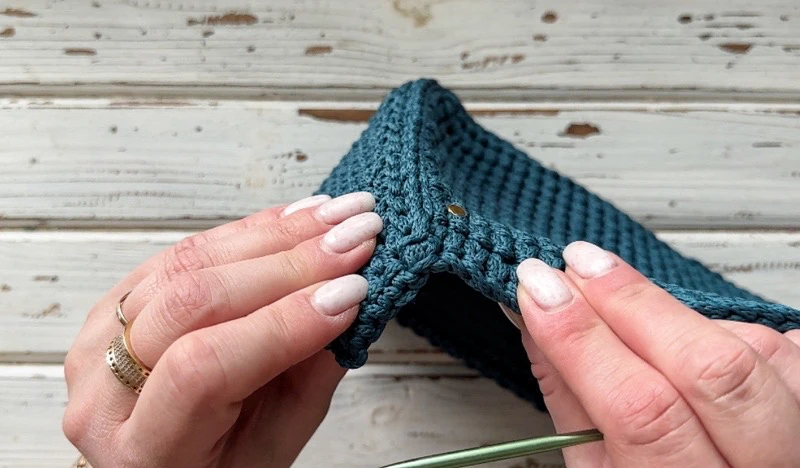
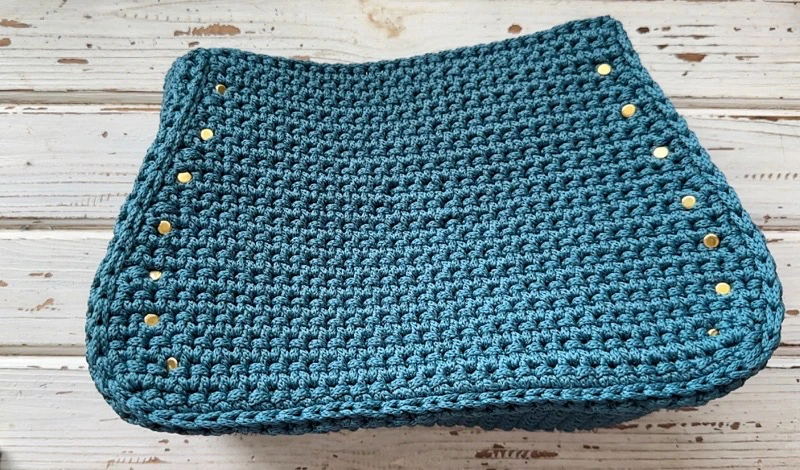
Take the back side, count 18 ticks from the bottom, and place the marker in
the 18th loop.
On the side parts, count 18 ticks on each side and place markers at the
bottom.
Between the markers, there should be 30 loops on the bottom of the back side
and 24 ticks on the side part.
of
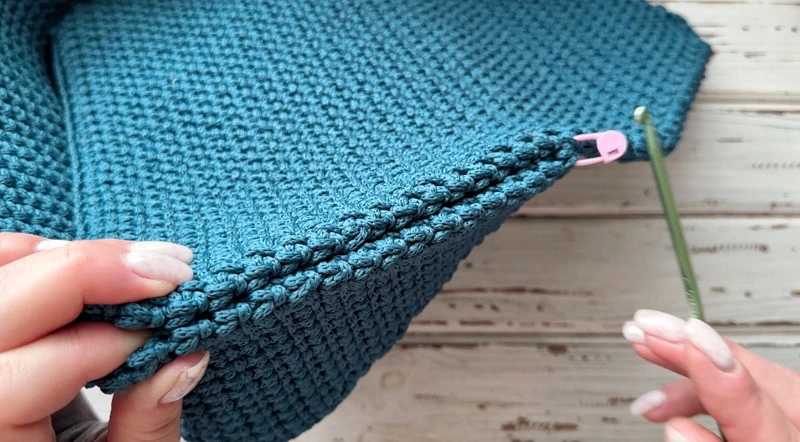
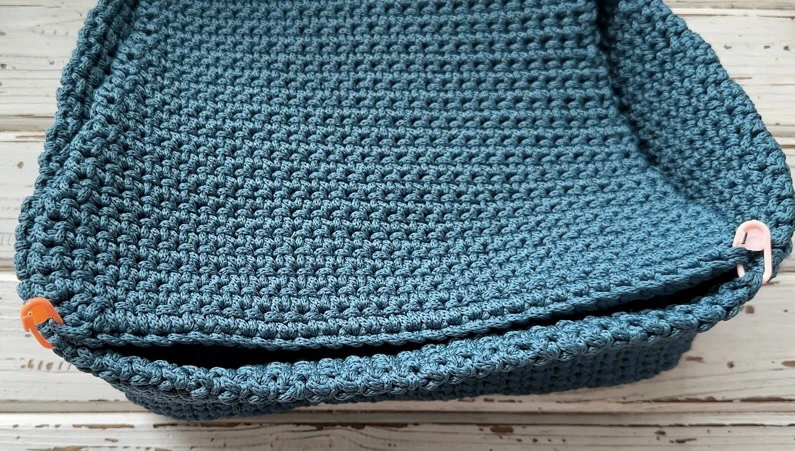
Remove the first marker and insert the hook into the left corner.
Pull the loop, then crochet 17 SlSt along the edge. Insert the hook on the two
loops of the ticks.
Pull the working loop by 12 cm.
Crochet to the second marker, remove it, and crochet SlSt. Continue to crochet
insert the hook on the back loop of the chain of the front side and the ticks
of the side part.
Crochet 30 SlSt along the bottom. Every 5th SlSt should be crocheted on the
“bridge” between the 4th and the 5th tick of the side part.
Crochet to the marker, remove it. Crochet 18 SlSt to the valve.
Continue crocheting SlSt along the edge of the valve in each loop.
of
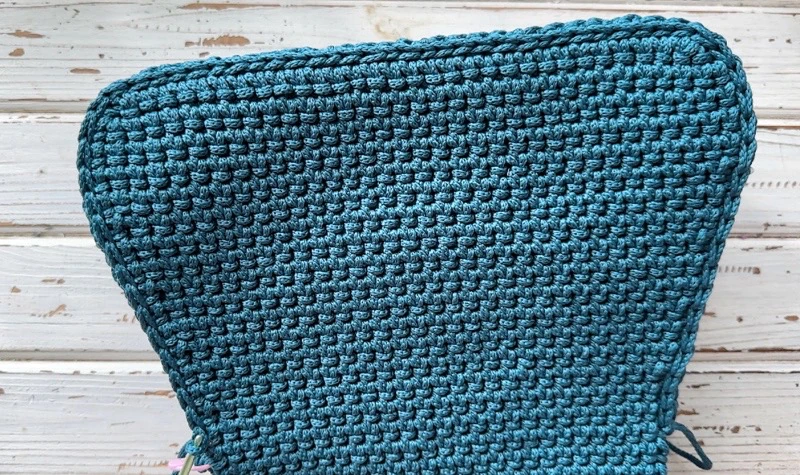
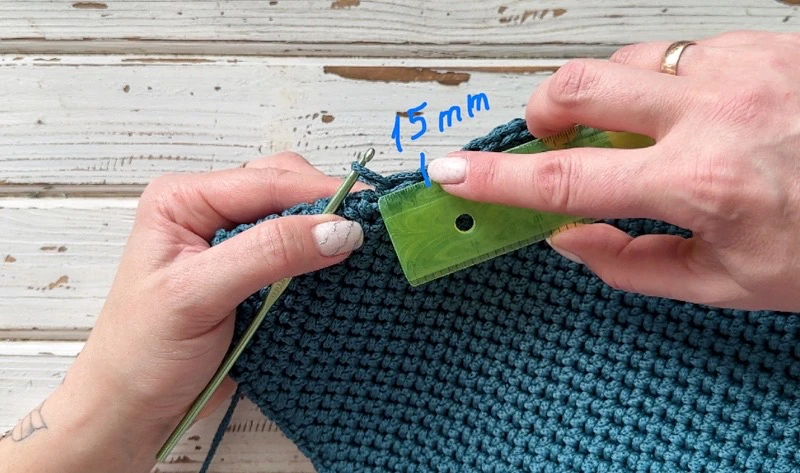
On the valve, pull the loop by 15 mm.
On the front of the valve, crochet SlSt in each post.
of
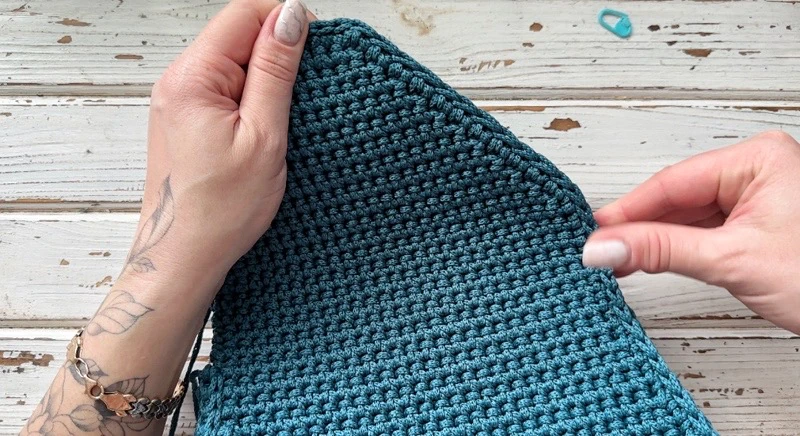
Then crochet into each loop. Crochet to the beginning of the crocheting.
Cut the end, pull out the end. Thread it under the first SlSt.
Tighten back in the last SlSt. Tie a knot, strengthen and hide the ends from
the wrong side.
of
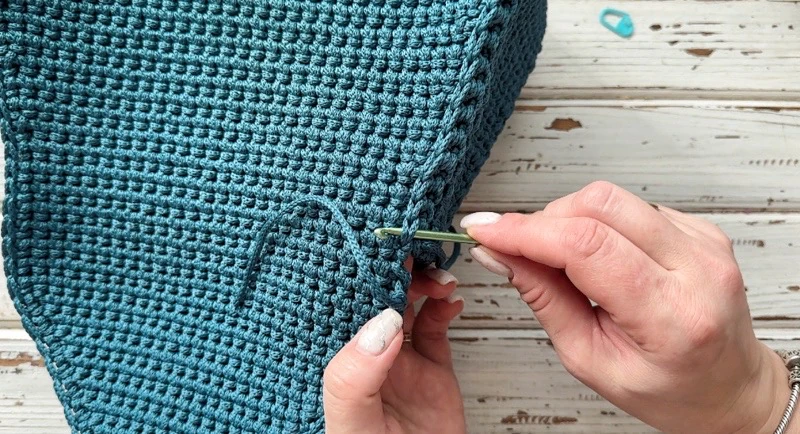
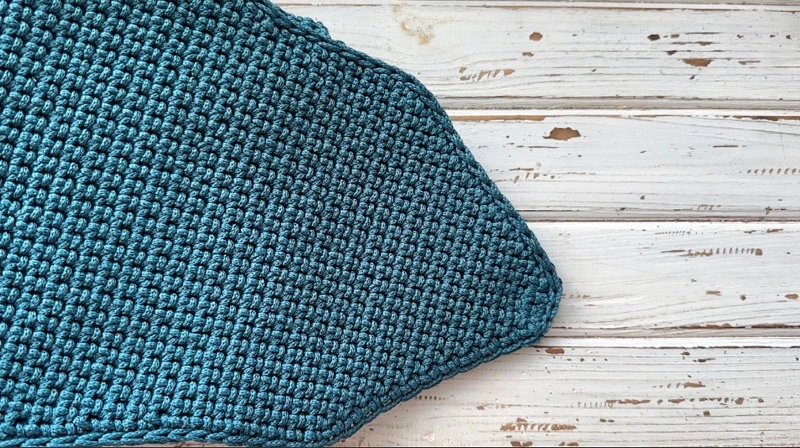
Install the lock
Top part. Make the hole between the 3rd and the 4th post in the 2nd row
from the edge.
Insert the part of the lock with a screw from the wrong side.
of
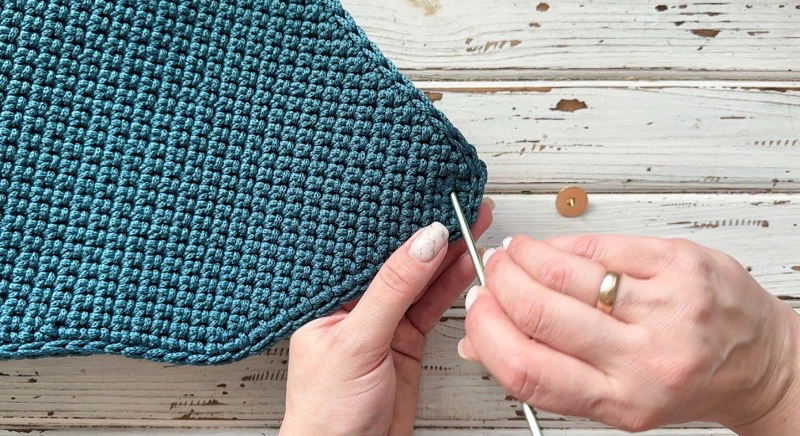
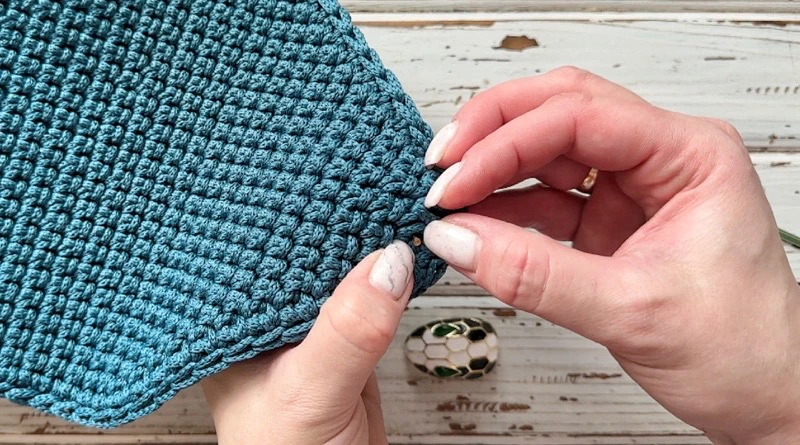
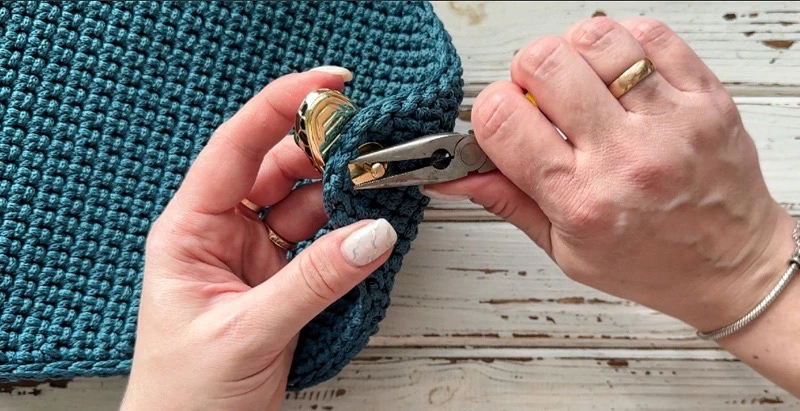
Cover it with the second part from the top, press it down, and screw in the
screw. Tighten it using pliers.
Align the top part.
of
Lower part. Start by crocheting a square.
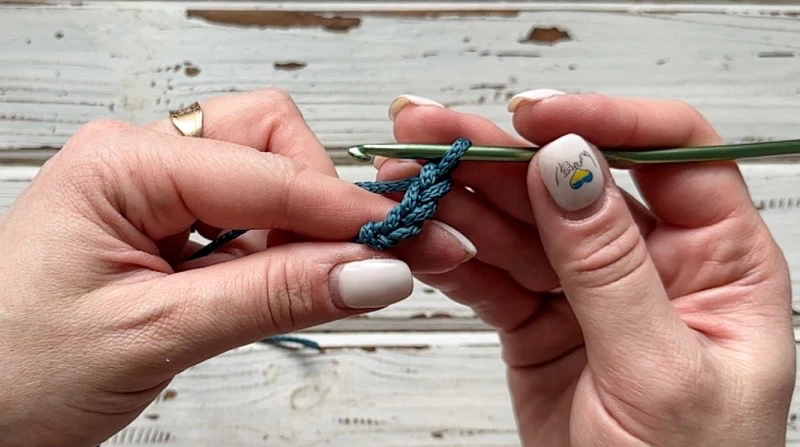
Crochet 3 CH.
1 row. 3 SC from the 2nd loop from the hook, last SC crochet in the knot, CH
of
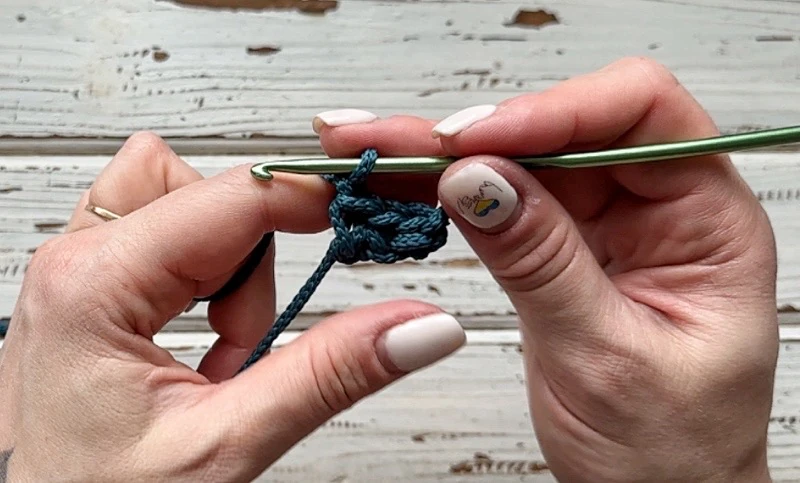
2 row. 3 SC, CH.
3 row. 3 SC. Leave the end for sewing. Cut the thread, pull out the end.
Attach the lower part of the lock to the square using screws.
of
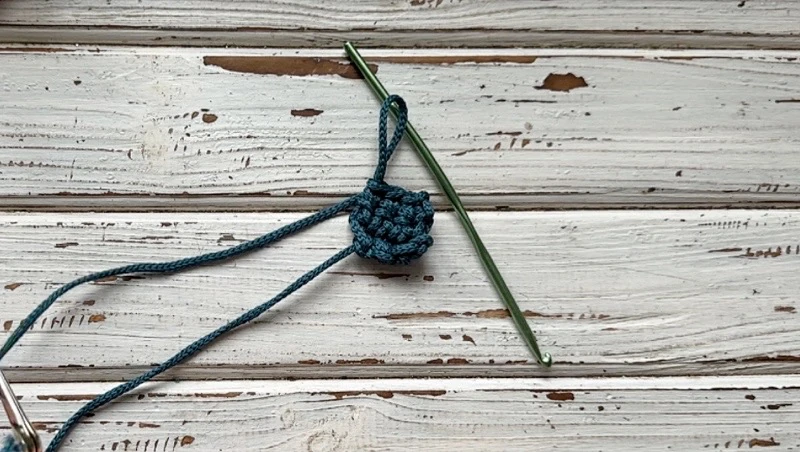
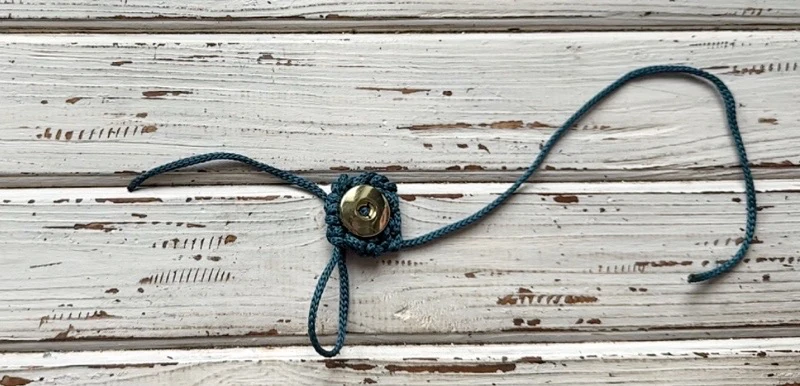
If you have trouble screwing in the screws, take a piece of leather and cut a
circle slightly larger than the lower part of the lock. Attach the lower part
and neatly sew it with the needle and the thread. Alternatively, you can use a
thinner cord.
Try on where the lower part of the lock will be, approximately about 6-7 rows
from the top.
of
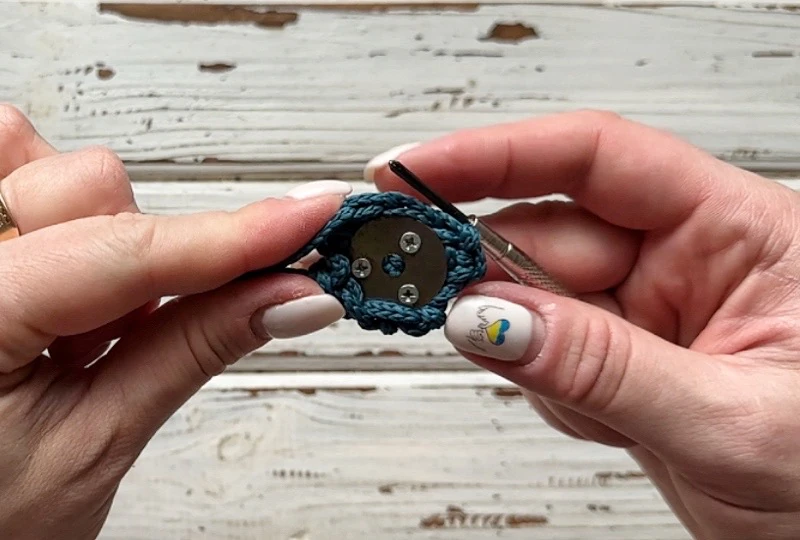
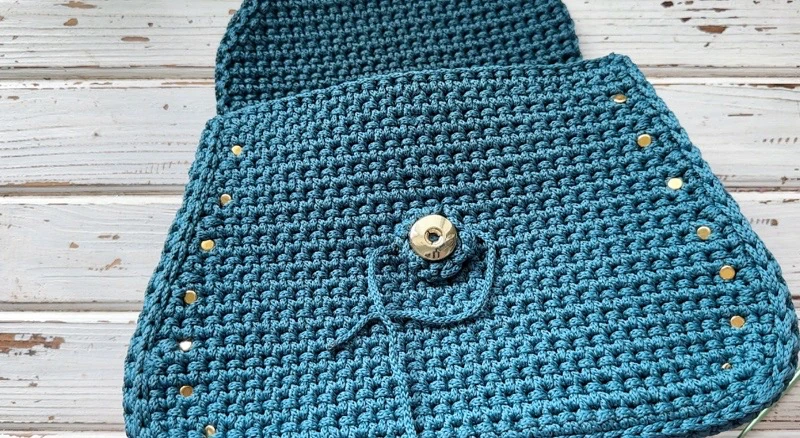
Sew it to the bag. Pull the ends to the wrong side, tie a knot, strengthen, hide,
and process with fire.
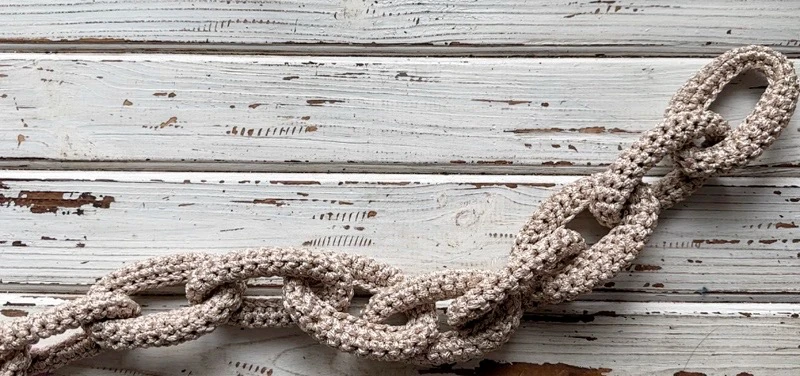
Crochet the chain
Take the 2 mm cord and the 3 mm hook. Crochet 25 CH. Connect in a circle.
of
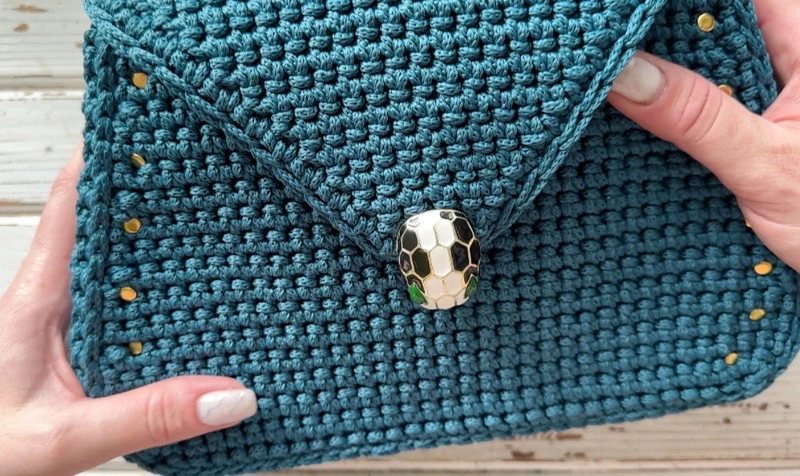
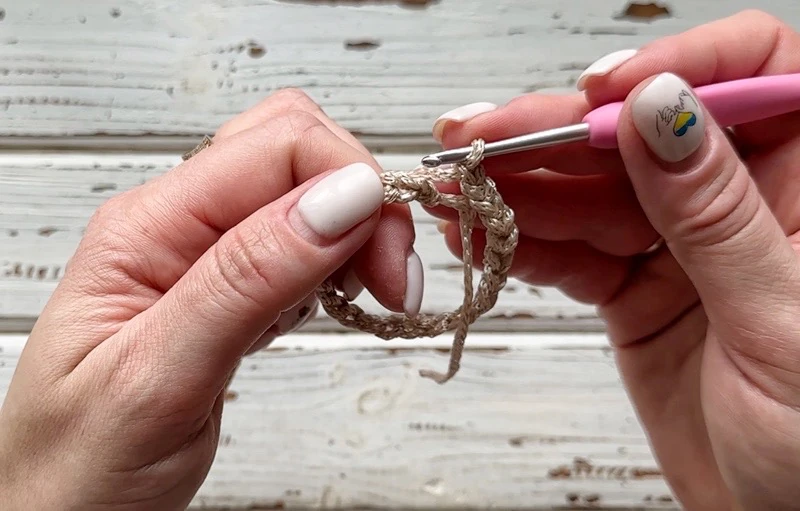
SlSt in the 1st loop of the chain, CH.
1 row. 25 SC. Place the marker in the 1st SC of this row, last SC make in the
SlSt and the 1st loop of the chain.
of
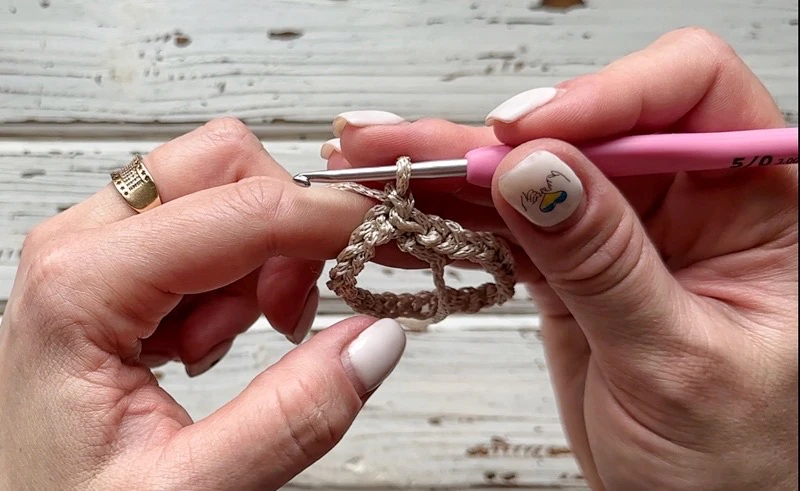
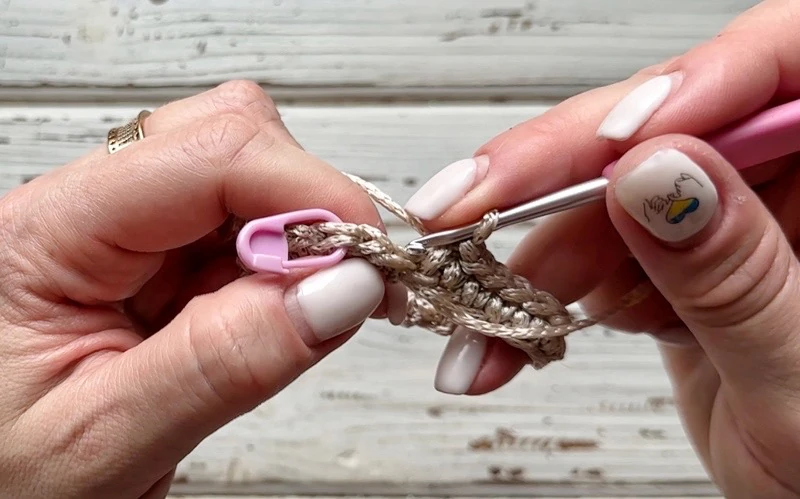
SlSt, CH.
2 row. 25 SC, SlSt, CH, rearrange the marker in the 1st loop of this and the
each subsequent row.
Pull out the end through the 1st loop of the chain.
of
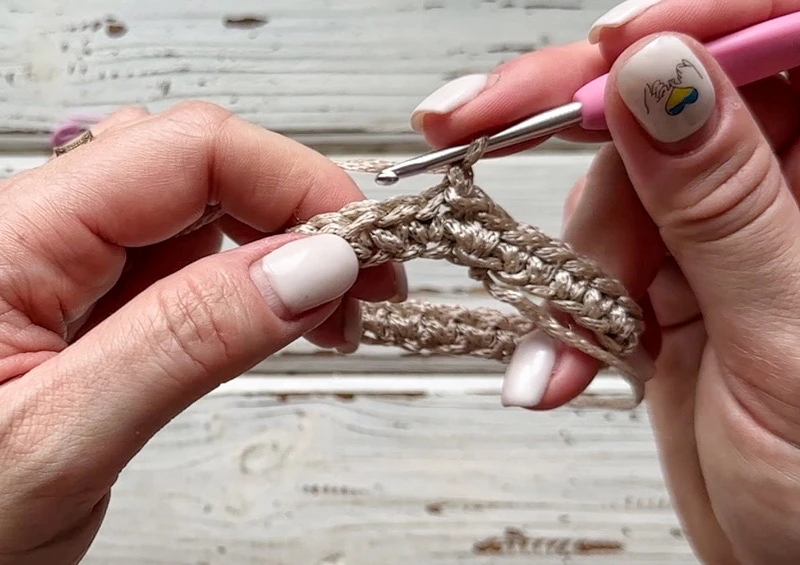
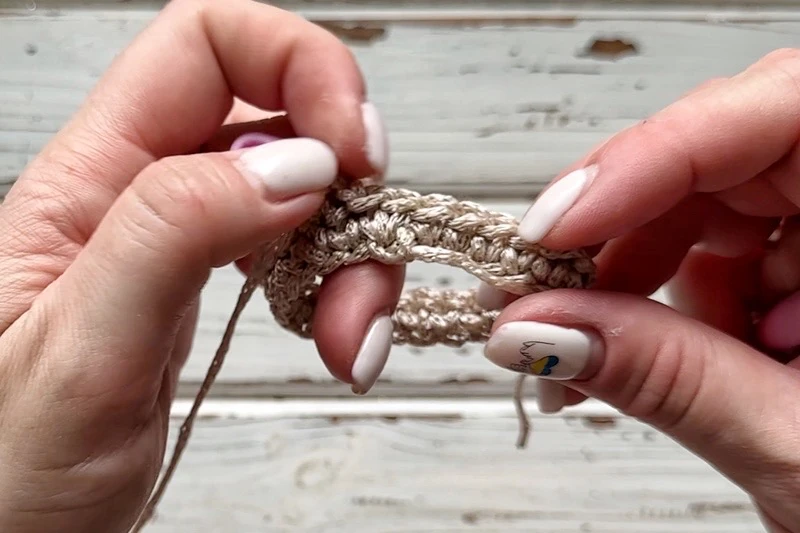
Then pull the end through a few loops of the 1st row. Cut, process with fire.
Crochet the row.
of
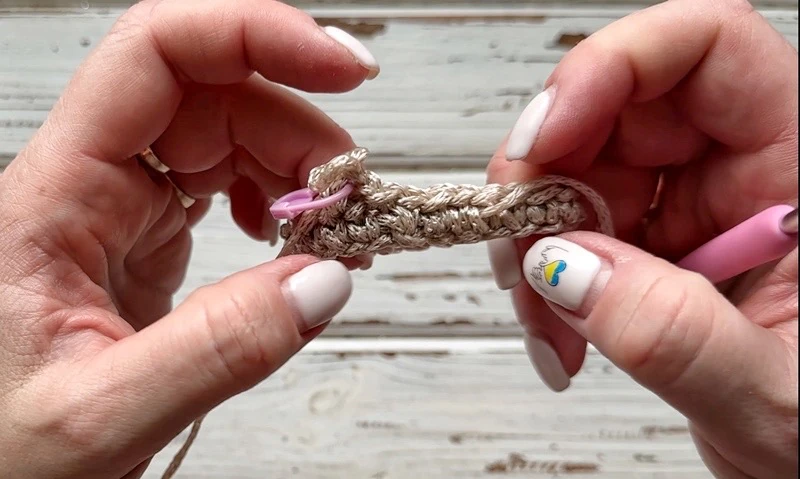
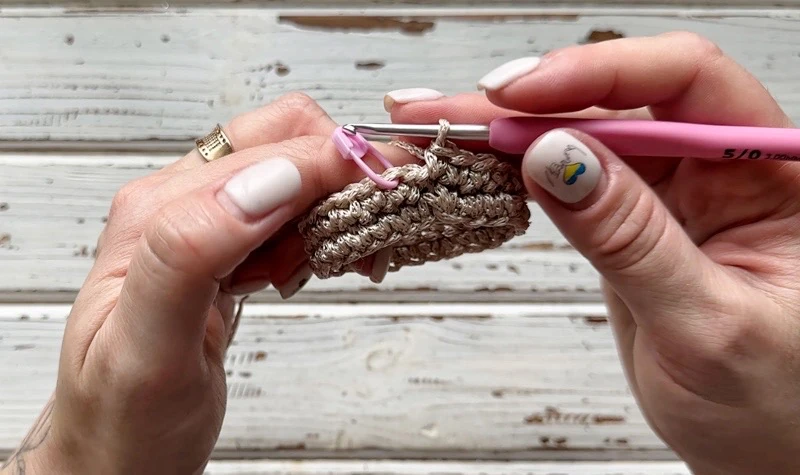
3-4 rows. 25 SC, SlSt, CH.
5 row. 25 SC, SlSt.
Fold the work in half lengthwise, right side inward.
of
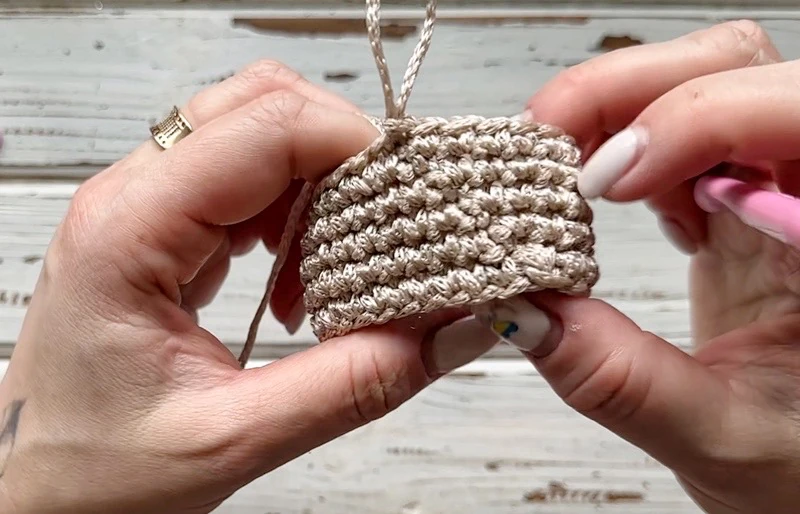
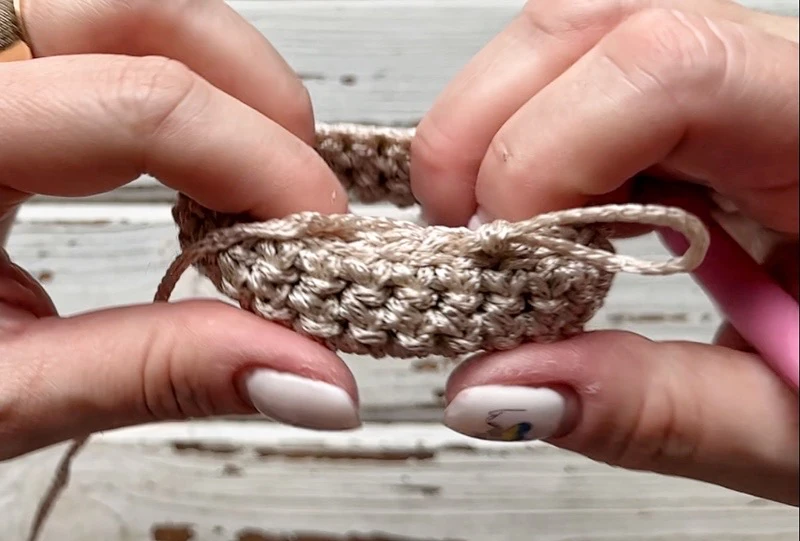
Pull the working loop through the loop of the chain.
Base trim. Crochet 25 SlSt. Insert the hook on the back loop only of the last
row and the loop of the chain.
of
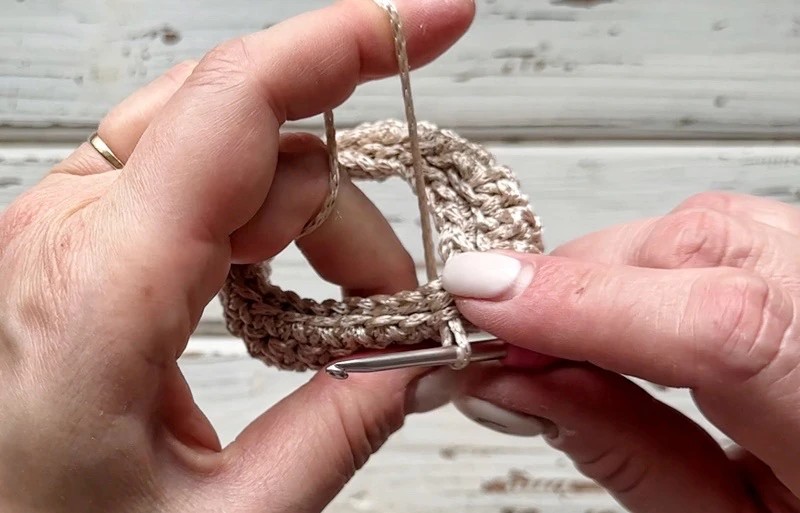
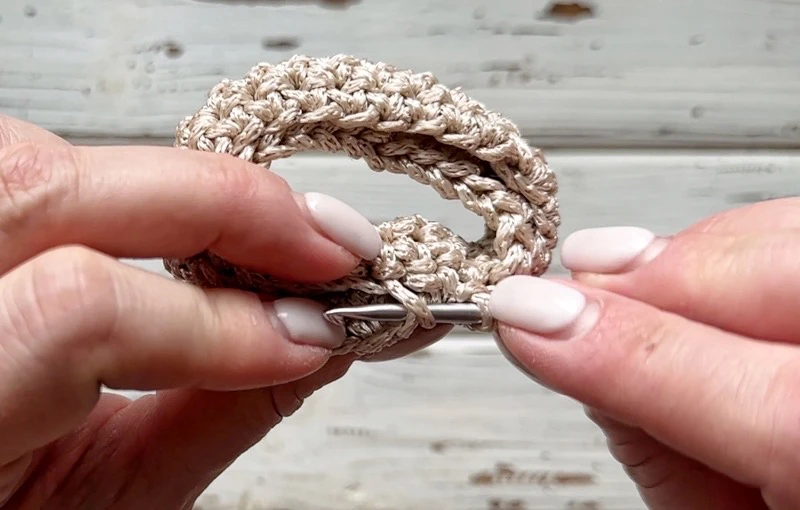
Cut the thread, pull out the end. Insert the hook under the 1st SlSt. Pull the
end.
Pull back the end in the last SlSt. Strengthen and hide the end. Process with
fire.
of
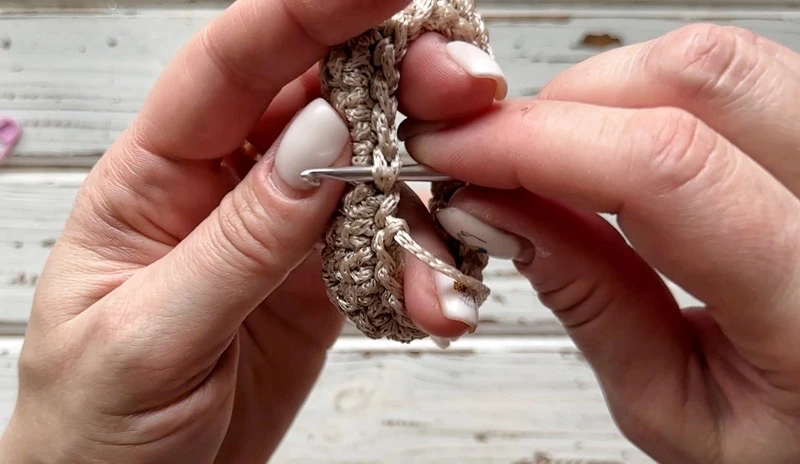
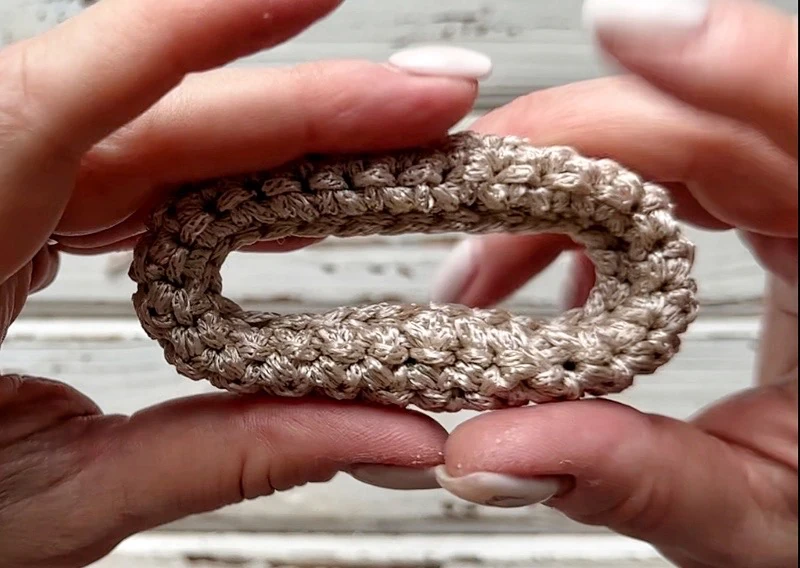
Crochet the next chain link through hole of the 1st link.
of
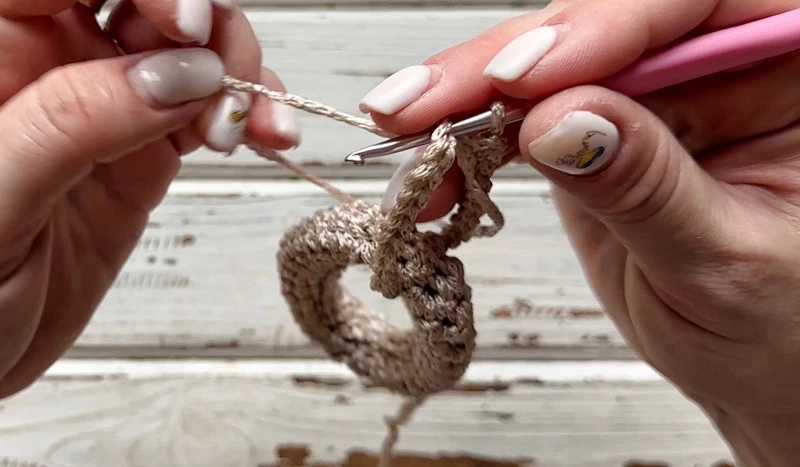
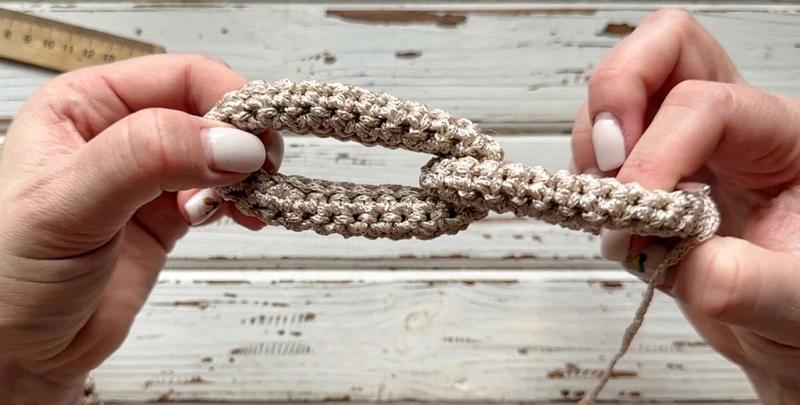
Crochet the required number of the links. For example, 9-10 links.
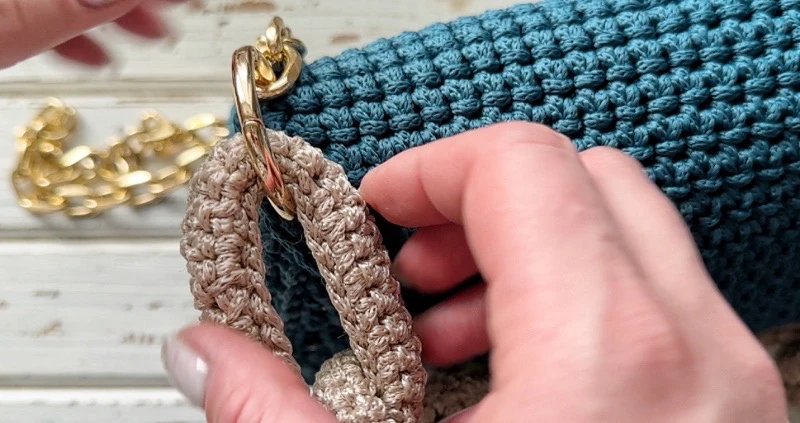
Fasten the snap hook rings with long chain to the top of the valve.
Insert the ring through 3 rows parallel to the edge.
of
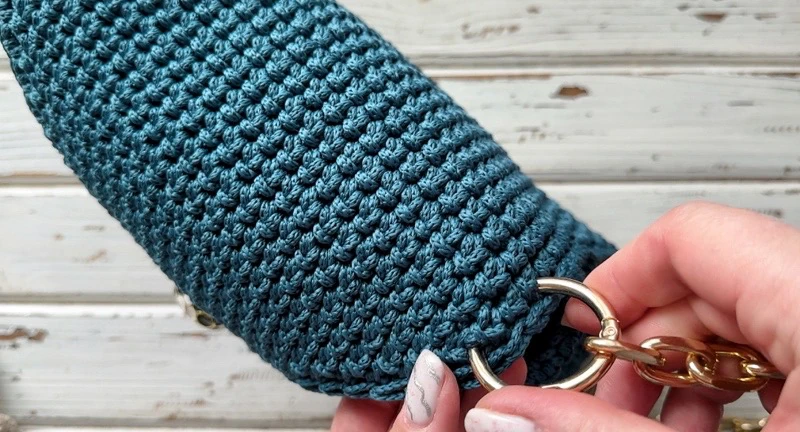
Put the crochet chain to the snap hook rings.
Sew in the lining
Baste all the seams of the cut lining.
of
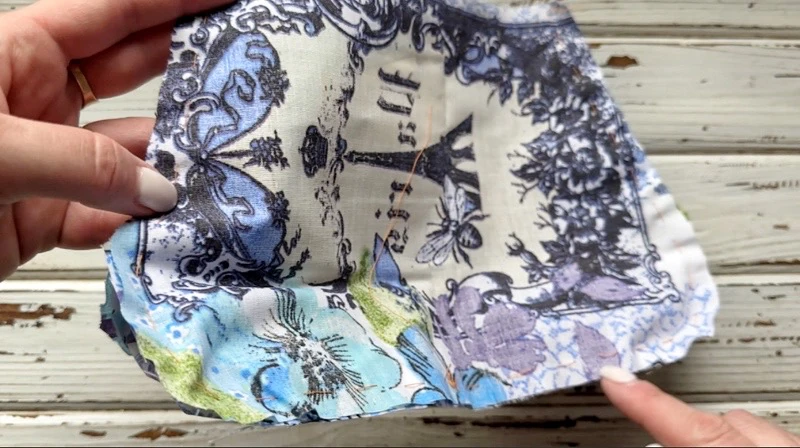
Then sew and wrap the edge.
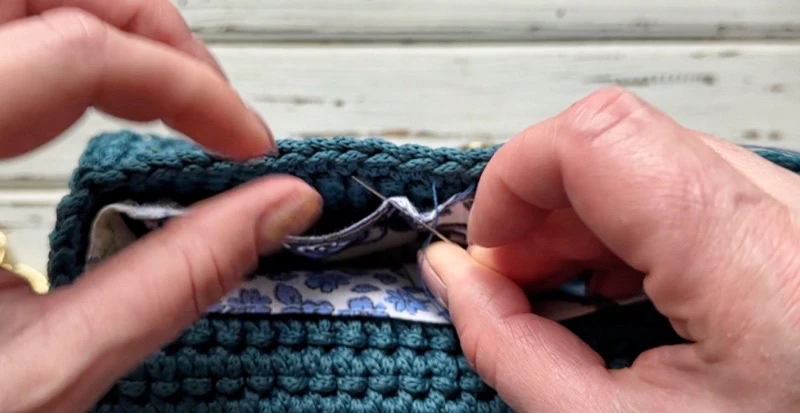
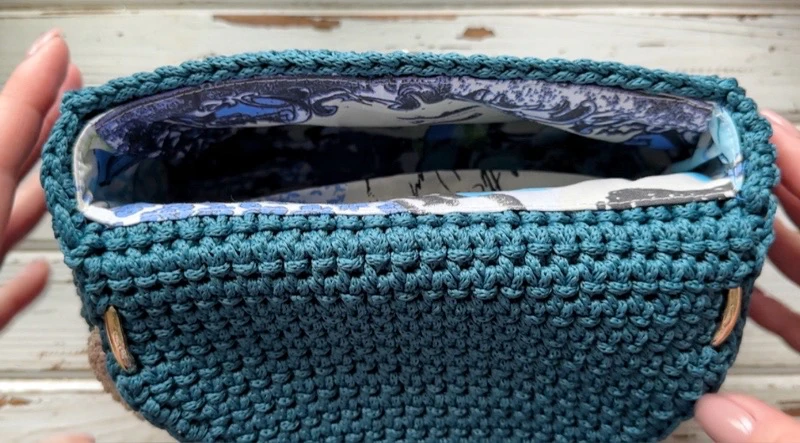
Put the lining inside. Straighten the lining inside with your hands. You can also
pin with the pins.
Sew in the lining to the bag with the hidden stitches. Thread the needle over
the edge of the lining. Make the securing stitches in the corners.
of
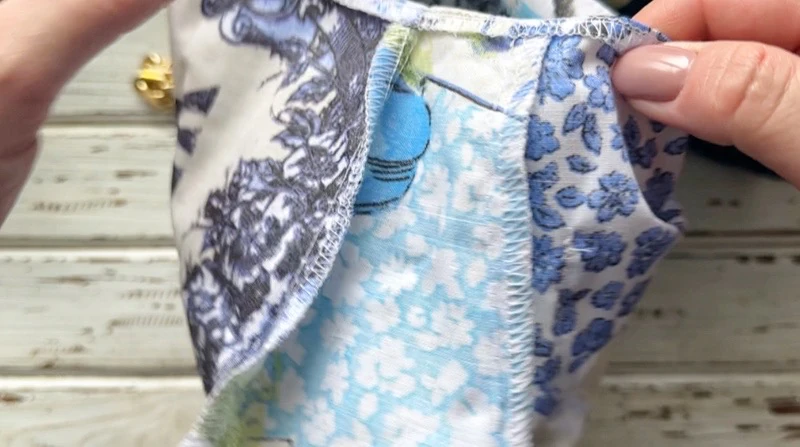
If necessary, steam the seam of the lining with an iron through a damp cloth.
Congratulations! Your cute bag is ready👍
I hope you enjoy this pattern, and if you have
always glad to help!!!
of



Recommended Digital Products
Handmade Crochet Corset Belt Pattern Boho Chic Waist Cincher with Busk & Ribbon Lacing Intermediate Crochet PDF Pattern
$4.99
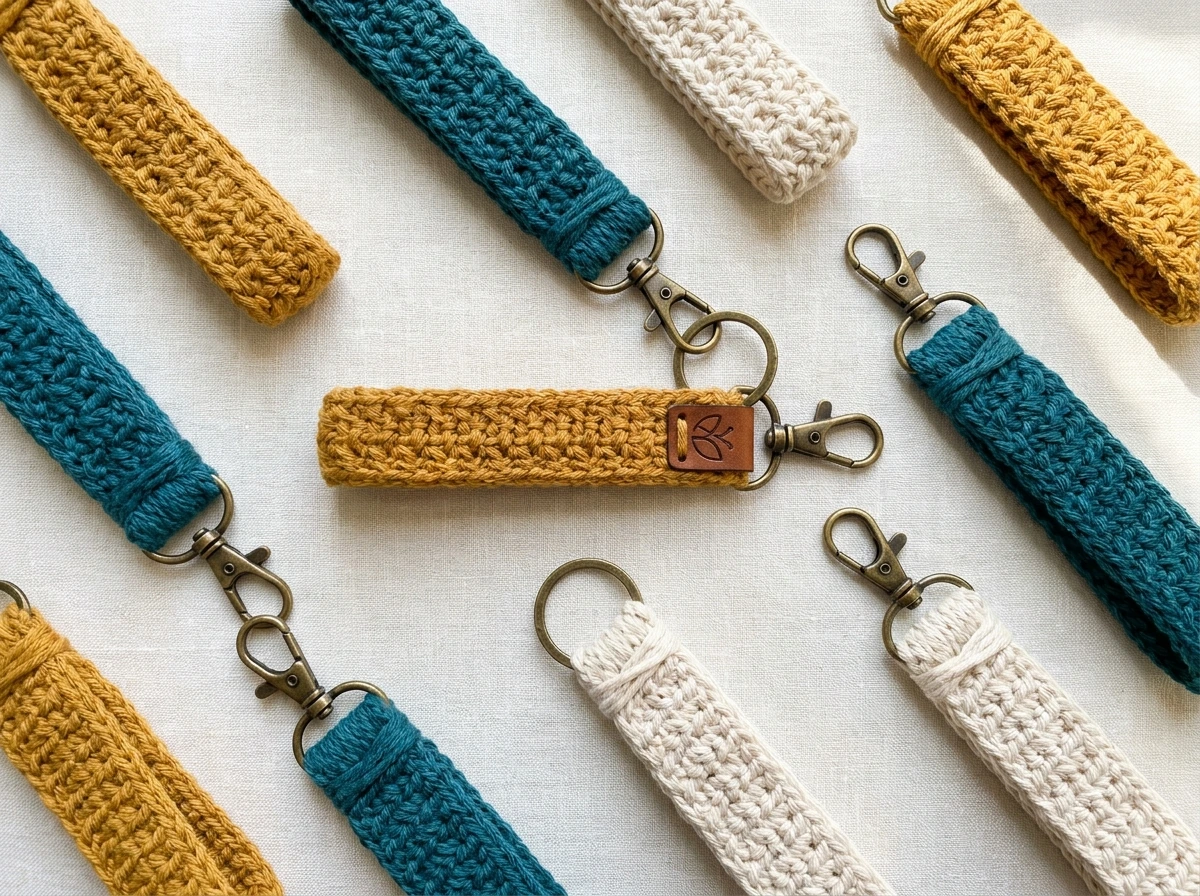
The Highline Wristlet Keychain Crochet Pattern: Quick, Textured & Market-Ready Accessory
$3.99

The Ultimate Beginner’s Crochet Guide: Master 45+ Essential Techniques & Practical Projects
$5.99

From Loop to Perfection: The Ultimate Step-by-Step Crochet Master Guide
$9.99
Get this Crochet Pattern as a Free PDF
Enter your email to receive the PDF associated with this article.
Leave a Reply