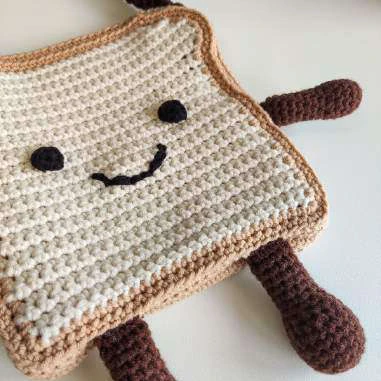
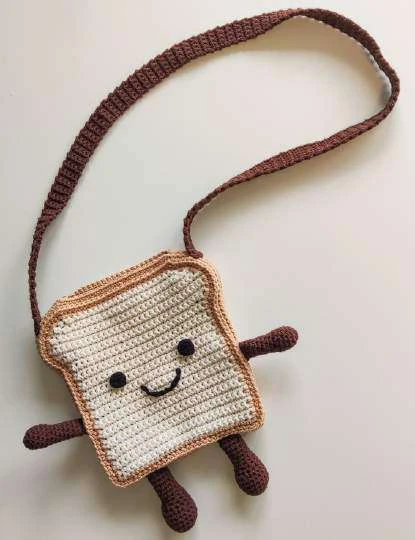
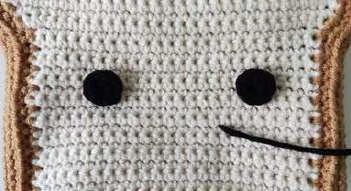
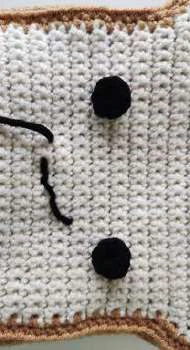
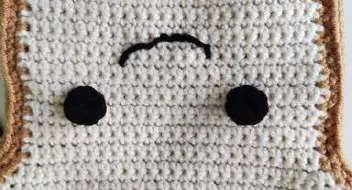
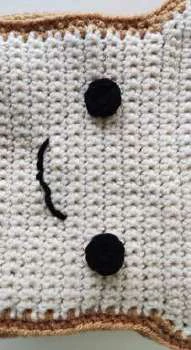
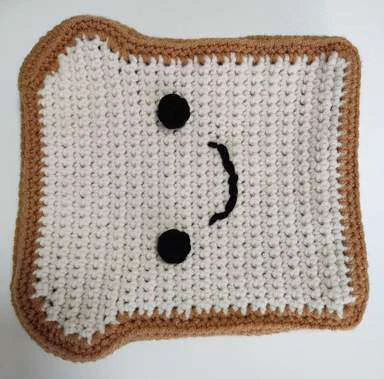
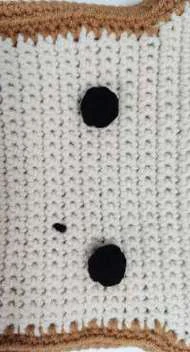
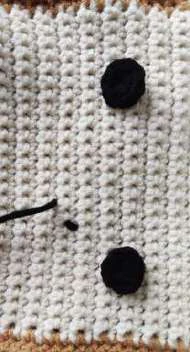
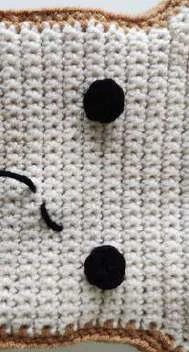
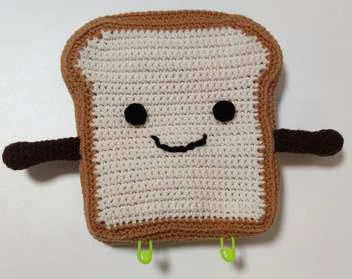
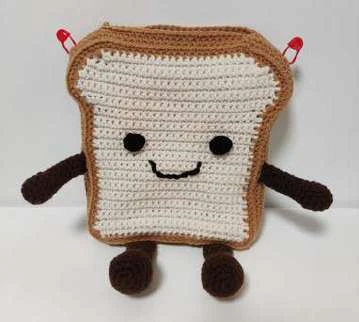
Bread bag

Bread bag

Bread bag

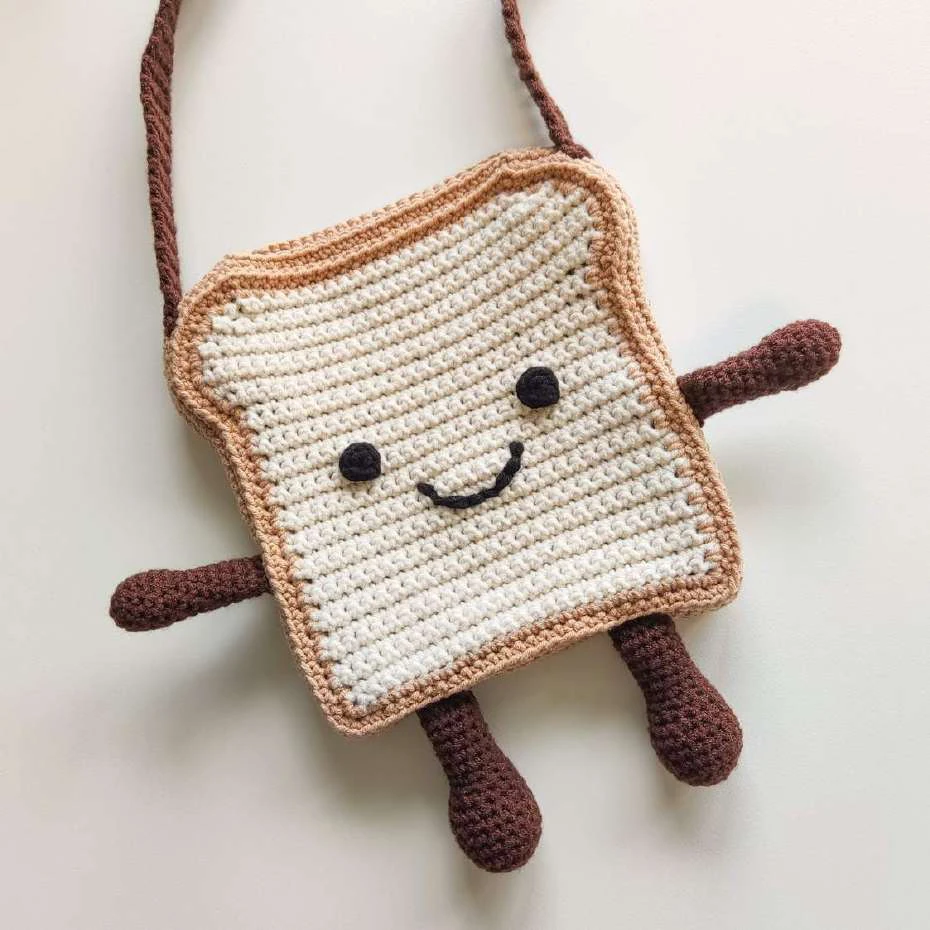
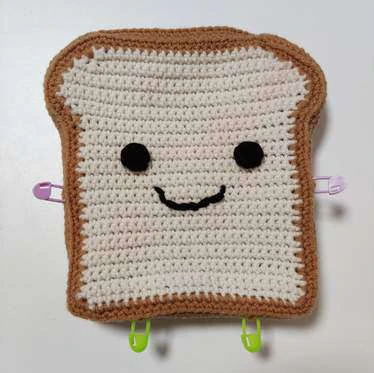
TOASTIE

BREAD BAG
Bread bag visual from source page 1
Source visual, page 1
Bread bag visual from source page 1
Source visual, page 1

ABOUT THIS PATTERN

Bread bag visual from source page 2
Source visual, page 2
Bread bag visual from source page 2
Source visual, page 2
Bread bag visual from source page 2
Source visual, page 2
Bread bag visual from source page 2
Source visual, page 2
Bread bag visual from source page 2
Source visual, page 2

INFORMATION

Bread bag visual from source page 3
Source visual, page 3
Bread bag visual from source page 3
Source visual, page 3
Bread bag visual from source page 3
Source visual, page 3
Bread bag visual from source page 3
Source visual, page 3

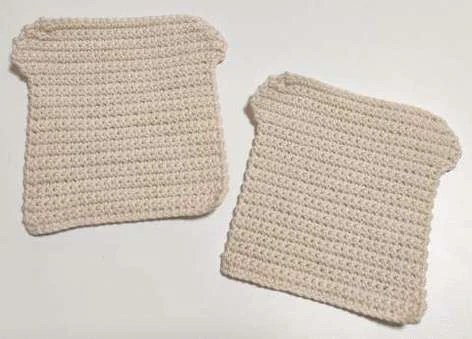
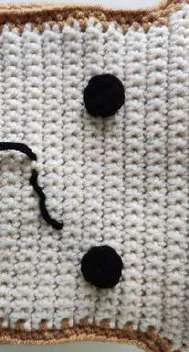
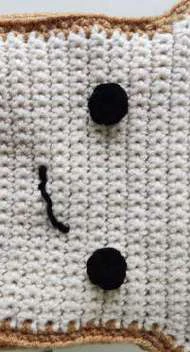
Front and back slice

Bread bag visual from source page 4
Source visual, page 4
Bread bag visual from source page 4
Source visual, page 4
Bread bag visual from source page 4
Source visual, page 4
Bread bag visual from source page 4
Source visual, page 4
Bread bag visual from source page 4
Source visual, page 4
Bread bag visual from source page 4
Source visual, page 4
Bread bag visual from source page 4
Source visual, page 4
Bread bag visual from source page 4
Source visual, page 4
Bread bag visual from source page 4
Source visual, page 4
Bread bag visual from source page 4
Source visual, page 4
Bread bag visual from source page 4
Source visual, page 4
Bread bag visual from source page 4
Source visual, page 4

Bread crust

Bread bag visual from source page 5
Source visual, page 5
Bread bag visual from source page 5
Source visual, page 5
Bread bag visual from source page 5
Source visual, page 5
Bread bag visual from source page 5
Source visual, page 5
Bread bag visual from source page 5
Source visual, page 5
Bread bag visual from source page 5
Source visual, page 5
Bread bag visual from source page 5
Source visual, page 5
Bread bag visual from source page 5
Source visual, page 5
Bread bag visual from source page 5
Source visual, page 5

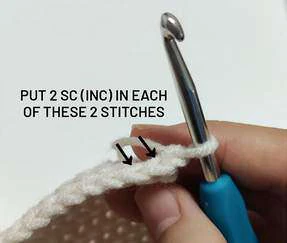
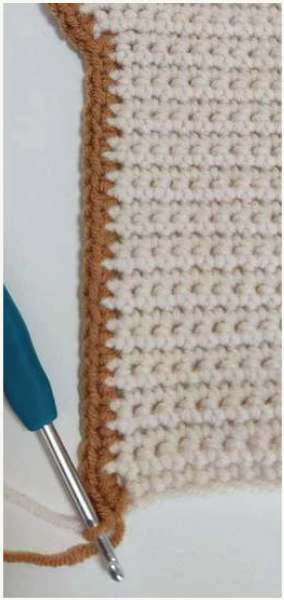
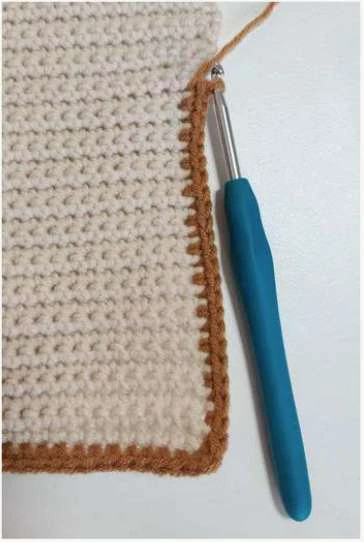
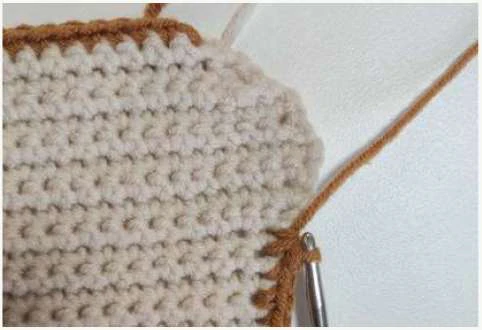
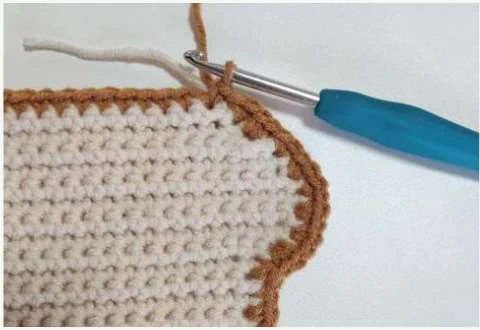
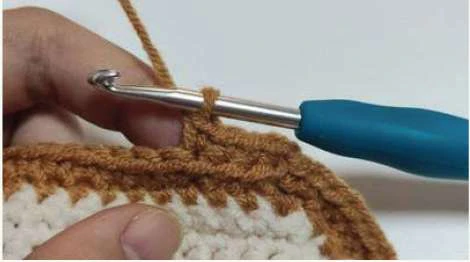
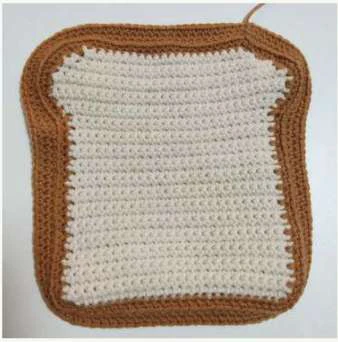
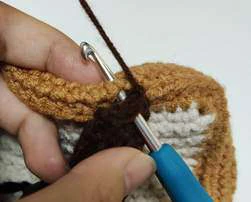
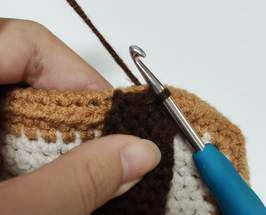
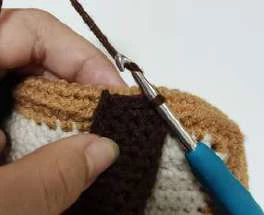
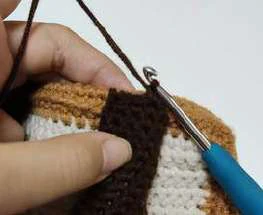
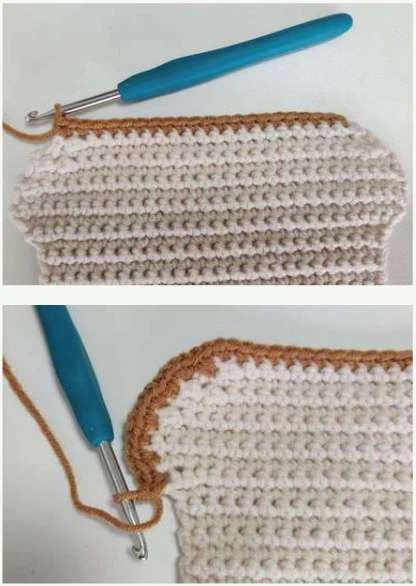
Continue to sc around the entire slice, forming the bread crust.

Follow the diagrams below to know how many sc to place in each st.

Step 1:

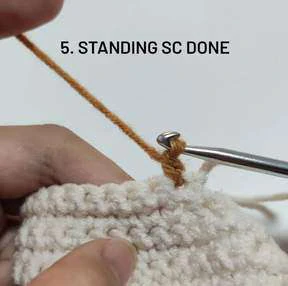
Starting from the standing sc, continue to sc in

every st a long the top row until you have 1 st left.

Place 2 sc in the last st of the row.

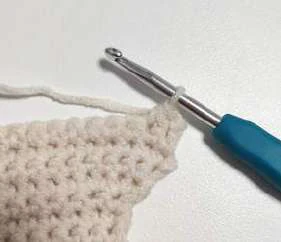
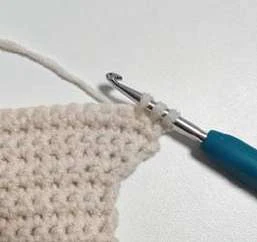
Step 2:

Place 2 sc in every hole you see along the curved

portion. You should make a total of 9 inc, including

the one done in the previous step.

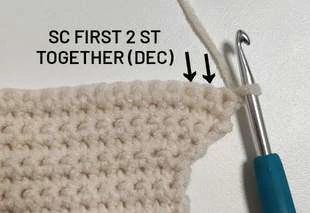
Step 3:

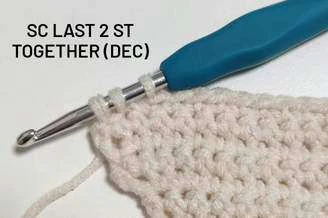
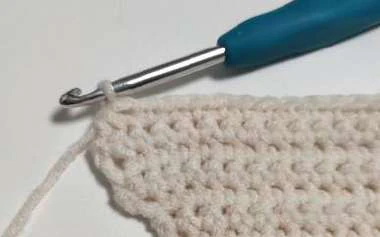
Sc next 2 st together (dec).

Step 4:

Place 1 sc in every hale along the vertical portion of

the slice till you reach the bottom left-hand corner.

You should have made 22 sc. Place 3 sc in the hale at

the bottom left-hand corner. This will form the corner

turn.
Bread bag visual from source page 6
Source visual, page 6
Bread bag visual from source page 6
Source visual, page 6
Bread bag visual from source page 6
Source visual, page 6

Step 5:

Place 1 se in every st a long the bottom of the

slice till you reach the bottom right-hand

corner. You should have made 23 se. Place 3

se in the last st at the bottom right-hand

corner. This will form the corner turn.
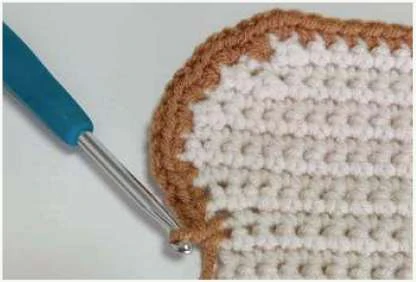
Step 6:

Sk 1 st. This is to ensure that there are the

same number of se on each side of the bread.

Sc along the vertical portion of the slice till you

reach the curved portion. You should have

made 22 sc.

Step 7:

Sc next 2 st together (dec).

Step 8:

Place 2 sc in every hole you see along the

curved portion until you reach the first standing

sc. Place 1 sc in the same st you made the

standing sc in. You should end up with a total

of 9 inc, including the one done with the

standing se. SI st into the first st. Ch 1.
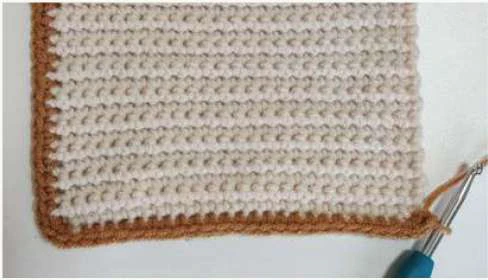
Bread bag visual from source page 7
Source visual, page 7
Bread bag visual from source page 7
Source visual, page 7
Bread bag visual from source page 7
Source visual, page 7
Bread bag visual from source page 7
Source visual, page 7

Row 2: Sc in the st that you did the si st in and continue to sc in every st until the bottom leftยญ

hand corner of the slice. Place 2 sc in the 2nd st of the corner turn. Sc in every st until the

bottom right-hand corner of the slice. Place 2 sc in the 2nd st of the corner turn. Sc in every st

until the first st. SI st in the first st. Ch 1.

PLACE 2 SC IN THE 2ND ST

OF THE CORNER TURN

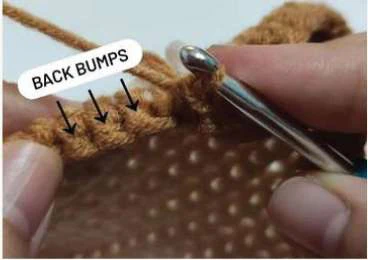
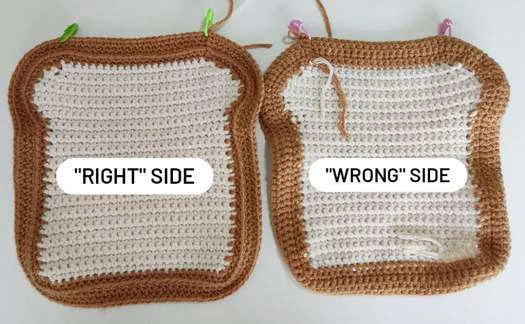
Row 3: Scblo in every st. To ensure that the st made are more secure, instead of just going

through the back loop, 1 recommend going through the bumps at the back when doing scblo.

lt may be hard to go through the back bumps but you may use your finger to help push your

hook through.

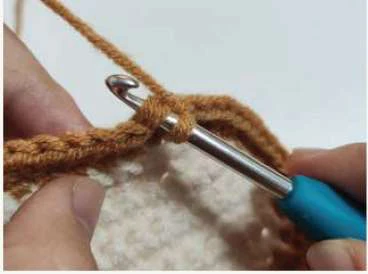
Your work should start to bend like this.

Note: The first sc in every round goes

into the same st you did the si st in.

Continue doing scblo in every st until the first st. SI st into the first st. Ch 1.

Row 4: Sc in every st. SI st into the first st. Ch 1.

Row 5: Sc in every st. SI st into the first st. Fasten off

and eut yarn.

Note: You may repeat row 4 to make the bagas thick

as you want.

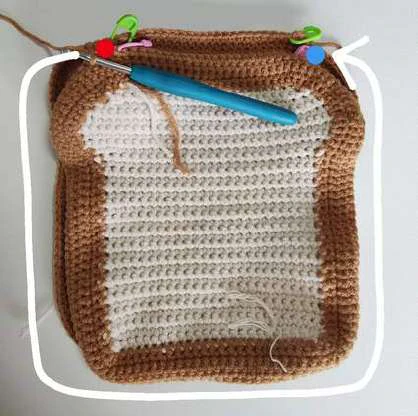
Repeat rows 1-5 to make the bread crust for the back

slice but do not fasten off for the second slice. Ch 1.
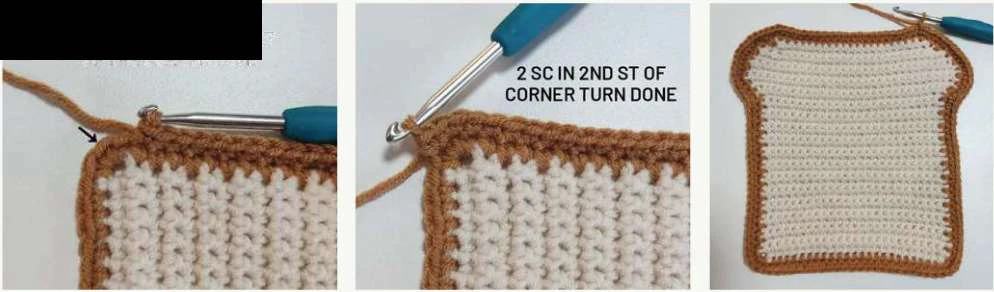
Bread bag visual from source page 8
Source visual, page 8
Bread bag visual from source page 8
Source visual, page 8
Bread bag visual from source page 8
Source visual, page 8
Bread bag visual from source page 8
Source visual, page 8
Bread bag visual from source page 8
Source visual, page 8

Joining both slices

Bread bag visual from source page 9
Source visual, page 9
Bread bag visual from source page 9
Source visual, page 9
Bread bag visual from source page 9
Source visual, page 9
Bread bag visual from source page 9
Source visual, page 9
Bread bag visual from source page 9
Source visual, page 9
Bread bag visual from source page 9
Source visual, page 9
Bread bag visual from source page 9
Source visual, page 9
Bread bag visual from source page 9
Source visual, page 9

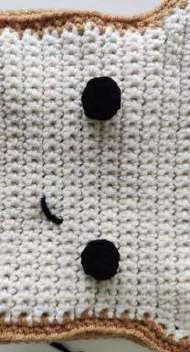
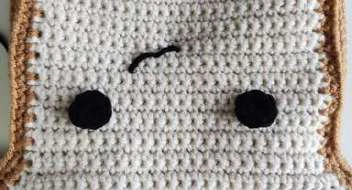
Eyes (make 2)

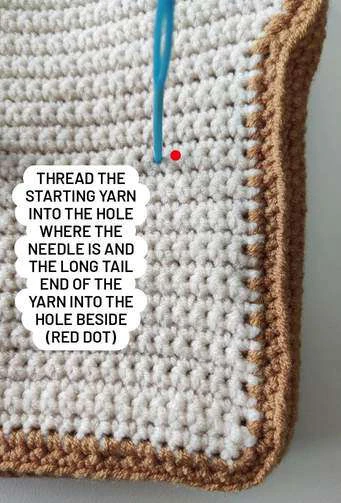
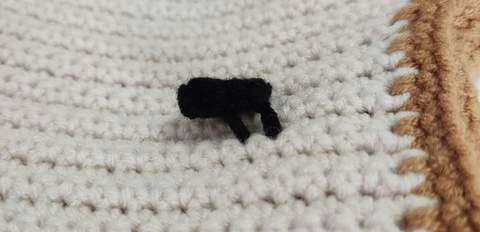
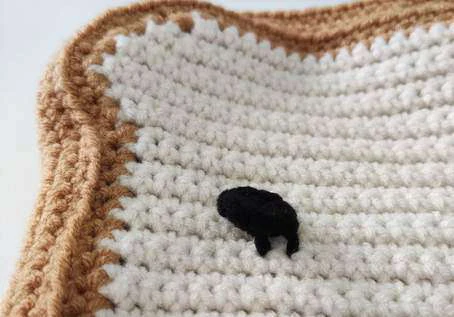
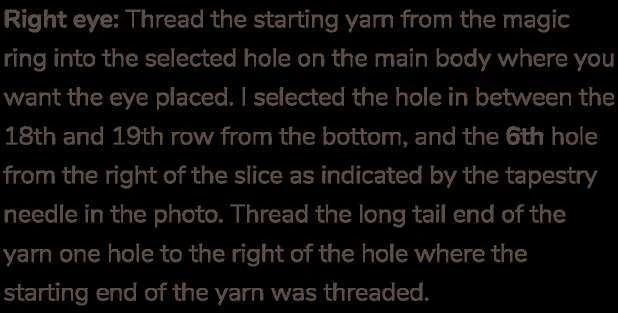
To secure both eyes, tie a knot at the back

using the two ends to fix the placement,

then proceed to sew them on tightly onto

the main body.
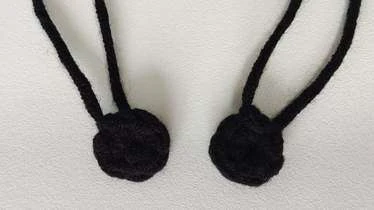
Bread bag visual from source page 10
Source visual, page 10
Bread bag visual from source page 10
Source visual, page 10
Bread bag visual from source page 10
Source visual, page 10
Bread bag visual from source page 10
Source visual, page 10
Bread bag visual from source page 10
Source visual, page 10
Bread bag visual from source page 10
Source visual, page 10
Bread bag visual from source page 10
Source visual, page 10
Bread bag visual from source page 10
Source visual, page 10

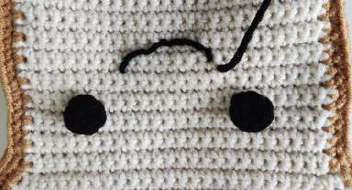
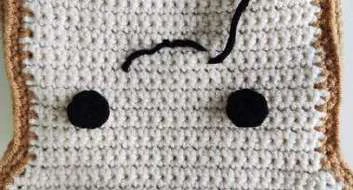
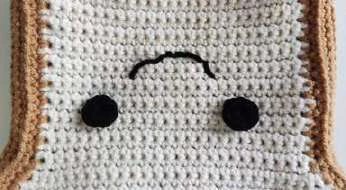
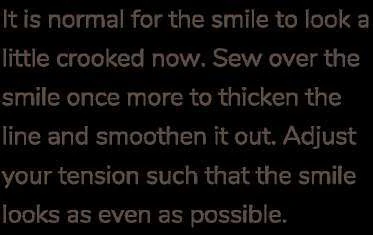
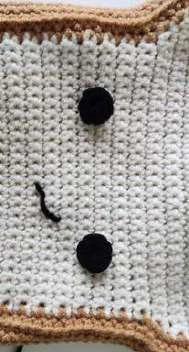
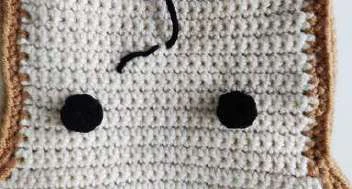
Mouth

Bread bag visual from source page 11
Source visual, page 11
Bread bag visual from source page 11
Source visual, page 11
Bread bag visual from source page 11
Source visual, page 11
Bread bag visual from source page 11
Source visual, page 11
Bread bag visual from source page 11
Source visual, page 11
Bread bag visual from source page 11
Source visual, page 11
Bread bag visual from source page 11
Source visual, page 11
Bread bag visual from source page 11
Source visual, page 11
Bread bag visual from source page 11
Source visual, page 11
Bread bag visual from source page 11
Source visual, page 11
Bread bag visual from source page 11
Source visual, page 11
Bread bag visual from source page 11
Source visual, page 11
Bread bag visual from source page 11
Source visual, page 11
Bread bag visual from source page 11
Source visual, page 11
Bread bag visual from source page 11
Source visual, page 11
Bread bag visual from source page 11
Source visual, page 11
Bread bag visual from source page 11
Source visual, page 11
Bread bag visual from source page 11
Source visual, page 11
Bread bag visual from source page 11
Source visual, page 11
Bread bag visual from source page 11
Source visual, page 11
Bread bag visual from source page 11
Source visual, page 11

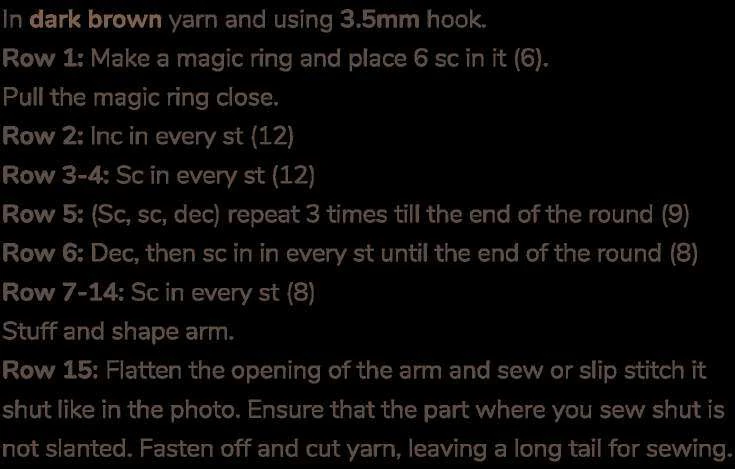
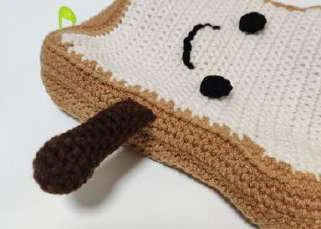
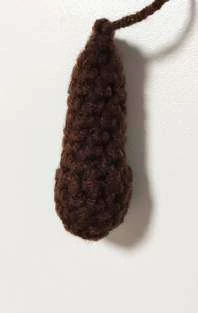
Arms (make 2)

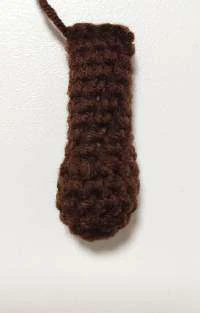
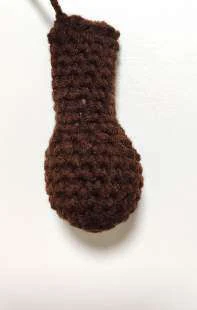
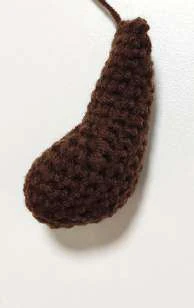
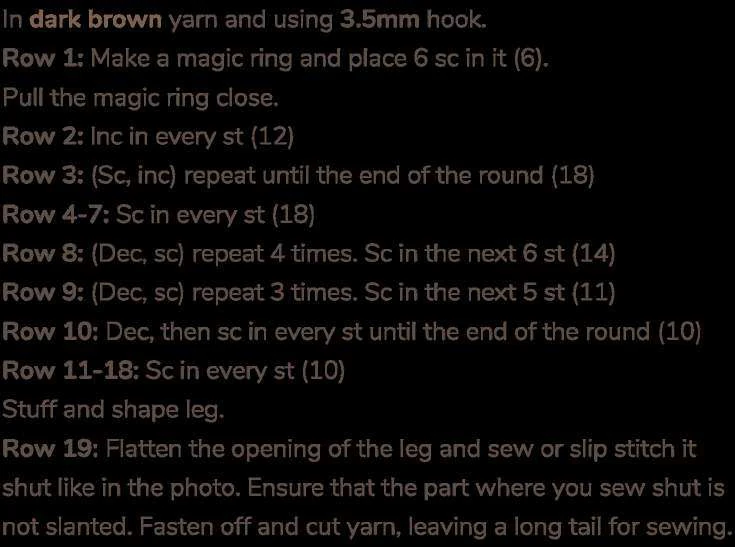
Legs (make 2)
Bread bag visual from source page 12
Source visual, page 12
Bread bag visual from source page 12
Source visual, page 12
Bread bag visual from source page 12
Source visual, page 12
Bread bag visual from source page 12
Source visual, page 12
Bread bag visual from source page 12
Source visual, page 12
Bread bag visual from source page 12
Source visual, page 12
Bread bag visual from source page 12
Source visual, page 12
Bread bag visual from source page 12
Source visual, page 12
Bread bag visual from source page 12
Source visual, page 12
Bread bag visual from source page 12
Source visual, page 12
Bread bag visual from source page 12
Source visual, page 12
Bread bag visual from source page 12
Source visual, page 12

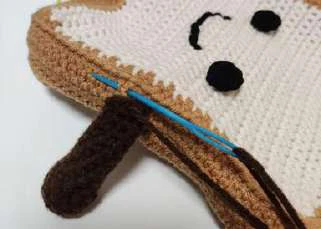
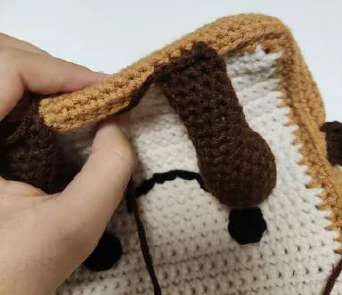
Assembling the arms and legs
Bread bag visual from source page 13
Source visual, page 13
Bread bag visual from source page 13
Source visual, page 13
Bread bag visual from source page 13
Source visual, page 13
Bread bag visual from source page 13
Source visual, page 13
Bread bag visual from source page 13
Source visual, page 13
Bread bag visual from source page 13
Source visual, page 13
Bread bag visual from source page 13
Source visual, page 13
Bread bag visual from source page 13
Source visual, page 13
Bread bag visual from source page 13
Source visual, page 13
Bread bag visual from source page 13
Source visual, page 13
Bread bag visual from source page 13
Source visual, page 13
Bread bag visual from source page 13
Source visual, page 13
Bread bag visual from source page 13
Source visual, page 13
Bread bag visual from source page 13
Source visual, page 13
Bread bag visual from source page 13
Source visual, page 13

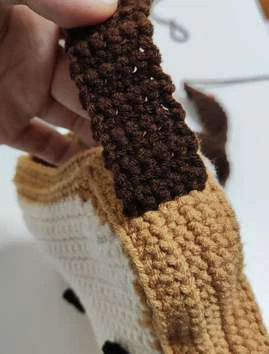
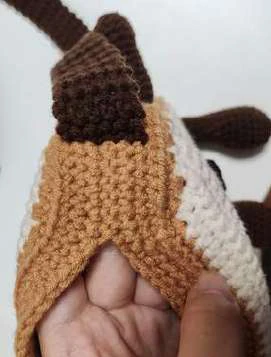
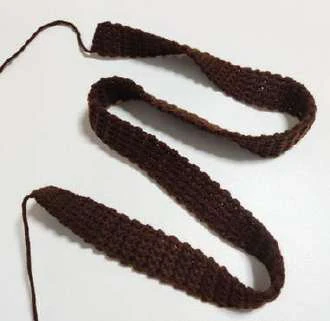
Sling strap

Bread bag visual from source page 14
Source visual, page 14
Bread bag visual from source page 14
Source visual, page 14
Bread bag visual from source page 14
Source visual, page 14
Bread bag visual from source page 14
Source visual, page 14
Bread bag visual from source page 14
Source visual, page 14
Bread bag visual from source page 14
Source visual, page 14
Bread bag visual from source page 14
Source visual, page 14
Bread bag visual from source page 14
Source visual, page 14

Recommended Digital Products

Handmade Crochet Corset Belt Pattern Boho Chic Waist Cincher with Busk & Ribbon Lacing Intermediate Crochet PDF Pattern

Handmade Crochet Corset Belt Pattern Boho Chic Waist Cincher with Busk & Ribbon Lacing Intermediate Crochet PDF Pattern

$4.99
View product

The Highline Wristlet Keychain Crochet Pattern: Quick, Textured & Market-Ready Accessory

The Highline Wristlet Keychain Crochet Pattern: Quick, Textured & Market-Ready Accessory

$3.99

View product

The Ultimate Beginnerโ€™s Crochet Guide: Master 45+ Essential Techniques & Practical Projects

The Ultimate Beginnerโ€™s Crochet Guide: Master 45+ Essential Techniques & Practical Projects

$5.99

View product

From Loop to Perfection: The Ultimate Step-by-Step Crochet Master Guide

From Loop to Perfection: The Ultimate Step-by-Step Crochet Master Guide

$9.99

View product

Get this Crochet Pattern as a Free PDF

Enter your email to receive the PDF associated with this article.


Leave a Reply

Your email address will not be published. Required fields are marked *